


19 Drone Photography Tips to Improve Your Aerial Shots in 2024
Want to get into drone photography? Start here! Find out 19 PRO tips for learning how to fly and capturing impressive photos and footage.
Learn | Photography Guides | By Andy Day
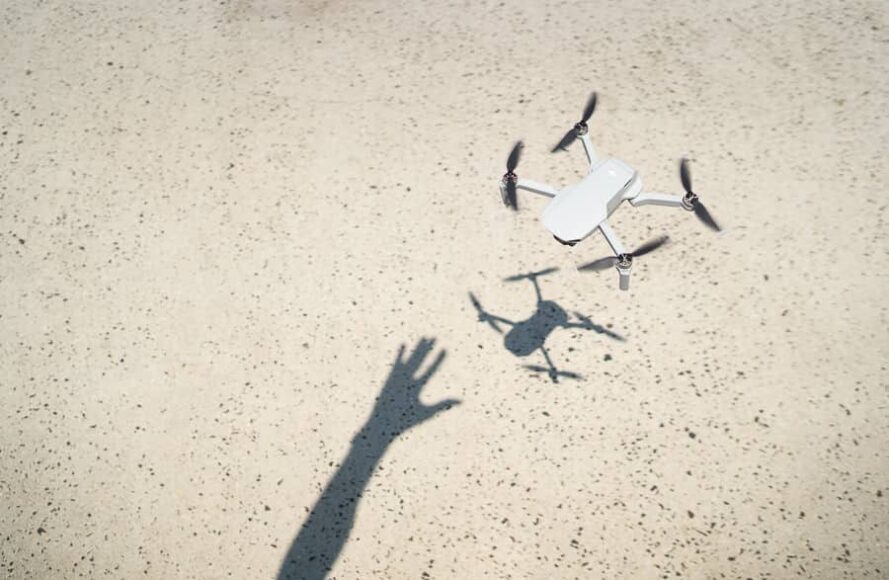
Arguably the biggest evolution in recent years in the images and videos we see around us has been thanks to the arrival of drones: unmanned aerial vehicles (UAVs).
Shots that were previously reliant on boom arms, jibs, and helicopters — or were completely impossible — have suddenly become accessible to anyone with as little as $200 to spend and some willingness to learn drone photography.
This guide is designed to help you improve as a drone photographer and videographer, whether you’re starting out as a keen hobbyist or looking to become a professional drone operator.
We’ll be covering drone photography tips for both stills and video, helping you to develop your skills and become an accomplished drone photographer and filmmaker.
Ready to get a bird’s eye view with some exciting drone photography? Let’s dive in!

Become a drone cinematographer with 9 hours of aerial cinema tuition from YouTube's leading educators.
Save $50 with coupon code SHOTKIT50
19 Drone Photography Tips for Better Aerial Shots
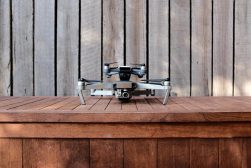
1. Choose a drone based on your needs and skill
The Mavic Mini is an excellent drone for beginners.
Let’s kick off this list of drone photography tips with some gear.
If you’re asking yourself, “Which drone is best for photography?” then don’t worry: for those starting out, the obvious recommendation is one of three options from DJI: the Mavic Mini, the Mavic Air 2, and the Mavic Pro 2.
The DJI Phantom 4 series is also popular, but due to its larger size and higher price point, it may not be ideal for beginners.
The Phantom 4 Pro is the most popular model for professionals due to its excellent image quality, 3-axis gimbal and multiple flight modes.
DJI has established itself as the biggest name in drone technology, and for good reason: its products are phenomenal.
The above three photography drones are its main consumer models, coming in at different prices due to their size, resolution, flight time, and weight — as well as a raft of other features.
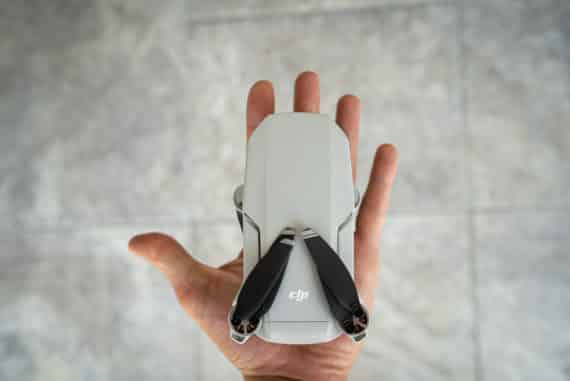
The DJI Mavic Mini 2 is an excellent place to start. This is DJI’s smallest, lightest, and most affordable drone, but offers a superb set of specifications given the price.
Perhaps what makes the DJI Mavic Mini 2 such a good option is that at 8.8 oz (249 grams) it’s just light enough that you don’t need to register it with the Federal Aviation Administration (FAA) in the U.S. or the Civil Aviation Authority in the U.K.
Despite its diminutive size, the DJI Mavic Mini 2 shoots 12-megapixel stills and 4K video.
It doesn’t have object tracking, but it boasts a flight time of 30 minutes, includes OcuSync 2.0 for more reliable long-distance flying, creates surprisingly stable footage, and folds down small enough that it will fit inside a large jacket pocket.
(If you’re on a tighter budget, check out the first version Mavic Mini, reviewed here. It’s still an excellent choice but lacks 4k video and OcuSync 2.0.)
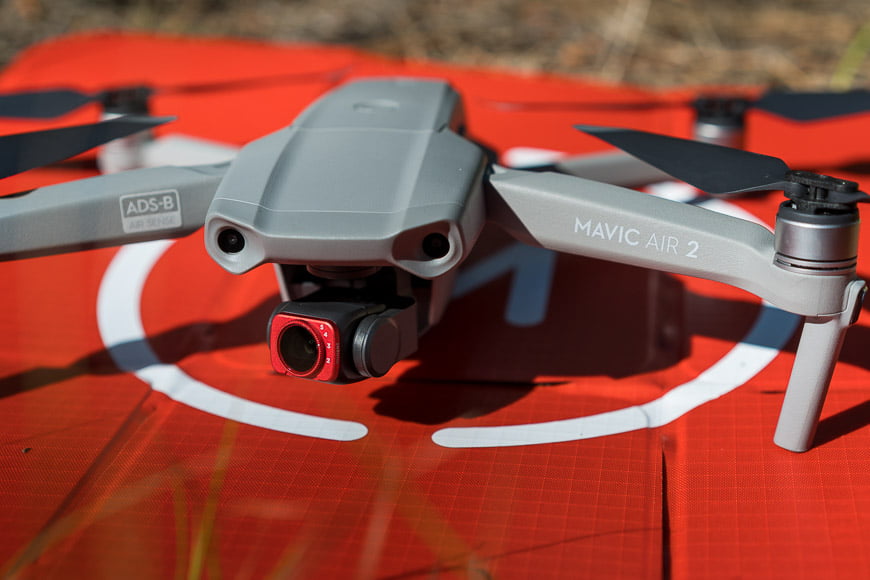
The middle sibling, the DJI Mavic Air 2 (review), is probably the company’s most popular drone for beginners and hobbyists who are sure they’re going to be spending a lot of time in the air.
Its simple controls are made even easier — not to mention safer — by a ton of intelligent and automated features. It also offers great battery life and shoots video at 4K/60p, making it a great drone for both photography and video.
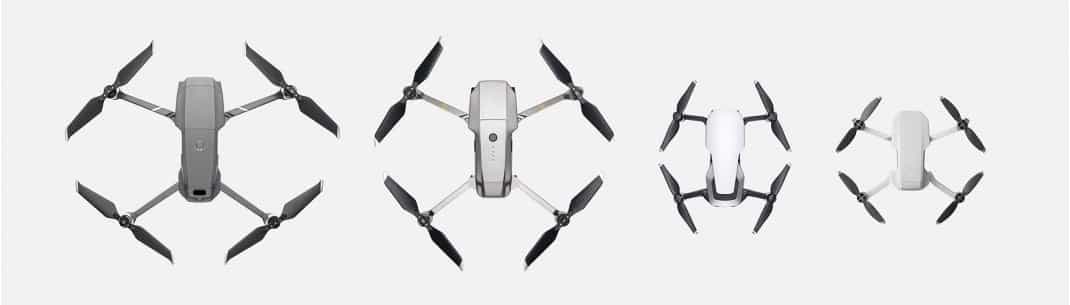
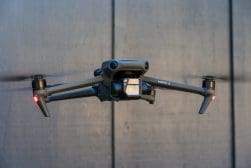
For those seeking something a little more serious, the DJI Mavic Pro 2 is both the oldest and the biggest of the Mavic brothers but despite its age, it remains the obvious choice as DJI’s flagship consumer drone.
The one-inch camera sensor doesn’t shoot the 4K/60 of the Mavic Air 2, but the physical size difference and 20 megapixels mean that you will get better image quality.
There’s also a Mavic 2 Zoom, which features a 24mm-48mm focal length zoom lens. 2x zoom might not sound particularly impressive, but it can increase the dynamic perspectives it allows you, and is particularly useful when shooting video.
How Much Do You REALLY Know About Photography?! 🤔
Test your photography knowledge with this quick quiz!
See how much you really know about photography...

This 20-megapixel resolution is critical if you want to use your drone primarily to create high-quality photographs and offers sufficient dynamic range for bringing back shadow and highlight detail while post processing.
Finally, there are FPV drones, which are notoriously tricky to control, let alone use to take photos. FPV drones are also used for drone racing – here are the best FPV drones for immersive flying and racing.
2. Learn the law
Next on our list of drone photography tips is something a little less exciting but essential nonetheless.
Laws on where you can fly drones vary massively from country to country, with some even banning them outright. Before you invest in a drone, checking the regulations about flying your drone lawfully is absolutely critical.
There are also extensive laws that govern things like flight paths, residential areas, and proximity to airports, as well as the maximum height and whether you’re allowed to fly above people.
You should build up your knowledge of all of these rules before you start flying drones.
3. Get Qualified

Drone camera | Credit: Iewek Gnos
The certifications required to use a drone might seem like a barrier, but given that you’ll learn these skills anyway and will need to be aware of the regulations, it’s barely an inconvenience.
Furthermore, gaining these qualifications will mean that you’ll have extensive knowledge of the rules surrounding the use of drones that are specific to your country or region.
In the U.S., if you plan on using your drone for anything other than recreation, you’ll need to get your Part 107 certificate from the Federal Aviation Administration.
The requirements for lawful drone photography vary from country to country and it’s important to research fully in order to check that you aren’t operating your drone illegally.
In addition to the certifications required by specific countries and regions, it can be worth investing in other training courses to build up your skills and establish your C.V. as a drone operator. Many can be studied online.
On top of all of this, you will need to keep in mind that the rules continue to change in order to try and keep up with progressions in technology.
For example, the requirements in the U.K. changed in November 2019 and will undergo further updates as of January 2021.
4. Become a good pilot
Credit: Ian Baldwin
Drone photography and videography are not simply a case of buying a good drone, passing a quick theory test, and assuming that you can now capture beautiful aerial photos.
The best drone photographers and videographers are also the best drone pilots. Learning how to fly should be the priority before you become concerned with your footage and aerial photographs.
Essentially, every good drone creator will tell those starting out that it’s critical to become an excellent drone pilot before you can become a good drone photographer.
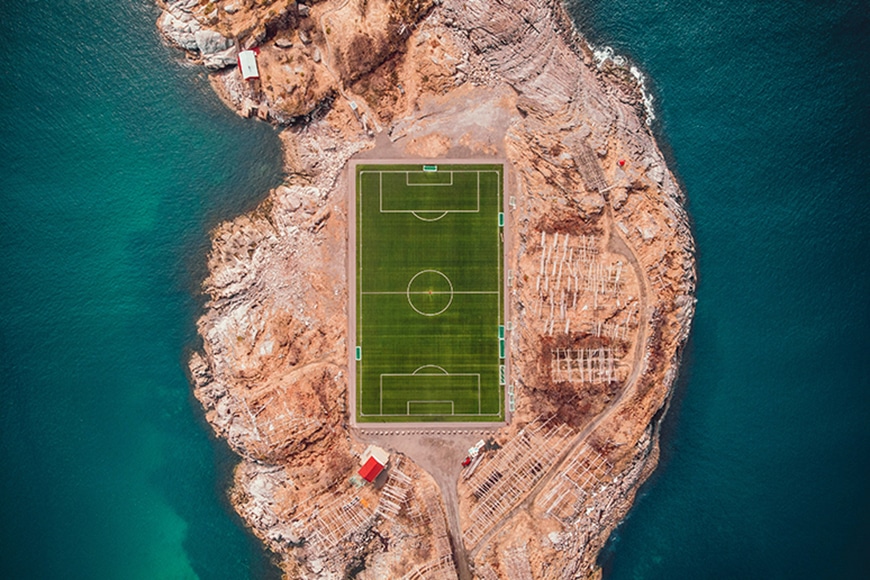
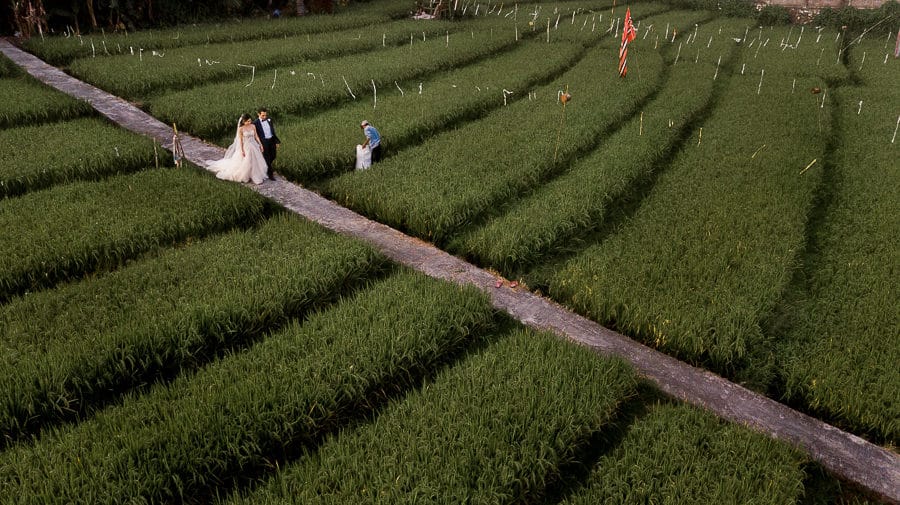
Getting unique perspectives from your drone shots involves learning how to photograph views that are original and not seen in everyday life. Landscapes, for example, are typically seen at eye level, whereas a drone camera can shoot them from multiple angles.
Every drone is different, but keep in mind everything you know about photography – the rules of exposure, composition, colour, balance, time of day – it all applies when you’re trying to create great drone photos too.
5. Learn your drone
Credit: John O’Nolan
This may be an obvious one to include among our drone photography tips, but don’t tune out just yet.
Knowing your drone isn’t just about being able to fly it accurately and safely. It’s also about knowing how to make the most of the technology that’s packed inside it.
For example, many DJI drones come with an “ActiveTrack” mode that can make flying easier, allowing you to create sweeping cinematic shots with very little effort.
The drone uses its sensors to ensure that its flight path is safe while keeping the camera directed at your chosen subject, even if that subject is moving.
Know the limits of your drone’s camera. Typically, the sensor is smaller than consumer digital cameras, and won’t be able to capture as much detail or dynamic range, particularly in low light.
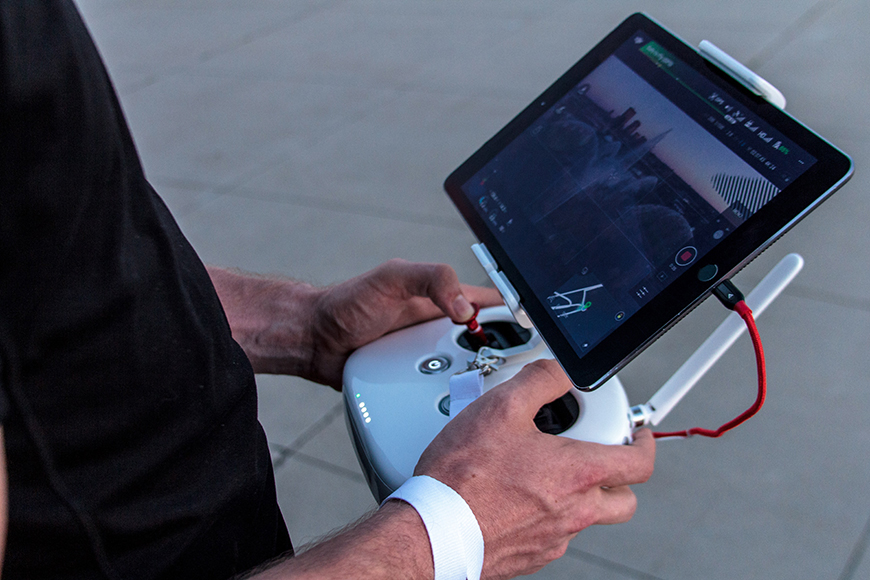
By knowing what the drone’s camera is capable of, you can maximise dynamic range by shooting JPEGs in HDR mode, or in RAW by preserving the highlights (by viewing the histogram on your drone controller).
In this way, you’ll be able to extract more data during post processing, and create a more dynamic final photo – particularly useful for landscapes where the sky is typically brighter than the ground.
6. Join a community
Credit: Eberhard Grossgasteiger
Because of the dramatic progression in technology and the ever-changing laws and regulations surrounding the flying of drones, keeping up with the latest news can be of vital importance.
There are some great websites for drone photographers out there to keep you informed of new products and updated certifications, and it’s probably worth checking out some Facebook groups, including some which are specific to your country or region.
‘DJI Owners Australia’ is a popular group which differs from most on Facebook in that they don’t allow community members to question the legality of any footage.
It doesn’t mean that they condone illegal flying, but rather assume all photographers’ footage is lawful to encourage free sharing and the love of flying.
Joining a community of like-minded drone photographers sharing their aerial photos and drone photography tips can do wonders for your craft, so it’s highly encouraged.
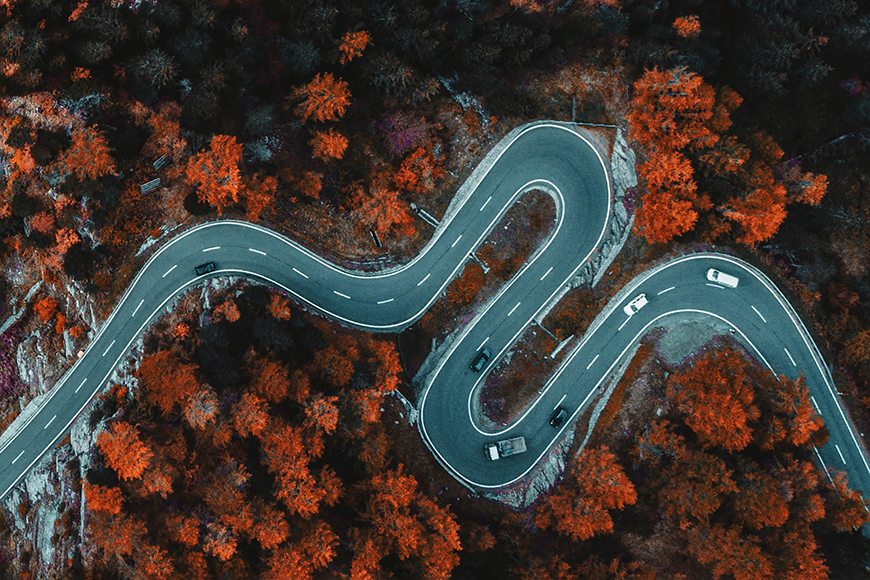
7. Plan in as much detail as possible
You don’t necessarily need to storyboard everything as though it’s a high-end Hollywood movie. Still, the more planning you put into your flights, the better results you’ll get with your drone photography and videos.
Filmmaking and photographic work can be time-consuming at the best of times, and as soon as you couple that with the fact that your total flight time might be as little as 20 minutes, it’s best to be as organised as possible long before you put your drone into the air.
You’ll need to scout the area thoroughly, perhaps even visiting in advance to check that you know the terrain.
You’ll also need to have an awareness of every detail, from weather to sunrise and sunset times, local traffic, and even events that might throw a spanner into the works.
With flight times and weather windows often limited, a client such as a film director will need you to be on the ball right from the moment you arrive on location.
Keep your drone ready to fly at all times – this means fully charged, multiple batteries, and all the most recent drone and map updates.
One of the best drone photography tips I heard this year was to use apps such as the Photographer’s Ephemeris to properly scout locations before visiting them.
8. Check the weather forecast (then recheck it)
Credit: Kimon Maritz
The wind is one of the biggest threats to your drone, threatening not just to knock it off course but also to take it out of your line of sight. A sudden rain shower might take it out of the sky completely.
Checking the weather forecast in the run-up to the day of a shoot is second nature to successful drone pilots. Depending on the job, you may wish to pencil in alternative filming days if the conditions are unpredictable.
Check the documentation for your drone to understand what it can withstand and get your head around wind speed as it’s reported in the weather forecast. Typically, a drone can cope with gusts that are up to two-thirds of its maximum speed, but this can vary between models.
Commercial drone pilots might often carry an anemometer (a handheld device for measuring wind speed) to check that they’re operating safely.
Still, even this can be misleading as the wind speeds at ground level can be a lot lower than what’s happening a hundred feet above you.
It’s also worth keeping in mind that strong winds have a big impact on battery life, with your drone having to work harder and make more adjustments than you realise in order to fly or maintain position.
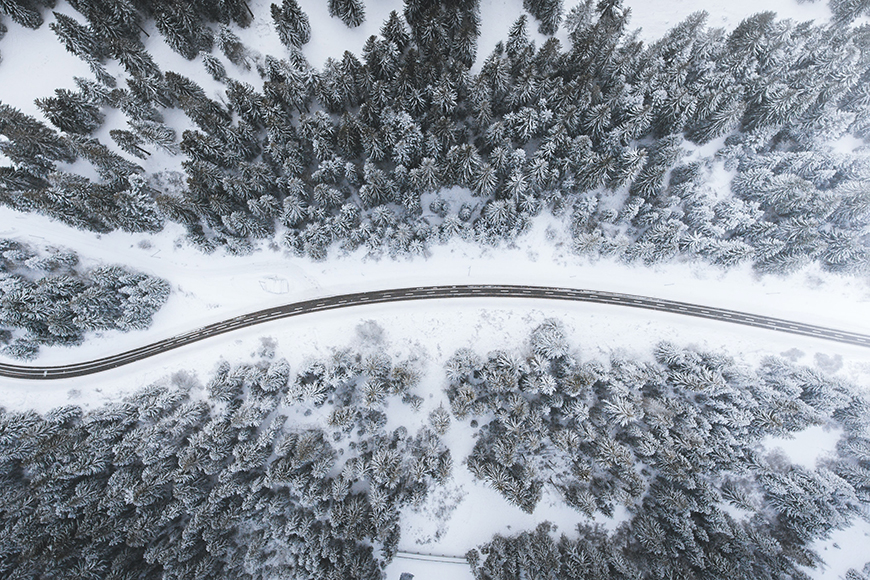
Drones also don’t like rain, though if a heavy shower hits during a flight, you should be able to immediately return it to base before it gets so wet that there’s damage. Most drones are not even water-resistant, never mind waterproof, and many have exposed electronics and motors that suck in the rain.
While snow can look dramatic and can be less of a threat than rain, it can limit the effectiveness of the device’s sensors. With a build-up of moisture, it could potentially take your precious drone out of the sky without much warning.
More drones that are designed to withstand inclement weather are coming to market, and there are kits you can buy to improve the water resistance of popular models, such as the DJI Mavic Pro 2.
Time of day is obviously a huge factor in creating great-looking photos, whether using a regular camera or a drone.
Still, with all the inherent weather unpredictability of drone photography, you may need to have a backup plan for when that golden hour shot becomes impossible.
9. Pack spares
Credit: Abstract Aerial Art
Another slightly more tedious one of the drone photography tips is related to packing spares of every little part of your beloved flying camera!
Battery duration improves with every new model of drone that comes to market, but with flight times averaging between 20 and 30 minutes, you will want some extras to really make the most of your drone photography.
If you’ve got a big day of shooting ahead, you might want to find a means of recharging your batteries out in the field.
Unfortunately, depending on your drone, your standard USB power bank typically won’t be powerful enough, so you’ll need to find something more substantial, such as the 12-volt power from your car.
In addition, propellers can be delicate so it’s also worth packing several additional spares, as even the lightest collision could mean that your drone will be on the ground for the rest of the day.
DJI has put together some impressive bundles that will save you a huge amount of money compared to buying these spares individually. Make sure you shop around, as there are bargains to be had by investing in a slightly older model drone.
10. Create a preflight checklist
Credit: Fahrul Azmi
Photographers and filmmakers often have lists of checks that they make ahead of big jobs.
I usually have two checklists: one for the night before and one for the morning of the shoot, and without them, I wouldn’t sleep.
With drone photography, these checklists are probably even more critical as the margins can be brutal: flight times are limited, and batteries can be impossible to charge.
For this reason, having a detailed checklist to make sure that your preparation is on point can be critical.
As well as detailing all of the gear that you need to pack, it can include actions that need to be taken, such as checking the weather forecast, ensuring that all of your propellers are in good shape, formatting your microSD cards, and charging up all your batteries.
Another simple tip that you won’t see mentioned much is to make sure the lens of your drone’s camera is kept clean and dry. Store your drone with some silica gel packs (the kind you sometimes find inside pill bottles) to reduce the chance of the lens fogging up.
11. Use Google Earth for better aerial photography
Credit: Will Turner
If you’re heading out on an adventure and plan to capture some epic drone footage, you might want to research the location fully in advance by using Google Earth.
This can help you identify features that pique your interest and even plot potential flight paths once you get out in the field.
Landscapes you see every day can look remarkably different when viewed from above, and you’ll be able to discover interesting perspectives well in advance, helping you maximise your drone’s battery life.
12. Learn about HDR (High Dynamic Range) photography
HDR photography is no longer about creating upsettingly garish photographs of abandoned factories and rusting cars.
Nowadays, it’s about creating intelligently balanced images that capture detail in the sky while also retaining information in the shadows.
In drone photography, HDR can be a useful means of evening out a high-contrast scene so that it more closely resembles what the eye sees, rather than being subject to the limitations of the small camera sensors that are inside most drones.
To create HDR images using your drone’s camera, you need to use bracketing — i.e., taking a short burst of photographs each with different exposures. Typically this can be done by changing the shutter speed
These images can then be combined into one photograph during post-production (using editing software such as Lightroom, Photoshop or Aurora HDR, reviewed here).
You can take these images manually by changing the shutter speed yourself, or you can take advantage of your drone’s bracketing options which will take three or five images automatically – see more bracketing tips here.
13. Shoot RAW
Shooting in RAW can allow you to recover highlight/shadow details | Credit: Mark Condon
Most drones will allow you to shoot JPEGs but to take full advantage of your camera sensor and get the highest possible quality, it’s much better to shoot in RAW.
RAW files contain much more data than JPEG files, and while it requires you to do some processing and conversion, you can control white balance even after having taken a photograph and often squeeze out a bit more dynamic range.
To edit and process RAW files, you’ll need image-processing software such as Lightroom or Luminar – see other options here.
14. Learn how to edit your photographs
Of course, we’re all aiming to get everything perfect at the moment of capture, but knowing how to edit your photographs can be the difference between a good photograph and an image that really captures people’s imagination.
With software such as Lightroom and Luminar, you have complete control. You can crop images to perfect their composition, lift shadows, play with colors, tweak contrast, and edit out distractions.
Adobe Lightroom is pretty much the industry standard, and makes erasing power lines or tweaking the exposure and contrast in your photo a piece of cake.
Skylum Luminar 4 is one of the most popular alternatives, featuring various AI tools that can help you replace skies and do other crazy edits with your landscapes.
More recently, Skylum has released Luminar Neo which can make editing your drone photography even easier, with ‘Templates’ that suggest the best starting points for your photo edits.
Whatever image editing software you choose, you’ll also want to make sure you learn how to make lens corrections in the event that the wide-angle lens warps your photographs on your drone.
Finally, because of the physically smaller sensors of drone cameras, the images can suffer from noise – so knowing how to remove this in post-production can be useful – here’s an app that should help.
15. Learn about light
Credit: Jakob Owens
Whether you’re shooting aerial photography or flying at speed to capture footage of grand vistas, light is critical – it’s one of the most important drone photography tips that is seldom mentioned.
As you’ll quickly learn, mornings and evenings typically offer the best light, free of the harsh shadows that can dominate the middle of the day.
Golden hour and blue hour don’t last very long – yet another reason to put preparations in place so that you can be as efficient as possible once your drone is in the air.
While low-light drone photography is possible, it’s not recommended, especially when using consumer-grade models – the average drone for photography has a smaller sensor with poor high ISO capabilities.
Since you’re unable to keep your drone completely stable, a slow shutter speed photo may come out blurred.
Fly your drone during daylight hours, and you’ll significantly increase the chances of a sharp, clear shot, but you should still experiment with other times of day to see what great photos you can get.
16. Experiment with filters and long exposures
Mavic Air 2 with Variable ND filter attached.
With developments in technology, newer drones aren’t as reliant on neutral density filters when shooting in bright conditions.
Still, it might be worth understanding what lens filters do and how you might use them.
Aerial photography can lend itself well to longer exposures — particularly of traffic or flowing water — and if shooting conditions are too bright, neutral density filters can be a means of cutting down the amount of light entering your camera’s lens.
This allows you to drop the shutter speed on the camera and blur the movement that’s happening in your photograph.
Another common use of filters for drones is when shooting video. If you’re shooting at 24fps with a shutter speed of around 1/50 at midday, your shot will almost certainly be over-exposed – this is when you’d need a mini filter for your drone’s camera to restrict the amount of light that enters.
You should be able to find variable ND filters for drones for under $100 – these are great since you can adjust the strength (i.e. opacity) without having to change the filter.
You should also read our article on what size ND filter you should buy.
17. Learn the principles of photography
All of those rules you may have heard about regarding composition apply to shooting with drones, so you might want to brush up on some of the foundations of what makes a good photograph, as well as how to use a camera.
Photography with drones can rely on strong geometric shapes, contrasts of color and texture, symmetry, patterns and more. Learning how to spot the possibilities comes with practice. In short, fly your drone as much as you can!
Camera technology is pretty good at judging how to expose a scene correctly.
Still, sometimes you’ll need to know how to override those settings to get the best images, especially if you’re planning to shoot HDR photographs.
Along with some principles of composition, you’ll also benefit from understanding how a camera works and how to expose correctly without relying on automation.
18. Make the most of Tripod Mode
Tripod Mode can be useful for making precise changes to your composition while flying | Credit: Mark Condon
Most DJI drones come equipped with Tripod Mode, which might sound a bit odd but is actually incredibly useful for a number of reasons. Essentially, Tripod Mode dramatically slows your drone down, allowing you much greater control.
Having finer control over your drone gives a number of advantages. It helps you to avoid obstacles when flying in challenging situations and can make life much easier if you’re positioning your drone close to the ground.
This can be particularly useful if you’re shooting indoors, which might be required if you’re filming a large commercial space such as a warehouse.
You’ll often want to use Tripod Mode when shooting stills, as the greater level of precision makes it easier to finetune your position.
It also gives the stability that you’ll want when shooting time-lapses and hyperlapses.
19. Use a flight simulator
Responding to the lack of experienced drone pilots, flight simulators have emerged to help users learn how to fly — something that’s particularly useful when preparing for high-risk work such as inspecting power lines.
Unfortunately, the best simulators tend only to be available to commercial clients – well out of reach from the average photographer.
Manufacturers such as DJI have gone to great lengths to replicate the experience of flying a drone and time spent using the DJI Flight Simulator will have an impact on your abilities as a pilot.
What is Drone Photography?
Drone photography is using an unmanned aerial vehicle (aka camera drones) to capture stills and video from the skies.
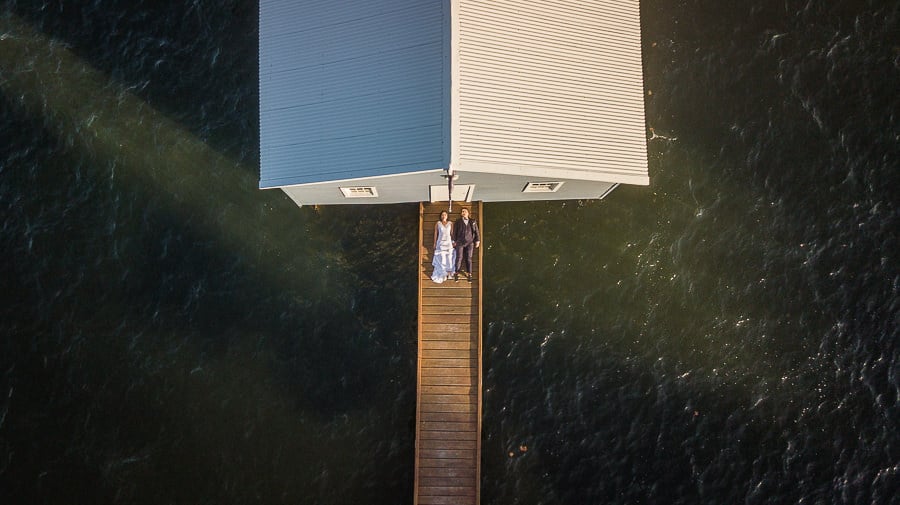
Typically, these photos would be otherwise impossible, using vantage points and creating camera movements that take advantage of the drone’s ability to fly.
Drone photography has seen a huge growth in popularity in 2024 due in part to the various consumer drones that have become available at attractively affordable prices. You can even get underwater drones now too!
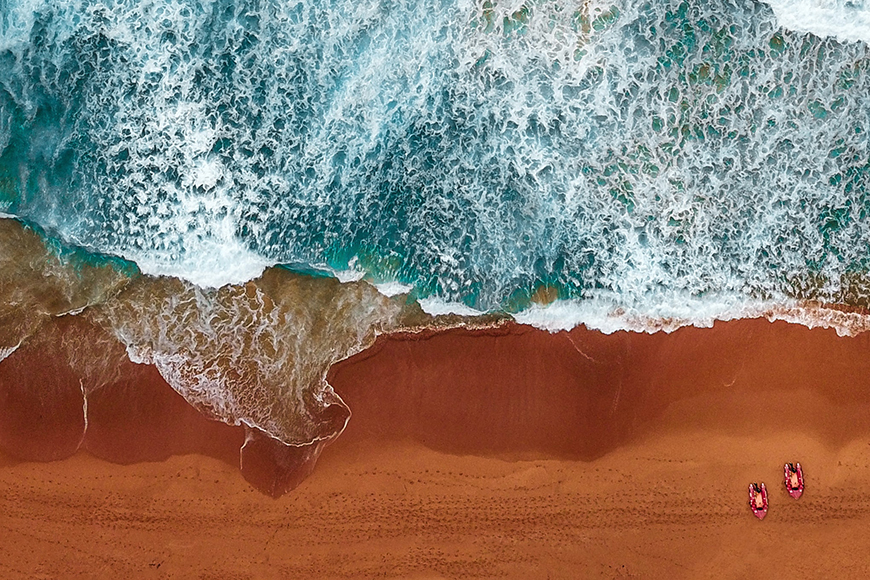
Drone shots tend to be popular on social media for landscape photography in particular due to the unique perspectives they offer.
-
How do I start drone photography?
Most drone photographers will start out by choosing a drone which offers a high-quality camera for photography and video within their budget. There’s a large variety of models currently on the market, and at a wide range of price points.
Fortunately, with imaging sensors improving (better image quality) and batteries and engines constantly getting smaller, costs are always coming down, image and video resolutions are going up, and flight times are increasing.
Even an entry-level model drone such as the Ryze Tello (the best drone for kids) will give good results, and, importantly, it will get you familiar with how to fly.
Building up your skills as a pilot for drone photography is absolutely essential, but before you take to the skies, it’s critical that you familiarise yourself with the rules.
Depending on your drone of choice and location, you may be required to register your camera drone and get a certification, such as the FAA Part 107 in the U.S.A.
Getting a certification like the Part 107 is not too challenging, but it does require you to commit to up to 20 hours of study and pay $160 for the test. If you intend to make drone photography a commercial venture, it’s an essential step to getting started and building a business via flying your drone.
-
How much should I charge for drone photography?
Once you’ve mastered your drone, you may be considering capturing drone photos professionally. So how much can you charge?
As with much photography and videography work, the answer varies massively depending on your experience, the type of work, the commercial scale, and — perhaps most importantly — the client’s budget.
It can also vary by sector, and you might find that capturing drone photos to create maps for agriculture will be very different to shooting a chase scene in a low-budget movie.
Usefully, however, the UAV Coach website has a detailed article which should give you an indication of what to expect. For example, conducting surveys for construction and mining firms can start at as little as $50 per hour, increasing to $500 per hour once you’ve built up your experience in flying, shot plenty of aerial photos and established some relationships in your drone market.
Many drone operators gain an income by working in real estate, and this starts off at around $25 per hour but can pay around $200-300 per project, again depending on the scale and how extensive your portfolio is.
If you’re getting started as a professional, one option for picking up work and gaining some experience is to apply to become a pilot with websites such as DroneBase, which offer jobs according to your location and expertise.
- Read more: 15 Ways to Make Money From Drone Photography
Final Words
The world of drone photography and videography is vast, but while there’s a lot to learn, the results can be incredibly satisfying.
Hopefully, the tips above will give you a good foundation from which to start flying drones and taking amazing photos from the skies.
If you have any questions or further advice to add, feel free to leave us a comment below.
Become a drone cinematographer with 9 hours of aerial cinema tuition from YouTube's leading educators.
Save $50 with coupon code SHOTKIT50
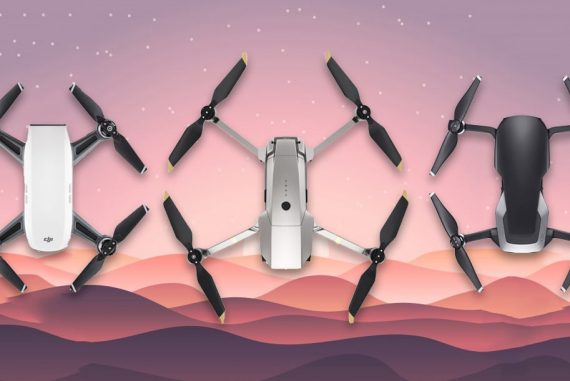 DJI Spark vs Mavic Pro vs Mavic Air
 DJI Mavic 3 Drone Review | Best Value for Professionals?
 DJI Mavic Mini Drone Review (Specs & Opinion)
 How Much Does a Drone Cost in 2024? Comprehensive Price Guide
 Best Long Range Drones in 2024: Fly Further for Longer

Andy Day is a British photographer and writing, living and working in France, specialising in adventure, travel, architectural and landscape photography.


