


Guide to Flower Photography
Take stunning flower photos with this guide. We include 21 pro tips to inspire you, boost your creativity, and improve your flower photography in 2023!
Learn | Photography Guides | By Ana Mireles
Who of us hasn’t snapped a pic of a flower? They are, without a doubt, appealing subjects! Plus, flowers are easily available and you don’t need permission to shoot them – at least not in most cases – which is why many photographers use them to learn and practice their skills.
As a result, if you want to do flower photography, you’ll find a lot of competition.
Maybe you’re not interested in photographing flowers for professional reasons, but no doubt you’ll still want your pictures to stand out.
That’s where a few tips can help you to up your game and ensure that you take scroll-stopping images.
If you’re in love with flower photography and want to get more professional results, keep on reading.
21 Tips to Improve Your Flower Photography
Photographing something beautiful like flowers can be a challenge. How do you make your shots interesting? How do you develop your own style?
Here are 21 flower photography tips that will help you improve your pictures and find creative ways to discover all the possibilities this type of photography has to offer.
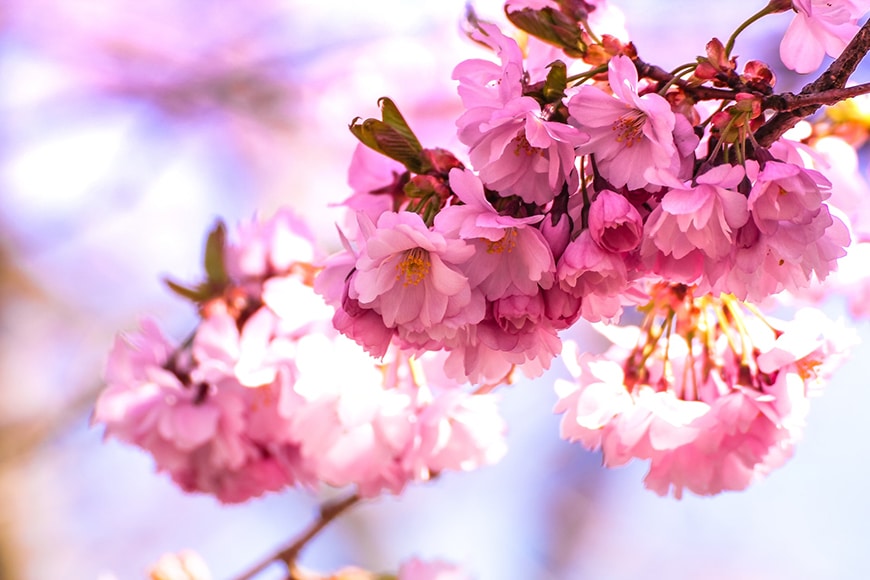
1. Plan ahead
Credit: Mona Eendra
Flowers, as part of nature, have their own timing regardless of your photographic needs. If you have something specific in mind, you should research the zone and time of the year to find the flowers that you’re looking for.
The obvious choice is to take most of your photos in and around Springtime, but different breeds flower at different times of the year.
If you want to photograph flower fields, you should also scout locations on Google Maps and see how to reach them. Also, ask beforehand if they’re public to visit or private properties – for the latter get the right permissions in advance.
When you live in big cities, sometimes it isn’t easy to find flowers in their natural environment. If this is your case, see if there’s a botanical garden close to where you live.
If, instead, you’re interested in photographing bouquets or flowers in other environments, find out the seasons, how long the flowers stay fresh, how to tend to them, etc.
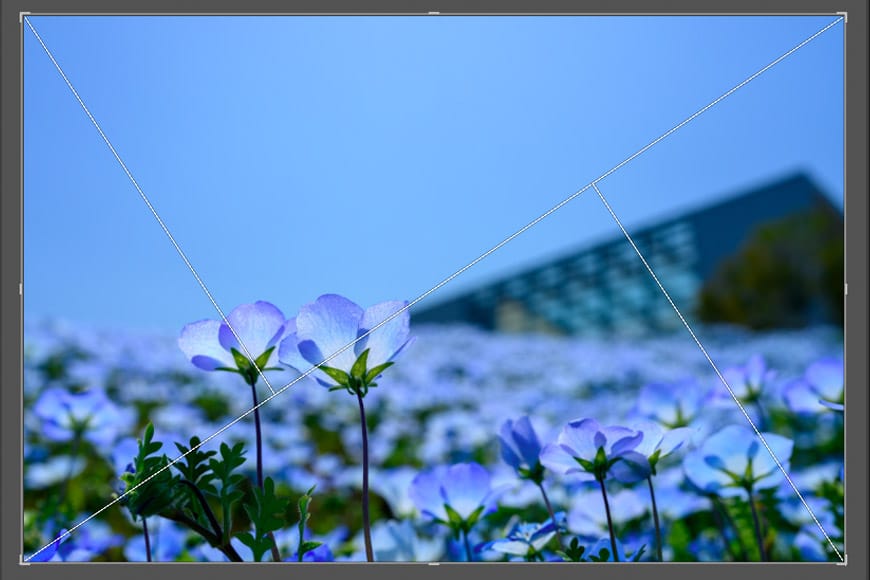
2. Play with composition
Credit: Kouji Tsuru
The composition is the way that the elements are arranged inside the frame. It makes your image look balanced and harmonious or chaotic and unpleasant.
There are many rules that help you out with this. You can use the golden ratio, the rule of thirds, etc.
In Lightroom, you can use overlays that help you compose your image inside the cropping tool.
In time you’ll learn to do this instinctively.
3. Pay attention to the background
Credit: Ray Bilcliff
Many people underestimate the weight of the background in a photograph. If it’s ugly or messy, it will steal the attention away from the flower.
Even if you’re blurring the background, it can be distracting. As such, if it doesn’t seem right, try changing position or perspective.
If this isn’t enough, don’t be afraid to add artificial backgrounds.
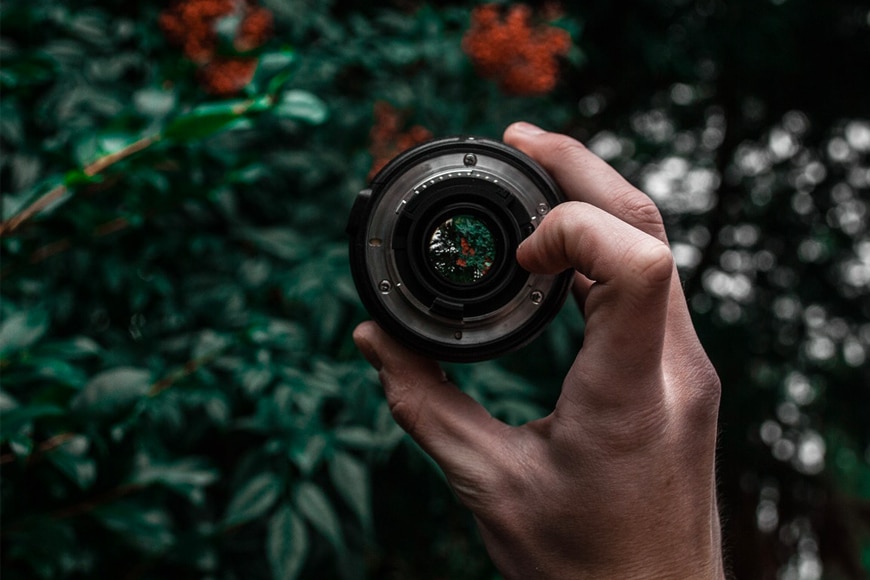
4. Choose the right lens
Credit: Pixabay
Macro lenses are best when it comes to flower photography. This is because you can focus on a close distance and magnify small subjects.
If you pair up a macro lens – either close up or a long focal length – with a wide aperture such as f/1.4, you’ll have a shallow depth of field. This is highly desirable in flower photos.
If you’re using a zoom lens, you probably won’t have anything faster than f/2.8 – that’s good too.
How Much Do You REALLY Know About Photography?! 🤔
Test your photography knowledge with this quick quiz!
See how much you really know about photography...

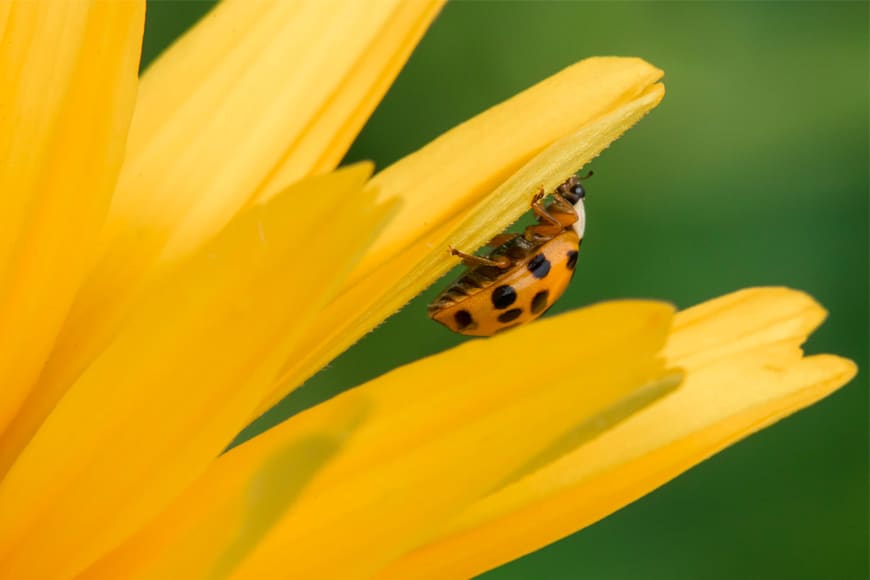
Of course, this applies to small flowers or close up frames where you want to capture a ladybug or similar subjects. These, however, are not the only type of flower photographs you can do.
If you want to shoot a flower field, then you need a wide-angle lens; for still-life photographs, you can use a standard camera lens; and so on.
5. Use a shallow DOF

Credit: Palo Cech
When you have a sharp subject and a blurred background, you’re creating different planes that give depth to your image.
This is known as shallow depth of field (see guide). When you do this, you’re also focusing the viewer’s attention on your subject.
To achieve this effect, you can play with a combination of elements. The first one is using a wide aperture – even an f/2.8 will do. This will let in more light, so remember to compensate with the shutter speed and ISO.
Using a telephoto lens is another way to shorten the area in focus. Alternatively, you can use a wide-angle lens but get really close to the subject.
With any of these techniques, you’ll get a blurry background that will make the flower stand out.
6. Try focus stacking
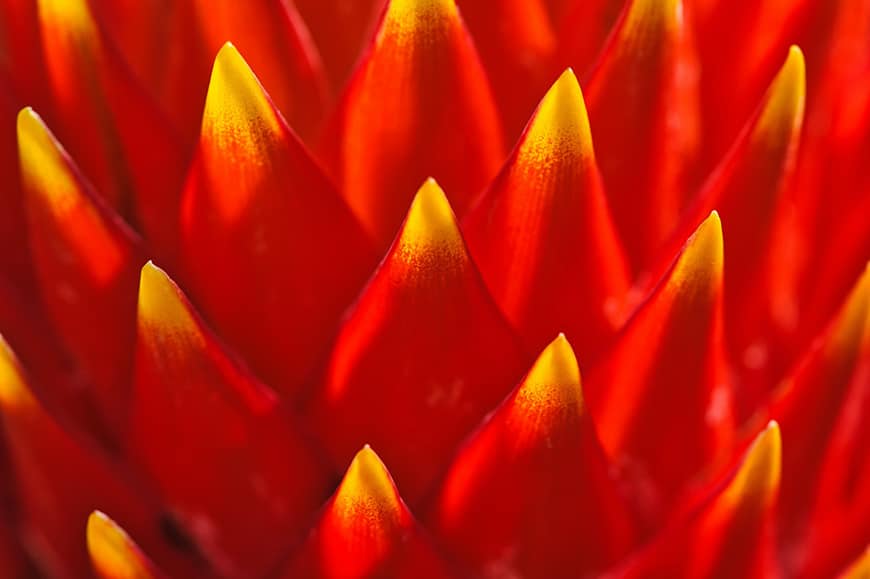
Credit: Alexander Schimmeck
While blurring the background is great in most situations, there are some cases where having everything in focus is preferable.
Having a completely sharp image creates an exciting effect. That said, it’s not always easy to achieve this in-camera.
A practical solution is to do it in post-production using a technique called focus stacking. To do this, you need to take multiple shots, shifting the focus each time until you cover the entire scene.
Then, blend the images to compose one fully-sharp photo. You can do this using your image editing software – for example, here’s a handy guide to focus stacking in Lightroom, but most other image manipulation apps support the feature too.
7. Use a fast shutter speed
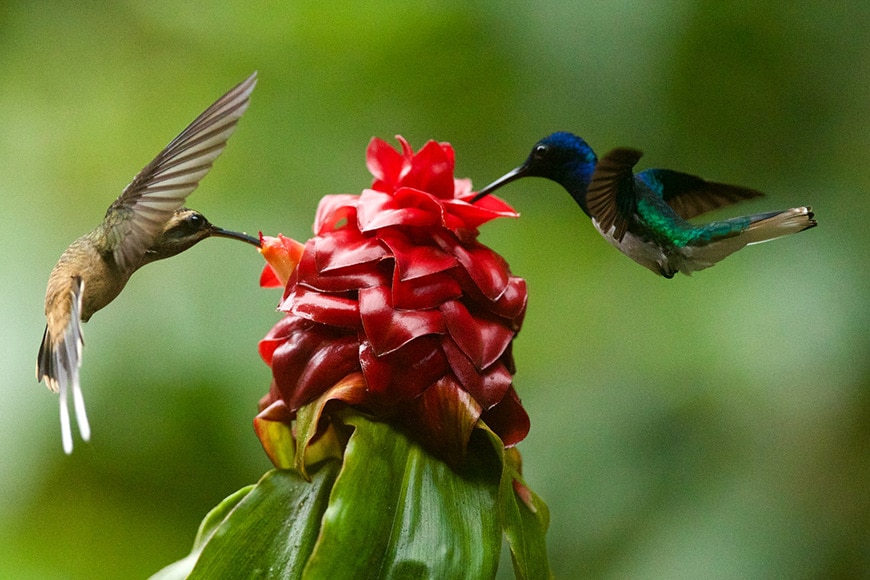
Hummingbirds in flight | Credit: James Wainscoat
When you’re photographing in low light, it’s better to use a tripod. However, sometimes this isn’t possible, or you prefer to shoot handheld.
In these cases, it’s recommended to use a fast shutter speed. This ensures that there isn’t any camera shake evident in your photos.
This is particularly important when you use longer focal lengths. Telephoto lenses need faster shutter speeds to be able to control camera shake.
Another important reason to use a faster shutter speed is to freeze a moving subject, such as a flower that’s swaying in the breeze.
Also, if there are any bees, birds, or other moving subjects, you can make sure that they appear tack sharp.
8. Experiment with creative motion blur
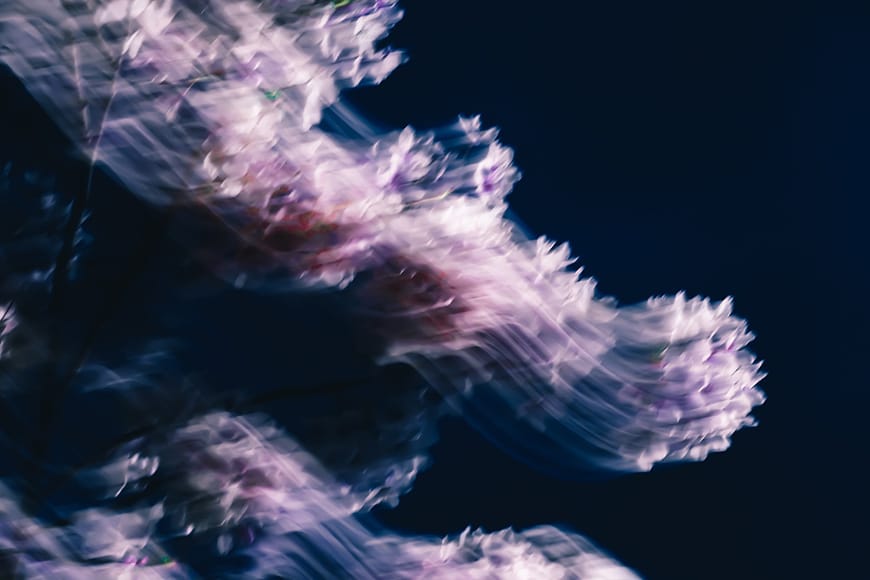
Credit: Nikita Taparia
While using a fast shutter speed ensures you have a perfectly sharp photo that renders every detail, incorporating motion has a lot of creative applications.
To create motion blur, you need to set up the camera with a slow shutter speed. Then, you can use it in two different ways.
The first one is to hold the camera steady, preferably using a tripod, like one of these. In this case, what creates the blur is a moving subject.
You can try this when the flower petals are moving because of the wind, or to blur the wings of a butterfly flying around a flower. A cable release can help to keep everything else sharp, avoiding camera shake.
The second choice is to move the camera, creating trails like those you see in the example image above. You can also try some zoom burst photography.
Of course, you’re also welcome to combine a moving subject with a moving camera to create abstract images – see our article on how to get motion blur in photography.
9. Soft light vs. hard light
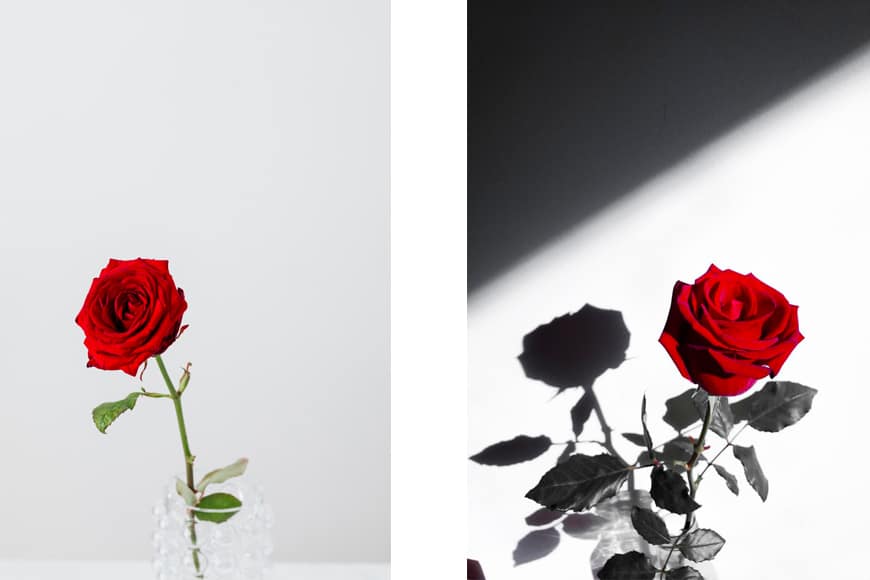
Credit: Left image – Karolina Grabowska. Right image – Milly Sime.
There are two different types of light: soft and hard. Each one has different characteristics and gives your image a different mood.
Soft light is even and creates low contrast, resulting in a softer image. The shadows are lighter, and they blend better with the surrounding area.
This type of light is the most common in flower photography. To achieve it, you should photograph flowers that are in the shade.
Another way to achieve soft light is to shoot on a cloudy day when there’s an overcast sky. If the time of the year makes that difficult, you can also aim for the early hours of the morning or late in the afternoon.
On the other hand, you can use hard light. Even if this isn’t commonly used, it doesn’t mean that you can’t or shouldn’t do it.
Hard light means that you’ll have a lot of contrast between the intense highlights and the deep shadows. This adds depth to the image and can give very dramatic results.
Both lights can be recreated with artificial sources. For soft light, you can use light modifiers such as umbrellas or softboxes – or you can bounce the light on reflectors.
For hard light, you can use a flash pointed directly without accessories.
10. Use the right accessories
Credit: Garrett Morrow
A tripod is one of the most essential accessories for flower photos. You can use an inverted tripod for low angle pictures or a short table-top one.
A Gorillapod or other tripod with wrappable legs can be handy for photographing flowers on tree branches or other difficult angles.
A Speedlight or an off-camera flash will help you control the angle of the light. You can use it as the main source or to fill the hard shadows.
Light modifiers will help you control the softness of the light. You can use reflectors or diffusers.
Regarding the optics, if you don’t have a macro lens, you can use either extension tubes or a reverse ring. These are budget-friendly options to get closer to your subject.
An extension tube fits between the camera and the lens to increase the magnification.
Reverse rings allow you to fit an inverted lens into the camera, essentially turning any lens into a macro. This technique is called reversed-lens photography.
Check our guide for some more macro photography tips here.
11. Choose the best focus mode
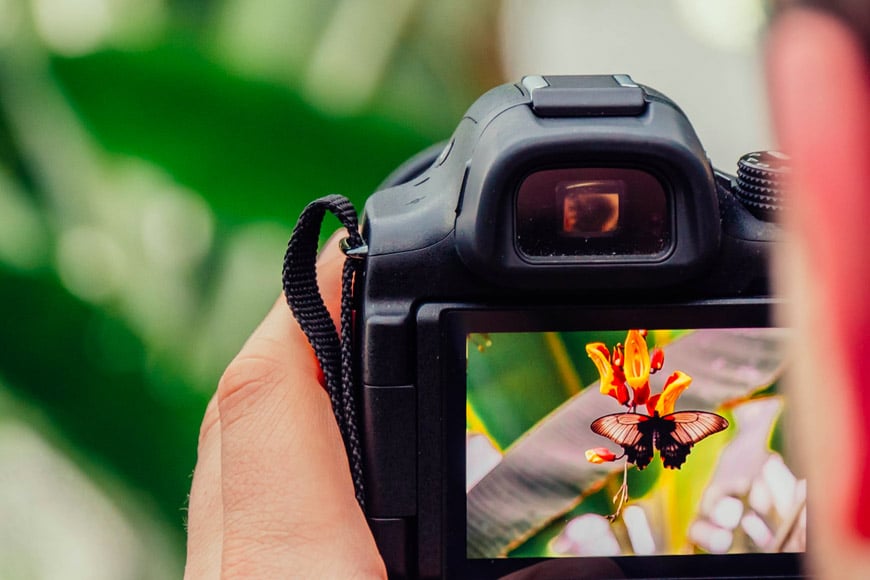
Credit: Jamie Street
Understanding how to choose the best focus mode for your images is key to achieving a tack sharp subject, especially if you have a shallow depth of field.
Manual focus gives great results, especially if you can use Live View to zoom in and adjust an exact spot. Make sure that you don’t change your distance to the subject after that.
If you’re using autofocus, try using the single-point mode to ensure accuracy. Few things in photography are more frustrating, in my opinion, than having a missed focus.
12. Flora goes together with fauna

Credit: Elijah O’Donnell
Insects and birds are the go-to association when you think about flowers, but you can also consider other animals that fit perfectly with flower photography.
Depending on your area, you can find some wildlife animals like a fox or a deer to add to your photographs. If you’re more of an urban person, you can include your pet or domestic animals into the mix.
It doesn’t matter what you choose; flora and fauna make a powerful combination.
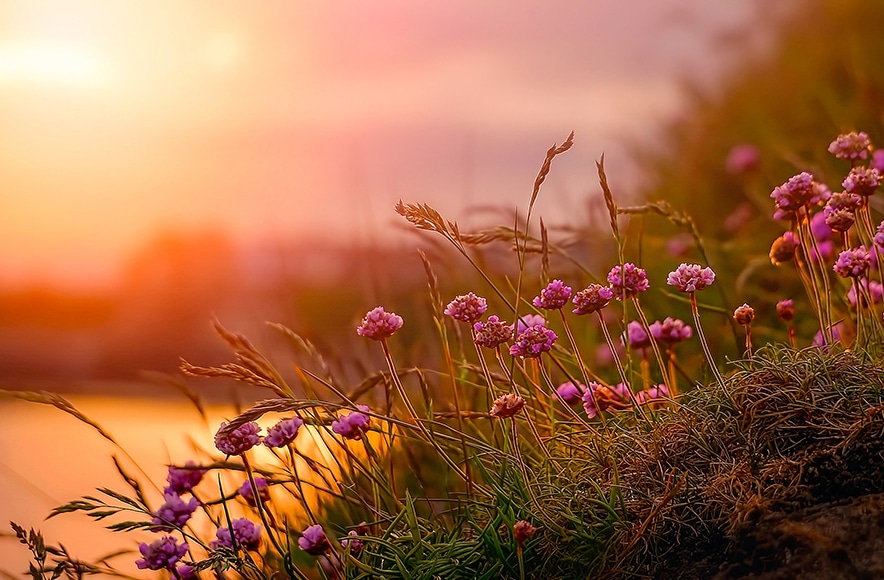
13. Shoot against the sun
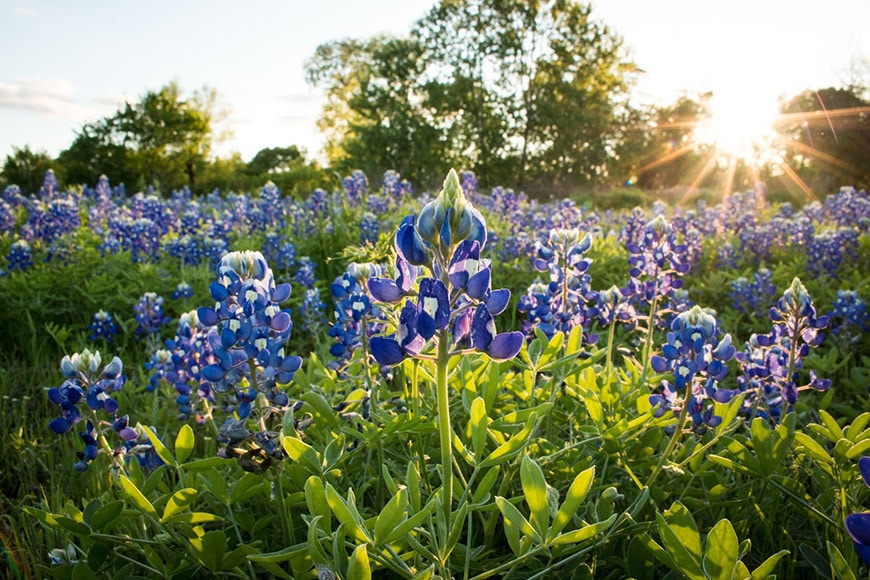
Credit: Matthew Lancaster
I already talked before about choosing soft or hard light for your photographs. However, it’s one thing to choose the type of light, and another to design the lighting set-up.
You can have the light coming from the front, the side, the top, etc. There’s one set-up that’s particularly flattering for flower photos: backlighting.
You can use the sun as your backlight, but you can also try artificial sources. With this, you can make all sorts of creative effects.
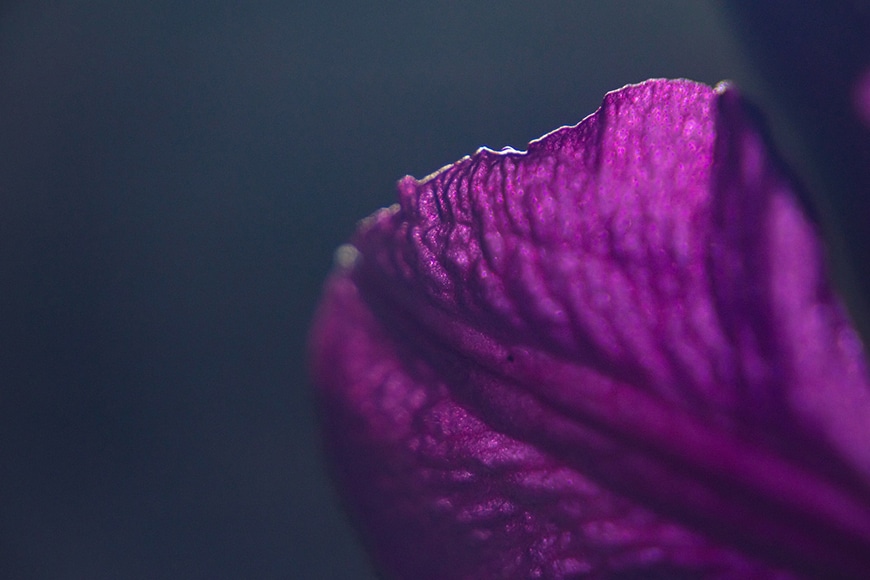
One of the most popular in flower photography is lens flare. You can also use it for silhouettes or to create shapes with the sheerness of the petals.
Try different techniques to see how creative flower photography can be.
14. Mind the cut
Credit: Amelie Niklas Ohlrogge
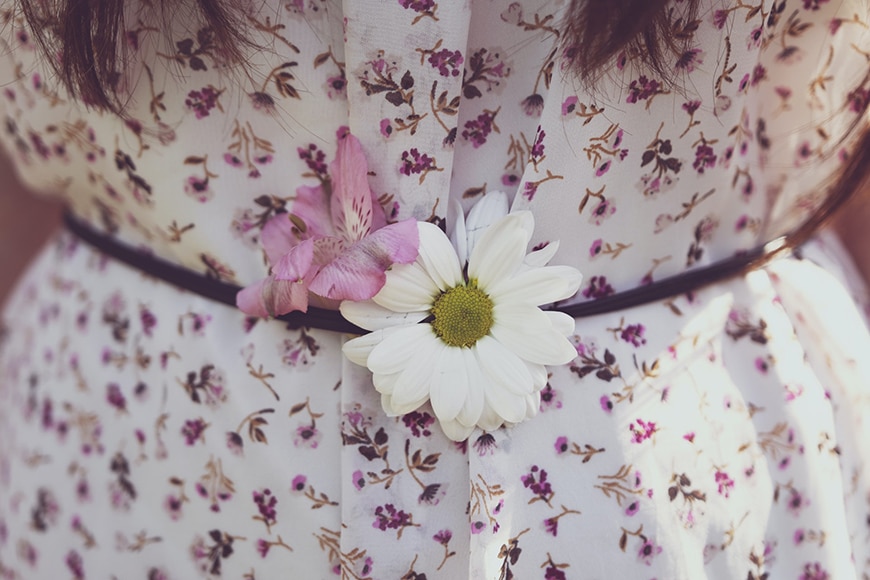
When you’re composing a picture of a flower, you need to be careful where you cut (i.e. crop!)
If you’re not going to include the entire flower, you should make sure that you don’t oddly crop the flower petals.
The idea is to achieve a crop that’s pleasing and looks intentional. When you cut, for example, just the tip off the petals it might seem like it was a mistake and will distract the viewer.
15. Negative Space
Credit: Patrick Hendry
Leaving ’empty’ parts in the frame is a good way to draw attention to your subject. Flowers benefit greatly from this technique because they already have wonderful shapes and colours.
By using negative space, you make clear what the focal point of the image is and give breathing room to have a harmonious result.
To enhance the effect, you can use the composition rules. For example, you can use the rule of thirds, triangles, or the golden ratio to position the subject and leave the background as negative space.
16. Play with colour
Credit: Will Montague
Colours play a big part in any type of photography, and even more so when your subject is as colourful as it is in flower photography.
There are many things to consider when you use colour: symbolism, context, psychology, etc.
You can choose a colour and use it in different ways. A palette based on complementary colours can create high contrast and make your subject pop.
A monochrome image helps put the attention on shapes and texture, creating a minimalistic effect. Using analogue colours makes your picture playful and pleasing.
With all the colours found in nature, it’s easy to find inspiration. From there, you can also add artificial light with colour gels, enhance or alter the colours in post-production, and so much more.
The only limit is your own imagination.
17. Use flowers as a topic
Credit: Ales Maze
Flowers are great subjects by themselves, but they can also be a great topic for a project.
You can do some documentary photos in a flower market or flower fields. For some inspiration on this, you can check out the project “Flower Man” by Ken Hermann. Also take a look at Magnum’s Potted History: Photographers in the Garden – and the book that inspired this compilation: Aperture’s The Photographer in the Garden.
If you’re not much of a documentary photographer, you can look for flowers in urban contexts and exercise your street photography.
Otherwise, you can start a project shooting flowers as the leitmotif of a portrait series, fine-art, etc.
18. Get creative with still life

Credit: Michael C
It’s not written in stone that flowers need to be photographed in their natural setting.
Still-life is a genre that originated in Dutch paintings in the 16th century. It depicts compositions of inanimate objects and, more often than not, includes flowers. Still-life photography also has some amazing pictures that feature flowers.
Take the work of Shihya Kowatari for a contemporary approach. On the other hand, there’s Sharon Core who explores art history conventions.
Otherwise, you can go back in history. I recommend checking out the pictures by Josef Sudek that used still-life – together with other genres – to document Prague.
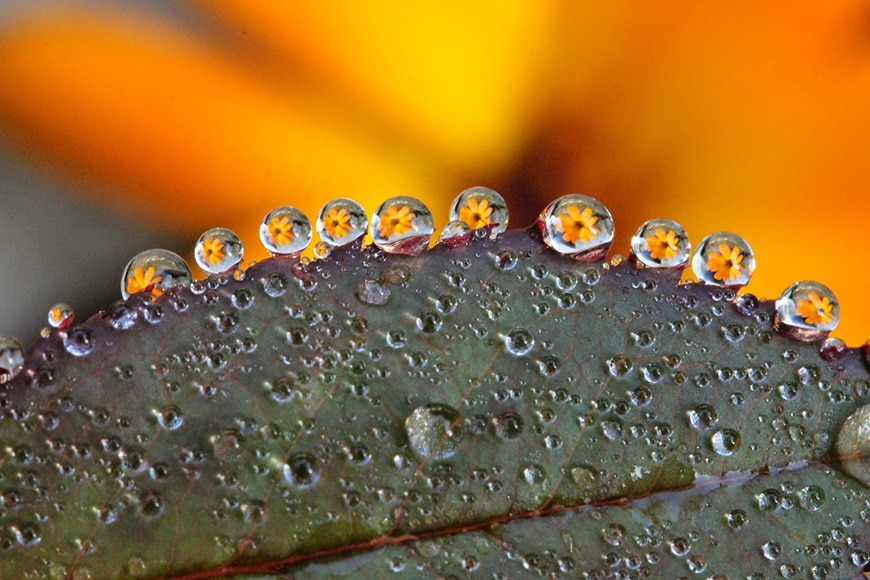
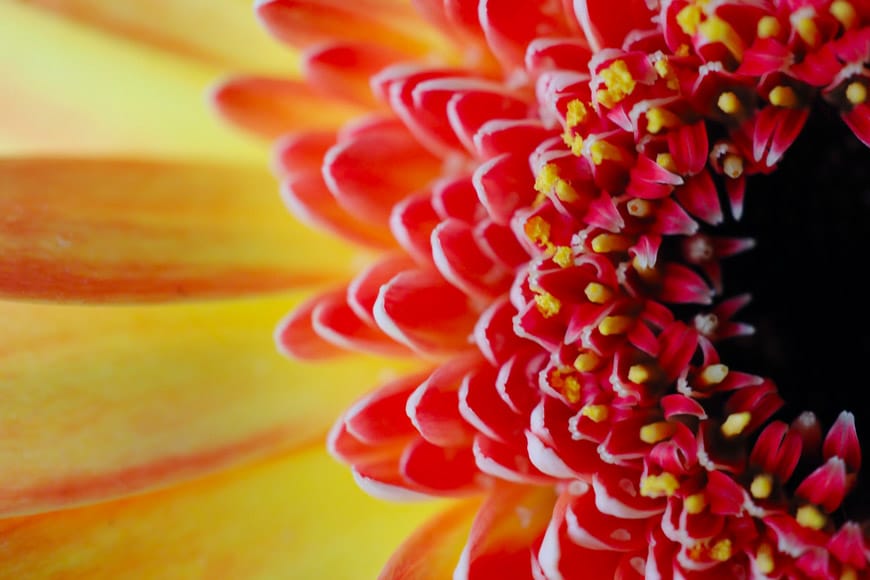
19. Abstract
Credit: Dominik Scythe
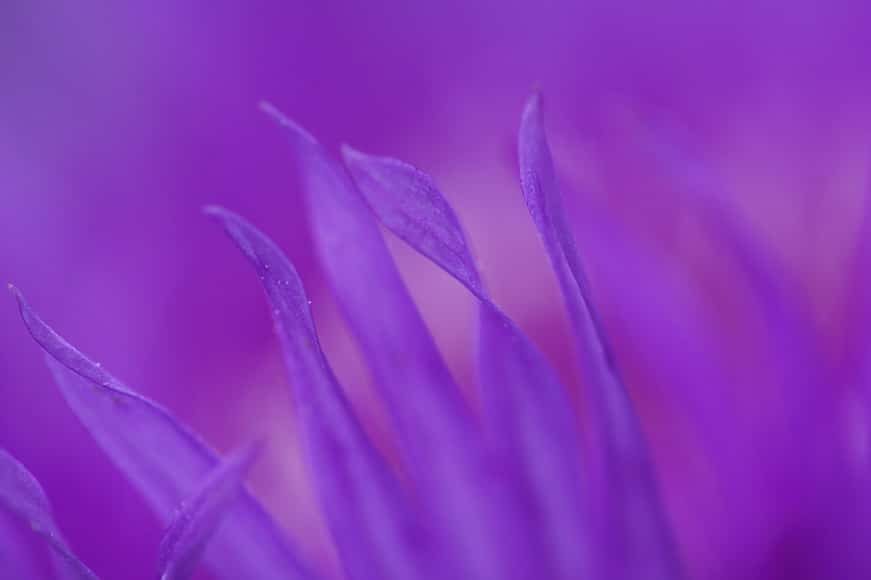
The colours and textures in flowers create a great opportunity for abstract photography.
There are many techniques that you can try for shooting flowers with an abstract result. One idea is to use only colour by photographing details out of focus.
Alternatively, you can keep everything sharp but get so close that you can only see the pattern of a leaf’s veins.
If you want to create the effect of an impressionist painting, you can try very long exposures. If you plan to do this during the day, try using neutral density filters to avoid overexposure.
See also our guide on what makes a good abstract photo.
20. Borrow a page from the artbook

Credit: Vivek Doshi
From Van Gogh’s sunflowers to the classic vanitas, flowers have inspired artists for centuries. They can symbolise purity or love, the passing of time – even death.
There are entire treaties that explain the meaning of each flower.
You can go as deep as you want with the subject or get inspired by the wonderful artwork and pictures with flowers that have been made through the centuries.
Botanical illustrations are also worth checking out: they can give you a different point of view that may spark your creativity.
21. Post-processing
Credit: Pawel Czerwinski
Don’t forget that post-production is a great part of flower photography. You can use any software that you prefer for this. Personally, I like using Adobe apps – either Lightroom or Photoshop (see a comparison).
Some of the most common edits are cropping to improve the composition and enhancing the contrast and saturation.
You can also fix some issues with the original shot. For example, if you couldn’t blur the background enough, you can do that in post-production.
On top of that, you might clone any distracting elements, increase the sharpness if needed, and tweak any exposure problems. For a quick retouch, you can use Lightroom presets or Photoshop actions.
Of course, you’re welcome to get more creative and push the colours to surreal values, make composites, and anything else you can think of.
Final Words
I hope you enjoyed these flower photography tips. All that’s left to do now is to go out, find some flowers, and get creative!
If you have any tips of your own, please share them in the comments section below.

Check out these 8 essential tools to help you succeed as a professional photographer.
Includes limited-time discounts.


Ana Mireles is a Mexican researcher that specializes in photography and communications for the arts and culture sector.


