


What is HDR Photography? (+ How do You Take HDR Photos?)
Learn everything you need to know about HDR Photography in 2023 with these top 6 Tips. Create mind-blowing HDR photos using simple techniques today.
Learn | Photography Guides | By Andy Day | Last Updated: March 29, 2024
High Dynamic Range (HDR) photography is a great way to create a photograph that would otherwise be impossible, capturing the high dynamic range of a scene across several different photographs and blending them all into one.
With HDR photography, you create a series of images that can later be combined to capture detail in the shadows and highlights that cannot be achieved in a single exposure.
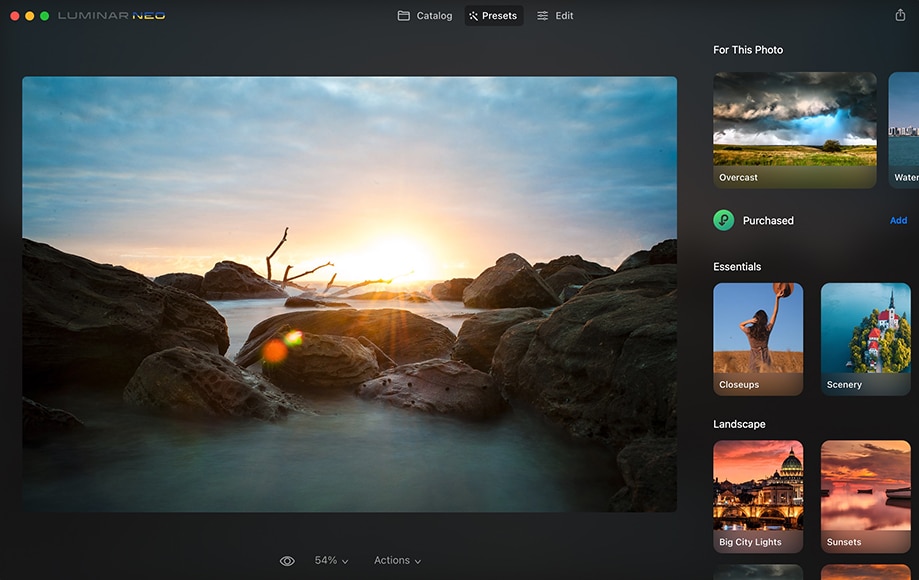
Powerful and easy to use software for merging multiple photos for a realistic HDR image (also works with just one photo)
Use code shotkit10neo to save 10%
Through HDR we can overcome the limitations of camera sensors and achieve a result that is closer to what the human eye sees when looking at a high-contrast scene.
In this guide, we’ll answer some of the most common questions surrounding HDR, as well as show you exactly how to create a stunning HDR image yourself.
What is HDR Photography?
Before we get into taking HDR photos, let’s first answer: What are HDR photos?
HDR photography is the method of using software to bring detail out of the extremes of brightness and shadow within a photograph.
Typically it involves capturing multiple images of the same scene — all with slightly different exposure settings — and then blending them together in order to create a final photograph that looks perfect.
Your camera can do remarkable things but the dynamic range of its sensor — i.e., its ability to see extremes of shadows and brightness at the same time — is not as good as our own eyes.
When we’re faced with losing details in blown-out highlights or in dark, murky shadows, we can use HDR to take parts of differently exposed photographs where those details are still present and combine them together with editing software.
In short, the answer to “What is HDR in photography?” is a single photograph created by blending together different exposure of the same shot to create a stunning image with greater dynamic range.
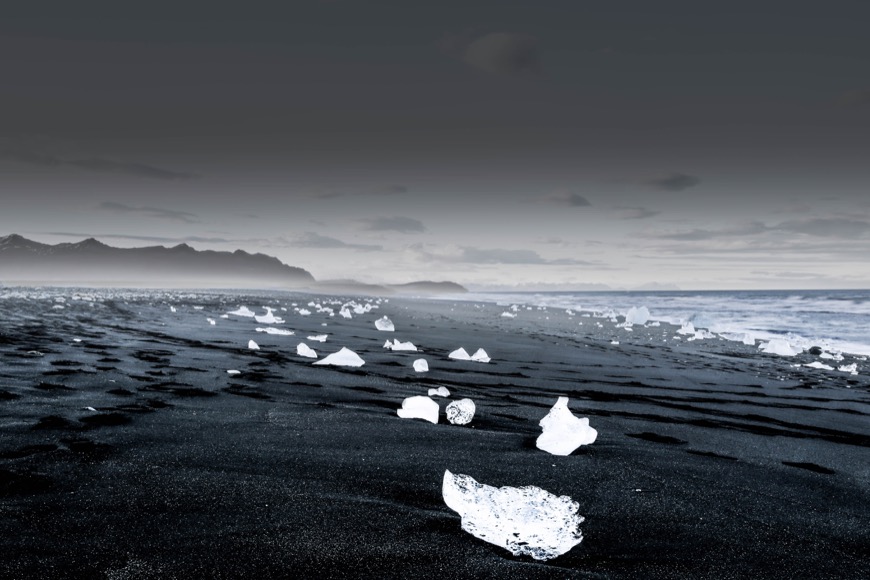
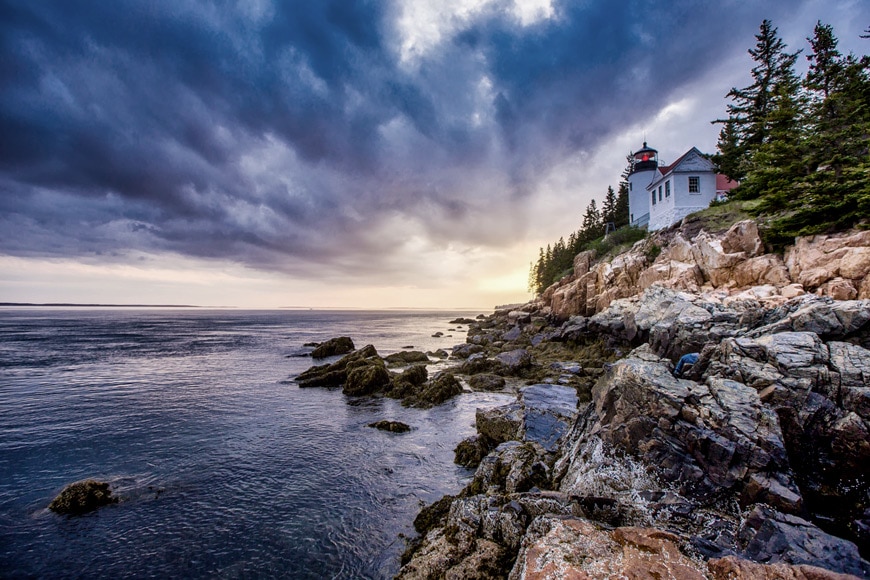
When should you use HDR Photography?
© Cassie Boca
The first of our HDR photography tips is helping you figure out when to use HDR photography.
HDR photography can be useful in a wide range of situations but is easiest and most effective when there’s little or no movement in your scene and when you have your camera locked off on a tripod.
HDR is a popular technique used by landscape and real estate photographers as they often shoot static scenes that have a lot of dynamic range.
As a landscape photographer, you might find yourself being able to capture a gorgeous, bright sky but using an exposure that means that the foreground ends up being too dark.
If you change your exposure so that the foreground is perfectly exposed, the sky will suddenly become too bright and looks nowhere near as impressive.
To overcome this, HDR allows us to take two or more photographs, at least one of which captures a perfect sky, another of which captures a perfect foreground.
HDR can be particularly useful during sunrise or sunset — or even during the blue hour — or when your subject is strongly backlit. HDR can be great for photographing cityscapes just after the sun has set and the lights in buildings or on the street have just switched on.
Real estate photographers also make frequent use of HDR and invest in cameras with wide dynamic range. (See: What is dynamic range of a camera?)
Imagine yourself photographing a room that has bright light coming in through the windows. It’s not unusual to find that exposing for what’s inside the room means that those windows, instead of giving you a view of what’s outside, instead become almost completely white.
These bright highlights can be distracting, undermining the balance of the whole photograph.
By using HDR, you can take one or more photographs that capture the darker interior, and then one or more photographs that expose perfectly for the brightness of the windows before using editing software to blend them all together.
How Much Do You REALLY Know About Photography?! 🤔
Test your photography knowledge with this quick quiz!
See how much you really know about photography...

How does HDR Photography work?
© Shadman Sakib
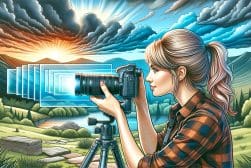
HDR photography works by first creating a series of bracketed photographs — usually between two and nine — all of which capture the same scene from the exact same position but using different exposures.
Ideally, this means locking off your camera on a tripod and even using a remote to ensure that you don’t risk bumping it or creating any movement.
You can vary the exposure yourself by shooting in manual mode and then changing your camera’s settings in between each shot. You can change ISO or aperture, but shutter speed tends to be the best option.
Alternatively, you can set your camera to Program mode and use the Exposure Compensation dial.
Turning it to +1, +2, etc will make the scene brighter and improve the exposure in the shadows. Turning it to -1, -2, etc will make the scene darker and allow you to capture more of the highlights.
Alternatively, many cameras come equipped with an Auto Exposure Bracketing (AEB) mode that makes these changes for you. You can set the number of photographs and the amount of difference in exposure between each photograph (measured in “stops”).
Some cameras will then take the entire sequence of bracketed photographs with just one push of the shutter button.
The HDR magic happens when you come to edit these bracketed photographs on your computer. Your editing software will combine the images together, intelligently selecting the parts of each photograph that are perfectly exposed, and then blending them all together to create one, final photograph.
Your editing software will do a lot of the heavy lifting for HDR photos, but you’ll still need a good HDR photography tutorial to master this technique.
What is Essential for HDR Photography?
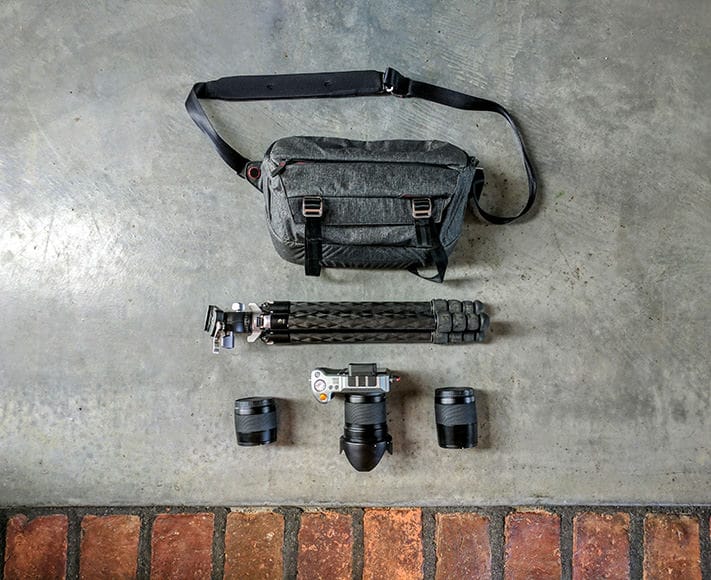
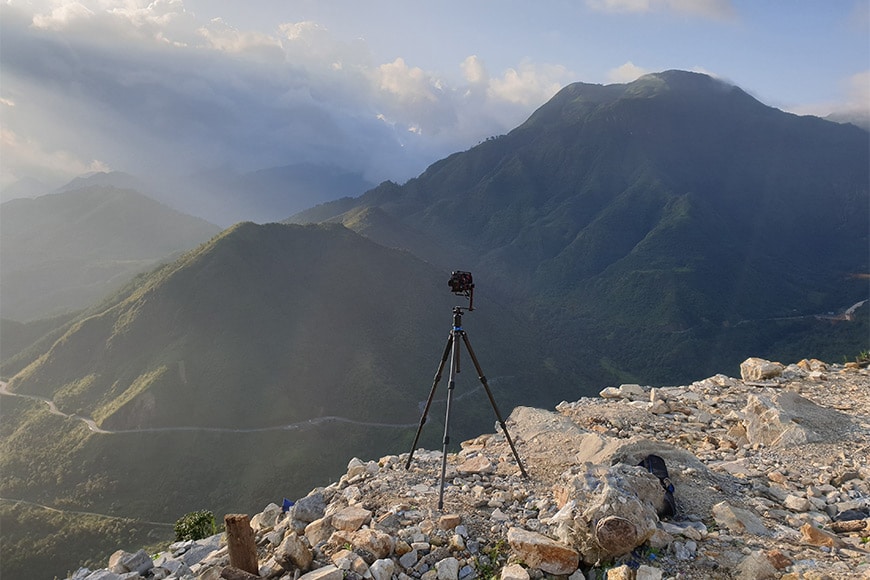
Camera gear of HDR photographer Trey Ratcliff.
You won’t need much equipment for shooting HDR pictures and you can still create high dynamic range photographs even if all you have is a camera. Let’s start our guide on how to take HDR photos by rounding up all the gear you will need!
- Camera
Any camera is capable of creating the bracketed photographs that you need for HDR, and an entry-level DSLR like these will do an excellent job. However, the more sophisticated your camera is, the easier it will be.
A camera that allows you to shoot in manual mode and control the shutter speed is ideal as this is the best variable to use when creating bracketed photographs.
If there is no manual mode, you might be able to create brighter and darker images by changing the exposure compensation (see chart).
If possible, use your camera’s Auto Exposure Bracketing mode. This will allow you to set the number of bracketed photographs and the amount of difference in exposure between each photograph.
- Tripod
For the best results in terms of sharpness and overall image quality, you want to keep the camera as still as possible and prevent it from moving in between each of your bracketed photographs.
This is because the editing software used to blend your images together will find it easier to combine images that match up with one another perfectly. If there’s lots of movement in your photograph or if the perspective changes slightly, you might get some strange effects.
Putting your camera on a tripod like one of these will help to ensure that the camera doesn’t move in between shots.
It also means that you can achieve slower shutter speeds when shooting in low light. You might think that you are holding your camera completely still but even the slightest movement can make your images blurry.
- Optional Accessories
The act of pushing the shutter when your camera is on the tripod can be enough to blur an image or cause the camera to shift very slightly from one shot to another. For this reason, you might want to use a remote control of some sort to trigger your camera.
A cable release or an infrared trigger would do the job, but nowadays it’s easier to use an app on your smartphone or tablet to control your camera. This can also be useful for reviewing your images, checking your histogram, or even changing your settings to create the bracketed shots.
If you don’t have any of these, you can just as easily use the camera’s self-timer. The shortest timer is usually 2 seconds.
Just remember to set it back again afterwards as trying to take regular photos when you don’t realise that the self-timer is still activated can be very confusing!
If you find yourself frequently shooting on a tripod, consider using an L-bracket. This L-shaped piece of metal attaches to the bottom of your camera and is less fiddly to attach to a tripod, as well as making it far easier to shoot in portrait orientation.
- HDR Software
In order to create stunning high dynamic range images, you’ll need to use HDR post-processing software to merge your multiple exposures together.
Some of the tools can produce an HDR photo from a single exposure, although it’s always preferable to have multiple exposures in order to produce the best results.
The options below include paid and free HDR software programs, but as always with photography post-processing tools, you get what you pay for!
- Luminar Neo HDR Merge Extension – a great option for high dynamic range photography. Use code shotkit10neo to save $10.
- Photomatix Pro – another hugely popular option for high dynamic range photography. Use code SHOTKIT15 to save 15%.
- Adobe Lightroom (using Photo Merge) – follow this Lightroom HDR tutorial.
- Adobe Photoshop (using Merge to HDR Pro)
- Nik HDR Efex Pro
- Easy HDR
- Luminance HDR
- Picturenaut 3
- FDRTools Basic
- Lightroom Enfuse
We’ll be showing you how to create HDR images using the HDR Merge Extension of Lumnar Neo.
Although you can create an adequate HDR using free software, we highly recommend investing in paid software – your results will be much better.
How Do You Take HDR Photos?
Step 1: Shoot Multiple Images at Different Exposures
© Quang Nguyen Vinh
Learning how to do HDR photography starts where all photography does, by getting behind the camera and shooting some pictures!
The goal here is to take three different exposures of an identical scene, with absolutely no movement in between exposures. Your bracketed photographs will be two stops apart.
We recommend using Manual or Aperture Priority mode, but Program mode is also fine. Here’s what to do:
- Find a stable place for your tripod and secure your camera to it
- Set up your cable release, smartphone app, infrared remote, or self-timer
- Compose your photograph and set your focus as you would do for any other shot
- Set up your camera as you would for a normal exposure and take your first photograph. Or, if your camera has Auto Exposure Bracketing, dial in your settings, fire off your sequence of shots, and ignore the following steps (!).
- Take a second photograph that is brighter in order to expose for the shadows. If you are in Program mode or Aperture Priority, turn the Exposure Compensation dial to +2. If you are in Manual mode, halve your shutter speed, and then halve it again.
- Take a third photograph that is darker in order to expose for the highlights. If you are in Program mode or Aperture Priority, turn the Exposure Compensation dial to -2. If you are in Manual mode, double your shutter speed, and then double it again.
And that’s it! You’ve done your first HDR shooting and now you now have three photographs, each with a different exposure.
Step 2. Merge Multiple Images into a Single Image
The goal here is to merge (blend) the 3 different exposures into a single ‘High Dynamic Range’ image. This is where we go from “how to shoot HDR” to “how to make HDR photos.”
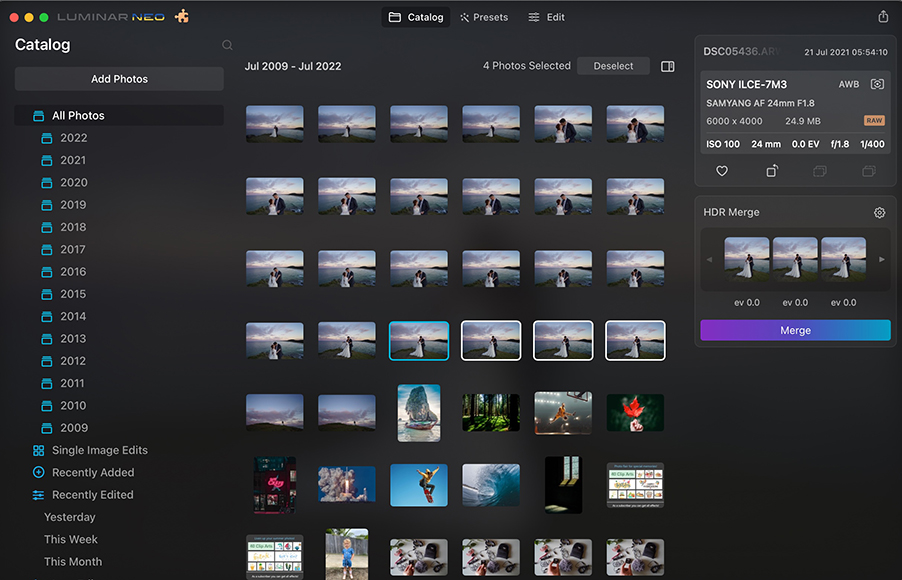
If you haven’t already, download a copy of Lumina Neo + HDR Merge Extension so you can follow along with the steps (there’s a 30-day money-back guarantee, but I doubt you’ll need it since it’s such a useful tool for creating HDR photos.)
- After loading Luminar Neo, click the small jigsaw piece icon next to the logo in the top left of the screen
- Install the HDR Merge Extension
- Restart Neo
- From the Catalog module, drag and drop up to 10 photos taken at multiple exposures into the HDR Merge panel and click the Merge button
Luminar Neo will then prepare your three images. Once this is complete, you can start tweaking the results of your final HDR image.
If you’ve used other image editing software such as Lightroom, many of these settings and sliders will feel familiar. However, note that there are lots of other tools that are specific to Neo that make the most of the high dynamic range quality of the image that you are editing.
These techniques will work when creating anything from an HDR landscape to HDR portraits.
Optional: How to create an HDR Photo from a Single Image
This method is for when you were unable to take multiple images at different exposures (perhaps the scene was moving, or you didn’t have a tripod), or you simply want to create an HDR image from a photo you took in the past.
Again, we’re using Luminar Neo’s HDR Merge Extension for this since it tends to produce the best results.
Here’s how to do HDR with a single image:
- After loading Luminar Neo, click the small jigsaw piece icon next to the logo in the top left of the screen
- Install the HDR Merge Extension
- Restart Neo
- From the Catalog module, drag and drop your photo into the HDR Merge panel and click the Merge button
The extension will now process your image using tone mapping. Tone mapping uses some clever maths on individual pixels to bring out detail in the shadows and highlights.
You can then edit your photograph, taking advantage of some of Neo’s AI tools to further enhance your photograph.
6 Tips for Succesful High Dynamic Range Photography

Pixabay
1. If possible, set your camera to take photographs as RAW files instead of JPEGs. RAW files capture more dynamic range and color information and will give your editing software even more data to play with when it comes to merging your files together.
2. If there’s no movement in your photograph, use a low ISO. This will ensure that your images have the least amount of noise and create a cleaner final image.
3. If there’s a risk of movement in your image, you may wish to use faster shutter speed in order to freeze it and, if possible, take a burst of bracketed images in continuous shooting mode. This will reduce any motion blur in individual shots, and hopefully decrease the amount of movement between each frame.
4. Use aperture priority mode to ensure that the aperture doesn’t change in between shots. Your aperture setting can determine the depth of field and changing it might mean that what’s sharp in one photo might be out of focus in another.
5. For your first “normal” photo, check your histogram to get a more accurate idea of where information is being lost. The images we see on our rear LCD can be misleading, especially if light levels are changing, and understanding the degree to which shadows and highlights are being clipped can help you to determine your bracketing.
6. Don’t ‘overcook’ your photos! It’s easy to get carried away with extreme contrast and retina-searing colors, but keep in mind that the first thing a viewer should see is your photo, not your editing.
Other Ways to Capture HDR Photos
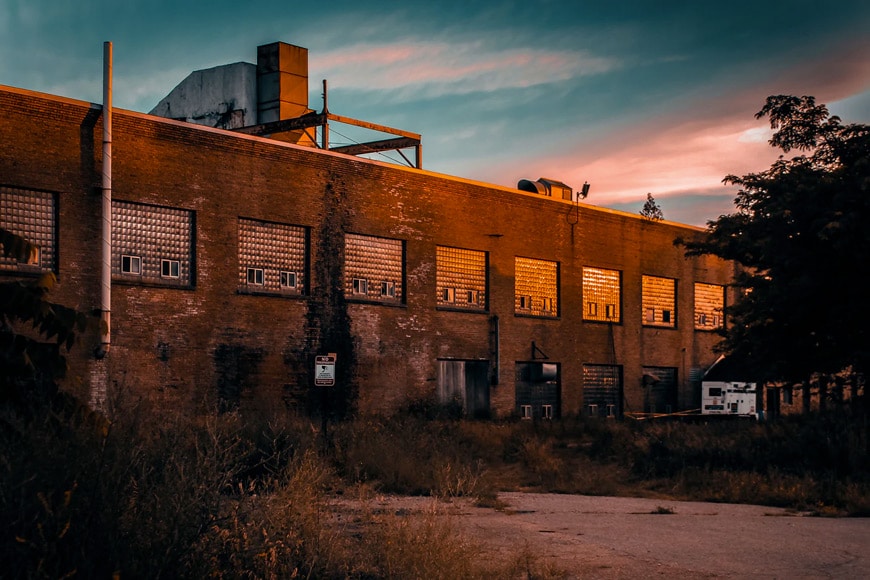
© Liz Weddon
- Auto HDR Mode
Auto HDR mode goes one step beyond Auto Exposure Bracketing — the camera blends the images together for you without any need for editing software. Keep in mind that you may have to shoot JPEGs rather than RAW files for this to work.
- HDR on iOS
The iPhone has built-in HDR functionality. Switching on HDR mode on your iPhone causes your phone to shoot a burst of photos and instantly produce a blended version.
You might find that you have “Smart HDR” switched so that iPhone automatically shoots HDR images whenever it thinks it will create a better image.
- HDR on Android
Android phones have a little bit of variety in how they are set up, but the principle is the same: with HDR activated, the phone shoots a series of photographs at different exposures and automatically blends them together to give the best result.
Google Pixel owners have HDR+ and HDR+ Enhanced modes, with the Enhanced mode better suited to photographing in low light situations.
You can learn how to shoot HDR photos whether you’re shooting on mobile or on a professional camera.
HDR Photography FAQs
- Why do my HDR photos look bad?
One reason might be because you’ve done too much editing. If your photograph has very strong contrast and unrealistically vibrant colors, a viewer can feel that every part of the image is screaming for attention, undermining how the image works in terms of its composition.
Small details that would otherwise feel balanced and comfortable are now impossible to ignore, and the photograph now has too many distracting details.
It’s also worth remembering that if your basic composition isn’t strong enough, no amount of editing and HDR magic is going to save it. If your HDR photos aren’t working, you might need to polish your framing skills with these tips.
- When should you not use HDR?
If the brightest and darkest parts of your scene are not that extreme, HDR photography is unnecessary. You can quickly check this by looking at the histogram — if there is a good spread across the graph with nothing being clipped on either side, you’re not missing any highlight or shadow detail.
If there’s any motion in your scene, your editing software will struggle to map the various images onto one another, creating some strange ghosting events, so it’s best to avoid using HDR for photographing movement.
Figuring out how to take an HDR photo includes knowing when not to use HDR.
- Are HDR photos bigger?
Once a number of bracketed images have been merged together, the resulting image often contains more fine contrast, tonal range and shades than the original photographs. As a result, exported HDR photographs can end up being far bigger.
HDR software gives you the option to compress your files when exporting and this can reduce the size.
- What is Smart HDR on iPhone?
With Smart HDR switched on, your iPhone will decide for itself when it is best to use HDR photography. By default, it will shoot normal photographs, but a high contrast scene where it cannot capture the extremes of the highlights and shadows in a single image will prompt the iPhone to shoot an HDR image.
- Can you shoot HDR in RAW?
Absolutely, and to get the best results from your HDR software, you should shoot in RAW. Whether you want to know how to take a HDR photo or to just have a better editing experience, always shoot RAW.
Final Thoughts On HDR Images
HDR photography can be a fun way to create images that would otherwise be impossible, extending the functionality of your camera, and producing some striking results.
If you have any questions on how to get started, feel free to post them in the comments below. Good luck!
Powerful and easy to use software for merging multiple photos for a realistic HDR image (also works with just one photo)
Use code shotkit10neo to save 10%
Resources: Art and Science of HDR Imaging // How to use HDR Merge in Luminar

Check out these 8 essential tools to help you succeed as a professional photographer.
Includes limited-time discounts.


Andy Day is a British photographer and writing, living and working in France, specialising in adventure, travel, architectural and landscape photography.


