How to Use a Monopod
Think you already know how to use a monopod? Do you know these 6 professional techniques? Get shots other photogaphers can't, by using a monopod.
Working out how to use a monopod should be a simple affair – after all, it’s just an extendable pole, right?!
In fact, using one correctly can actually be more confusing than using a tripod, even though it has two less legs!
Many photographers have never even handled one of these one-legged friends before, which I think is a shame, since they can be extremely useful.
Whether you need to stabilise a shot in a crowded place, support the weight of a heavy-lens, pan a photo of a moving subject, or simply create a higher perspective, a monopod can quickly become the most useful accessory in your camera bag.
So, let’s have a closer look at how to use a monopod.
How to Use a Monopod | 5 Pro Techniques for 2024
1. The Overhead
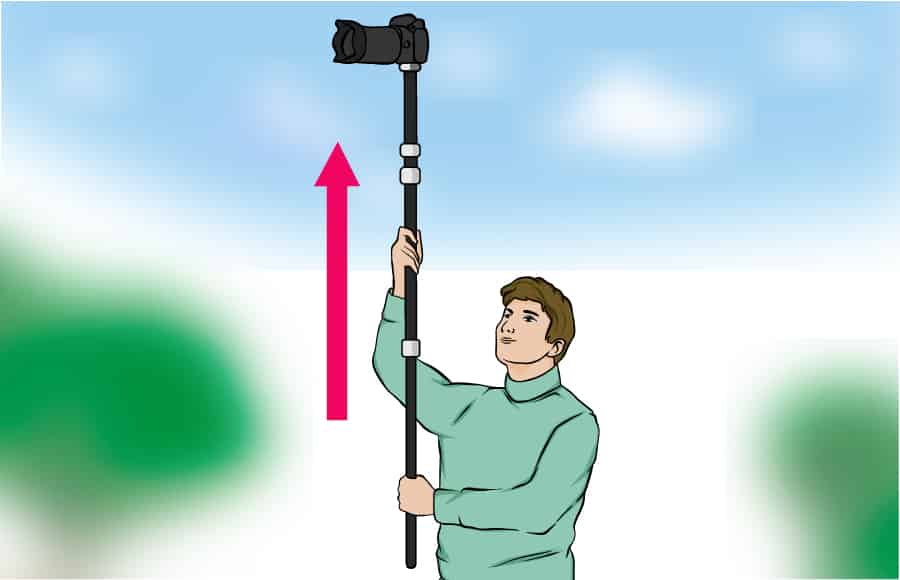
How to use monopods is easy even for beginners. The most common method is the overhead.
This is perhaps the simplest way to use a monopod for cameras, but it’s still the main reason why I decided to invest in one of my own.
The technique is simple – you attach your camera to the top of the monopod as usual, extend the legs as far as they will go, lock them out, then hold it high enough to get the shot you want.
Obviously you’ll need a way to ‘trigger’ the camera (since it’s not in your hands) – you can use a bluetooth or wired remote trigger, or simply set your camera to shoot at intervals on timer mode.
If you’re able to balance the monopod with one hand, you can even use your smartphone to wirelessly connect to your camera, to provide a ‘remote screen’.
Also, by using interval shot mode, your camera will automatically fire off multiple consecutive images while you hold it aloft, greatly increasing the chances of one of your shots working out.
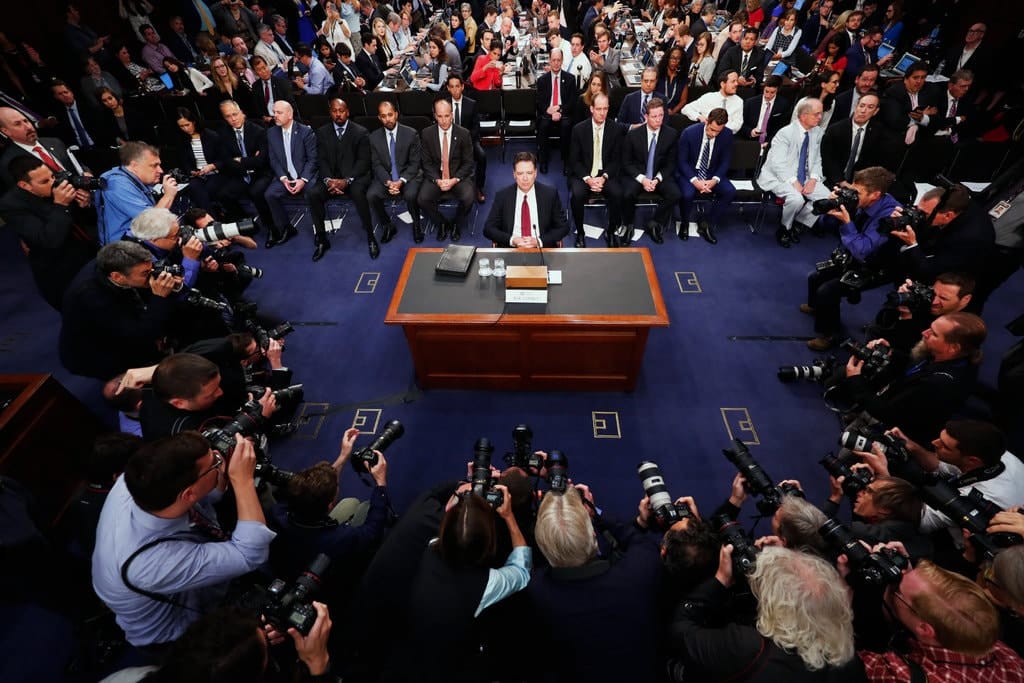
© Doug Mills, New York Times
The New York Times photographer Doug Mills captured the above viral image of former FBI director James B. Comey by using a similar technique with his monopod.
If you’ve invested in the best monopod you can afford, you should be able to get sufficient height above your head to produce an image that no one around you is likely able to reproduce – this is illustrated perfectly in Mills’ iconic image, where all the other press photographers can be seen on the floor below.
2. The Third Leg
Another way to use a monopod is to attach your camera and extend/fix the legs so that the monopod is a few inches above your eye. This is a good way to make your monopod photography as stable and comfortable as possible.
Then stand with your feet a comfortable width apart, face your subject, then place the base of the monopod in front of the centre point of your open legs and lean it back towards your body, to make the third ‘leg’ of an imaginary tripod.
This technique works best when the ground is grippy, such as on grass or gravel. If you try it indoors or on a surface with less grip, the foot of the monopod may slip – the next technique is better if you’re on slippery ground.
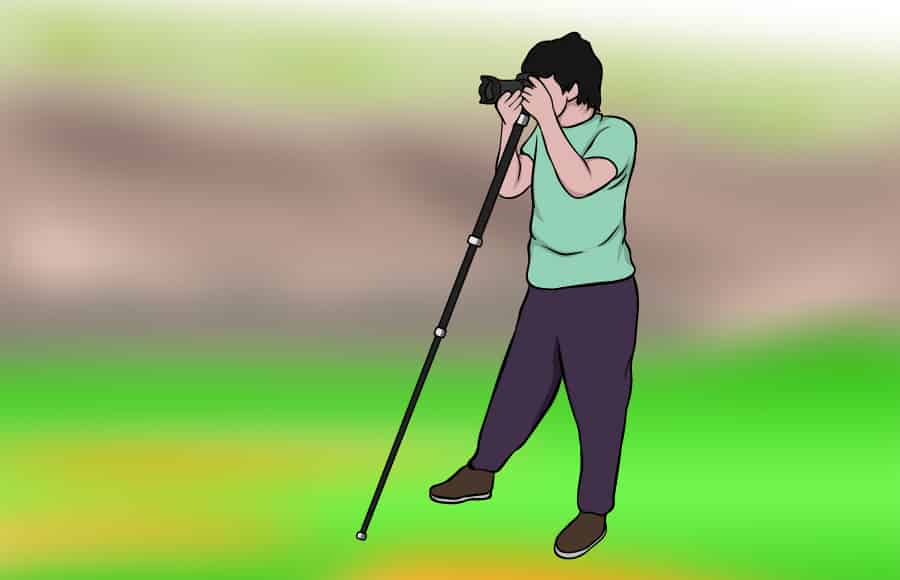
3. The Archer
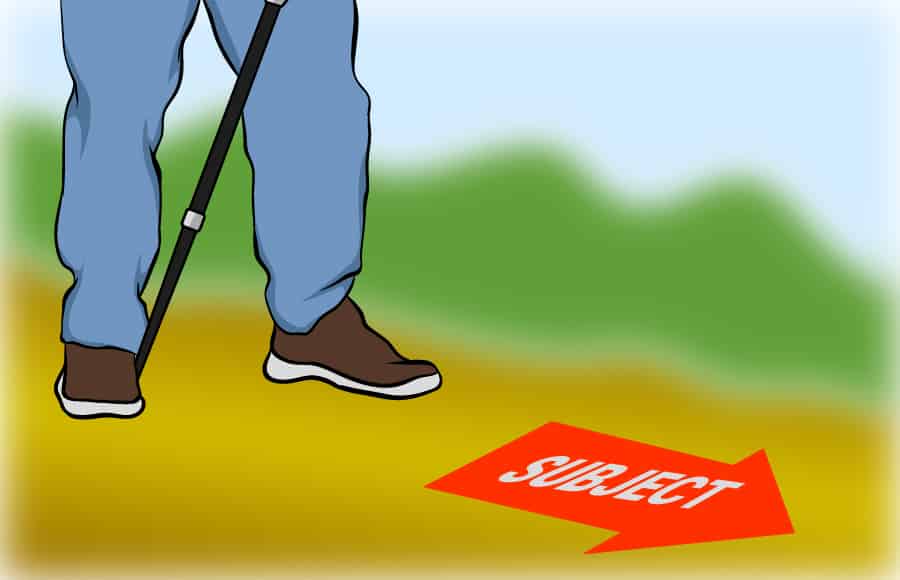
One popular way to use a monopod is to face your subject, have one foot in front of the other, then place the foot of an extended monopod against the in-step of your rear foot.
Placing the foot of the monopod against the in-step of your foot prevents it from slipping.
Then simply lean the camera forwards until the monopod rests firmly against the inner thigh of your forward leg, to provide additional stability.
The stance is similar to an archer firing an arrow from a bow. Depending on the length of your monopod, you may need to experiment a bit with the space between your feet and the angle of the monopod.
4. Out in Front

If you’ve been googling how to use a monopod, this is probably the first solution you’ve come across. It’s definitely the most natural, and it’s also the technique favoured by sports photographers with huge lenses.
After attaching your camera and extending/fixing the monopod legs so that the viewfinder of your camera is level with your eye, simply place the foot of the monopod out in front of you.
Rather than trying to increase/decrease the height of the monopod by adjusting the leg locks, simply widen or narrow your stance.
You’ll probably find that creating a wider stance is a much more comfortable position to shoot in for extended periods, and having the monopod to distribute some of your ‘leaning weight’ can be quite comfortable.
5. The Pan

This technique is most commonly used when the camera monopod is directly in front of you. ‘Panning’ in photography refers to moving the camera on a level plane, typically at the same speed as a subject in motion on the same plane.
Shooting cars racing on a finishing straight, or a cyclist passing in front of you are two typical uses of a panning shot.
While shooting a panning shot handheld can work fine, using a monopod or tripod to stablise any vertical motion of your camera is best.
Typically, space is limited when shooting popular sporting events, hence the need for the reduced ‘foot-print’ of a monopod.
To pan a shot of a subject in motion, simply twist the monopod in your hand so that the camera matches the speed of the subject, and the subject remains within your camera’s viewfinder. Then click the shutter button with your other hand, and hope for the best!
Recommended Monopod for Most Photographers
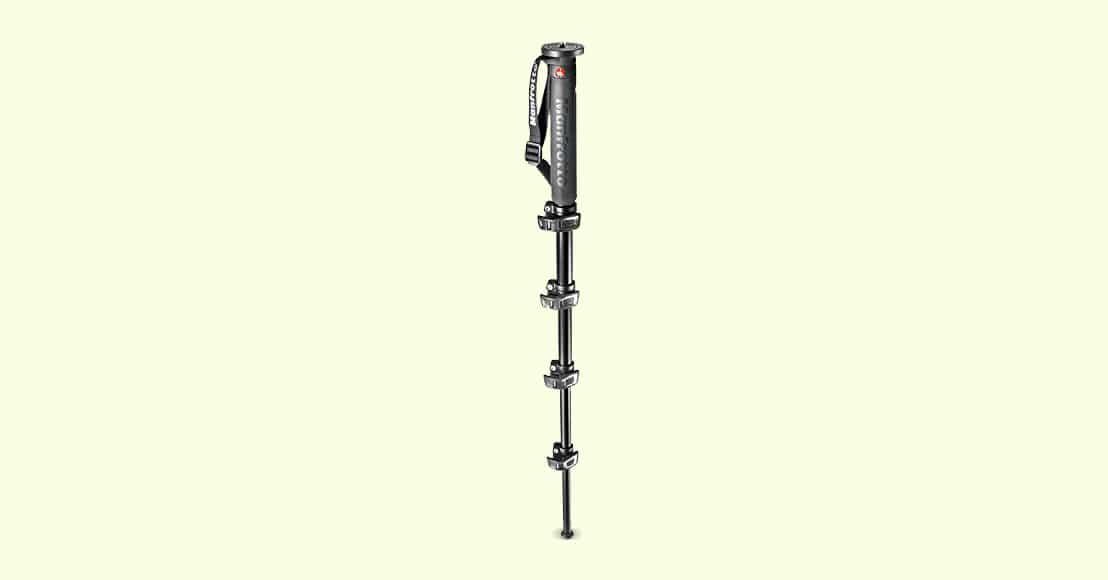
Our top pick: Manfrotto XPRO Aluminum 5-Section Monopod
After reviewing many of the best monopods, we came to the conclusion that the Manfrotto XPRO gives the best bang for the buck for most photographers here in 2024.
Available both in aluminium and carbon fiber models, both versions of the XPRO are light and strong compact for you to have in your camera bag wherever you go.
The Manfrotto XPRO monopod is excellent value for stills, and if you also shoot video, you’ll be glad to know that it is compatible with Manfrotto’s fluid heads as well as the FLUIDTECH base, which adds a lot more stability.
If you’re looking for a great bang for the buck monopod for most situations, it’s hard to beat this one.
If you’re a frequent monopod user (or a pro), I’d recommend the more robust carbon fiber model, which also allows you a slight weight-saving over the aluminium version.
Frequently Asked Questions
What is a monopod good for?
A monopod is good for when you’re in a crowded environment, or anywhere you don’t have enough space to extend a tripod’s legs, but still require your camera to be held as steady as possible. Monopods are also good for taking panned photos of subjects in motion.
Can a monopod stand on its own?
Some monopod with feet can balance when used in conjunction with light cameras/lenses and on flat surfaces, but in general, you always need to hold a monopod.
Can you use a tripod as a monopod?
You could conceivably use a tripod as a monopod by simply extending all 3 legs, but not ‘splaying them’. However, it’s more common to buy a tripod which can be transformed into a monopod, such as the Manfrotto BeFree 2N1.
Tripod vs monopod: which is better?
Using a Monopod | Final Words
Using a monopod is not as simple as you might assume! Just because it only has one extendable leg, doesn’t mean you’re limited to just one use.
The above techniques are simply 5 examples of ways to use a monopod comfortably and effectively – you should experiment for yourself to find what’s best for you and your camera/lens set up.
There’s obviously no wrong way to use a monopod, and I encourage you to get creative to produce a shot that you’ve never taken before.
Happy snapping!