


Luminar 4 Tutorial for Beginners
Need a hand with Luminar 4? Check out our simplified guide to getting the most from this incredible software, from download to your first edited photo!
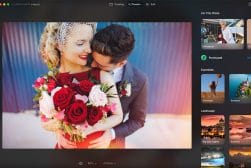
Luminar | Software | By Usnea Lebendig
Luminar 4 is fantastic photo editing software, perfect for beginners as well as for enthusiasts and pros. It comes with numerous AI tools, incredible effects, and can function both as a photo organizer and as a photo editor.
As easy as the user interface is, however, it can still feel a bit daunting getting started with using Luminar, especially if you’ve never used it before or are new to the world of photo editing in general.
Luckily, the folks at Skylum had beginners in mind when they developed their UI, and getting started is actually pretty simple. Before you know it, you’ll be bringing out the best in your photos.
Let’s take a look at what you need to do to get Luminar 4 up and running and cranking out amazing images.
How to Use Luminar 4 (Step by Step Tutorial)
The following steps will walk you through the entire process from download to how to open images to image export.
We’ll be focusing on Luminar 4 as a standalone program here, although many of the steps will also work for those of you using it as a plugin.
(However, these steps won’t work if you’re using Luminar 3 – upgrade to the latest version here.)
1. Download Luminar 4
You can save $15 by entering the discount code SHOTKIT15 at checkout.
Obviously, the first thing you need to do is download Luminar 4. To do this you’ll need to create a Skylum account if you don’t have one already.
To bypass the Skylum Luminar sales page and go straight to checkout for Luminar 4, click here >>
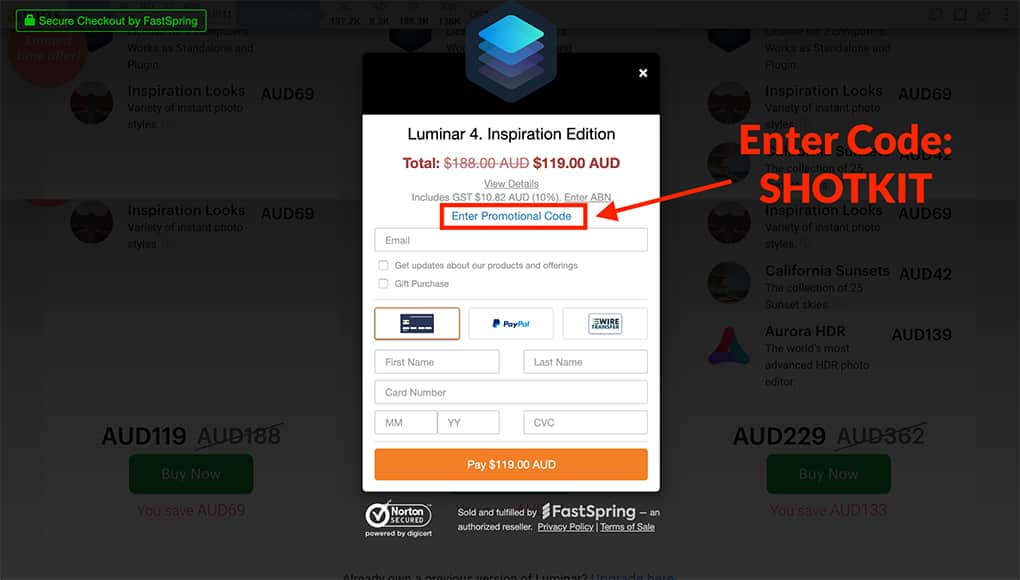
The screen should show the current special offers available. (There are almost always special offers!)
Make your selection, then click the green Buy Now button.
On the following screen, click ‘Enter Promotional Code’ and enter SHOTKIT15 for a $15 saving :-)
Then proceed to payment to download Luminar 4.
2. Adding Images
Once you’ve downloaded Luminar 4 the first thing to do will be to add images to the library.
My version of Luminar 4 automatically scanned my hard drive for my image files and then added them to the L4 library. (That might have been because I already had Luminar 3 installed.)
If this doesn’t happen for you, you can add images either by folder or as a single photo to be edited. To do this go to the “+” in the top left.
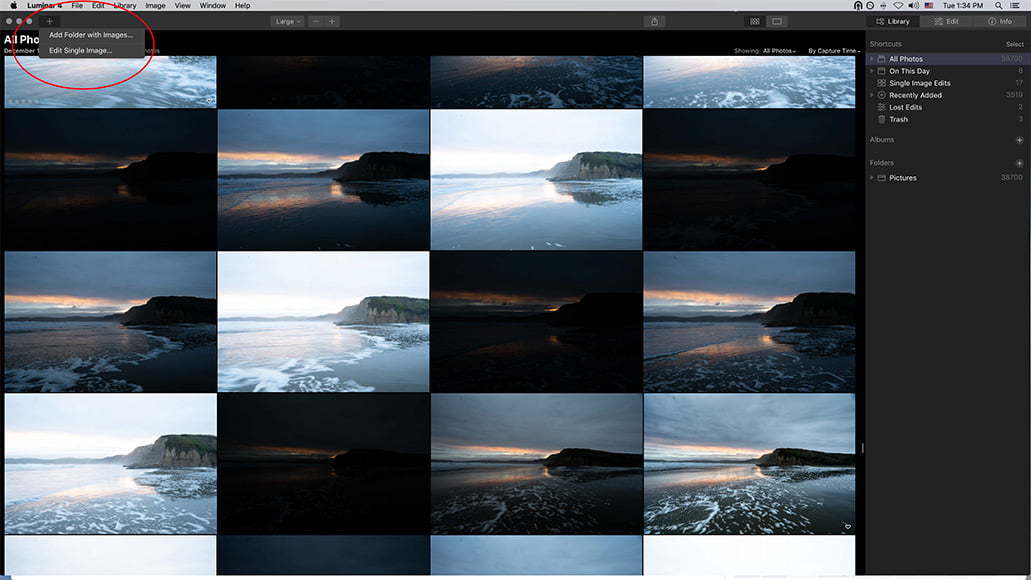
If you click on “Add Folder with Images” the folder will then be added to the Luminar library.
Don’t worry, nothing Luminar does will change the folder hierarchy on your hard drive. Folders and images are just added to the Luminar library, not moved.
Folders will show up in the right-hand column and can be found under the same folder names they have on your hard drive.
Single images to edit, however, will be put in a folder called “Single Image Edits.” Easy to find either way!
3. Using the Library
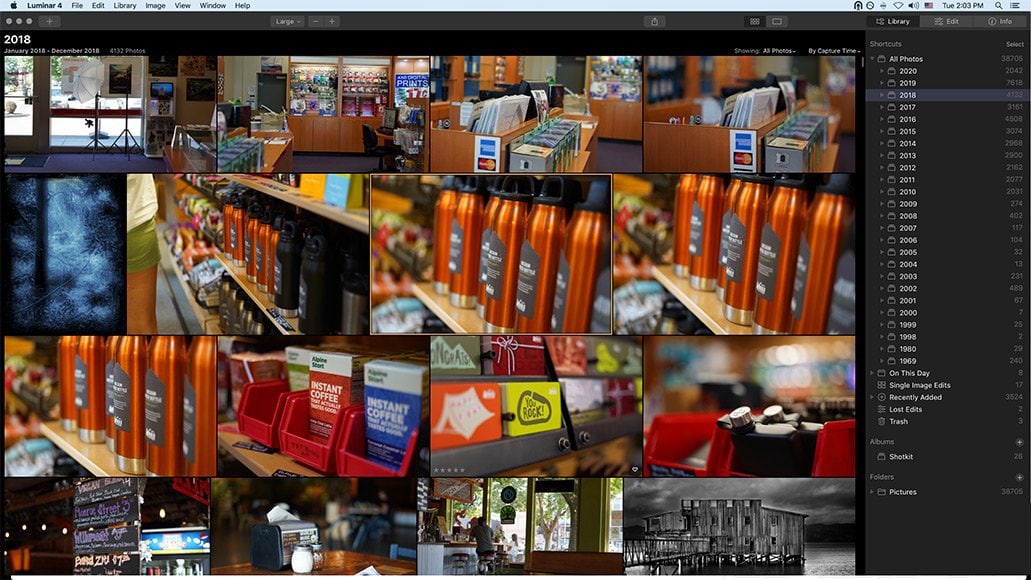
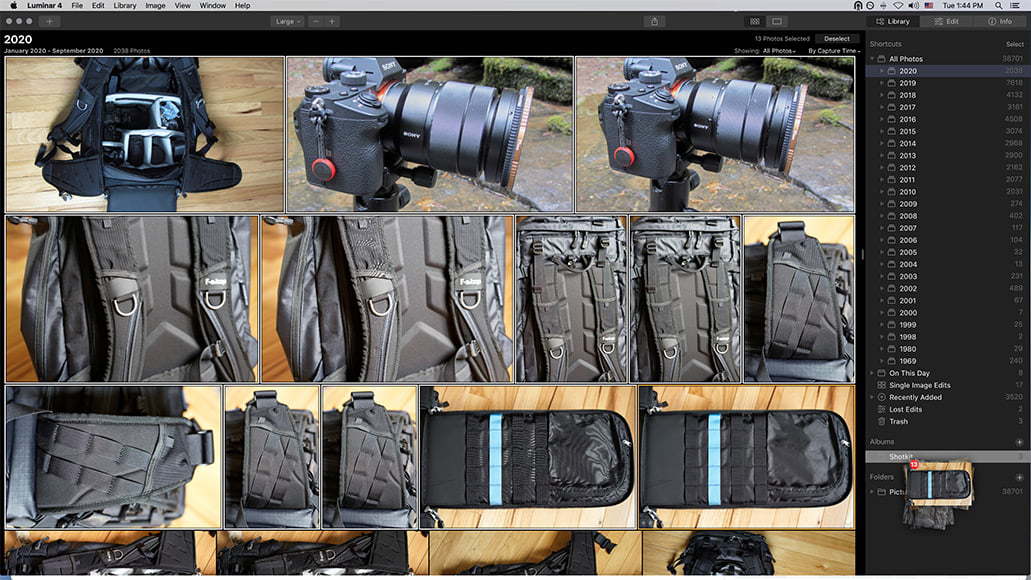
Once you’ve added photos into the library you can start organizing them.
Like most photo organization programs, Luminar uses both a star rating system and the option to “favorite” an image by selecting the heart. You can also create color labels.

You can rank your photos on a scale of 1-5 (lower left) or select favorites with the heart (lower right).
From there you can tell Luminar to sort your photos accordingly. Just go to the “Showing” pull down menu in the upper right:
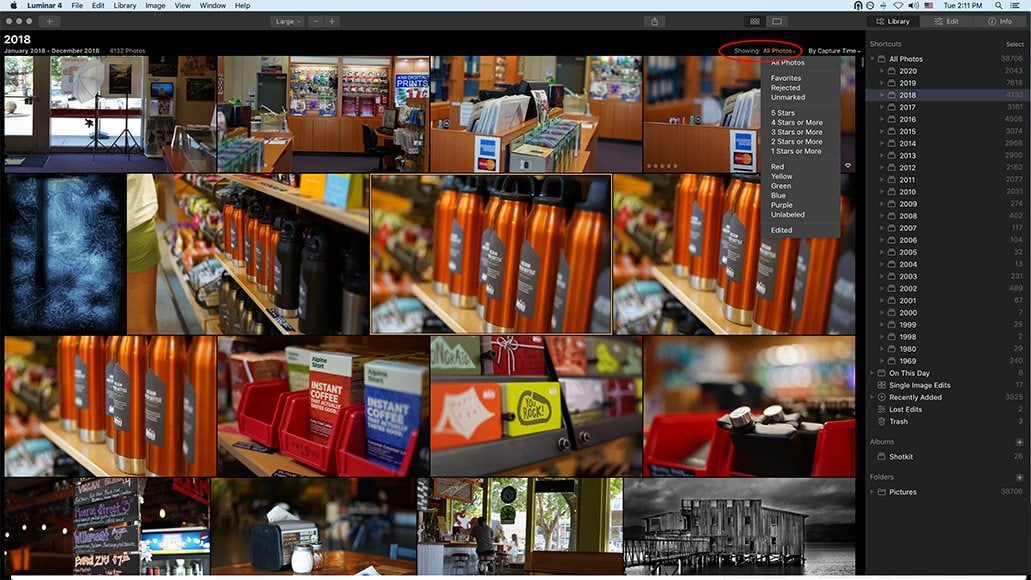
Caption: You can sort by rating, flag, color label or whether the image has been edited or not.
Next to “Showing” you’ll also find an option to sort by capture time, edit time, and file type.

Luminar also allows you to sort by capture time and a whole host of other options.
You can also create albums, either by clicking on the “+” next to “Albums” in the right-hand column or by right-clicking on an image or group of images.
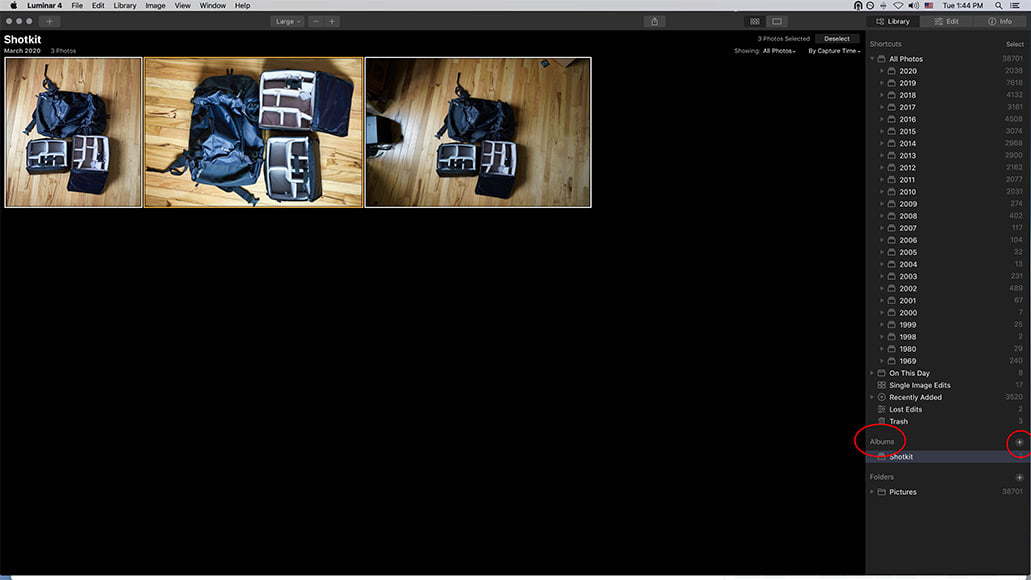
One way to create an album is by clicking on the “+” next to “Albums” in the right-hand column.
Once an album already exists you can add single images to it or select a group and then dragging and dropping them:
Here I selected a group of photos using the Shift key and then dropped them into the “Shotkit” album.
Organizing your photos can take a bit of time in the beginning, but can really save you time later when you need to find specific images.
But let’s move on to the fun part: image editing.
First, though, you’ll need to leave the Library module and move into the Edit module. To do this, click on “Edit” above the top right-hand column.
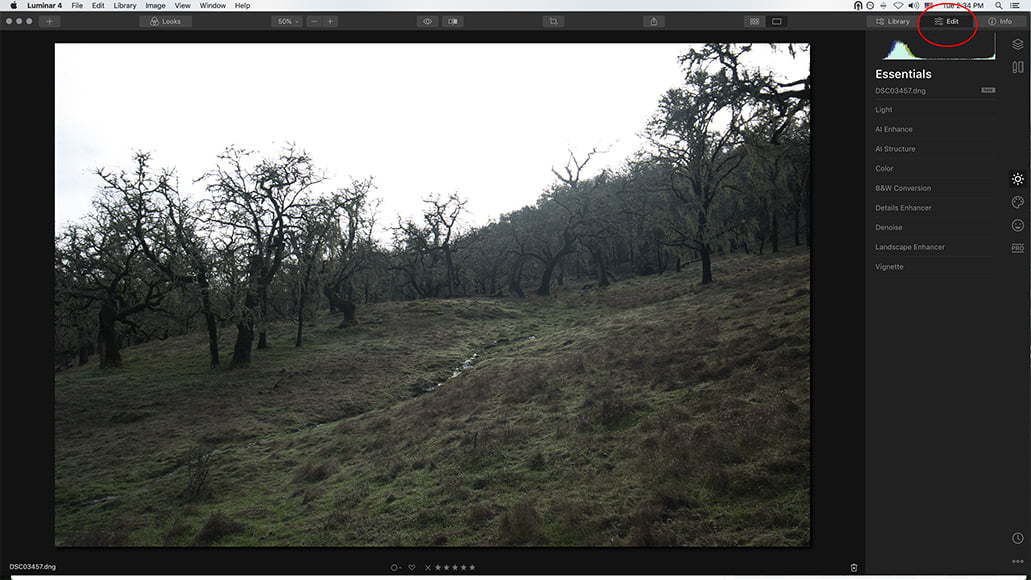
Click here to move into the Edit module.
4. Luminar Looks
Perhaps the easiest way for a beginner to use Luminar is with Luminar Looks. Luminar Looks are one-click presets that come in a variety of different photographic categories. These categories range from the obvious (like portrait and landscape) to experimental.
A number of free Luminar Looks will be included when you download the program, but there are also plenty more to be had online (both free and commercial). You can even create your own and then share them with other Luminar users.
First though, you’ll need to choose an image from your library or hard drive to edit. Once you have one selected you’ll probably see a number of smaller images beneath it.
Luminar generally defaults to having the Looks on a film strip below your image, but you can toggle that on and off with the “Looks” button up top.
(Once I’ve selected a Look and its intensity or if I’m not using the Looks at all, I prefer to toggle the Looks off so I have a fuller view of the image.)
With the Looks toggled on, you can then select the category (i.e. landscape photography) and go from there.
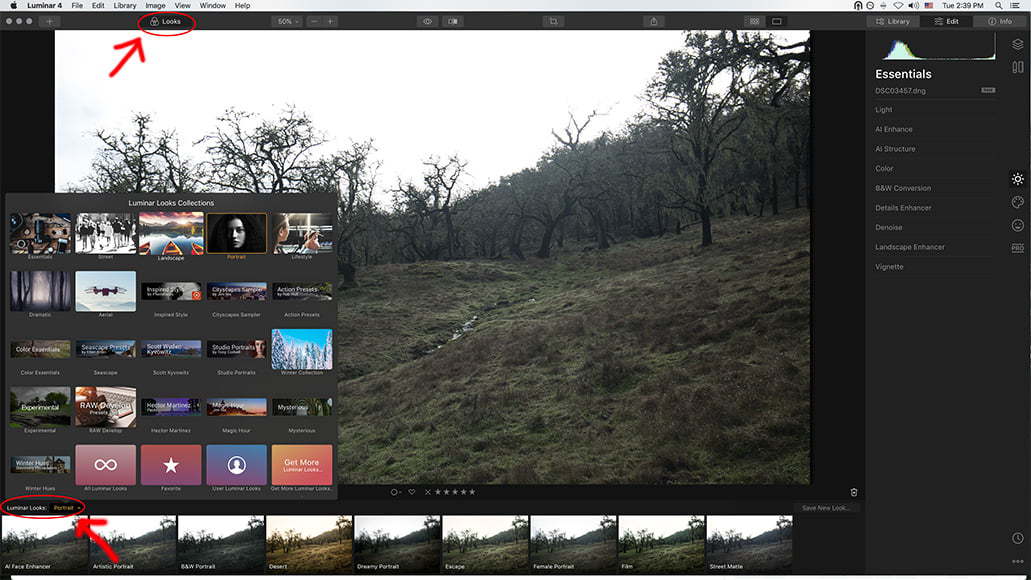
Luminar comes with quite a selection of “Looks,” all sorted by type.
Be aware, all of the Looks start at 100% – pretty much overkill. They’re intended to be adjusted down. To do that, simply move the slider. If you like what you see and don’t want to make any further changes, you’re done. You can move on to step 10.
If you’d like to do some fine tuning, however, you’ll need to move over to the right-hand column where all the editing tools are.
5. The Editing Tools
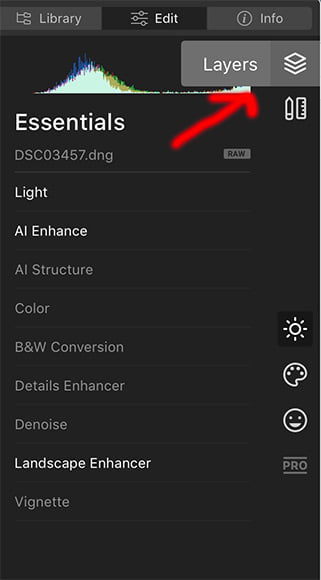
When you switch to the editing module, you’ll find a few different icons on the right. All of Luminar’s editing filters and effects can be found here, grouped within four categories: Essential, Creative, Portrait, and Pro.

- Essential

The Luminar Look I selected (Mystic Land) made changes in the Landscape Enhancer and Light tabs. When I click on the Landscape Enhancer I can see that it set the Foliage Enhancer to 15. From here I can adjust it even further.
The first set of tools is aptly named Essential. Here’s where you’ll find all the basic photo adjustments, from exposure and white balance (under the Light tab) to Color Balance and Black and White conversion. You’ll also find Luminar’s famous Accent AI, AI Sky Enhancer, and AI Structure here.
If you’re a beginner and didn’t find that any of the Looks work for you, try the one-click Accent AI under the AI Enhance tab. This will often be all you need if you’re just looking for quick, basic adjustments.
(I often use Accent AI when I just need a quick photo for my blog. It doesn’t work for everything, but if you need the job done quick, it’s an excellent option.)
If you’ve already selected a Look and want to fine tune it, click on the bold tabs (here Light and Landscape Enhancer) to find the tools the Look used.
Once you adjust any tools under a particular tab, the tab will then show up in bold.
- Creative

Note: For those of you used to Luminar 3 and creating your own workspaces, the different groupings of filters in Luminar 4 will definitely take some getting used to.
Luminar’s Creative suite contains all its fantastic filters used to make an image essentially your own. This is where you can add drama, glow, fog, or even add some sun rays.
If you started with a Luminar Look, the tabs in bold here will be filters that Look is using, in case you’d like to fine tune them further. (Yes, you’ll need to toggle between Essential and Creative to find all the filters a particular Look has used – something Luminar 3 users might find frustrating.)
The Luminar Look I chose used filters under the Dramatic tab. If I want to continue to fine tune that look all I have to do is click on that tab and adjust the sliders within it.
- Portrait
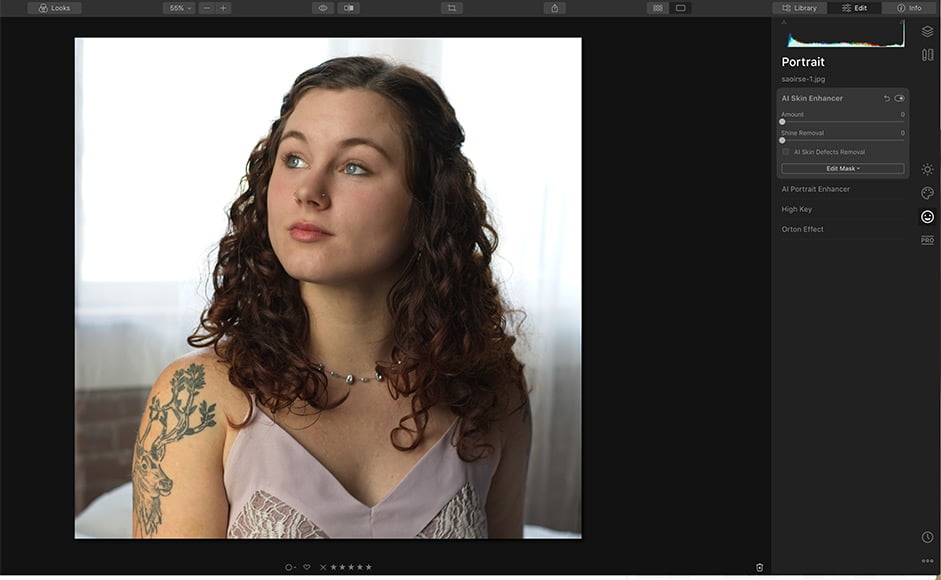
The next icon is for Portraits. Skylum has been working really hard at improving it’s AI portrait enhancer options and they’re now great.
Here you’ll find an AI Skin Enhancer, the Orton Effect, and a full suite of other portrait enhancement options. (Personally I prefer the Orton Effect in landscape photography, not portraiture, but that’s me.)
You’ll have to play around with all the different options to get used to them, but used well they’ll definitely bring out the best in your portraits.
- Pro
The Pro tab contains all the filters Skylum thinks are for advanced photographers and editors. These include the Advanced Contrast, Adjustable Gradient, Split Toning, Color Enhancer, Photo Filters, and Dodge and Burn filters.
Don’t be intimidated by the “Pro” demarcation, though. Some of the tools (like Dodge and Burn) are pretty straightforward and easily learned.
One of the great things about Luminar is that there are plenty of photography tips, articles and video tutorials out there. These make learning how to use Luminar and all its advanced elements are quite easy.
6. The Canvas Tools
At some point you’ll probably want to crop or rotate a photo. These tools can be found under the Canvas icon. You’ll also find Luminar’s Clone & Stamp and Erase tools there, as well as Lens Corrections and other ways to geometrically transform your image.
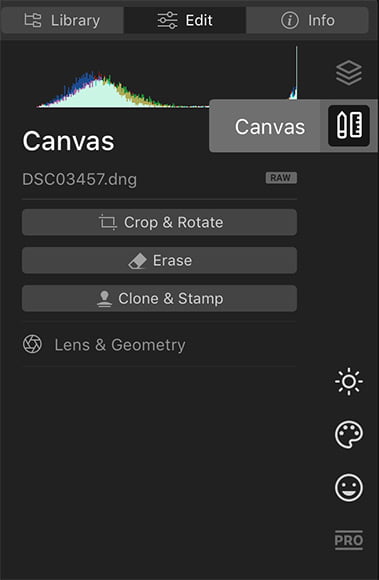
Each tool under the Canvas tab has a number of options. Say, for example, you want to crop your image to make it look like it came from a video (i.e. a 16×9 aspect). Select the Crop tool, click on the lock next to Aspect and then choose 16×9.

Sometimes I like to crop my landscape images to 16×9.
7. Working with Layers
One of the aspects that sets Luminar’s photo editor apart from Adobe Lightroom (see review) is that it comes with full layer support. This adds a huge amount of functionality to your photo editing possibilities.
Layers are most often used when you want to make a change to one element of an image but not to others. For example, if you want to remove noise from the sky but not the foreground. To do this you simply make another layer, paint in a mask, and click on the Denoise filter tab (under Essential filters). Make your adjustments and there ya go.
While there are a million and one ways to use layers, for this beginner’s tutorial I’m just going to cover how to access all the features.
To add a layer using Luminar, click on the Layers icon above the Canvas tools Icon:
Once you click on that you’ll see the base layer that you’re working on with a single slider for adjusting the intensity of all the filters used in that layer:
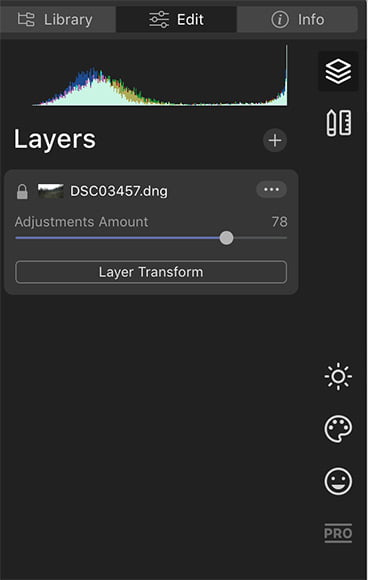
To add a layer, click the “+”:
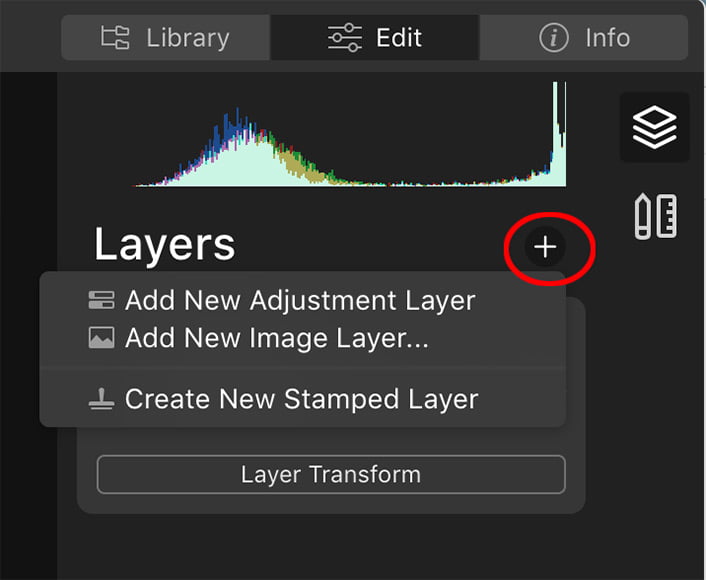
From there you can add a new adjustment layer, a new image layer, or a new stamped layer. More options can be found when clicking on the “…” next to each layer’s name.

To choose which portion of the image you want to work on, click on Edit Mask. From there you can paint over the areas you want to work with (or hide), use a gradient, or even create a luminosity mask.

For example, I wanted to reduce the highlights in the sky and upper areas of the foreground. I created a mask that looks like so:
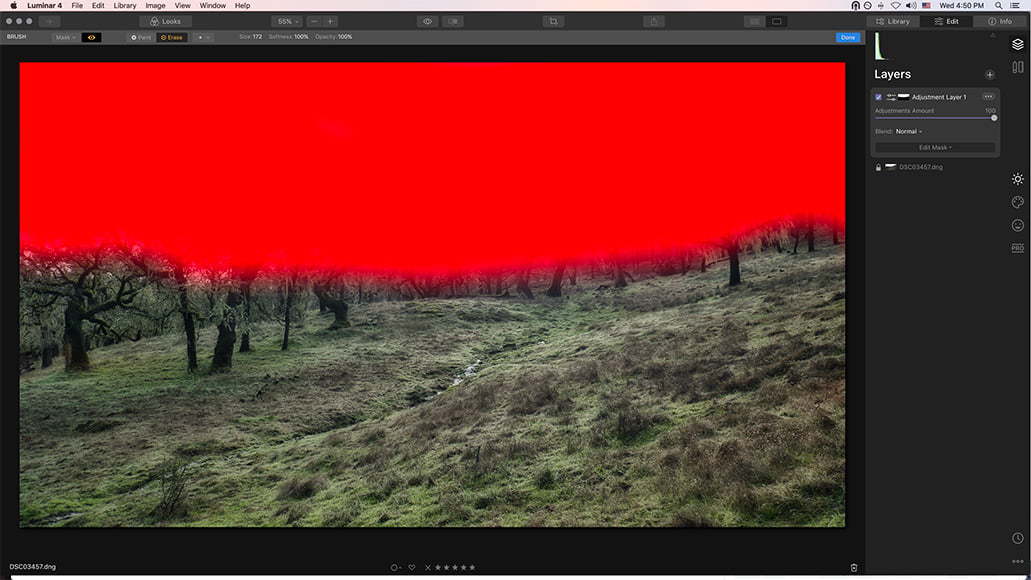
Use the little eye on the left to see what your mask looks like. The red covers the area that will be affected by changes you make. Here it shows that my reduction of highlights on this adjustment layer will affect only the top portion of the image.
Layers can also be used to create composite photos to great effect.
8. AI Sky Replacement
Speaking of composite photos, one of the cooler unique features of Luminar 4 is it’s AI Sky Replacement feature.
This feature allows you to replace a drab, featureless sky with a much nicer one from a different image – check our Sky Replacement tutorial and the video above which shows just how powerful this tool can be.
The AI Sky Replacement tool is really unique to Luminar, and while it falls more into the category of digital art than photography, it truly can transform ordinary images into extraordinary ones.
9. Saving and Exporting
Luminar, like Lightroom, is non-destructive – all of your changes can at any time be removed without affecting the original image. It also automatically saves all of your changes to its library in a specialized Luminar file. You can even try and make your own watermark.
As a result, to use your photo outside of Luminar you’ll need to export it.
There are a number of ways to do this. The easiest is simply to hit the export option. From there you can export directly to Messages, Flickr, LinkedIn, Smugmug, or directly to your hard drive.
You can also export your photos to other photo editing apps from here:

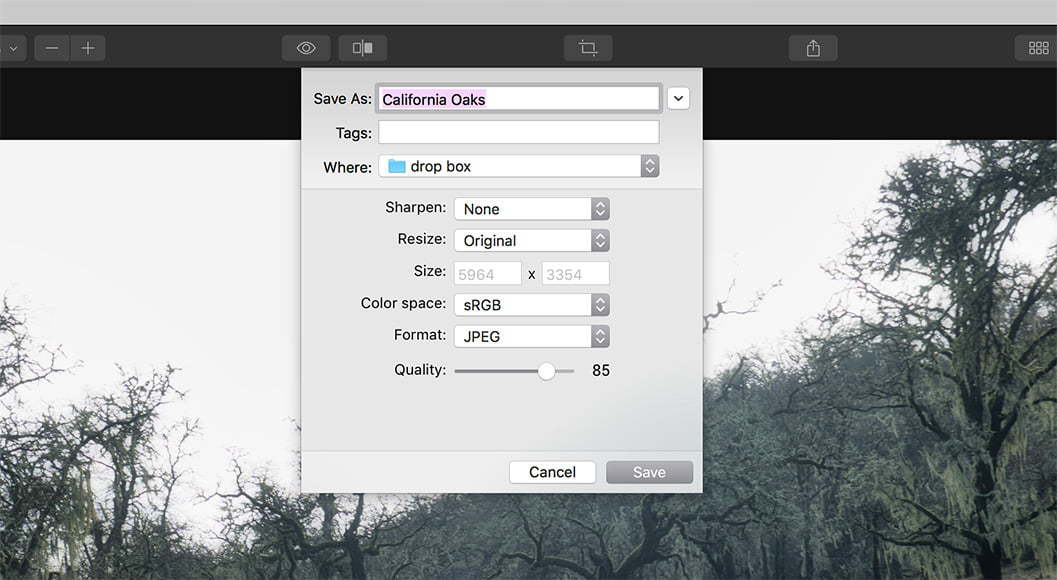
The first option will allow you to save to your hard drive. Click on that and you can rename your photo, choose what format it’s saved in, and where.
You can also get to all the sharing options using the file menu.
Final Words
Well, that’s it for a quick run-through of how to get started with Luminar 4. There’s much more to learn, but this intro should provide a great starting point for getting your feet wet.
If you want to know more, you can always visit Skylum’s video tutorial page or check on Youtube. There are always new tutorials coming out, from getting started videos to tutorials on how to use Luminar for specialized effects.
Remember – post-processing is an essential step for beginners to improve at photography, so if you have any questions about using Luminar 4, leave them in the comments below. Good luck!


Usnea Lebendig is an experienced photographer and reviewer who loves to photograph professionally and in moments where the world’s beauty and/or strangeness leaps in front of the lens.


