


MagMod MagBeam Speedlight Modifier Kit Review
Learn how a wedding photographer uses MagMod's latest product in his work in this in-depth MagMod Magbeam Review for photography website Shotkit.
This is a guest MagMod MagBeam review by wedding photographer Jesse La Plante.
Before MagMod emerged onto the scene, I went through just about every speedlight modifier system available. I started out with an array of DIY stuff, consisting primarily of Velcro, cardboard wrapped in gaff tape, and transparent colored folders.
Next, I bought into LumiQuest. Then Gary Fong. I even suffered through the elastic band-syndrome of the Rogue grids for longer than I care to remember.
It wasn’t until I got my hands on the MagMod products that I thought, “This is it. This is the solution.” I immediately sold all of my other modifiers and haven’t looked back since.
I won’t waste your time preaching about MagMod products as a whole. The build quality and ease of use have been well-documented and, if you’re reading this, you’re probably already aware.
But what I will preach about is my personal favorite piece of MagMod gear: the MagBeam.
MagMod MagBeam Review | What is it?

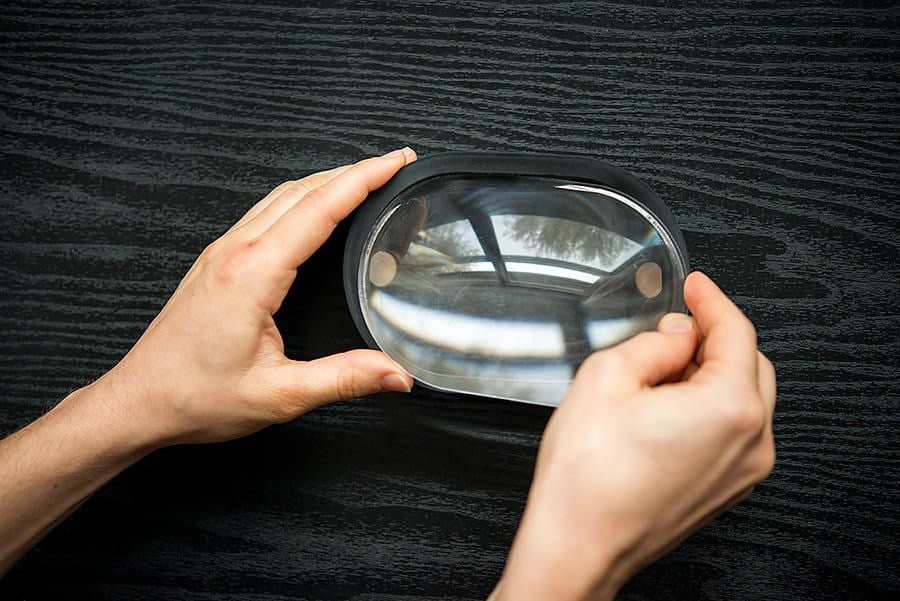
I don’t pretend to fully understand the science at play here, but the MagMod MagBeam uses a fresnel lens with a series of concentric circles to concentrate the output from your flash into a powerful beam of light.
If you ever played with a magnifying glass as a kid, you’ll recognize the mechanism; they intensify and direct light in a similar way.
I should mention here that the MagBeam has one other, completely separate, application as well. By inserting the Wide Lens along with any one of an assortment of metal “MagMasks,” you can project various patterns onto your subjects and/or backgrounds, not unlike a DJ gobo.
To be honest, this strikes me as a bit gimmicky and, as a result, I’ve never used it.
In this review, I’ll be focusing solely on using the MagBeam with the Tele Lens, which is an absolute thing of beauty.
If I was the type of person to use phrases like -game changer-, I would undoubtedly use it here.
[Editor: You can see many more photos taken with MagMod products, as well as lighting set ups, shot breakdowns and discounts in the LIT book available here.]
MagMod MagBeam | Application
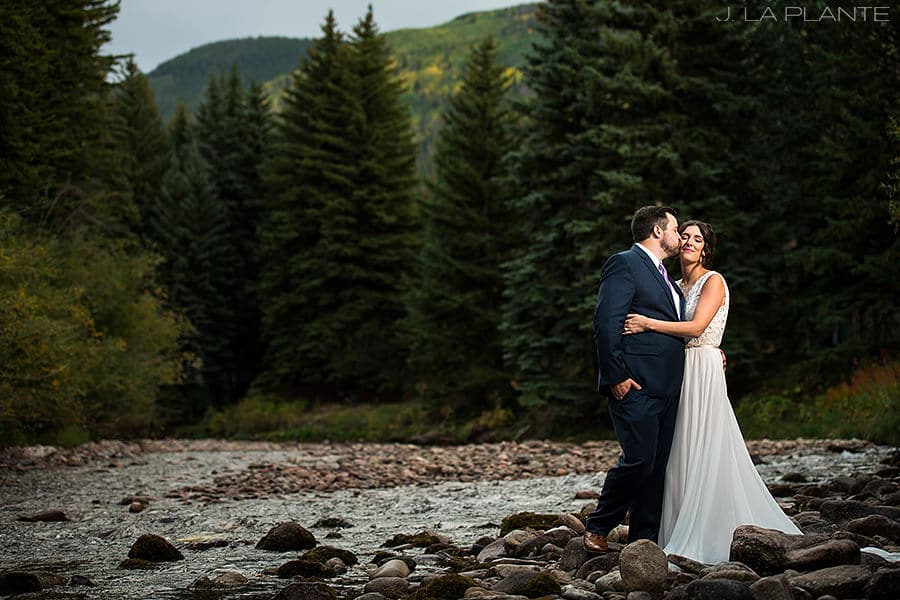
Nikon D800 + Nikon 24-70mm | f/2.8 | 1/320th, ISO 100
So how does the MagMod MagBeam work in a practical shooting situation? MagMod actually markets the MagBeam/Tele Lens combo as a “Wildlife Kit” and while I’m sure it would be great for lighting animals from a distance, as a wedding photographer, I use it for lighting my brides and grooms from a distance.
I’m located in Colorado, so I do a ton of wide angle, sweeping vistas of the mountains with the couple located somewhere within the frame.
With most modifiers, which tend to decrease flash power, you need to have your light pretty close to your subject, especially if you’re using a speedlight.
Long story short, these wide shots generally require man hours in post-production to remove lights, light stands and sometimes even human light stands (assistants).
If you’re like me, you’d rather be out shooting than spending more time in front of your computer…
MagBeam to the rescue! I can stick that sucker 10, 20, 30 feet away and still get solid light on the couple in most shooting situations.
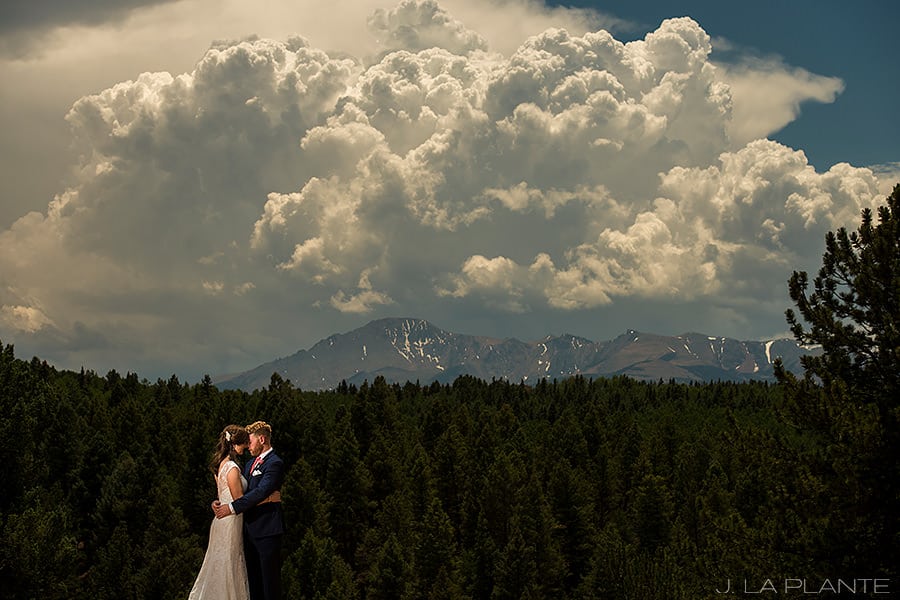
Nikon D800 + Nikon 24-70mm f/2.8 | 1/800th, f/5.6, ISO 100
The second part of this equation is that, as wedding photographers, we’re frequently tasked with shooting all of our portraits in midday sun. Obviously, this is far from ideal.
What I like to do when shooting in bright daylight is to drastically underexpose the ambient light and strobe the couple to make them pop back out of the image. You get richer colors and a greater sense of three-dimensionality this way than if you, say, expose for the couple and blow out the sky.
But to do this effectively, you need a very small exposure and a very powerful light to compensate. I simply pop my MagBeam on my Godox AD200 strobe (more on this wonderful light in a future review) and go to work.
And for the coup de grâce, the MagBeam creates a wonderful tenebrism effect that serves to highlight your subject within the frame.
The word tenebrism comes from the Italian “tenebroso,” which means dark and gloomy, but was made famous by the Italian painter, Caravaggio, whose works contained large swaths of low key tones penetrated by intermittent streams of hard light. (I was an art history minor, so I have a treasure trove of useless knowledge. Don’t judge me.)
Plainly stated, it’s a spotlight effect. Think of a comedian on stage in a dark club being tracked by a stage light. Same idea.

Better yet, the MagBeam has three incremental telescopic settings, which narrows the beam of light, thereby intensifying it, as you extend the rubber tube.
So if you’re in a situation where you need to put your light really far away from your subject, just zoom that bad boy in and it should give you the extra juice you need.
Alright. Let’s delve a little deeper in this MagMod MagBeam review.
MagMod MagBeam | Comparisons
Check out these two shots, taken just minutes apart.
Ambient light – Nikon D750 + Nikon 24-70mm f/2.8 | 1/640th, f/2.8, ISO 100
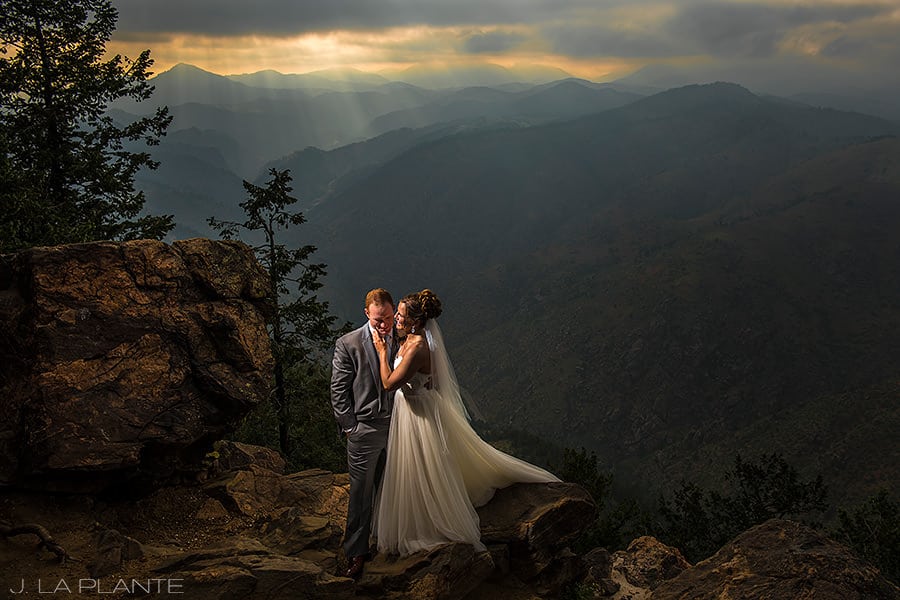
Nikon D750 + Nikon 24-70mm f/2.8 + MagBeam on Godox AD200 | 1/800th, f/5.6, ISO 100
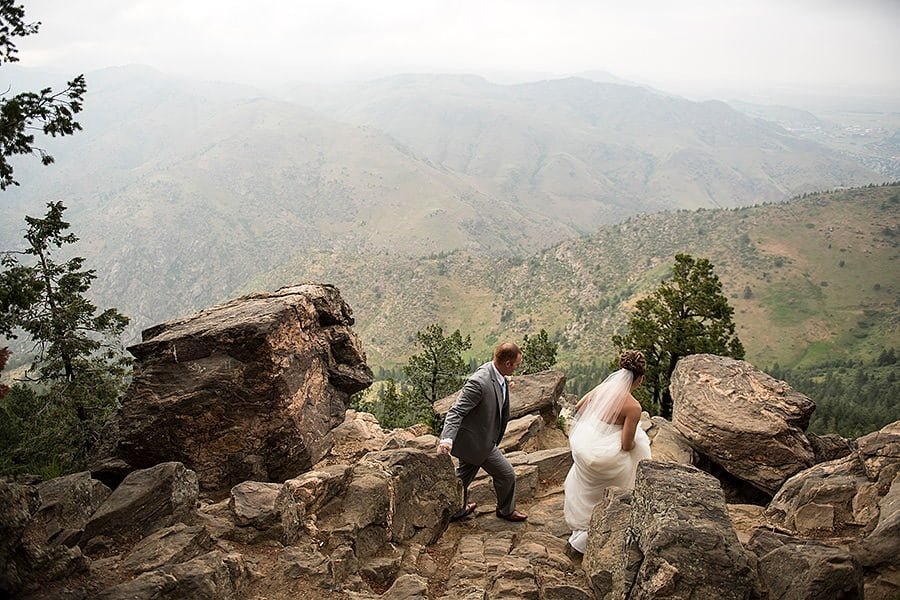
The first image above was an ambient light exposure taken as the couple was getting into position for portraits. As you can see, I exposed for the subjects and let the sky go white. Boring shot.
Once we got them posed on the edge of the cliff, I stopped down to f/5.6 and shortened my shutter to 1/800th to get a nice moody look in the background.
Then my wife/second shooter tossed the MagBeam on a Godox AD200 to light the couple, making them pop back out of the scene.
No other modifier would have given me the punch I needed to create this type of lighting without placing the strobe right up next to the bride and groom. And a bare flash would have 1) spilled light all over the damn place and 2) been too dim.
You might be asking yourself right about now, “Just how much brighter is the MagBeam than a bare flash?”
Good question. According to MagMod’s website, it’s 2-3 stops brighter. I’m not big on standing around taking meter readings, so I cannot confirm nor deny this claim, but what I can tell you is this:
To the naked eye, the MagBeam packs quite a wallop.
Take a look at the three images below. They are all SOOC, shot with the same shutter speed, aperture and ISO. The light placement was identical in all three shots as well, located approximately 15 feet away from the subject, camera-right, set to full power.

Left: (Bare flash – 1/1000th, f/5, ISO 100) | Center: (MagBeam at widest setting – 1/1000th, f/5, ISO 100) | Right: (MagBeam at longest setting – 1/1000th, f/5, ISO 100)
MagMod MagBeam | Build Quality & Ergonomics
So now that we have a sense of how powerful the MagBeam is, let’s talk a bit about build quality and ease of use. The Beam itself is made of a tough, durable rubber. The lens is a nice, thick plastic, which feels very sturdy when inserted into the rubber grooves of the Beam.
Bottom line, the thing is solid. I literally throw it on the ground 4-5 times per wedding and never have to worry about it.
Back in the day when I was using my LumiQuest stuff, it seemed like I was breaking out the Super Glue and/or staple gun every other week.
And, of course, MagMod’s mounting system is an absolute joy to use. With a MagGrip attached to your flash, you just toss the MagBeam on and go to work.
MagMod MagBeam | Drawbacks

Nikon D750 + Nikon 24-70mm f/2.8 | 1/2000th, f/2.8, ISO 100
My only gripe, albeit a minor one, is that the lens of the MagMod MagBeam will pop out on occasion and it can be a bit tricky to insert back in. Once you get the hang of it, it’s no big deal, but it can take some getting used to.
As for other drawbacks of the MagBeam, there’s nothing significant.
Like all MagMod products, it collects dust like it’s nobody’s business, but that’s a minor issue. Also, it has a bit of a hard edge when projected onto a wall, but that’s not what I use it for anyway.
It can be a slightly difficult to hit your target, especially when the Beam is zoomed in all the way, but that’s to be expected from this type of modifier.
Some might think it’s a bit overpriced for a small piece of rubber and plastic, but considering what it can do for your photography, I personally think that it’s worth every penny and then some.
MagMod MagBeam Review | Conclusion
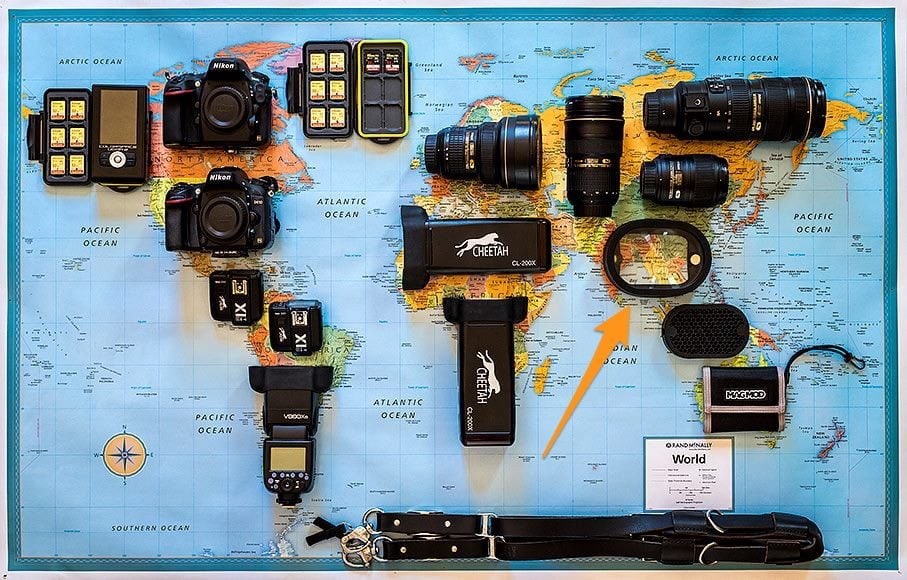
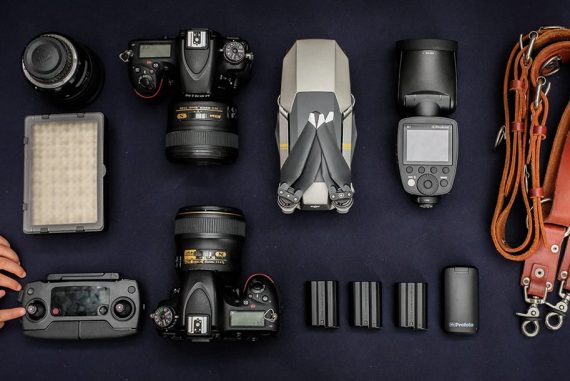
The MagMod MagBeam as part of Jesse’s kit.
If you’re the type of photographer who needs to travel lightly and is frequently wishing that your strobe was a bit more powerful, then the MagBeam is for you.
I used to haul around a 640-watt studio light with a 6-lb. battery pack attached to a light stand just to be able to overpower the sun on a wedding day.
That thing was an absolute pain in the ass to move from place to place, let alone carry up a mountain.
While the MagBeam can’t match the power of a studio strobe, it might just give you the extra juice you need to need to make a super cool portrait in bright shooting conditions when you couldn’t have done so otherwise.
It’s kind of like steroids for your speedlight.


Jesse La Plante is an award winning wedding photographer based in Boulder, Colorado.


