


14 Mountain Photography Tips to Capture Stunning Shots
How do you take photos of the mountains? It may sound simple, but there's actually a lot to think about. Discover XX tips + examples in our beginners' guide.
Learn | Photography Guides | By Ana Mireles
If you love the outdoors, you enjoy reading about the stories behind the beautiful pictures of Jack Brauer, and you feel like it’s time for you to go out and experiment on your own – this guide to mountain photography is for you!
Unlike other types of photography, you need to know more than the average photo-lover. The process starts from finding when, where and how to photograph mountains.
In this article, you’ll find an introduction to scouting techniques, some tips to reach higher mountain peaks, recommendations to find the optimal conditions, and all you need to know about mountain photography techniques.
(All of this accompanied by some awesome pictures of mountains to get you inspired.)
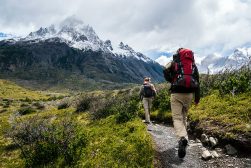
So whether you’re hiking through Colorado or just viewing mountains from a distance in your local national park, it’s time to pick up some tips to improve your photography.
14 Tips for Stunning Mountain Photography
Getting ready to visit the San Juan Mountains in Colorado? The Dolomites in Italy? Or Mount Fuji in Japan – whatever your next expedition, these mountain photography tips will be of help.
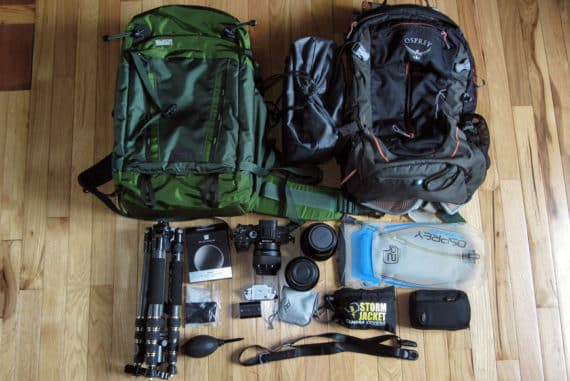
1. Pack the right gear

Camera gear of mountain photographer Jeff Bartlett.
The last thing you want is to arrive at a beautiful location after hiking for hours and discover that you don’t have the right gear. Here’s a quick guide to help you prepare.
While any camera can capture mountain images, there are a few characteristics that make some cameras more desirable than others. First of all, the lens selection – I’ll talk about the different lenses in the next item. Then, consider dynamic range, sensor size and megapixels to capture high-quality pictures that can be enlarged for big printing. Finally, think about weather resistance.
Wide-angle lenses are great when you’re close to the mountains. With them, you can cover more scenery to give context and include a foreground element to give depth. However, using a telephoto lens allows you to focus on a specific area. Try switching focal lenses to get variety in your photoshoot.
You should find a tripod that’s light enough to carry with the rest of the gear on long hikes or climbing excursions. However, you also need it to be sturdy and stable – that’s accomplished with good quality and materials. Carbon tripods are a good choice, but they can be a bit pricey – find yourself an affordable model that fits your budget. Also, consider the height and versatility.
A camera bag is important to protect your gear, so don’t overlook this piece of equipment. Just like the tripod, every extra gram counts when you’re climbing, so find a light bag. Obviously, this has to be done without compromising quality. Look for weather-resistant materials with extra padding.
Some filters can make a big difference between OK and WOW mountain shots. Some of the basics recommended by landscape photographers are a polarizing filter (CPL), neutral density filters of different ‘stops’ of light-reducing strength, and a graduated neutral density filter.
2. Prepare yourself, not just the gear
Credit: Flo Maderebner
It’s easy to get lost in all the photographic stuff to get ready for a photoshoot, but remember that you’re not going around the block to take some pics – you need to protect yourself and pack more than just the photo gear.
It’s important to find out about the weather both at the base and near the top of the mountain peaks so that you can dress accordingly.
Remember that you’re going to be there for at least a few hours. Dressing in layers can be a good idea to fit different needs as time passes and the weather changes. Footwear plays an important part in your comfort and safety, so choose wisely.
Use sunglasses and sunblock when hiking among the mountains. These items are quite obvious if you’re in warm temperatures but can be overlooked when you’re in the snow – keep in mind that snow reflects a lot of sunlight.
Protect yourself from altitude sickness. People can present different symptoms when they reach higher altitudes, especially if they’re not used to it.
Talk to your doctor before your first hiking or climbing trips up a high peak and ask for some medication you can bring with you if you feel sick.
Bring enough water and food to stay healthy during the trip – and everything you need to camp if you’re planning to spend the night.
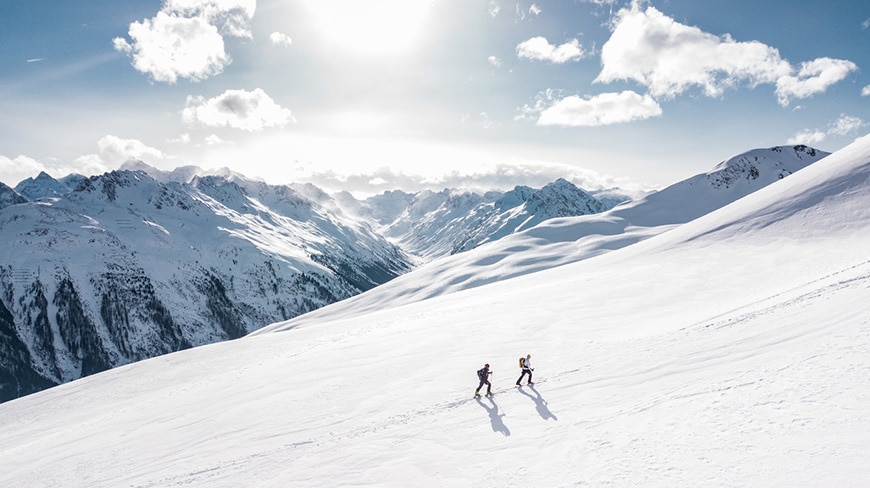
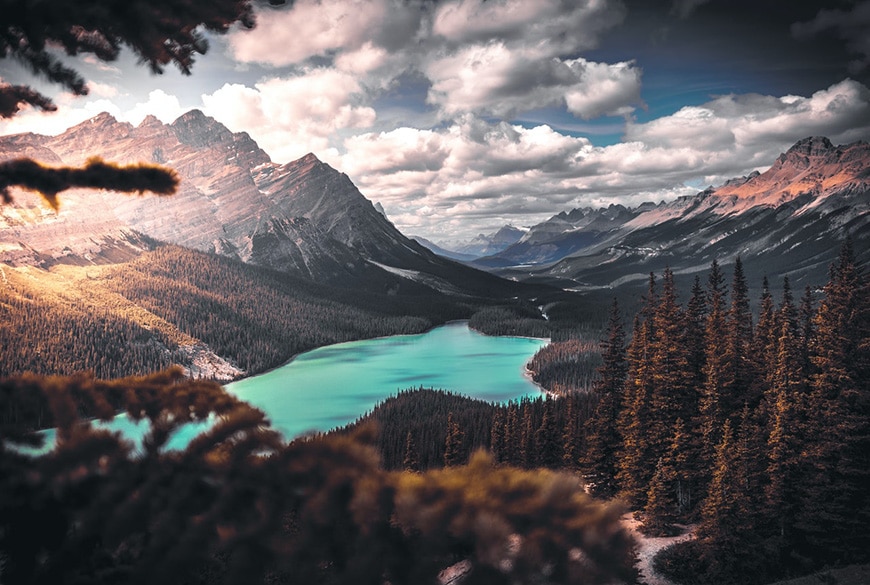
3. Start with lower altitudes

Credit: Gianluca Grisenti
Some photographers don’t even consider mountain photography because they assume that it involves a lot of hiking or climbing.
While this is true for many shots, there are many other fantastic opportunities to photograph mountains from a lower altitude.
How Much Do You REALLY Know About Photography?! 🤔
Test your photography knowledge with this quick quiz!
See how much you really know about photography...

You can photograph mountains from a valley or at sea level and achieve astonishing results.
Use a wide-angle lens to capture the entire scene (both foreground and background) and show the mountains very majestically. You could also use a telephoto lens to capture the peak.
Also remember that you don’t always need to photography mountains during the winter – the summer months can yield some fantastic results too.
4. Understand how to use the camera settings
Credit: Eberhard Grossgasteiger
With the camera settings, you control more than just the exposure – each combination creates a different result which ultimately defines what you’re communicating with your image. Mountian photography is no exception to this rule.
For example, if you use a slow shutter speed, you can capture the moving clouds as a blur – creating an impressionistic effect. If instead, you use a fast shutter speed, you can freeze a flying bird.
So, the right camera settings are the ones that help you to represent your own vision of a specific scene. However, a few guidelines can help you out if you’re starting out making mountain photos.
Try to keep the lowest ISO that your equipment allows you. This way, you’ll keep the maximum quality and sharpness in your images, avoiding digital noise.
In landscape photography, the general rule is to achieve the deepest depth of field possible; for that, you’d want to use a narrow aperture. This means that you should use a high f stop number, so it’s best if you know the sweet spot of your lens.
Unless you have an important element in motion, i.e. a cascade or wildlife, this will be subordinated to the other two factors of the exposure triangle.
However, if there is a moving subject that you want to prioritize – then start with aperture and shutter speed and leave the ISO at the end.
If you don’t know how to work with manual mode, you can start with one of the semi-automatic modes, such as shutter priority or aperture priority.
5. Try focus stacking

Credit: Norris Niman
As you probably know, the depth of field depends on three things: aperture, focal length and the distance between the camera and the subject.
For mountain photography, you’ll ideally want to have focus from foreground to background. However, this isn’t always possible depending on the lens you’re using or the distance from the foreground elements to you.
Sometimes you need to achieve an infinite depth of field digitally with a technique called focus stacking. Even if you achieve the desired result in post-processing, the method starts from the photoshoot.
Here’s a quick run-down of how to focus stack your mountain images:
- Fix the camera on a sturdy tripod because you’ll need to maintain the same frame.
- Set the aperture to the sweet spot – this changes from lens to lens, but you’ll usually get good results using an f/8.
- Use manual focus and make sure the camera settings are all in manual mode too.
- After setting the correct exposure, focus on the closest element and take a photograph.
- Turn the focus ring a little bit to focus a bit further away and take another picture.
- Keep going until you reach the end of the scene in focus.
Finally, you can merge all these images in post-processing to achieve one fully-focused image. Some cameras have a focus stacking feature to do this process in-camera, simplifying the process.
Here’s a guide on how to focus stack in Lightroom – the process is similar for other focus stacking apps as well.
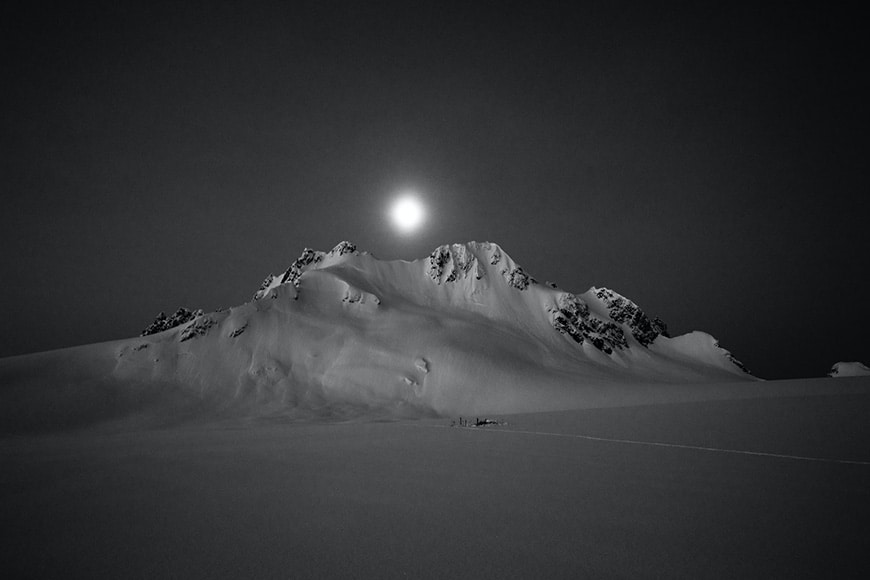
6. Try long exposure photography

Credit: Eberhard Grossgasteiger
You’re probably wondering why you would use long exposure photography with a subject as immovable as a mountain. However, it’s definitely a viable technique for you to try!
Long exposure landscape photography is a beautiful way to add interest to your picture by capturing the moving clouds or running water from a cascade.
First thing, you’ll need the camera to be really stable. Use a heavy tripod and add some sandbags if necessary. A remote shutter release like these can help avoid any camera shake while pressing the button – alternatively, you can set the self-timer.
Since the shutter speed will be open for several seconds, you need to prevent overexposure. You can do this by setting the ISO to the lowest possible value.
Then, close the aperture, which shouldn’t be a problem as we already established that we want a deep depth of field.
If the camera settings aren’t enough to avoid overexposing your picture, then you’ll need a neutral density filter (ND).
These filters come in different graduations according to the number of steps they’ll add to the exposure. Some of the most common are 3-stops, 6-stops and 10-stops.
The right one will depend on how bright is the scene. Remember that you can also stack them and add more stops to reduce even more light from entering the camera.
Experiment with this technique to find a way to give mountain photography your unique touch.
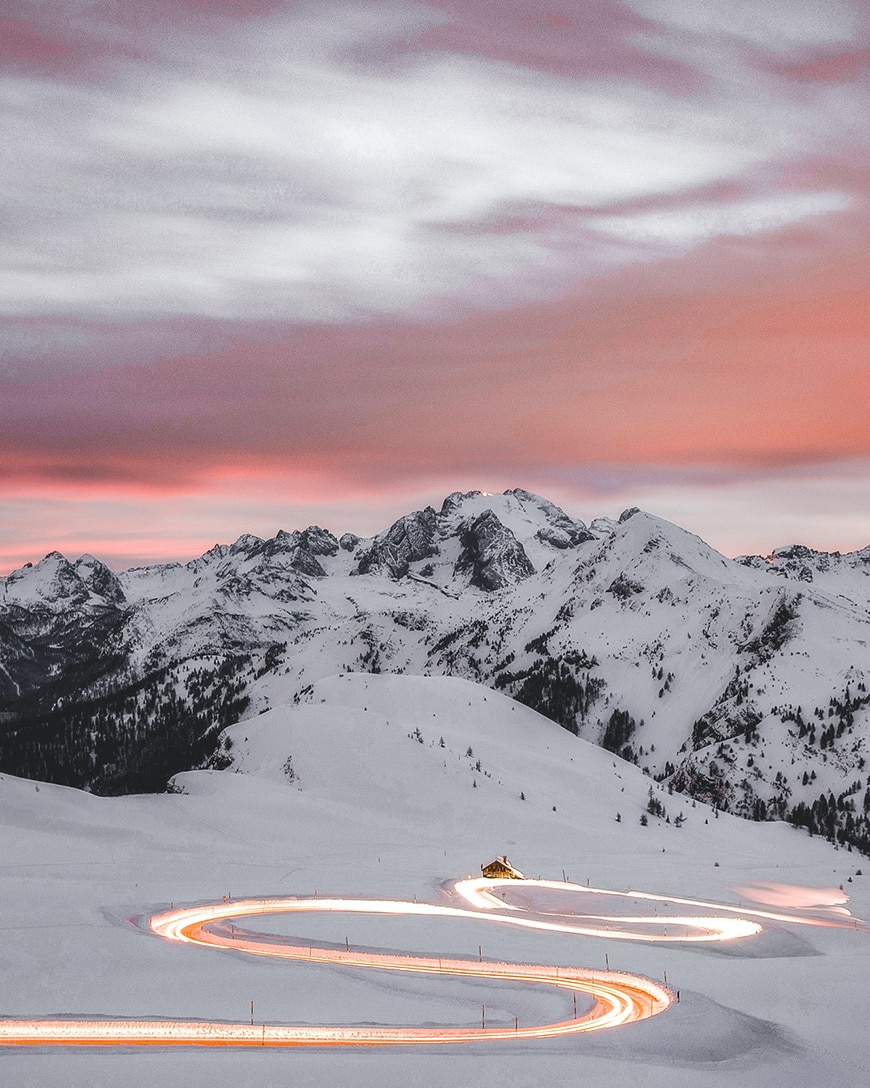
7. Plan for the best time and day
Credit: Peter Fitzpatrick
Sometimes you have to fit your photo excursion according to external factors. Maybe you’re visiting family, and you can use the occasion to disappear for a couple of hours and visit a nearby national park.
However, if you’re able to plan, you’re setting yourself up for success. The first thing you need to decide is the time of the year. Do you want a snowy mountain peak or an autumn color scene?
Once you’ve set on that, you need to know the time of day that’s best. Sunset and sunrise are popular times to do a landscape photo. However, some mountains will block the sun when it’s that close to the horizon.
You can use The Photographer’s Ephemeris and Photo Pills to make an informed decision. These two apps are great to research the orientation of the sun and the moon, the duration of the day, the location and elevation as time passes, etc.
These apps work even better if you can scout the location in advance because they have augmented reality for you to see how things are going to change in the next hours or days.
Another important research tool to plan your photo trip is the weather forecast. It will allow you to organize the right gear and protection and know if there’s going to be a blue sky or overcast.
As you can see, even if nature photography is never 100% predictable, there’s a lot of help from technology to plan for the best!
8. Get fit
Credit: Pixabay
Climbing is very challenging on the body. Even if you don’t want to climb and decide to photograph locations that are reachable by foot, it doesn’t mean that hiking 6000+ meters carrying photographic gear is not intense.
You can start training by doing power-walks two or three times a week. As you get in better shape, you can increase your walks’ duration and add a small backpack. In time, you’ll be ready for your first hiking trips.
Hiking is a great exercise on its own, and it will give you access to more locations to photograph. It is also great training if you want to learn to climb.
Of course, you can stick with lower altitudes, but you’ll be limiting your locations. If your health and passion for mountain photography allow it, start training today! This will allow you to reach higher picks, conquer more locations and diversify the mountain photographs you come away with.
9. Do some virtual location scouting
Credit: Roberto Shumsk
Mountain photography, especially if you plan to do it from the top, can be difficult to scout. You can’t go back and forward easily to find out what you’ll need or even if you’re interested in this specific location.
That’s when technology can come to your aid!
First of all, there’s Google Maps. Most people are more familiar with it because we use it to get around town, find an alternative route if there was a car accident, or find the closest copy place before a meeting.
With the same mindset, you can start to look for mountain locations. See if there’s a road that can take you there, how long is it from your house, hotel, camping site, etc.
To get a better idea, you can use the street-view option and ‘walk around’ with your mouse.
This isn’t available in all locations though, and it’s definitely more helpful in urban sites – but it can be a good place to start to see how the roads are to get there.
Is there a paved road to arrive by car? Is there a dirt road to arrive with an all-terrain vehicle?
If it’s a popular location, you can also see pictures from other users on Google Maps, which will give you a good idea of the place at different times of the year and various times of the day.
Google Earth is more helpful for mountain photography. It allows you to scout the location from different camera angles, unlike Google Map’s street view. There’s also a great feature that allows you to ‘fly’ over the location.
Google Earth is available online to use in your Internet browser for free, but you can also download Google Earth Pro – an incredible Mac or PC based app, which is also now free of charge.
You can also measure distances that come in handy to calculate for your own movement and transportation and decide which focal lengths you’ll need.
In summary, using Google doesn’t compare to actually being there, but it’s a great way to start scouting. It’s also a fantastic way to find places to take great pictures near you.
- Related: Why is location scouting important?
10. Walk around before settling for a photoshoot
Credit: Simon Migaj
When you have all the information you can possibly get from technological means, it’s time to go there physically.
If this is just a recommaissance trip, walk around the place. Make notes, drop GPS pins, look at how the light is behaving and interacting with the different elements, etc.
When you see something that catches your attention, try looking at it through the camera and see if it ‘works’ – even take some snapshots as a reference – some smartphone apps allow you to simulate the focal length of different lenses, allowing you to better visualise your final image when shooting with your dedicated camera.
When it’s time toactually conduct the photo shoot, find the spots that you scouted online and see if they are what you were expecting. Keep an open mind and try to find different ones that you didn’t see or that looked different on your computer.
If you’ve been there before, revisit the spots you marked, but also keep an eye for any discoveries.
Either way, find the best place to position yourself. Then, start fine-tuning by experimenting with different focal lengths and framing different elements in the foreground, middle ground and background.
You’ll need to arrive with enough time before your planned schedule for shooting to have a chance to do this on-site scouting and preparation.
11. Apply the ‘Less is more’ philosophy for compelling images

Credit: Jeremy Bishop
When you talk about mountain photography, most people think about the mountain views they usually get from the window or driving on a scenic road: a big landscape with majestic mountains in the background.
While these are great images, they’re certainly not the only choice.
You can use a telephoto lens to photograph only the peak, or photograph close-ups of details and texure while you’re on the top of the mountain to make almost abstract images.
The possibilities are endless; it’s all about your own take on it. Find your style, and you’ll grow as a photographer.
12. Replace the sky (if necessary)

Credit: Aviv Perets
If despite your best efforts, you end up with a dull sky, or you want to create a creative composite – you can modify or replace the sky entirely in post-processing.
Another situation where adding a new sky digitally becomes the best option is when you stumbled upon a great location without planning it. It might be the right place, but it’s not the right time.
Don’t skip this photo opportunity; there are different ways to fix the problem.
An editing software app called Luminar has an intuitive algorithm that analyses a scene, detects the sky and replaces it compltely. It works surprisingly well, and you can even refine the effect or even relight the entire scene by using sliders.
There’s another set of sliders for advanced control over the sky replacement tool. With them, you can take care of any intricate detail such as trees, or change the focus if you used a shallow depth of field in the original image.
It’s also possible to replace the sky with other software, such as Photoshop. However, it requires more knowledge of the program and tools and isn’t quite as intuitive as the feature in Luminar.
13. Learn to implement the rules of composition
Credit: Quang Nguyen
You’ve probably heard about composition in photography – you probably even read a few rules, but how do you implement them in mountain photography?
The first rule every landscape photographer learns is the rule of thirds. The basic principle is that you should avoid placing important elements in the center of your photographs.
Instead, you should divide the image into nine equal sections with imaginary lines – two vertical and two horizontal.
An example of the rule of thirds in mountain photography would be to place the horizon in the lower third of the picture. This way, the mountains occupy the other two thirds.
However, the symmetric composition could overwrite the rule of thirds. For example, if there’s a body of water in front of the mountain, you can create a reflection.
If you place the horizon in the middle of the frame, you’ll have the real mountain in the top half, and the reflection on the bottom half creating a perfectly symmetric image.
Asymmetric composition, on the other hand, balances the element’s visual weight. You can achieve this – for example – by placing an element in the foreground that acts as a balance to the mountain in the background.
These are just a few examples to show you how to apply the composition rules to your mountain photographs.
Most of all, though, I want you to understand how composition is a personal choice. The way you decide to frame your image, even if it follows standard rules, will play an important role in your overall photographic style.
14. Wrap things up with post-processing

Credit: Marc Thunis
Post-processing is part of the photographic workflow. In this part of the process, you can develop your files adjusting the white balance, highlights and shadows, among various other things.
You can also use post-processing for techniques such as focus stacking or sky replacement – or you can make a surreal photo composite.
The choice is yours! There’s a ton of articles on post-production right here on Shotkit, so stick around and you might learn something new.
Final Words
I hope you enjoyed these mountain photography tips and you feel inspired to go out and try them first hand.
Let us know below about your favorite mountain peaks and landscape locations to create stunning images.

Check out these 8 essential tools to help you succeed as a professional photographer.
Includes limited-time discounts.
 43 Mountain Captions for Instagram (Short, Funny & Sassy)
 Best Camera Straps for Hiking & Backpacking (+ Clips & Harnesses)
 Mountain Light by Alex Strohl Camera Backpack Review
 Best Camera for Hiking and Backpacking in 2024
 Best Camera Gear for Hiking and Backpacking

Ana Mireles is a Mexican researcher that specializes in photography and communications for the arts and culture sector.


