


Guide to Rain photography
Level up your rain photography with these tips, tricks and techniques to dramatic pictures of rain. Get inspired by 8 creative ideas for the next rainy day.
Learn | Photography Guides | By Teryani Riggs
Taking photos in the rain can yield some amazing images – shots you really can’t get any other way. Rainy day photos can transform a familiar place into a totally different, dramatic scene.
Still, rain photography is something many photographers avoid. It takes a bit of special preparation and, of course, the willingness to go out in inclement weather.
Unlike golden hour photography, rain photography doesn’t always have dramatic light or a great color display. There’s also a bit more of a learning curve to getting pictures of rain than say, a sunset.
Still, shooting in the rain offers unique opportunities that most photographers don’t think about until they see it in an image elsewhere. From a moody nightscape in the city to a dramatic light break in the midst of a storm, rain photography will get you images you just can’t get otherwise.
There are two things you really need to know to shoot in the rain. The first is how to protect your gear. The second is how to get a picture of the rain itself.
We’ll be looking at both topics and will hopefully provide you with everything you need to know to add amazing rain pictures to your portfolio.
How to Photograph Rain & In the Rain!
Here’s what you need to keep your gear safe and the settings you need to capture pictures with rain featured in it.
Equipment

The Storm Jacket is extremely helpful if you don’t have a waterproof camera. This one can fit everything from a small prime lens to a large telephoto and has a tripod slot on the bottom.
Luckily, you don’t need a lot of specialized gear to shoot in the rain. In fact, you can go out with as little as a cheap camera and an umbrella or plastic bag.
If, however, you want to have a bit more peace of mind, there are few more things you should carry with you.
Any camera that works well in low light conditions will be fine when shooting rain photography. Ideally, however, you’d have one that is weather-sealed.
Keep in mind, though, weather-sealing isn’t perfect. You’re not going to want to just stand out in a rainstorm with a weather-sealed camera. It does, however, give you that extra bit of assurance that random raindrops aren’t going to destroy your pricy electronics.
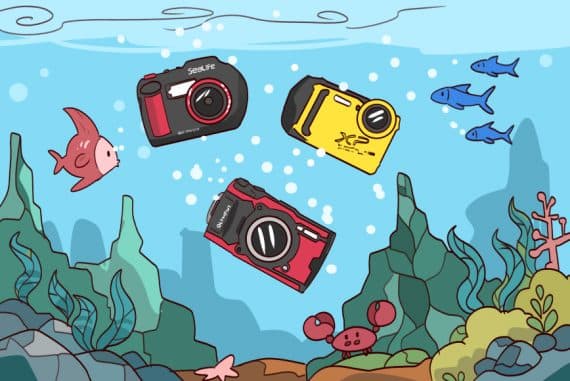
Another option is to get a waterproof camera. There aren’t many high-end cameras that are waterproof, but the Olympus Tough is a great waterproof point-and-shoot.
Just like with the camera, your lenses will ideally be weather-sealed.
While a lens hood won’t exactly stop your lens from getting wet, it will give a bit of added protection.
- Camera Rain Cover
While you can, of course, go out with just a plastic bag or an umbrella, the best option by far is to invest in a rain jacket built just for your camera.
My favorite is the Storm Jacket made by Vortex. It’s revolutionized my rain photography. The design is pretty simple: a waterproof sleeve with elastic at both ends and a velcroed slot on the bottom so you can mount your camera to a tripod.
For me, it’s made taking photos in the rain much easier than with any other method I’ve used. Just make sure you get the right size for your setup.
Here’s a guide to the best camera rain covers.
- Rain Cover for Your Camera Bag
Most camera bags aren’t waterproof on their own, so make sure you have a way to keep the rest of your camera gear safe and dry. For most photographers, this means having a cover for their camera bag.
It could also mean using an umbrella, though if it’s windy or you need both hands, an umbrella doesn’t work so well.
How Much Do You REALLY Know About Photography?! 🤔
Test your photography knowledge with this quick quiz!
See how much you really know about photography...

- Waterproof Camera Housing
If you want to go the whole hog, you can invest in a waterproof camera housing for your camera. These can be a bit pricey and are only worthwhile if you plan to do a lot of photography in wet conditions – particularly underwater photography.
- Tripod
Since rainy day photography often goes hand-in-hand with low light conditions, you might find yourself wanting to use a tripod in some situations. For me, this is mostly when I’m shooting landscapes in the rain and not necessarily trying to take pictures of the rain – see here for some good travel tripods.
(If you’re taking photos of rain you’ll want a fast shutter speed and won’t need a tripod.)
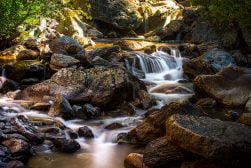
Settings

Photo Credit: Dông Viễn
Your rain photography camera settings will depend on the type of photography you do and the look you’re going for.
Are you looking to capture the mood of the entire scene, or are you more interested in the individual raindrops?
Do abstract patterns attract you, or are you looking to get an amazing landscape with every detail in focus?
You’ll need to think about these aspects before choosing your camera settings. The more planning you do ahead of time, the better prepared you’ll be when it comes to getting your settings dialled in – especially out in the field while it’s raining.
Keep in mind; most rainy situations have less light than clear or overcast days. That means you’ll need to adjust your exposure accordingly.
If you’re used to shooting in auto mode, this is a great time to start switching over to manual. The auto mode on most newer cameras will try to compensate for the darker scene by making it brighter than it actually is. This will usually be counterproductive for the shot you’re going for.
There’s also the issue of how to catch the rain droplets themselves. Here are some settings to get you started.
- Aperture
If the subject of your image includes the rain and you’re not doing abstract photography, you’ll need to have a pretty small aperture to make sure you can get as much of the rain in focus as possible. Try starting at f/8 or higher.
Of course, a larger aperture will let in more light, but for many rain shots, it’ll be better to use a narrow aperture and raise your ISO instead.
- Shutter Speed
If you want to stop the raindrops in action, you’ll have to treat it like any other moving subject, and that means using a fairly fast shutter speed. Try starting out at 1/250 or faster.
If you’re going for softer images, you can slow down a bit from there, but don’t go for a shutter speed below 1/125. Doing so could make you end up with no focal point at all.
You’ll probably have to experiment with a number of different speeds before you get the look you want. Don’t forget; you can always boost your ISO if you want to keep a fast shutter speed and a small aperture.
- ISO
If you’re shooting in dim light or at night, you’ll probably need to crank up your ISO a fair amount to get the shutter speed and aperture combination you want. That’s okay. Most digital cameras can handle a raised ISO, especially if you’re shooting in Raw.
Also, it’s better to have a higher ISO and land an amazing rain photo with some noise than not to get the shot at all.
If you’re not sure what the correct exposure will be, you can always turn on exposure bracketing. Remember, a camera’s light meter can easily be tricked by low-light situations, and a bracketed exposure can give you a bit of insurance…especially if you won’t be able to get the shot again.
8 Creative Ideas for Shooting in the Rain
Whether you’re taking photos of the rain or simply enduring the rain to get a great landscape or cityscape shot, the ideas below will hopefully get your creative juices flowing.
1. Reflections
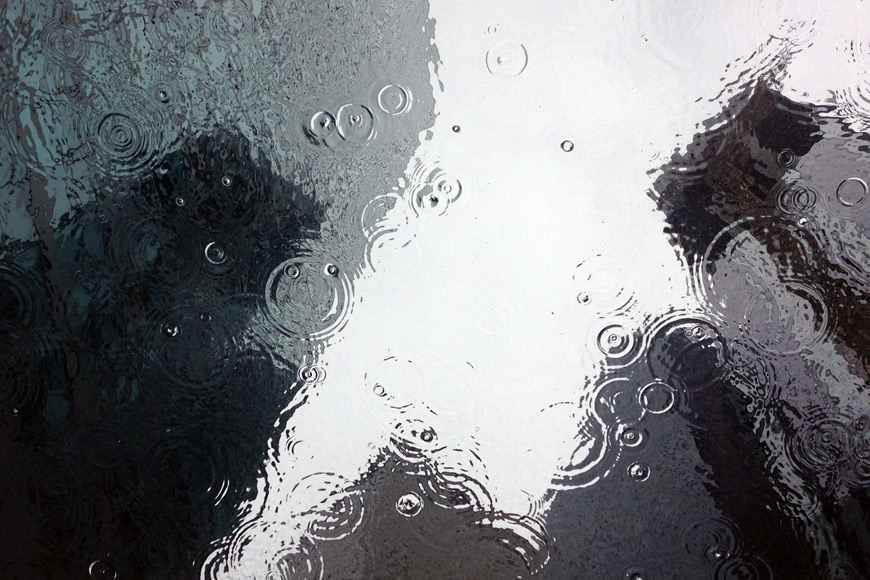
Rain photography makes for some great shots of reflections. | Photo Credit: Chris Kane
If you’re finding it hard to see the rain itself – maybe the lighting isn’t right – you can always look at the way the rain transforms the scene. Reflections are a great way to signal to the viewer that it’s raining. They’re also beautiful in their own right.
You can find some more inspiration in our article on using reflections in photography.
2. Pop that flash
A little pop of the flash lit up these raindrops nicely. | Photo Credit: Aline De Nadai
If you’re looking to photograph raindrops themselves a little pop of flash will often help your raindrops show up.
For best results, use an off-camera flash over to the side. Also, turn your flash power way down – something like -3 stops will often do the trick. You don’t want to over-light the rain.
Don’t have an off-camera flash? Try improvising with a flashlight off to the side.
For a shot that’s even more creative, set your shutter speed to a longer exposure and move the flashlight through the rain during the shot. It’ll create some beautiful light streaks.
3. Capture people interacting with the rain
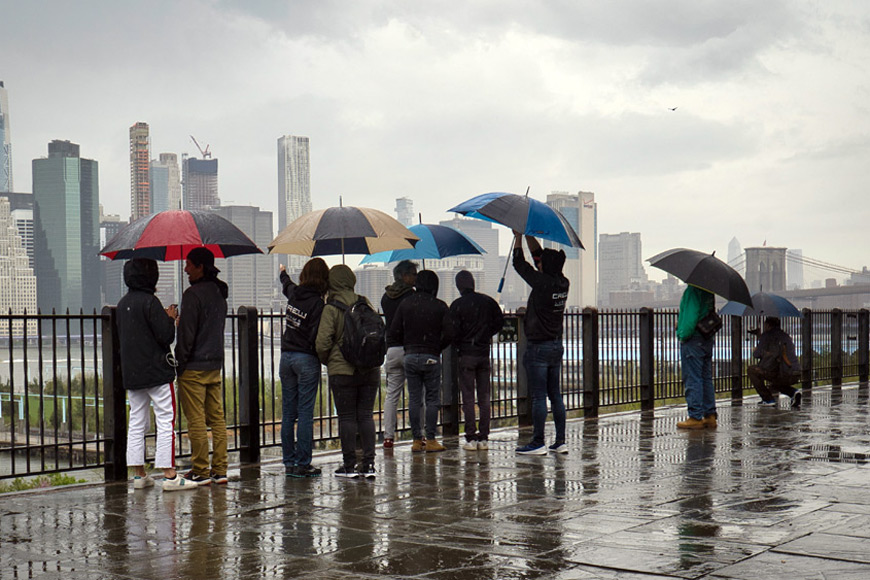
While it’s often difficult to see the rain itself, it’s often easy to see people. | Photo Credit: Teryani Riggs
People are often some of the most fascinating subjects in the rain. Rain changes how we interact with the world and each other.
4. Capture the emotion
Photo Credit: Morgan Sessions
As humans, we generally react to being out in the rain with strong emotions, whether it’s the sullen forbearance of the city commuter or the joy of a child playing in the warm rain. Capture these emotions, and you’ll have some strong shots.
4. Backlight the rain
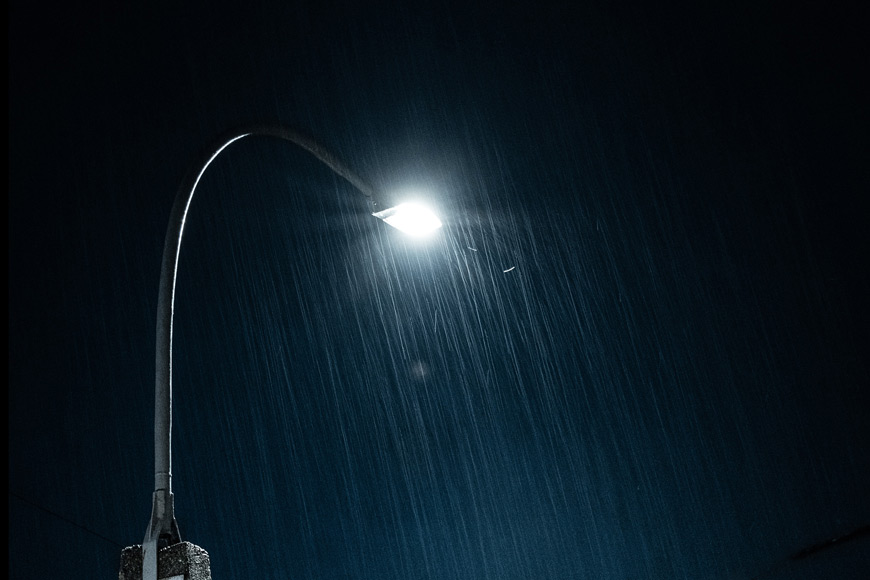
Rain is much easier to see when it’s backlit. | Photo Credit: Norbert Toth
In darker scenes, shooting rain that’s backlit will make a huge difference in what you can see. When light passes through raindrops, it comes through as more concentrated and will make the rain much more visible.
There are plenty of external light sources to use for backlighting, whether it be a neon sign, a street light, or the sun suddenly breaking through clouds.
You’ll need to play around with the angle, however. Directly shooting towards the light source will make the raindrops more visible. At the same time, shooting too directly into the light source will overpower your exposure.
6. Capture rain as it hits surfaces
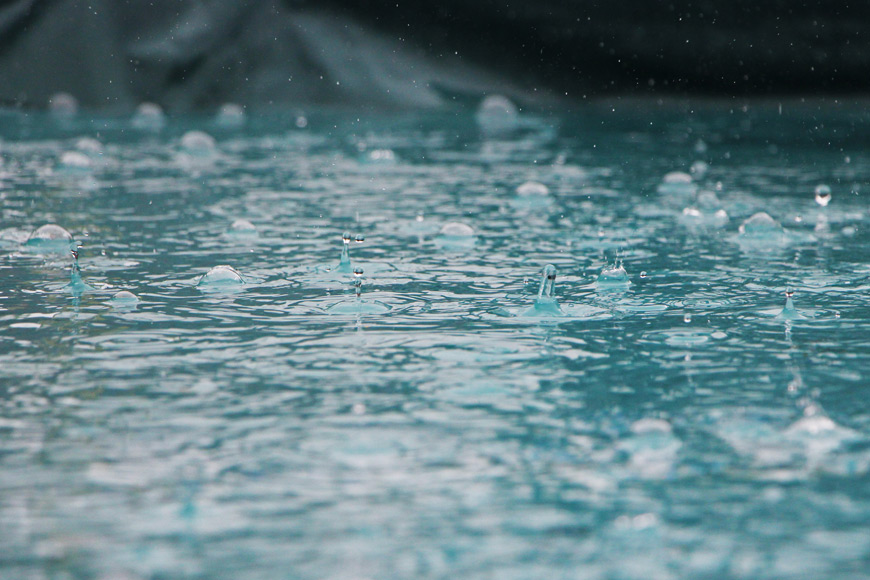
Capturing rain as it hits water makes for some beautiful photos. | Photo Credit: Inge Maria
As soon as raindrops hit other surfaces, they rebound back upwards – try and capture this moment by shooting a series of images at a fast shutter speed. The effect looks especially good when the droplets hit puddles of still water.
7. Wait for the break in the storm
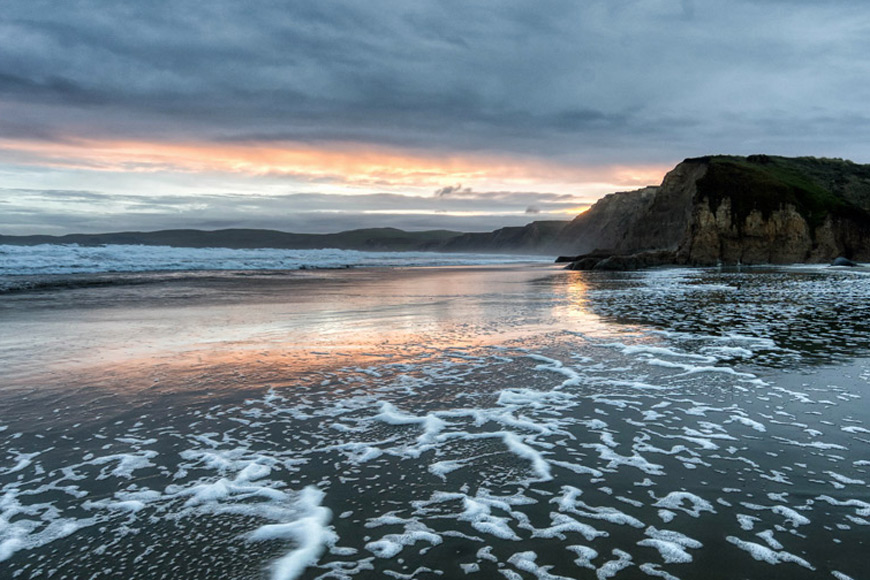
Sometimes you need to stand in the rain with your camera ready for quite a while before the perfect shot comes your way. | Photo Credit: Teryani Riggs
Not all rain photography has to be about capturing the rain itself. Inclement weather offers a wealth of great photo opportunities. Waiting for the break in the storm can yield some great light and striking colors.
8. Get creative with light sources

Photo Credit: Blue Ox Studio
If you’re shooting at night in the city while it’s raining, look for ways to include the various light sources that crop up. Street lights, neon signs, billboards, bright windows – all of these will create opportunities for adding color and light to your rain pictures.
Since it can often be quite hard to focus at night, these light sources can also help you focus and avoid blurry photos.
Final Words
If you live in an area that gets a lot of rain like I do, avoiding days where it’s raining would be synonymous with never getting outside and shooting at all during the winter months.
Getting a handle on rain photography might take a little while. It can be uncomfortable, and well…wet.
Still, the unique photographic opportunities it provides as well as the skill-building make it well worth the effort.
Also, if you happen to be in a popular place and want a few shots with the streets less busy, wait for the rain and watch the streets clear!
Either way, it’s sure to improve your overall outdoor photography, and who knows, you might land some of the best photos of your portfolio!

Check out these 8 essential tools to help you succeed as a professional photographer.
Includes limited-time discounts.


Teryani Riggs (they/them) is an adventure, who loves all things wild and free. Teryani can often be found in the midst of a social/eco-justice campaign, hiking through wild backcountry, or hitchhiking around the world listening to other people’s stories. While their focus has historically centered on landscape, travel, and wilderness photography, they’ve also been hired to shoot genres as varied as historical fiction reenactments in the studio to product and food photography.


