


Rawsie Review – Reduce Raw Image File Size
If you shoot in Raw, this Rawsie review is essential reading. Save time & money by making your Raws behave like JPEGs, while still being editable like Raws.
Software | Software Reviews | By Mark Condon
This is a review of a Raw image compression and optimization software called Rawsie which I’ve been testing for the past month.
I’m a professional wedding photographer who deals with thousands of Raw images each week, but this Rawsie review is actually relevant for any photographer who takes photos in Raw format.

Magical app that saves you time & money by making RAWs as lightweight as JPEGs while retaining RAW image data.
Use code SHOTKIT10 to save 10%
I’d go as far as to say it’s an essential piece of software.
Let’s have a closer look at what Rawsie does, how it performs, and how it can benefit you in 2024.
What is Rawsie?

- Saves money on hard drives
- Faster image editing & uploading
- Retains all dynamic range/pixel resolution
- Worry-free automatic backups
- 2nd license free
- Support for latest cameras
- No ‘select all’ option yet
- Windows coming soon
- You’ll wish you found it earlier!
Rawsie is a downloadable Mac app (soon to be available on Windows too) that optimises and compresses any Raw image file into a much smaller, much more lightweight DNG file.
It was previously known as Dotphoton Raw – Dotphoton being the clever chaps who created it.
Rawsie provides two options for optimising and compressing Raw files:
1. Optimize Lightroom Catalog folders
This is the most common usage of Rawsie for regular users of Lightroom.
Files are automatically relinked in your LR catalog, preserving all your existing edits and metadata. All original Raw files and the .lrcat are backed up to your chosen location.
2. Optimise individual Raw files
This is the most common usage of Rawsie for those who either don’t use Lightroom or simply don’t have some images referenced in Lr.
(Perhaps you’ve deleted the culled images from Lightroom but kept a backup on an external drive, or maybe you want haven’t imported them into Lightroom yet.)
Any edits of metadata won’t be preserved unless you select a Lightroom catalog to relink them to after importing. Original Raws are backed up to your chosen location.
What are the Benefits of using Rawsie?
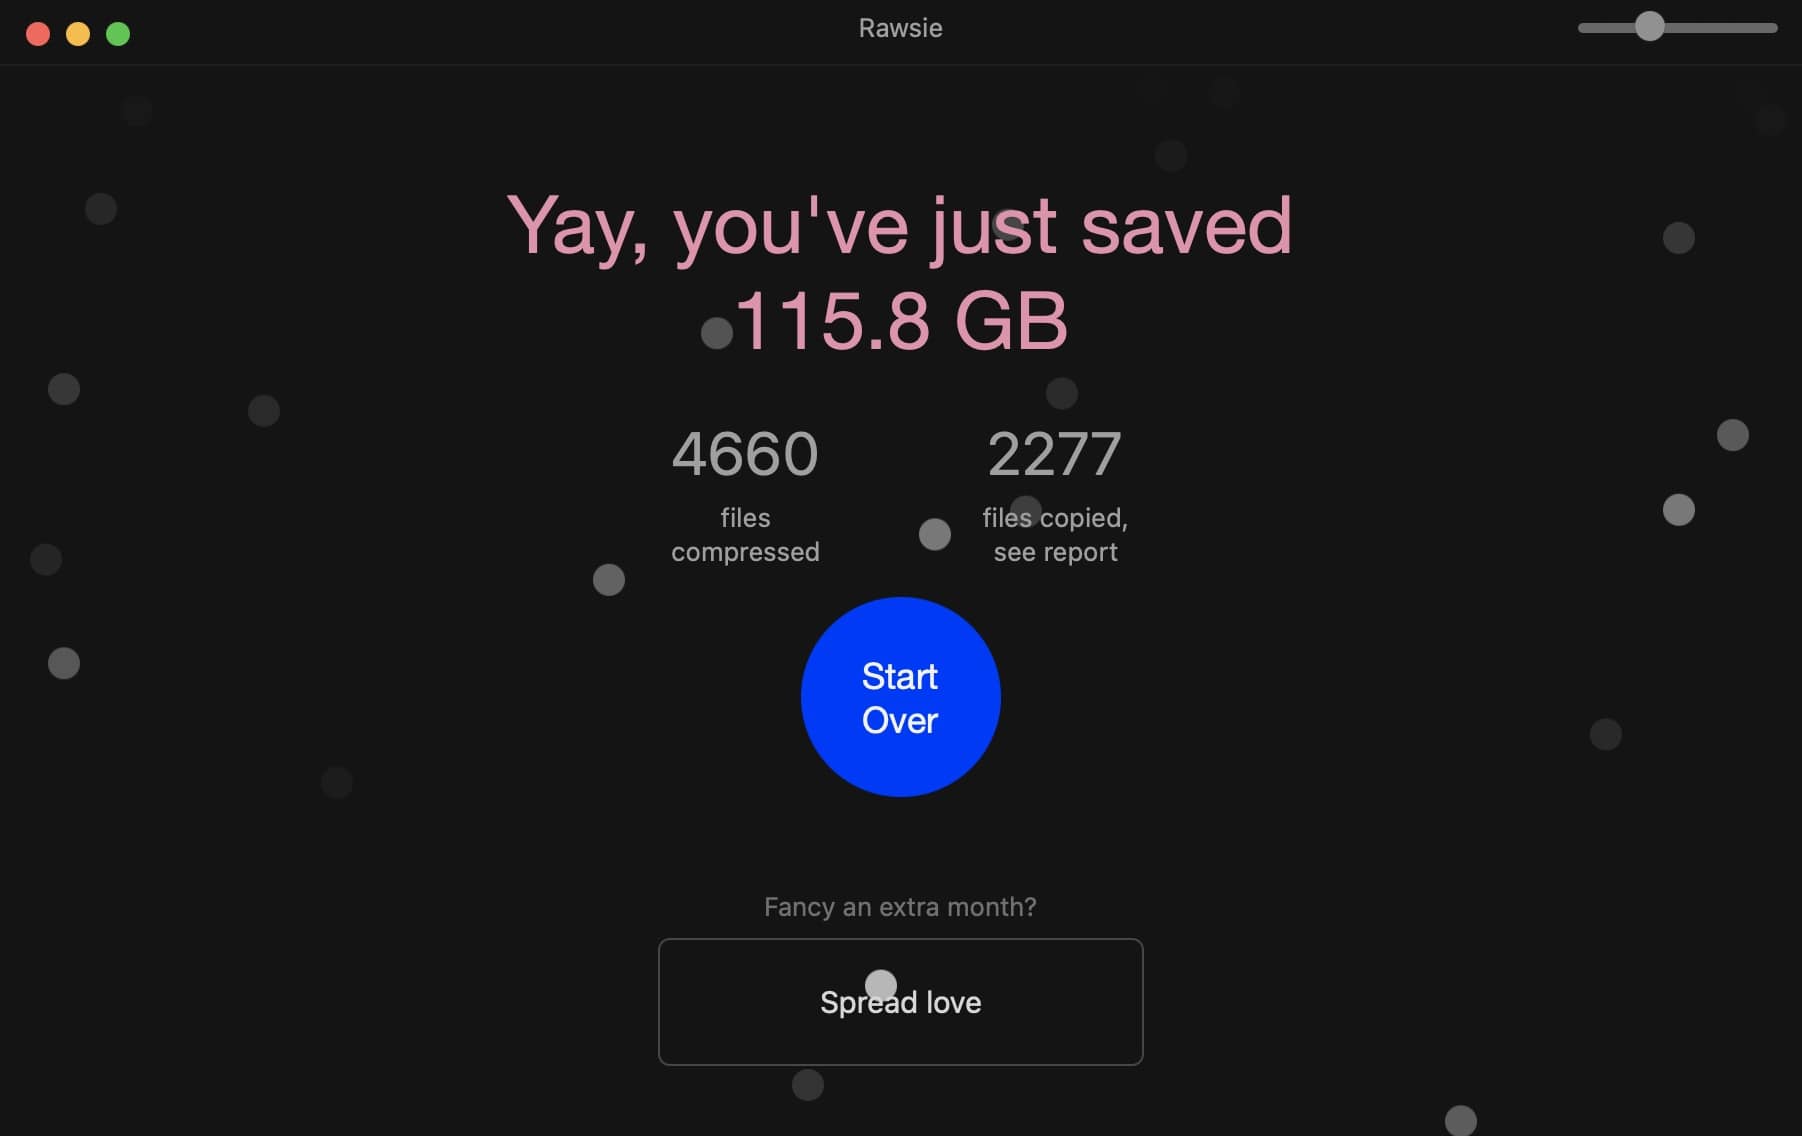
Compressing all your RAW files and seeing the space savings is addictive!
Rawsie compresses Raw files into DNGs while reducing their file sizes by up to 80%.
(Just to clarify, we’re talking about a reduction in the size of the image file, as opposed to the image dimensions being smaller.)
As for the final qualities of the resulting DNG file when compared to the original Raw, they all feature:
- No dynamic range change.
- No pixel resolution change.
- No bit count change.
- No lossy artefacts.
- No color loss.
Rawsie lets you handle and store your Raw files as if they were JPEGs, but while retaining all the editing malleability of a Raw.
Having smaller image files means you need less hard drive space for storage, whether online or on physical drives.
Solid-state drives in MacBooks etc are still expensive, so being able to store the same number of images while taking up less hard drive space will benefit your back pocket immediately.
If you use cloud services such as Lightroom CC, you’ll be able to upload on average 5x as many photos as before, 5x as quickly… without needing to pay to upgrade to larger plans.
Rawsie means that Lightroom or your editing program of choice will perform faster and more efficiently with the smaller image file sizes, and importing, culling, organising, exporting and uploading will also benefit from a speed boost too.
If you use a NAS to store files as I do, smaller file sizes mean faster file transfers too.
No matter where you store your original files, using Rawsie regularly can add up to massive time and money savings over the long run.
What is a DNG file?
I’m assuming that you already know the advantages of using Raws over JPEGs, but many photographers have never come across DNGs before.
DNG is a format developed by Adobe and used natively by Leica, Sony, Apple, Pentax, Ricoh and other leading brands.
DNG is short for Digital Negative Image File – the image data is uncompressed and kept in a lossless state.
Crucially, DNGs are much smaller than most other Raw file formats.
Lightroom, Photoshop, Luminar and all the other major image editing apps handle DNGs just as they would with the Raw format, allowing you to edit them non-destructively to your heart’s content.
What are the advantages of DNG (over Raw)?
- Smaller than Raws.
- Once a Raw is converted to DNG it will work with any software that can read the format.
- Changes to images can be written directly to the DNG file without having to create separate sidecar XMP files to store the data – this can simplify file management.
- DNGs includes checksum information in the file to detect and prevent file corruption.
- Adobe continues to improve the DNG format adding more functionality and features.
Clearly, if there’s a simple way to convert your Raws into DNGs, you should be doing so. Fortunately, Rawsie has the answer.
Ease of Use

You can sit and watch Rawsie do its thing, or just leave it running overnight (recommended!)
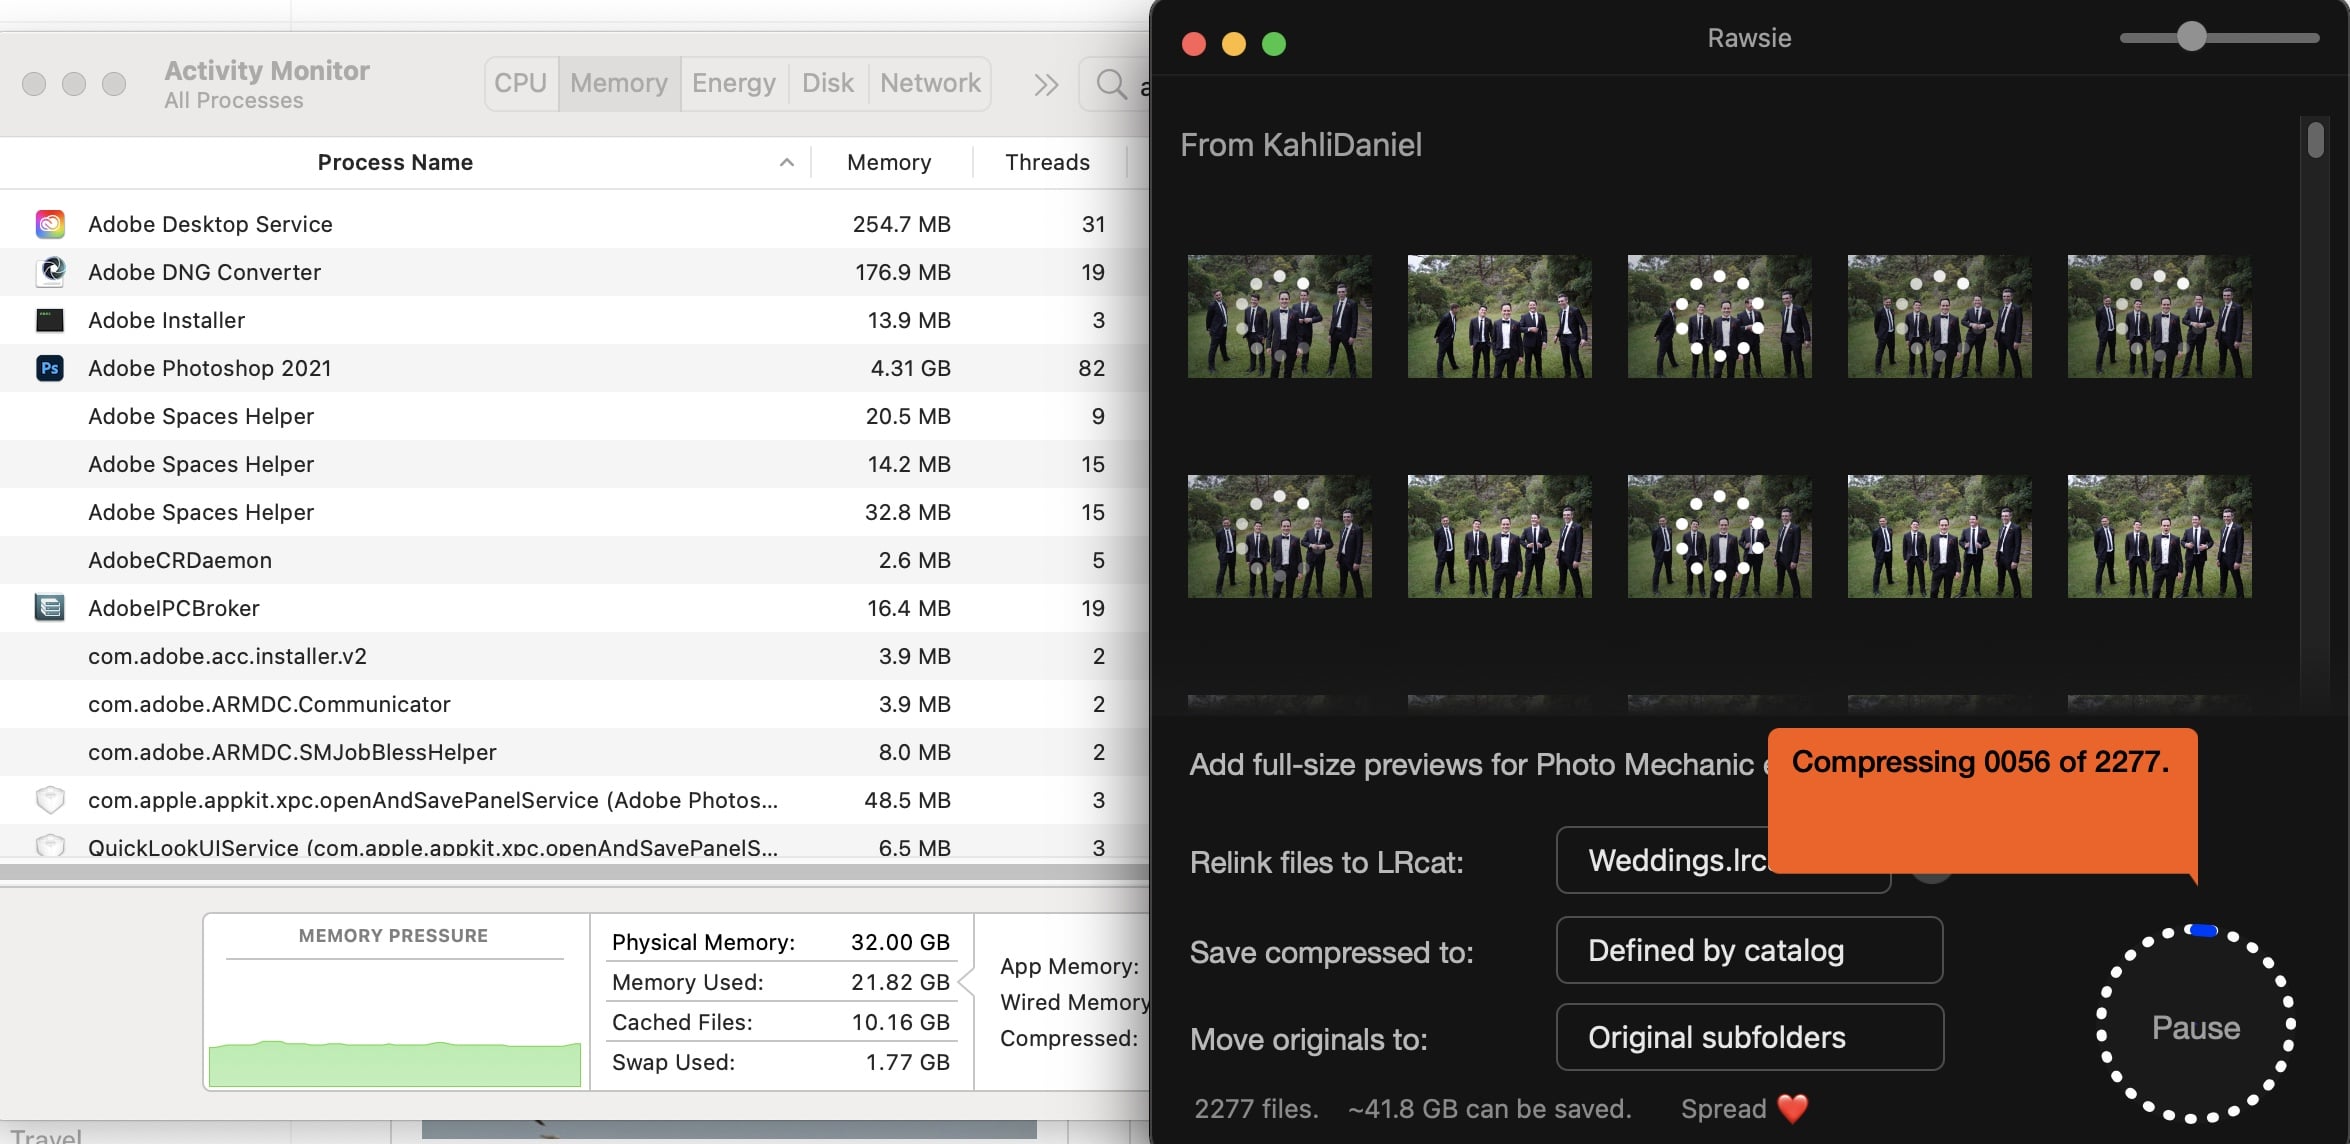
Once you create a Rawsie account and download the app to your desktop, you’re instructed to download a free copy of Adobe DNG Converter too.
Then you just launch the app and select from one of the two options described previously.
If you want to optimise your Lightroom Catalog folders, you click the button ‘Locate .lrcat’ file, then select it from where it resides on your computer – it’s usually in Pictures > Lightroom.
Then you select which folders to import from the ones shown in the Rawsie import dialog, and press Import.
The one thing I miss here is the ability to select all the folders in one go, as opposed to just clicking to select individual or multiple folders. Hopefully this feature will be added in a future update.
If you have Raw files that aren’t in already Lightroom, or you want to optimize them with Rawsie straight from your camera’s memory card to whatever editing app you use, you can choose the second option: Optimise individual Raw files, and click Browse to locate them.
Next, an additional dialog box appears with a few options:
- Add full-size previews for Photo Mechanic etc.
- Relink files to LRcat:
- Save compressed to:
- Move originals to:
These are all pretty self-explanatory. ‘Move originals to’ is particularly useful, since not only does it give you the option to relocating the backup of your original Raw files, but also, you’re able to compare the final DNG to your original Raw.
Rather than clicking to select files and folders, you can also drag and drop images or .lrcat files directly onto the relevant Rawsie space.
It’s incredible satisfying to see how much space you’ve saved by running Rawsie – it’s almost like you’re watching it save you money!
As for supported cameras, these include all the latest models such as Fujifilm GFX100 and GFX100S, Nikon D780, Z6II and Z7II, Sony A1, Canon R6 etc – (check them all out here), with more cameras being added all the time.
The software runs on macOS Mojave 10.14+, and performs well on my new Silicon Macbook with the M1 chip.
Now let’s have a closer look at how Rawsie performs
Performance + Examples
While processing files, the Adobe DNG Converter doesn’t put any significant strain on your computer.
I’ll keep this section short – Rawsie works extremely well.
It reduces Raw image files to up to 80% of their original size, spitting out DNGs that retain all the image data required to complete a full edit.
File size savings via Rawsie when combined can be huge. I’m talking many Gigabytes for the average shooter, and Terabytes if you’re a high volume wedding, sports or events photographer.
To process one Raw file on my quad-core Macbook Intel Core i7, it takes about 3 seconds – on a 6-core MBP, the speed is apparently 0.7 seconds.
I included a screenshot above which shows the negligible memory required to run Adobe DNG Converter in the background while Rawsie processes the files – the app itself uses next to nothing.
A lot of the heavy-lifting appears to be taking place on the Rawsie server, as opposed to locally. This is a huge benefit since it means that even if you’re using an ageing computer, you can still take advantage of reducing your Raw image sizes.
Since Rawsie automatically creates backups of your original Raw files, you’re able to do an initial comparison.
(I say ‘initial’ since once you’ve compared a couple of images, trust me – you won’t bother checking ever again!)
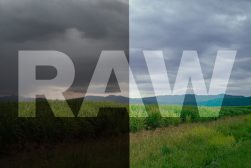
Take a look for yourself at the comparison before/afters below – it’s like playing a never-ending game of spot the difference.
Before/After Examples

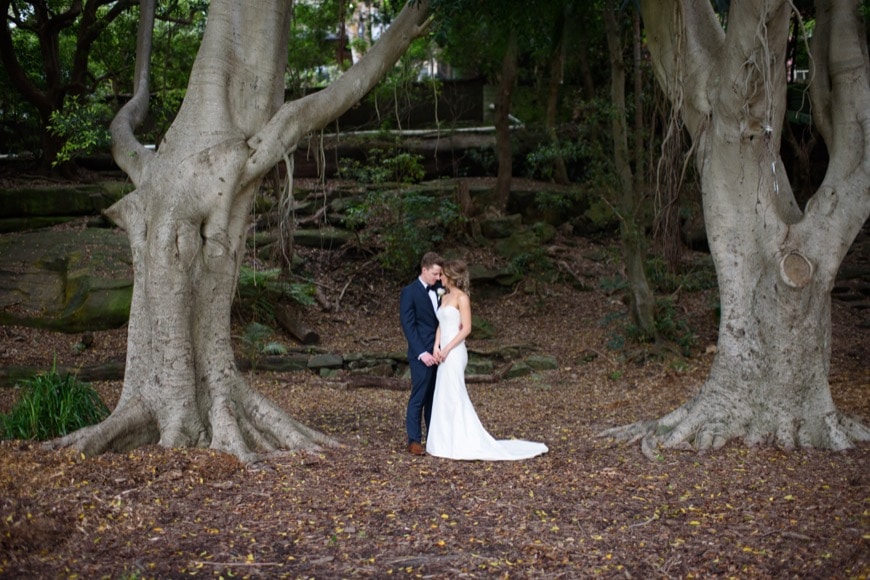

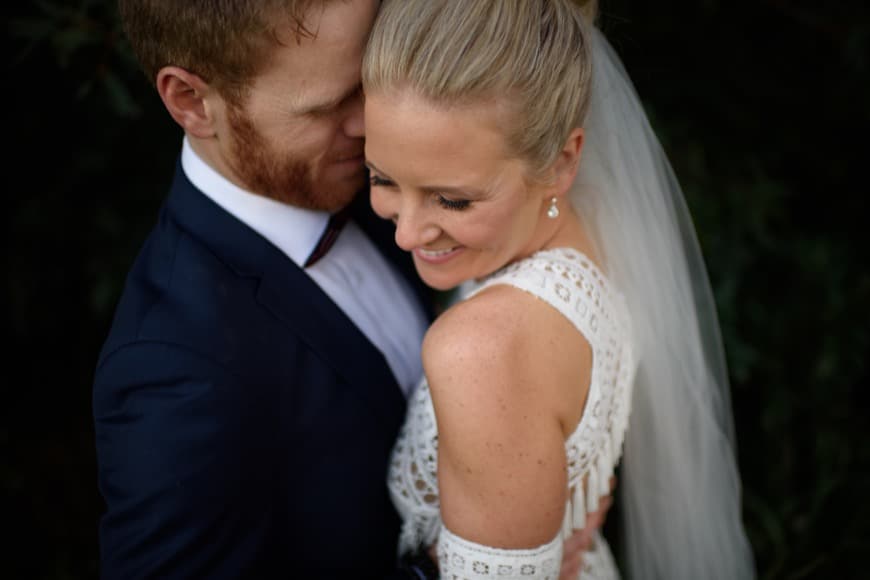
Obviously, it’s hard to compare images when they’ve been downsampled into JPEGs, so feel free to download the samples from here and have a zoom in to the original Raw and compressed DNG files yourself.
Value for Money (+ Code)

Get a 10% discount on Rawsie.
Rawsie offers 3 pricing options:
- Free (30 images per day limit)
- $49/Year (subscription)
- $199 (Yours forever)
It’s hard to put an exact value on some software, but with Rawsie, it’s obvious – you use less hard drive space, so you save money since you no longer need to buy more drives, or at least, you need to do it less frequently.
The additional benefits of having smaller file sizes to work with can quickly add up to, although these depend on your exact workflow as a photographer.
All I know is that for anyone who frequently uses Raw images, this is an essential piece of software. You also get a 2nd license free, which is great if you have both a desktop and laptop.
Dotphoton, the smart brains behind Rawsie have kindly given Shotkit readers a 10% discount if you use the code below. I recommend you do just that.
Get a 10% discount on Rawsie by using the code: SHOTKIT10
Final Words
Occasionally I write a review that seems to come across as some kind of advertorial – this has been the case with Rawsie.
Other than the tiny niggle regarding selection of all folders in one go, I can’t find any other negative of this incredible software.
Oh, and if you’re a Windows user, you’re out of luck until later in 2021…
However, for all Mac users who shoot photos in Raw format, Rawsie is a no-brainer. Keeping full-size Raw files on anywhere but your memory card seems like so last year…
(Being able to save money on replacement hard drives as well as make your computer run smoother reminds me a lot of CleanMyMac – another piece of software I consider essential for photographers.)
My advice – download a free trial of Rawsie and have a play around yourself.
Then cough up the money – you’ll thank me later.
Magical app that saves you time & money by making RAWs as lightweight as JPEGs while retaining RAW image data.
Use code SHOTKIT10 to save 10%


Mark Condon is a British wedding photographer and editor of Shotkit. When he’s not taking photos or reviewing the latest camera gear and software, Mark can be found cycling around the northern rivers.


