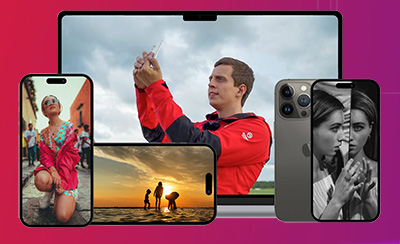







How to Master Mirror Poses: Angle, Lighting, and Framing Tips
From mirror selfies to cool, artistic shots, learn how to use impactful poses, lighting, and clever angles for better mirror photography.
Learn | Posing | By Jeff Collier | Last Updated: October 26, 2026
Shotkit may earn a commission on affiliate links. Learn more.
Mirrors have long held a fascination for artists and photographers. The way they reflect light back into a room or change the angle of a composition can be remarkable.
But mastering the use of the mirror in photography can seem tricky. How do you get a mirror selfie without covering your face with your camera or phone, and how do you keep a mirror shot well-lit without glare?
I’m using my experience as a professional photographer to answer those questions and more in this guide. Plus, there are plenty of pose and composition ideas to help you get creative and use mirrors for photography in ways you might not have thought of before.
Why Learning to Use Mirrors in Photography Is Useful
Whether you’re taking photos for your own portfolio or for clients, the main goal you have is to ensure that your images stand out from the crowd.
With that in mind, you might want to lean into techniques that veer off the beaten path. Mirrors allow you to do that by shifting angles, changing the lighting in a space, and adding an extra dimension of artistry.
For those taking photos for social media, knowing how to take the perfect mirror selfie is a must. So many social platforms are packed with pics showing half a face and a close-up of someone’s smartphone.
I’ll show you how to avoid that, and some cool angles to help you capture a photo that does more than an off-the-cuff selfie.
I’m also going to cover some lighting techniques, especially for snapping selfies and other close-up shots. Mirrors can cause sharp, glaring reflections if you use the wrong type of lights, so I’ll show you how to avoid those pitfalls and keep photos crisp, illuminated, and glare-free.
If you want more tips on mirror photography, check out my other guide to using mirrors creatively in photography, which covers topics like portraits, object photography, and collages.
Tips for the Perfect Mirror Selfie
Here’s my guide to mirror selfies, with tips for photographers taking selfies and photographing others.
1. Lower the Camera or Phone

One of the biggest faux pas in mirror photography is the selfie where the phone or camera is obscuring the face. The whole point of a selfie is to show off your features (or makeup or expression), so when these are covered, it’s a failed attempt.
The easiest way to get around this is to lower the phone by about a foot. Because you’re using a mirror, you can simply tilt the phone slightly to capture whatever is reflected in the mirror, without having the phone centered.
If you’re taking this shot of someone else rather than yourself, still encourage them to lower the phone. It gives a more relaxed feel and shows off their smile, outfit, and overall personality better.
2. Take “Selfie” Over Subject’s Shoulder

The truth about the best selfies? They’re not usually selfies at all.
The most successful photos of someone’s face from the front, even if they’re holding their own phone or camera, tend to be taken by a professional or aspiring photographer, just like you or me.
The trick is to get in close and take the shot over their shoulder, using a mirror to capture their face or body.
I like to make sure I can see the phone or camera screen they’re using, because this brings the viewer into the moment. They become a part of the selfie-taking process, able to see almost exactly what the subject sees.
Make sure the reflection in the mirror is crisp and clear, as that’s the primary focus of this shot. Don’t worry if your subject or their phone is slightly blurred, as this can help emphasize the sharpness of the mirror image.
3. Push the Phone Toward the Mirror

This angle can keep the phone from obscuring the face, even when you take the selfie yourself, because it creates a strong sense of perspective between the phone (or camera) and the person’s face.
Sit in front of the mirror, far back enough that your face takes up no more than a quarter of the mirror’s surface. Make sure you are sitting to one side, angled to the opposite side.
So, if you sit to the right of the mirror, lift the phone in your left hand and look to your left. Choose your expression, whether you want to have a sultry smile or an excited grin.
Stretch out your arm so that the phone is only a few inches away from the mirror. It will be off to one side of your face and may appear large in the image. If the focus is on your face, the phone may blur, drawing attention to your face.
Experiment with the perfect gap between your face and the phone to get this shot right.
Innovative Angles for Mirror Photography
In this section, I’m looking more at posing your subjects and angling the mirror to create artistic shots. You’ll learn how to use the mirror to frame the whole shot, or to show off the whole person and their outfit.
1. Framing the Selfie With a Mirrored Background

You can use a mirror as an innovative way to create a colorful background to frame a selfie.
A neat way to do this is to have your subject compose a selfie using their smartphone. Position your camera to take the shot over their shoulder.
But before you take the shot, position them in front of a mirror. A round mirror works very well to create a contrast with the rectangular screen.
If you focus sharply on the phone screen, what’s reflected in the mirror may blur, creating a soft-focus, colorful background. Think about outfits before your shoot, as whatever clothes your subject is wearing will become the color scheme for this background.
Colors that either contrast with or complement the décor of the room can work well. You can experiment with this without having to resort to a full change of clothes by offering a jacket or cardigan in a different shade.
2. Become the Observer

Many selfies or faux selfies are focused on trying to be a part of the selfie, either by taking the shot in a mirror with the camera or by shooting over the subject’s shoulder.
As an alternative, remove yourself from the shot completely. Position yourself in front of your subject and slightly to one side, and ask them to turn slightly away from you.
If your subject is to your left, get them to look to their left, and vice versa.
Position a large mirror to the side they’re angled toward, so that you can see a version of them that’s looking back toward the mirror, but not quite making eye contact.
Get them to take their selfie, being sure not to obscure their face. The shot is one that separates the camera from the moment of the selfie, giving a sneak peek into the life of an influencer, makeup artist, or other creative type.
3. The “Look Check” Pose

Not every mirror shot has to be framed as a close-up facial shot. This pose lets your subject show off an entire outfit, as they check it out for themselves.
Stand to one side of your subject. A good tip is to show a door behind them to create the energy that they’re about to head out.
Have them do their usual outfit check in the mirror, evaluating their hair, clothes, or makeup as they normally would. A floor-to-ceiling mirror works best for this, so you can see the person completely from the front and the back.
Take a few shots, comparing expressions and angles until you get a pose you and your subject are happy with. You could even try a shot where they’re just stepping away from the mirror, obviously satisfied with the results.
Lighting Hacks for Mirror Shots
Bright lights can cause glare and overexposure, but if the lighting is too dim, you may not be able to see your subject clearly. Here are my top tricks for optimizing the lighting for your mirror photos.
1. Take Advantage of a Mirror Accent Light

Some mirrors have a light either above or below that shines onto the mirror without creating glare. These are often LED lights, which can provide soft, even illumination when properly diffused.
One of the best ways to take advantage of these accent lights is to dim the lights in the room and brighten the accent light as high as it will go, if it’s adjustable.
This should naturally illuminate the person or people in the mirror.
Take the shot from behind and to one side of your subject. Get them to hold their phone low down, so it looks like they’re taking the “selfie” themselves.
Your subject should appear brighter than the dimmer room, accentuating their features and outfits.
2. Use an Illuminated Mirror

Some mirrors have a built-in light around the edge, which is excellent for facial shots and other close-up work. Again, these lights tend to be LEDs, so they’re low on glare but are usually bright enough to provide enough illumination for sharp, crisp shots.
Check if the lights around the mirror are adjustable, as many are. You can also combine the facial illumination with your own box lights and other solutions to manage both ambient light levels and ensure your subject is bright enough.
3. Invest in a Ring Light Setup

A ring light is a simple, relatively inexpensive lighting tool, one that many TikTok and YouTube influencers invest in. It’s a circular LED light with a gap in the middle, usually combined with a holder for a smartphone or camera.
The ring light usually comes with an adjustable stand so you can position it at any height. They’re ideal for up-close facial work, such as makeup videos, GRWM content, or any videos where the person is talking directly to the camera.
You can use them with mirror shots to make sure there’s enough light on your subject’s face while keeping the light and mirror separate. Move your light from one side to the other to see how it affects shadows and accentuates the angles on your subject’s face.
Additional Tips for Mirror Poses
Some basic practicalities for using mirrors in photography include:
- Carry glass cleaner and a microfiber cloth with you: Mirrors get smudged and marked easily, and using the wrong cleaning products can leave streaks. A suitable glass cleaner and microfiber cloth can help keep the mirror clean.
- Invest in your own mirrors: Don’t assume there will be one at the venue or shoot location. One round and one rectangular mirror of a decent size that you can either hang or stand can save a photo shoot. Make sure they’re tough enough to withstand the rigors of travel.
- Ask about the lighting situation: If your client has ring lights and illuminated mirrors, great. If not, knowing ahead of time means you can bring the right lights for the situation, and not have to bring everything you own, just in case.
If you’re combining mirror selfies and poses with Gen Z-style social media poses, check out my guide to creating shots that don’t look “cringe” for Insta and TikTok.
Final Thoughts
If there’s one piece of advice I could pass on about mirror photography, it would be to get creative and experiment.
Use small mirrors to pick out tiny details, and large mirrors to create whole scenes at interesting angles. See how brighter lights can create sparkles when angled correctly at the edge of a mirror, making use of glare instead of avoiding it, as I would usually advise.
Try solo shots, group shots, and even still-life photos to find out which you prefer. You might discover a passion for unusual, artistic shots that could completely diversify your portfolio.

Check out these 8 essential tools to help you succeed as a professional photographer.
Includes limited-time discounts.
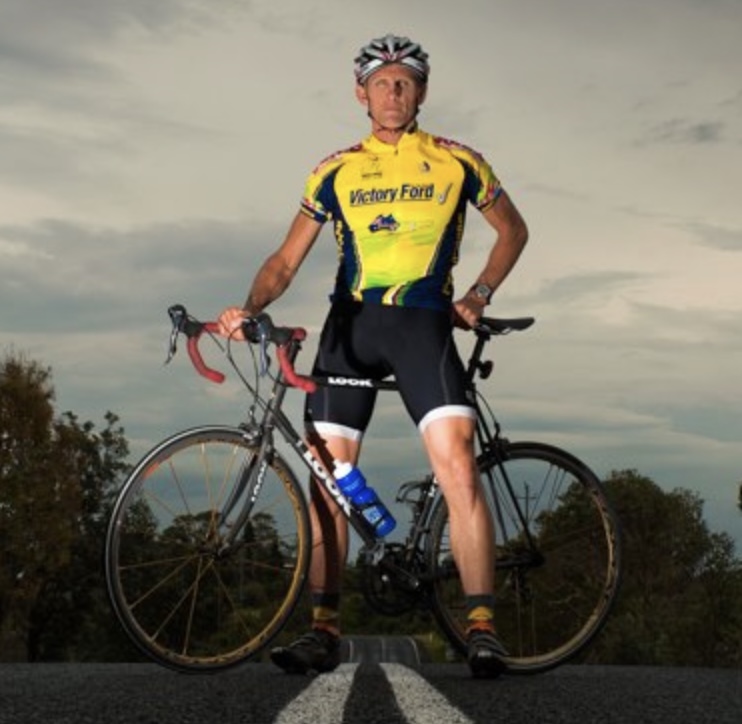
Jeff Collier is an experienced film photographer who enjoys experimenting with modern digital photography equipment, software and apps. He’s also an ex-world champion triathlete and avid cyclist, clocking hundreds of km each week in the beautiful Tweed Valley of northern NSW, Australia.
👋 WELCOME TO SHOTKIT!
🔥 Popular NOW: