







Imagen’s Personal AI Profile: How to Save Time with Consistent Edits
Learn how Imagen's Personal AI Profile learns your editing style and applies it automatically. Setup, training tips, and the Profile Shop explained.
Imagen | Software | Paid Partnership | By Jeff Collier | Last Updated: April 23, 2026
Shotkit may earn a commission on affiliate links. Learn more.
Like most working professionals, you've likely spent years refining your editing style. Every adjustment to white balance, every decision about contrast or shadow lift, every deliberate choice about colour – it's all part of the look your clients book you for.
The problem is, that look takes a lot of time!
Imagen's Personal AI Profile is built around a simple but powerful premise: your editing style is a pattern, and like everything in this new AI world, patterns can be learned.
Once trained, your profile acts like a skilled editing assistant who has watched you work on thousands of images. It applies your exact approach to every new shoot in a fraction of the time it would take you to do it yourself.
This guide covers everything you need to know: what the Personal AI Profile actually does, how to set one up, how to get the best results from it, and what the Profile Shop offers if you want to hit the ground running.
What Is a Personal AI Profile?
Let's get one thing clear: A Personal AI Profile is not a preset. Presets apply fixed values across your images regardless of conditions.
Imagen's profile works differently to a preset. It analyses your edited photos, identifies the patterns in how you've made your decisions across different lighting situations, subjects, and times of day, and builds an AI model from those patterns.
The key thing here is that when you send a new RAW file through Imagen, the profile doesn't apply the same settings to every photo.
Instead, it reads the specific conditions of that image and edits it the way you would have.
It does things like adjusting exposure, white balance, contrast, highlights, shadows, tone, colour, and HSL sliders based on what it has learned from your body of work.
The result is consistent, personalised editing at a speed that would be impossible manually: roughly 0.33 seconds per image.
That means that a 1,000-image wedding gallery can be processed in around five-and-a-half minutes!
Now I don't know about you, but I've never been able to turn around a full set of photos in anywhere near that amount of time.
- Read more: Imagen Review
How to Set Up Your Personal AI Profile
To train a Personal AI Profile with Imagen, you'll need a minimum of 2,000 consistently edited photos. Imagen recommends aiming for 3,000 or more. In fact, the more photos you provide, the more nuanced and accurate your profile will be.
Your training set needs to be edited with a single consistent camera or creative profile (such as Adobe Color).
If you've mixed camera profiles across your catalog, Imagen will use whichever one appears most often, but the other photos won't contribute to training.
One question I've seen in forums is what will happen if you shoot using different styles – like a clean natural look for families and a moodier approach for couples. In this case, you should consider training separate profiles for each SOP to avoid confusing the AI wizards.
A strong training set also includes a variety of lighting: indoor, outdoor, natural light, artificial light, different seasons.
Imagen learns by seeing how you respond to different conditions, so a bit of diversity here is important.
Above all else, remember that your training photos need to be fully edited.
The Training Process (Lightroom Classic)
- Open the Imagen app and go to the AI Profiles page.
- Click Create your own profile, then select Personal AI Profile.
- Name the profile, choose whether it's for colour or black-and-white work, and browse to your Lightroom Classic catalog.
- Imagen will scan the catalog and show you how many edited photos are eligible. Aim for at least 3,000 photos loaded before clicking Upload & Train.
- Keep the Imagen app open while photos upload. Once uploaded, Imagen trains the profile automatically. You can close the app at that point and go and have a cup of tea.
- Training takes up to 24 hours. You'll receive an email when it's ready.
If you use Lightroom Creative Cloud (not Classic), you'll need to export your photos with metadata before uploading.
In Lightroom, select your edited photos, click Share, choose Original + Settings, and export to a folder. Then point Imagen to that folder during setup.
The Lite Personal AI Profile
If you have fewer than 2,000 edited images, or simply want to get started quickly, Imagen offers a Lite Personal AI Profile.
Rather than analysing your catalog, the Lite option lets you upload one of your existing Lightroom presets. Imagen then learns to intelligently apply that preset's intent across new images, adjusting basics like exposure and white balance individually per photo rather than just stamping the same values everywhere.
It's a lower-effort entry point that can serve you well while you build up a larger body of work to train a full profile.
How Your Imagen AI Profile Learns Over Time
One of Imagen's most useful features is that your Personal AI Profile continues to evolve as you feed it your final edits.
After each project, you need to upload your finished edits back to Imagen. The app tracks how many final edits you've contributed and signals when you have enough to trigger a fine-tuning session. Think of it like a retraining that incorporates your most recent editing decisions.
The minimum for fine-tuning is 3,000 edited photos, or half the number used in your original training if that number was higher.
This matters especially as your style evolves, or as you use a new camera body with slightly different RAW characteristics. Regular fine-tuning keeps your profile current and ensures future edits reflect where you are now.
You can also make manual adjustments to your profile at any time using Profile Adjustments, like tweaking parameters like warmth, contrast, and saturation to dial it in exactly the way you want without waiting for a full retraining cycle.
6 Tips to Get The Most From Your Profile
1. Start with a clean, consistent catalog. The single biggest factor in profile quality is editing consistency. Imagen learns patterns. When in doubt, be selective about what goes in.
2. Train per camera profile. If you use Adobe Color for your Sony and Adobe Landscape for a second body, train separate profiles. Mixing camera profiles within a single profile degrades accuracy.
3. Don't mix genres without a reason. If your outdoor wedding and indoor portrait work are edited quite differently, separate profiles will serve you better than a single all-purpose one. Imagen lets you maintain multiple profiles and apply the right one per project.
4. Upload final edits after every project. The photographers who get the best results from Imagen treat the final-edits upload as part of their standard post-project workflow, not an optional extra. More data means better future edits.
5. Use Profile Adjustments for consistent tweaks. If you find yourself routinely bumping exposure or adding warmth to Imagen's output, don't do it manually every time. Instead, add that offset directly to the profile via Profile Adjustments. You set it once, and it applies automatically going forward.
6. Be patient with the first few projects. Your profile is most accurate after fine-tuning, which requires a lot of final edits. The initial version is a solid starting point, but profiles that have been fine-tuned two or three times tend to get remarkably close to matching a photographer's work image by image.
What is The Profile Shop?
Not everyone is ready to build a profile from scratch. Perhaps you're new to pro photography and don't have enough pictures to train the AI yet.
The Profile Shop is a curated marketplace featuring over 50 AI editing profiles created by professional photographers and studios. It's the evolution of Imagen's original Talent AI Profiles, significantly expanded in scope and variety.
The shop covers a wide range of genres with each profile representing a distinctive creative aesthetic. You can filter by genre and browse within a style category to find something that aligns with your vision.
A try-before-you-buy feature lets you upload ten of your own RAW files and preview how a profile would edit them before committing.
Once purchased, a profile is available for use within your active Imagen subscription. A purchase gives you access to the editing style itself – Imagen subscription billing is separate.
If you work with second shooters, associates, or a small team, you can even share your Personal AI Profile with up to three other Imagen accounts.
This is a useful feature for studios that want consistency across multiple photographers delivering under the same brand.
Final Words
If you're a professional photographer or anyone shooting a lot of photos who wants to save time on the edit, Imagen's AI Profiles can lend a huge helping hand. They're definitely not a one-click solution, but they do provide a significant head start to getting your image looking consistently great.
If you want to have a play around with Imagen's complete AI photo editing and culling post-production platform, visit the Imagen website and get started with 1,000 photos for free.
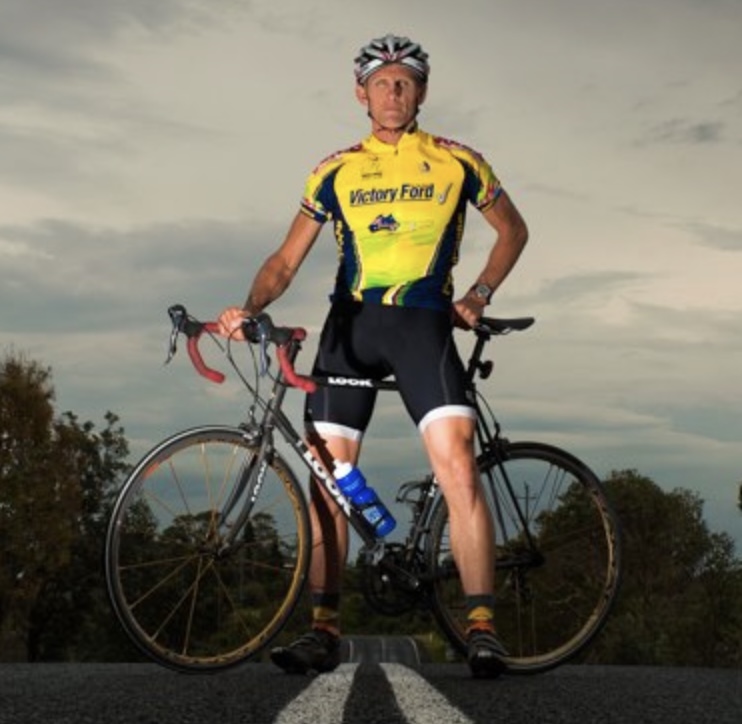
Jeff Collier is an experienced film photographer who enjoys experimenting with modern digital photography equipment, software and apps. He’s also an ex-world champion triathlete and avid cyclist, clocking hundreds of km each week in the beautiful Tweed Valley of northern NSW, Australia.
👋 WELCOME TO SHOTKIT!
🔥 Popular NOW: