How to Fix Blurry Photos in Luminar Neo
Blurry photos are the result of too slow a shutter speed, unintentional camera movement, or a dirty lens. Luminar Neo can help you fix them - here's how.
Luminar | Software | By Andrew Dilks
Learning how to fix blurry photos in Luminar Neo can transform a photograph destined for the recycle bin into a usable image you’re proud to show to others.
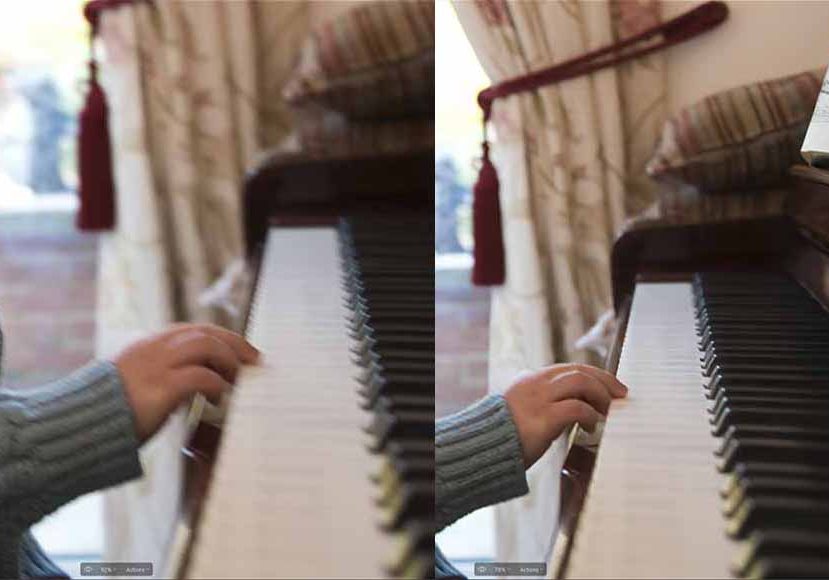
Whether shooting wildlife or family members, I’ve found the benefits gained from Luminar Neo’s Supersharp AI tool to be a great way to salvage slightly out-of-focus portraits and bring otherwise blurry images back to life.
In this tutorial, I’ll explain how you can use the Supersharp AI tool in Luminar Neo to address a variety of blurry images, bringing faces back into the frame and minimizing the effects of motion blur.
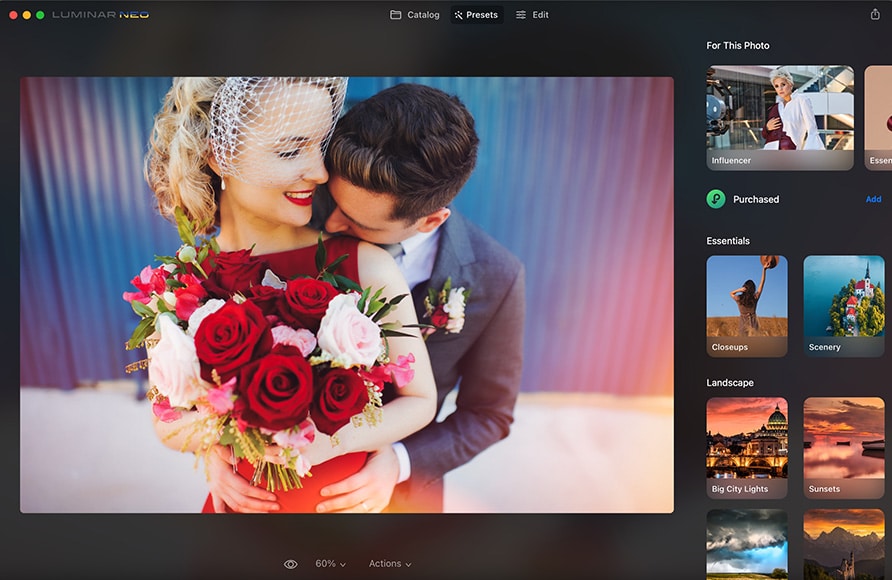
Download the latest version of Luminar Neo to follow along with this simple tutorial.
Use code shotkit10neo to save $10
How to Fix Blurry Photos in Luminar Neo using Supersharp AI
Blurry images can occur for a variety of reasons, from missing focus due to the use of a wide aperture and introducing motion blur when a subject is moving within the frame.
Luminar Neo’s Supersharp AI tool uses powerful algorithms to identify where this blur has occurred and apply sharpening to minimise the amount of visible blur.
Available as one of Luminar Neo’s extensions, it’s incredibly simple to use and can deliver exceptional results in a matter of seconds.
Here’s what you need to know to fix blurry photos in Luminar Neo using the Supersharp AI extension:
1. Zoom in on your subject to assess the blur
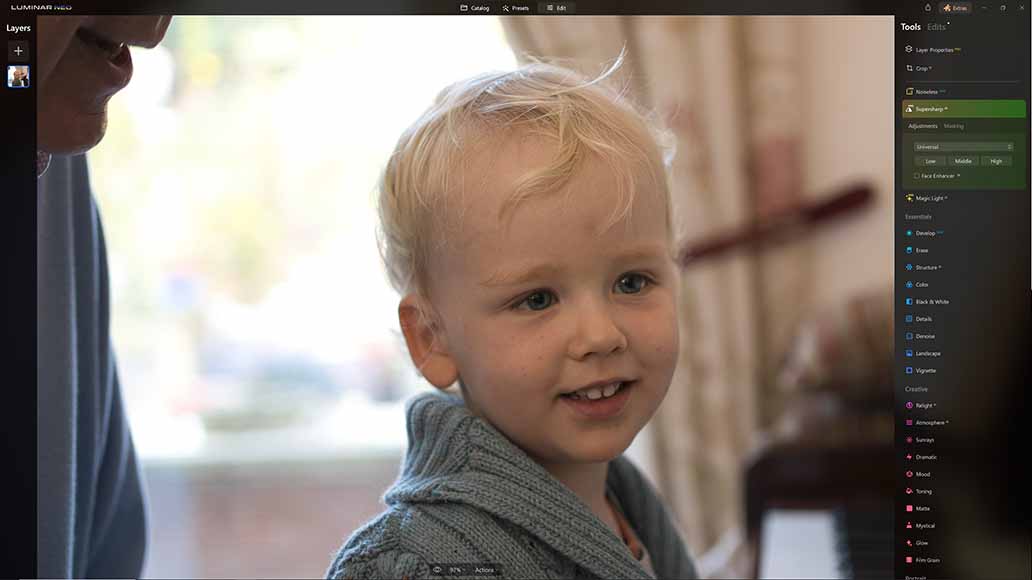
Zoom in on the image for greater accuracy when reducing the blur
Once you’ve added the Supersharp AI extension to Luminar Neo, select the image you wish to reduce the blur from and, head over to the Edit tab, then zoom in on the area of the image you want sharpening.
Typically, this will be the subject’s face, but if you’re shooting wildlife or street photography, the main area of focus will vary, so use your judgment to hone in on the relevant details in your photograph.
2. Bring up the Supersharp AI tool in Luminar Neo
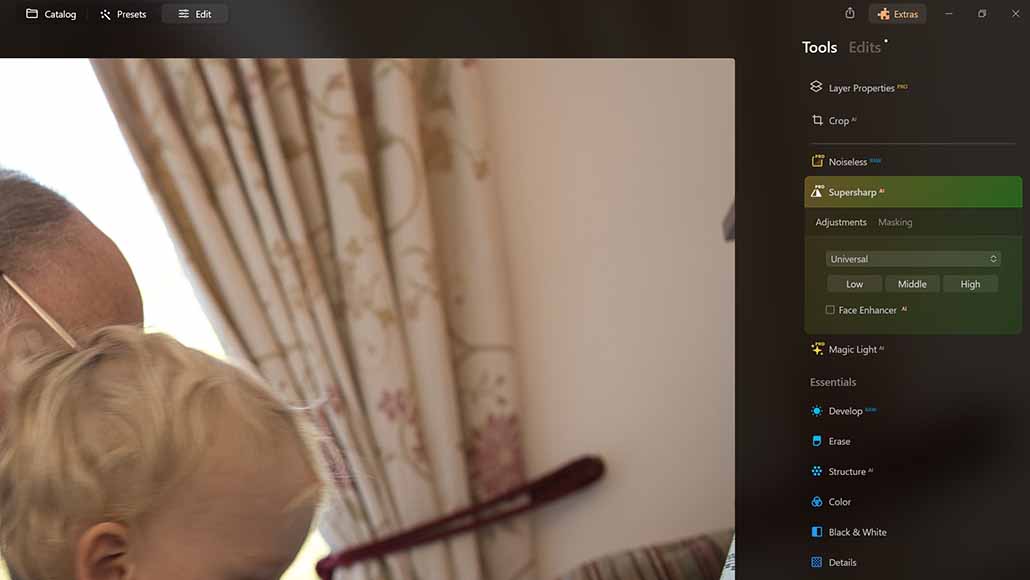
Supersharp AI can be accessed through the Extensions in the Tools settings
With your image ready to sharpen, it’s time to bring up the Supersharp AI tool, which you can find in the Extensions subcategory in Luminar’s Tool tab.
There are three basic adjustments featured in the Supersharp AI tool you can alter: Universal and Motion Blur, Low, Middle, and High settings to alter how much sharpness is introduced, and the Face Enhancer AI checkbox for applying the effect to portraits.
There’s also a separate set of options for Masking, which allows you to select a specific area of the image you wish to apply the Supersharp AI tool to.
3. Apply the low setting of Supersharp AI
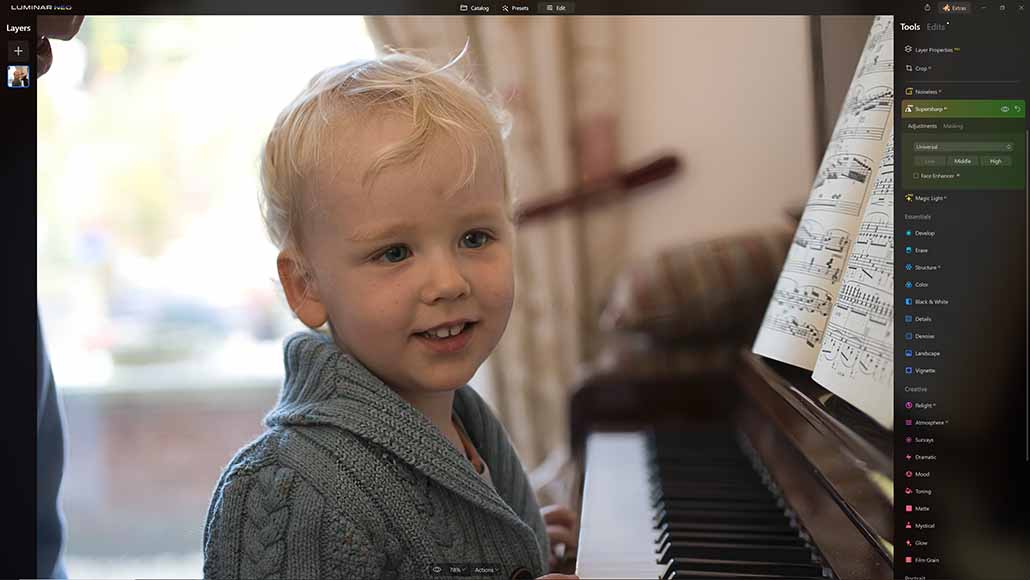
Play with low, medium, and high blur reduction to achieve the desired effect
With your image in the Edit tab and the Supersharp AI tool selected, it’s time to apply it to reduce the blur. Begin with the Low setting and see how this looks, then apply the Middle and High settings so you can see how these compare.
It takes a few seconds to apply the tool in the first instance, but once you’ve applied each of the intensity settings, you can quickly alternate between these to see which one delivers the best results.
4. Use the Supersharp AI Face Enhancer
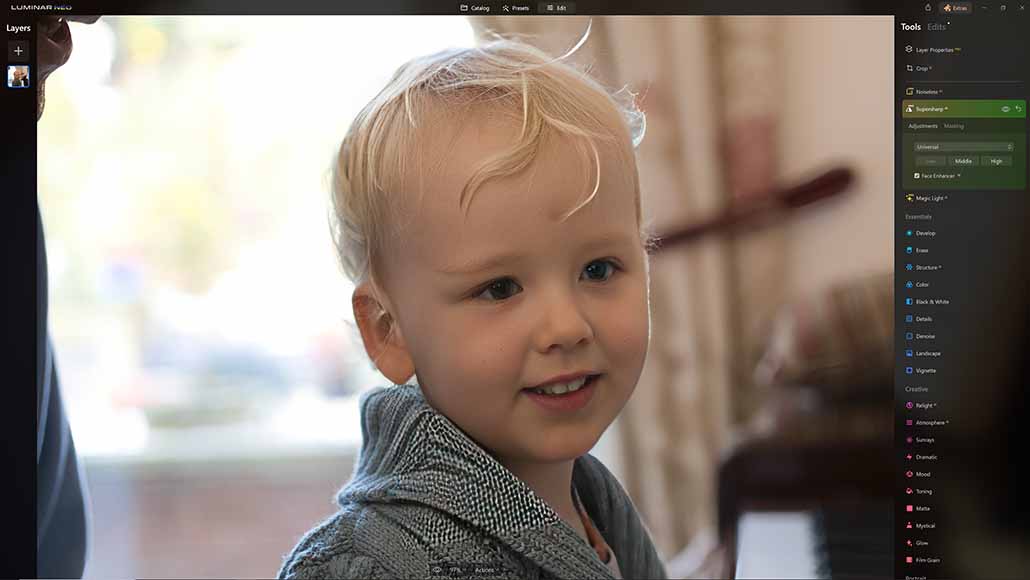
Luminar Neo’s supersharp AI also features a Face Enhancer tool
One of the most common applications for Luminar Neo’s Supersharp AI tool is for portraits, so it’s fitting the developers have included a specific Face Enhancer AI checkbox to apply blur reduction to faces.
As you can see from the example image above, this tool delivers additional sharpness beyond what can be achieved when applying Supersharp AI universally.
This can be used in combination with the different intensities of the Universal tool to assist with fine-tuning the sharpness both on the subject’s face and elsewhere in the image.
5. Use the mask options

Create masks easily to determine where the supersharp AI processing is applied
The Supersharp AI tool is an effective tool for reducing overall blur in a photograph, but it isn’t always desirable to apply the effect across the entire image.
Fortunately, you can easily apply a mask to select a specific area of the image to apply the effect. For example, if you’re using the Supersharp AI tool for a portrait, you can create a mask to highlight the eyes and mouth to reduce the blur in these areas.
Masking tools that can be applied to Supersharp AI can be found in the Masking tab in the Supersharp AI tools, with the options for Brush, Linear Gradient, Radial Gradient, and Luminar Neo’s Mask AI.
(Learn more ways to mask using Luminar Neo.)
Once you’ve applied the mask to the desired areas on the image, you can then switch back to the Supersharp AI Adjustments tab and alter the settings to reduce the degree of blurring in these areas.
6. Use Supersharp AI’s Motion Blur tools

Supersharp AI’s motion blur feature can be used to reduce blur from movement
Motion blur is another issue that can render a photograph less appealing, and Luminar Neo’s Supersharp AI tool has a separate setting to address this type of blurring.
It can be selected by clicking on the drop-down menu in the Supersharp AI settings, where you can change it from Universal mode to Motion Blur mode.
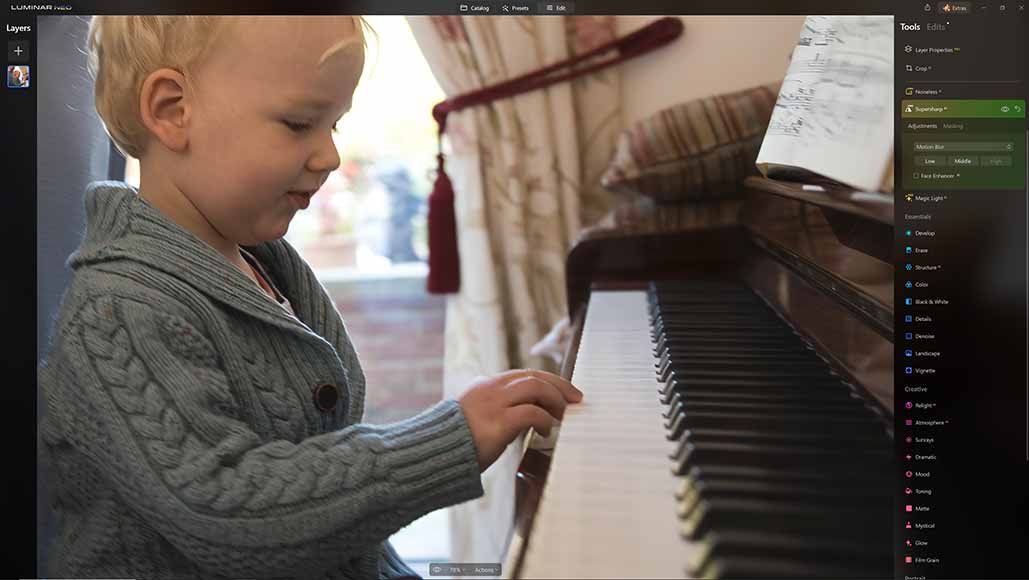
Luminar Neo’s motion blur reduction can significantly improve sharpness
Once again, you can experiment with the Low, Middle, and High threshold settings here to see which one delivers the best results when reducing the amount of visible motion blur.
As with the standard sharpening tool, motion blur can also be used in conjunction with masks to make sure it’s only applied to a specific area of the image.
Frequently asked questions
As I’ve demonstrated above, Luminar Neo’s Supersharp AI tool is a powerful method you can use for reducing blur, both for shots that are out of focus and those featuring motion blur.
In case you still have any queries on reducing blur, here are the answers to some of the most commonly asked questions on the topic.
Can a very blurry photo be fixed?
The degree to which an original photograph is out of focus will affect how much it’s possible to sharpen it in post-processing software, with completely out-of-focus images unlikely to be improved considerably.
Some smartphone apps feature sharpening tools, while professional photographers will turn to dedicated software such as Luminar Neo and use these to sharpen images with bespoke tools dedicated to the process.
Here are some mobile apps to fix blurry photos and here’s the process to unblur an image with other tools.
How do you sharpen images in Luminar?
As we’ve explored in this tutorial, Luminar Neo’s Supersharpen AI tool is a powerful tool for reducing blur and increasing the sharpness of your images to make them really pop.
If you don’t have the Supersharp AI extension installed in Luminar Neo, you can also apply a sharpening effect in the software’s basic Develop editing tool.
Simply select Sharpness from the Develop tools and you’ll be presented with a slider you can use to increase sharpness, as well as alter the Radius and Masking.
Is there a blur tool in Luminar?
There are occasions when you might want to introduce blur into your image, for example, to achieve a bokeh-life effect in post-processing or to blur out personal information you don’t want to make public.
Luminar Neo allows you to achieve this through the Structure tool available in the Edit tab, where you can increase or reduce the amount to apply a subtle blur to an image.
Suppose you’re specifically after a bokeh effect on your portrait photographs. In that case, there’s a dedicated Portrait Bokeh AI tool you can use that deploys Luminar Neo’s powerful algorithms to achieve this effect.


