






20 Wind-Friendly Poses for Hiking and Travel Photos
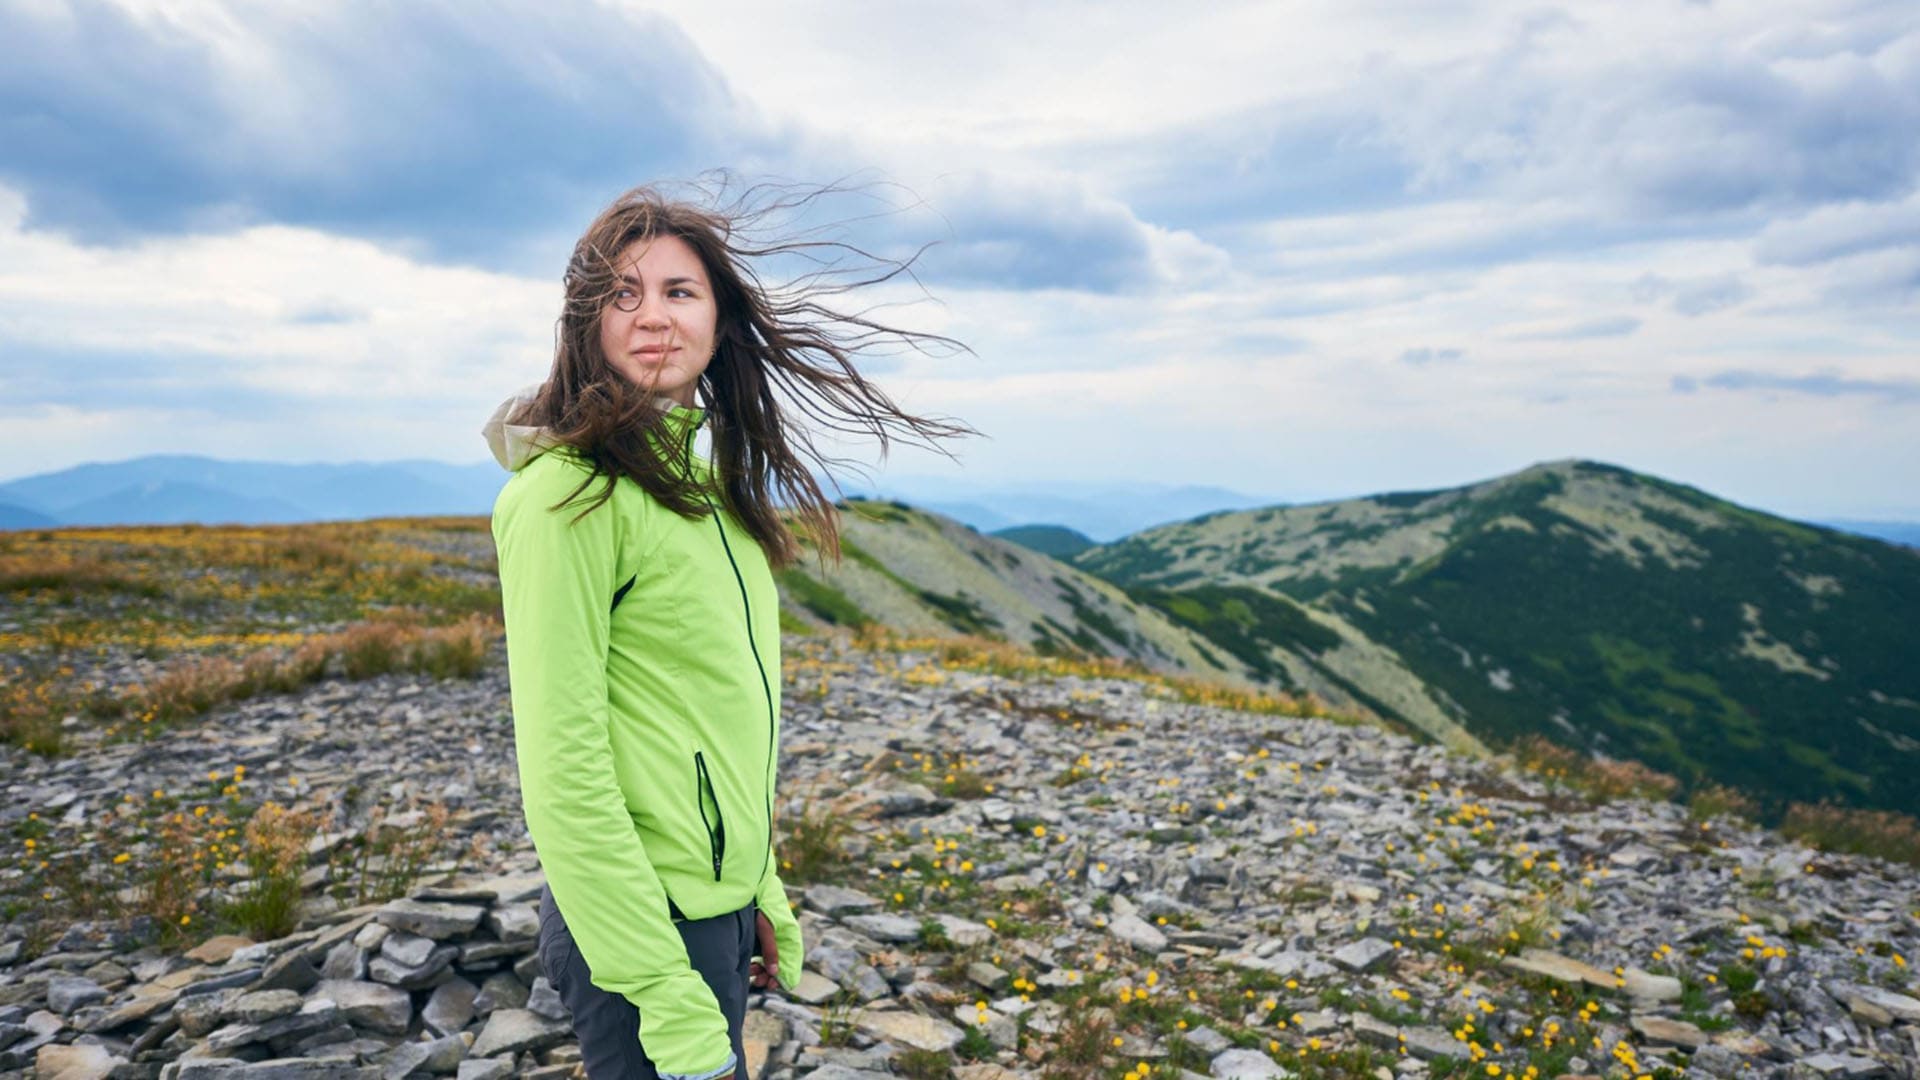
Wind messing with your hiking shots? Here are 20 poses that make windy weather into an advantage.
Learn | Posing | By Jeff Collier | Last Updated: July 18, 2026
Shotkit may earn a commission on affiliate links. Learn more.
Trying to shoot a portrait on a windy summit can be a bit of a struggle.
You’ve got hair whipping across your face, a jacket flapping the wrong way, and a lens cap that seems destined to blow off toward the valley below.
But wind doesn’t have to end all attempts to make a good hiking or travel photo. Instead, it can add motion, drama, and a sense of scale that a dead-calm day just can’t provide.
The trick is knowing which poses actually benefit from a breeze instead of getting wrecked by it. So let’s work through some wind-friendly poses you can use on your next breezy trail shoot.
Wind-Friendly Poses Explained
Before getting into specific poses, let me describe how exactly you should change your shot based on wind direction.
Shooting with the wind at your subject’s back (blowing toward the camera) tends to push hair and loose fabric forward. This can obscure the face if you’re not careful.
Wind coming from behind the camera, blowing past your subject, usually reads better since it lifts hair and fabric away from the face while still catching the light.
You generally want to shoot toward the sun with the wind blowing hair or fabric away from the subject. You’ll get that glowing, wind-blown-strand look that a lot of outdoor portraits chase. However, side-lighting is better at showing the texture and shape of a flapping jacket or scarf.
Lastly, think about wardrobe. Loose layers, scarves, unzipped jackets, and long hair all give the wind something to work with.
It’s also worth remembering that wind rarely blows at one constant strength. Shoot in bursts rather than single frames, and don’t be afraid to pause and wait out a lull if you need to.
20 Hiking and Travel Poses for Windy Weather
1. Arms Wide at the Edge
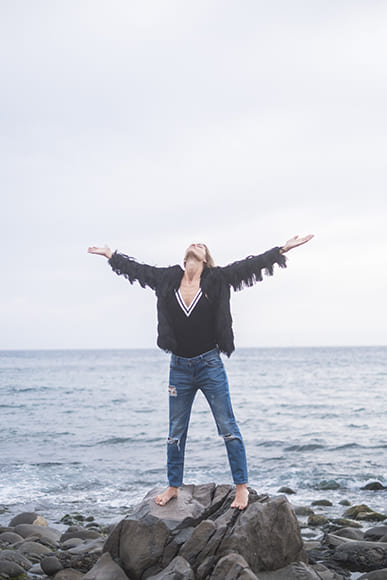
This is the classic “I made it” summit shot, and it works particularly well on a windy day because the wind gives the pose somewhere to go.
Have your subject stand at a safe distance from any drop-off, arms spread wide, jacket unzipped so it catches the air. Shoot from slightly below to emphasize the sky and the open arms against it.
Time the shutter to a gust if you can. Waiting a beat for the wind to properly fill out the jacket makes a noticeable difference over just firing away continuously.
2. The Windbreaker Silhouette
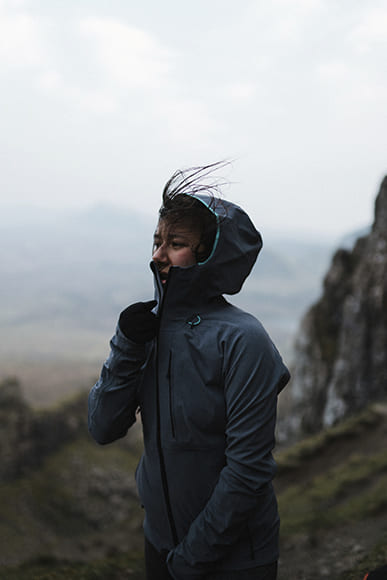
Rather than showing the face, this pose leans into shape and silhouette, which suits overcast or backlit conditions where facial detail would be flat anyway.
Position your subject between the camera and the light source – ideally near golden hour – with their windbreaker fully zipped but hood down. The wind will press the fabric against their frame on one side while pulling any loose material out on the other, creating a striking outline.
If you can, try to shoot from a low angle so the subject is framed against as much open sky as possible.
3. The Contemplative Overlook
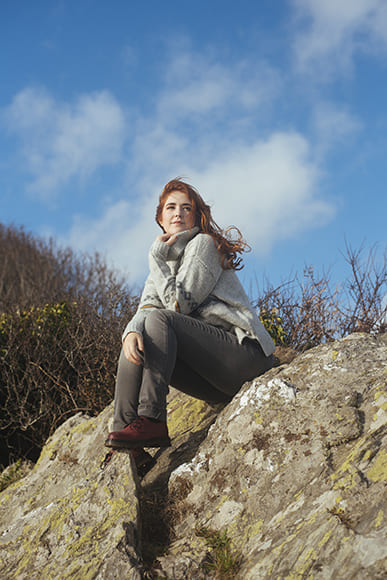
This one trades drama for mood. Have your subject sit or stand at an overlook, gazing out, rather than at, the camera, hair and any loose clothing moving naturally in the breeze.
Shoot from a three-quarter angle so you catch both the landscape and enough of the subject’s profile to read their expression. This pose works precisely because it’s all in the moment, so you can take a stream of photos and choose whichever looks best.
4. Seated on the Ridge
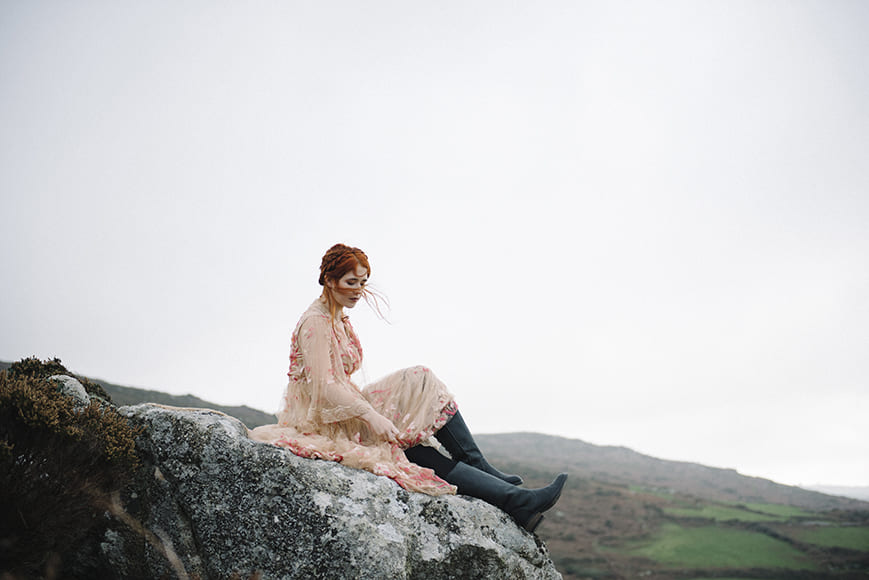
Have your subject sit with legs extended or knees pulled in near a ridgeline, jacket or shirt untucked so it lifts slightly in the wind.
This pose looks more relaxed than the standing versions, which makes it useful for travel content that’s meant to feel spontaneous. Shoot from ground level nearby, keeping enough space in the frame for the surrounding landscape to register.
5. Mid-Stride Trail Walk
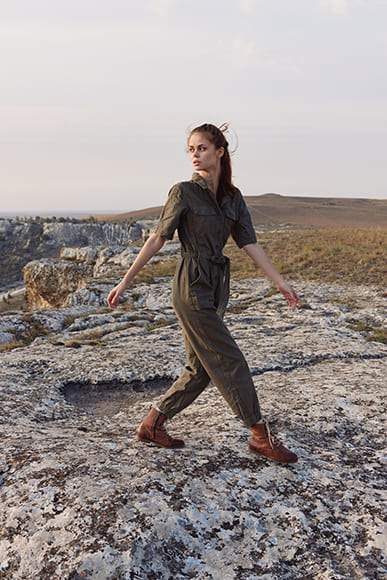
Capture your subject walking naturally along the trail, ideally with the wind hitting them from the side or slightly ahead so hair and clothing move visibly.
Burst mode is your friend here, since you’re looking for the one frame where the foot placement, arm swing, and fabric movement all line up. If you can, use a slightly lower angle to make the stride look more purposeful.
6. The Trekking Pole Push
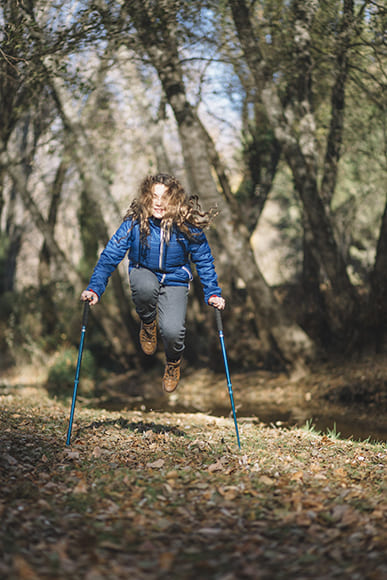
If your subject uses trekking poles, capture the moment of planting one pole and pushing off, ideally cresting a small rise so their silhouette is framed against the sky.
Wind adds a nice layer here by moving any loose clothing or a jacket tied around the waist. Shoot from the side to capture the full extension of the pose.
7. The Wind-Assisted Leap
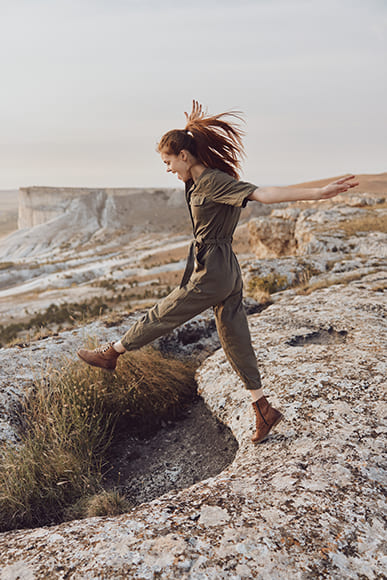
A jump shot on a breezy day looks noticeably different from one taken in still air, since loose clothing and hair stay elevated a beat longer.
Have your subject jump with arms and legs slightly extended, timing the shot for the peak of the jump. A fast shutter speed is essential here, both to freeze the jump itself and to keep fabric detail sharp.
8. Downhill Stride
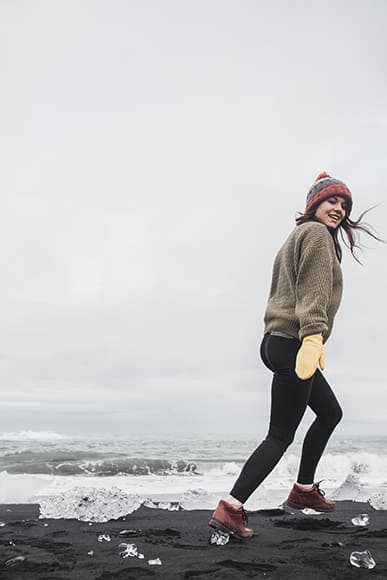
Shooting a subject moving downhill, with the wind at their back pushing hair and clothing forward, creates a sense of momentum that’s hard to fake in a still pose.
Take the shot from below or to the side, use a fast shutter speed to freeze the subject in the legs while keeping the face reasonably sharp, or experiment with slower shutter speeds if you're intentionally trying to create motion blur.
9. The Hair Toss
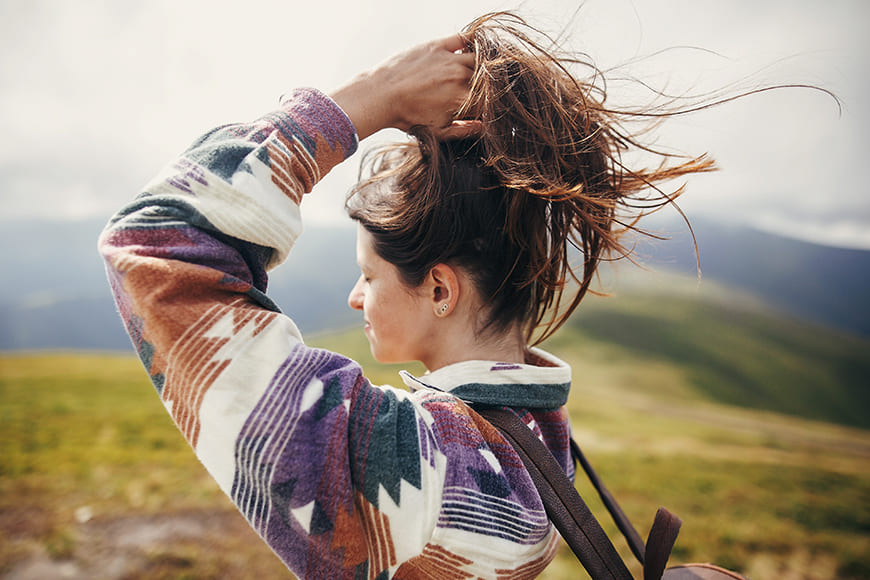
A well-timed hair toss into the wind is one of the most reliable ways to add energy to an otherwise static portrait.
Have your subject toss their head so hair lifts and catches the wind, ideally with the sun behind them to backlight individual strands. This usually takes several attempts since timing the toss with both the gust and the shutter takes practice, so burst mode helps a lot.
10. Scarf Flutter
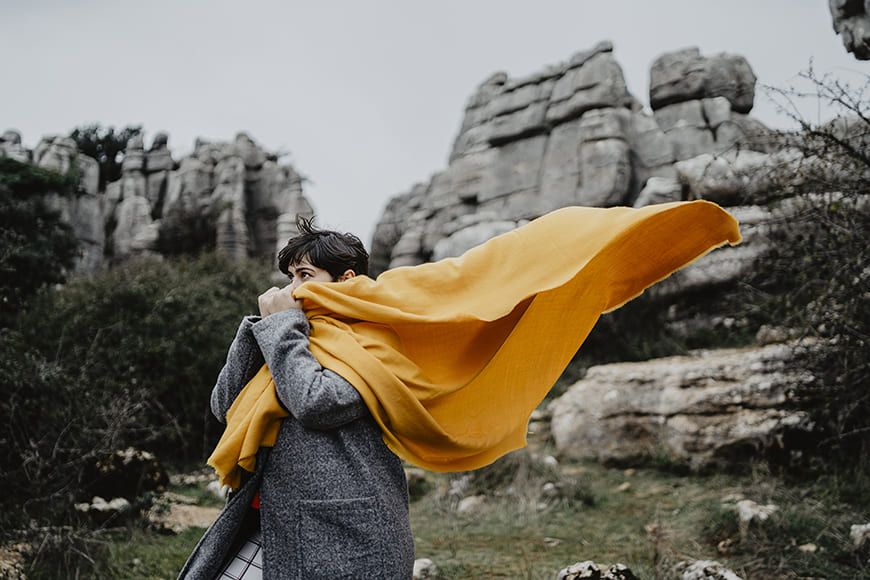
A scarf gives you a much larger, more visible focus (and a canvas) for wind than hair alone.
Position your subject with the wind coming from behind the camera so the scarf trails away from their face rather than across it. Side or three-quarter lighting shows off the texture and movement of the fabric best.
11. Jacket Flare
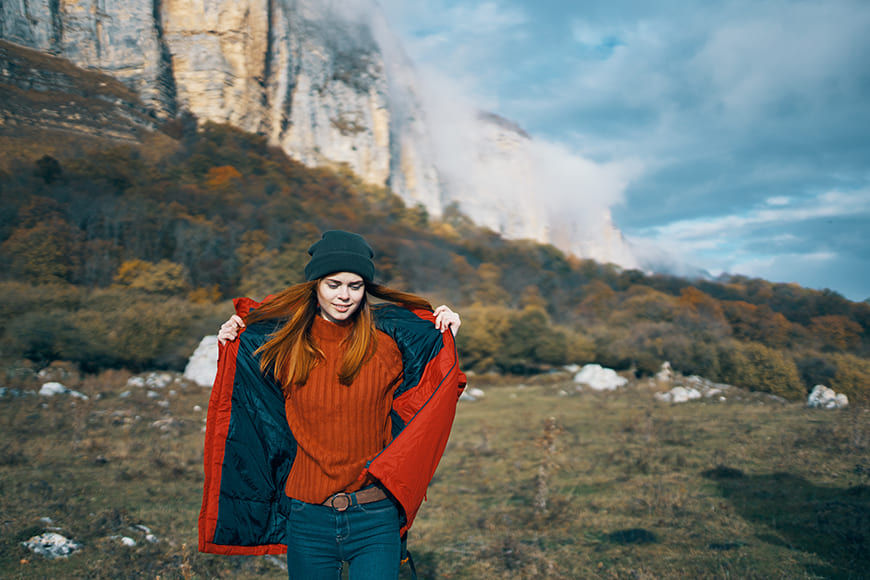
An unzipped or open jacket catches wind dramatically, especially lighter shells or windbreakers rather than heavy insulated coats.
Have your subject face into the wind with the jacket open, arms slightly away from the body so the fabric can billow outward. Shoot at a fast shutter speed to capture the shape clearly, since a blurred jacket edge tends to look messy rather than dynamic.
12. Twirl in the Wind
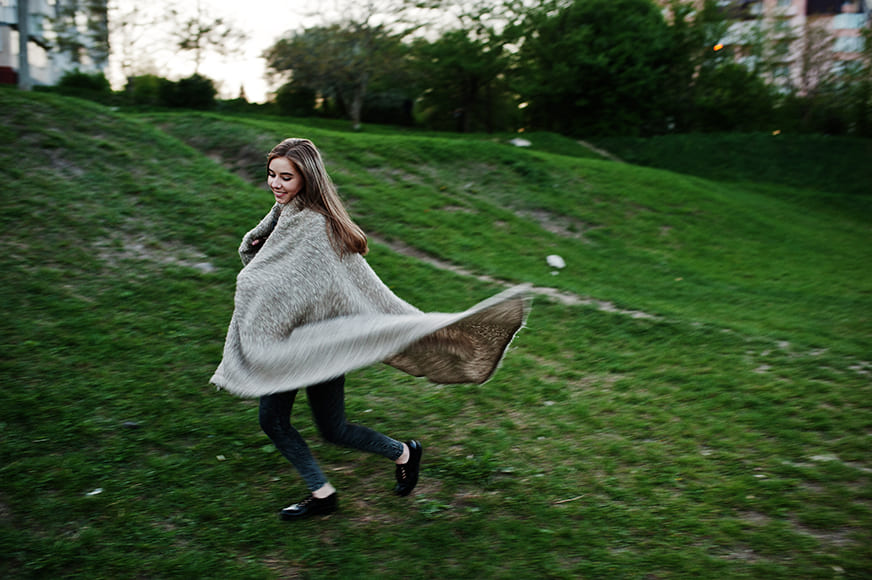
Having your subject spin or twirl in flowing layers, like a long skirt, poncho, or oversized shirt, combines their own movement with the wind’s for a more complex, layered result.
This works best in large open areas, but it can also be a focal point in an otherwise busy mountain-side trek. Continuous shooting mode helps you catch the exact moment the fabric is fully extended rather than mid-collapse.
13. Map in the Wind
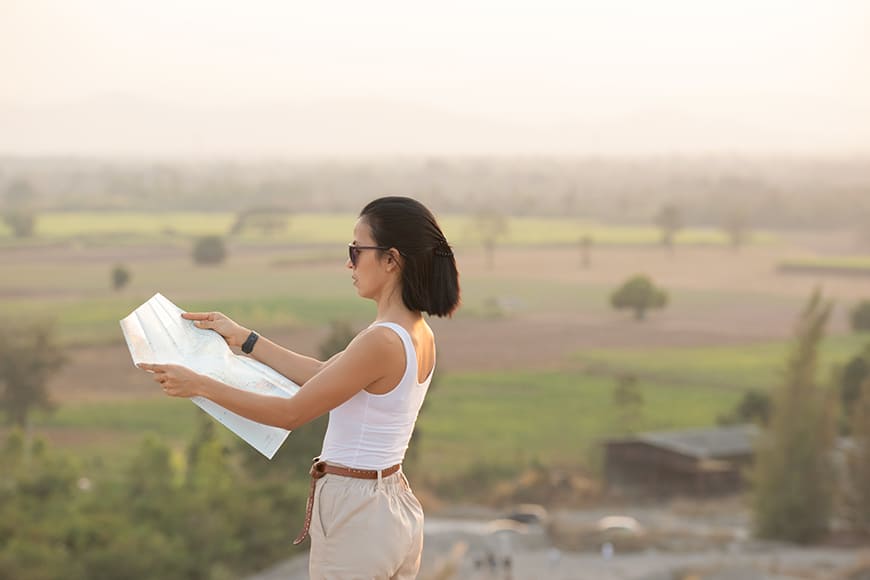
Holding a paper map that’s visibly fighting against the wind adds both storytelling and a practical obstacle your subject is “battling,” which reads as more authentic than a calm, posed map check.
Have your subject grip the map with both hands, slightly angled so the wind catches one edge. Shoot from the front or a slight side angle to show both their expression and the map’s movement.
14. Flag or Bandana Hold
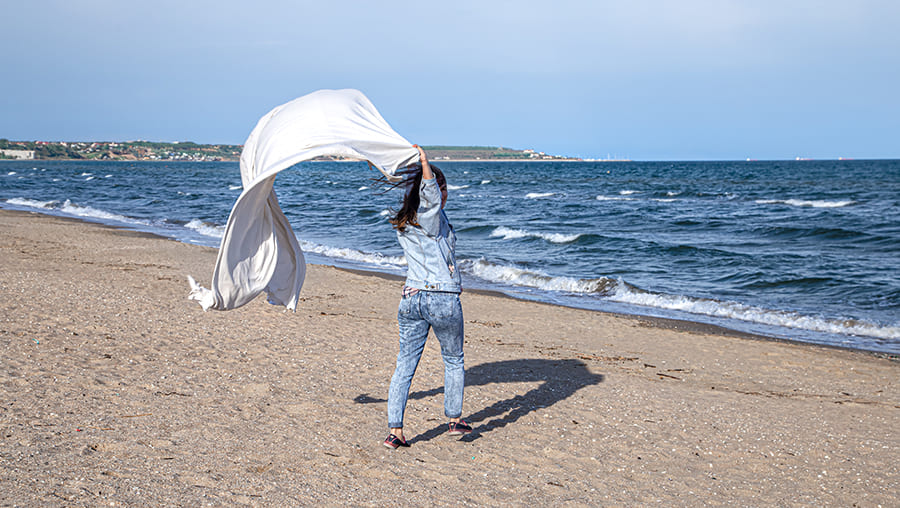
Holding up a small flag, bandana, or piece of fabric (possibly on a stick or trekking pole) gives you an obvious visual cue for wind direction and strength, which can make an otherwise ordinary landscape shot feel more dynamic.
Position your subject so the fabric is clearly separated from the body in the frame, and shoot with enough shutter speed to keep its shape readable (or it might become a blur).
15. Backpack Strap Adjustment
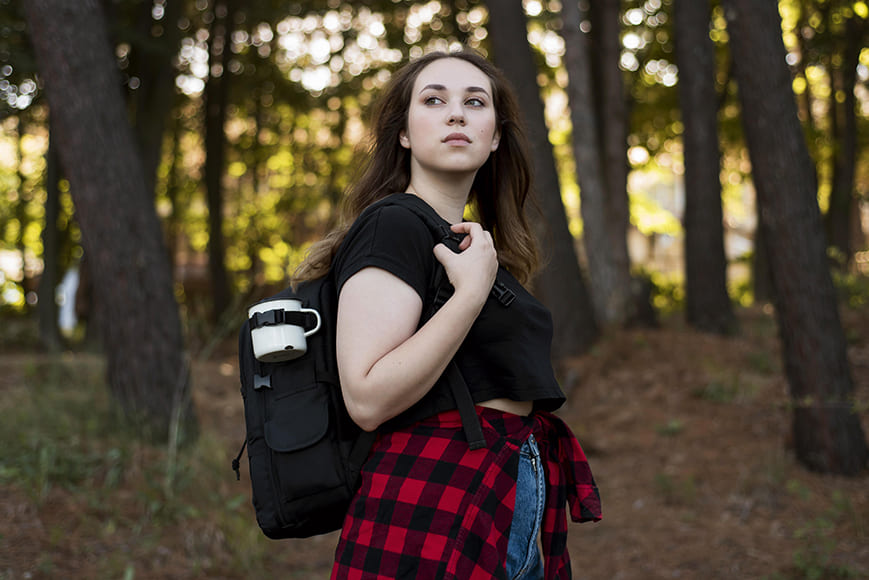
A simple, candid-feeling pose: have your subject adjust a backpack strap while a loose layer or their hair moves in the wind around them.
This works well as a secondary or candid-style shot within a larger set, since it doesn’t require much direction. Shoot from a slight distance with a longer lens if you have one, which helps it read as an unposed, in-the-moment shot rather than a staged portrait.
Backpacks are in general a mainstay of travel photography, and choosing one designed for travel makes it easier to carry your gear comfortably when you want to take plenty of photos.
More: Best Packable Backpack for Lightweight Photography Travels
16. Waterfall Mist Catch
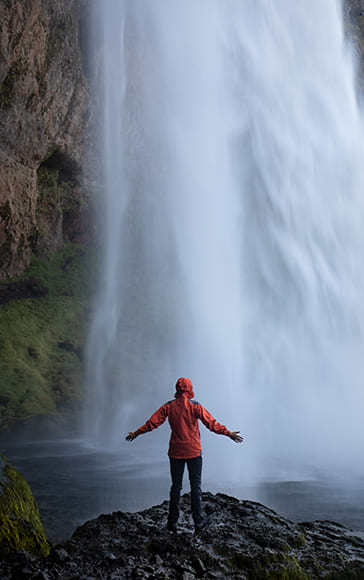
Standing near the base of a waterfall gives you two moving elements at once. You have the spray of water drifting off the falls and the wind carrying it further, both of which will move hair and loose clothing.
Position your subject slightly off to the side of the direct spray so they catch the drifting mist without getting soaked, and shoot at a faster shutter speed to keep the water droplets and any moving fabric crisp rather than a blur.
17. Balancing the River Crossing
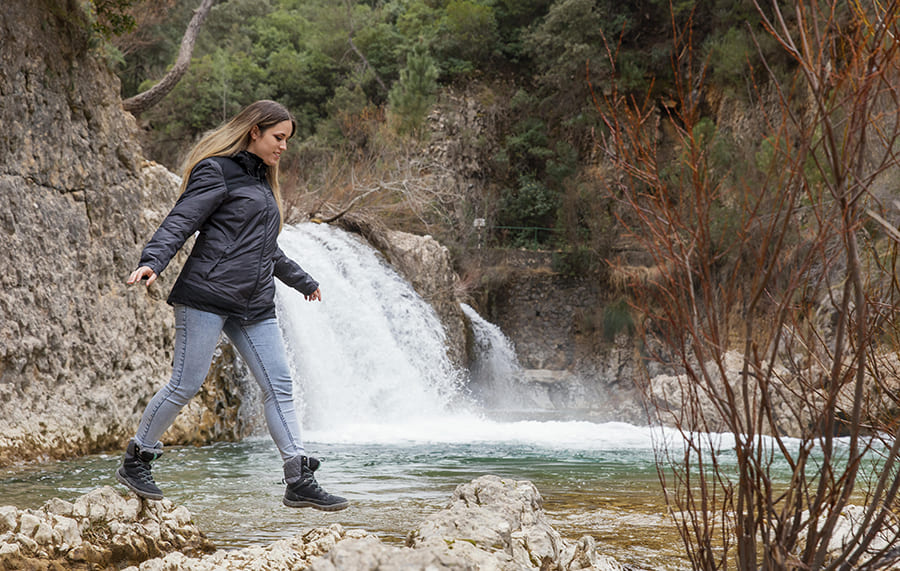
Capture the moment mid-step on a river crossing, one foot on a stone and arms slightly out for balance, with the wind adding an extra layer of visible challenge to the shot.
Shoot from a low angle near the bank to include both the subject’s concentration and the movement of the water below them. This positioning reads as far more dynamic than a posed standing shot at the water’s edge.
18. Canyon Edge
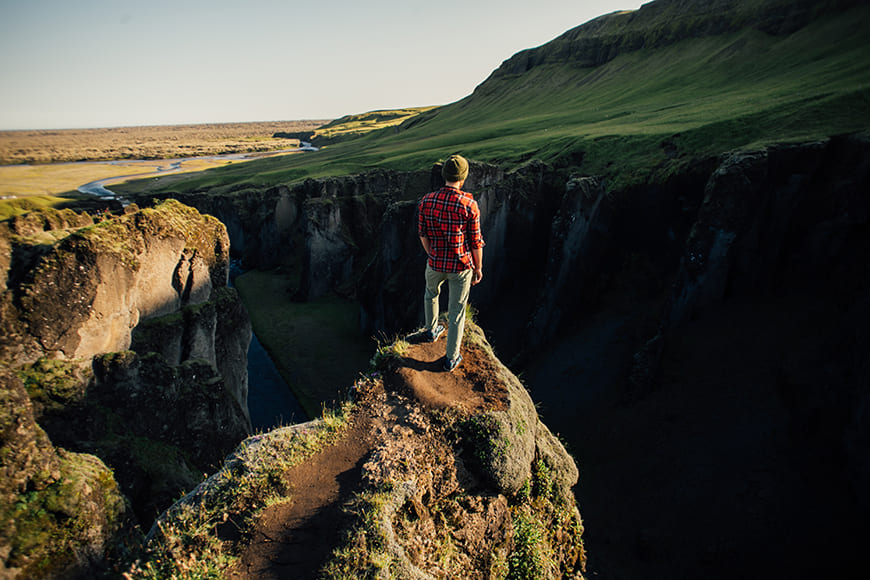
A canyon or fjord rim, shot from a safe distance back, gives you a huge sense of scale. The wind will add visible movement to hair and clothing that emphasizes just how exposed the vantage point is.
Frame your subject small within the wider canyon to let the landscape carry most of the visual weight, and time the shot for a moment when a gust lifts their hair or jacket away from their body.
19. Boulder Perch Above the Tree Line
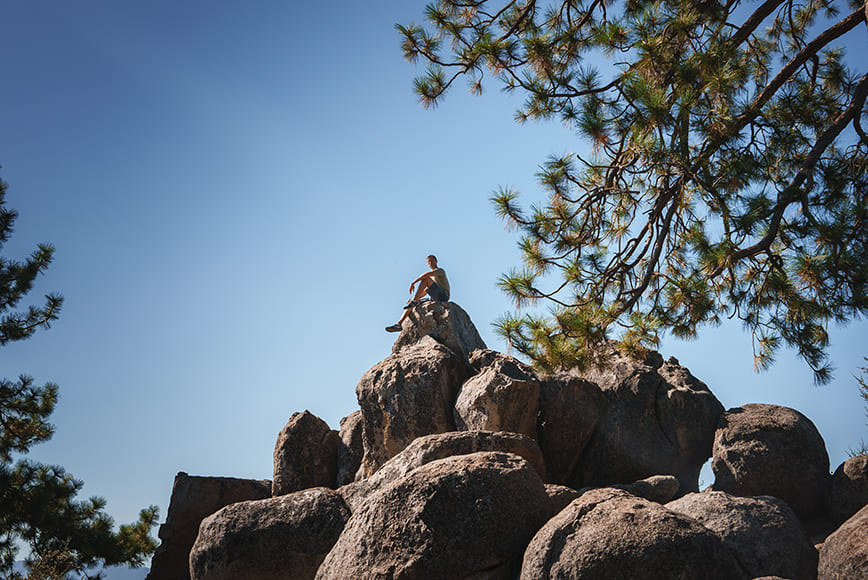
Have your subject carefully climb onto a stable boulder or outcrop above the surrounding tree line, where wind tends to be noticeably stronger and less obstructed than lower on the trail.
Shoot from below to exaggerate the height and put them against open sky, and make sure footing is secure before asking for any pose that shifts their weight or balance.
20. Wildflower Field Sweep
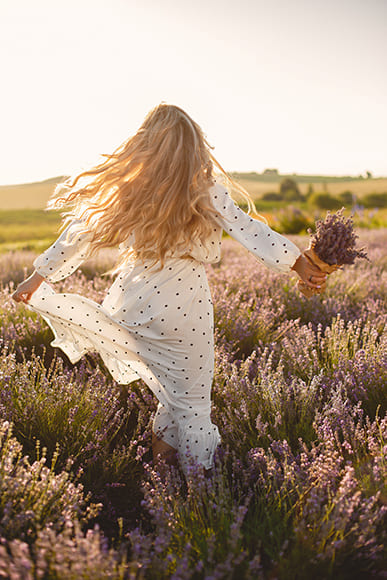
An open meadow or wildflower field lets wind move through grass and blooms as well as your subject, so the whole frame carries a sense of movement rather than just the person in it.
Have your subject walk slowly through the field with arms loose at their sides or fingertips brushing the tops of the flowers. Get lower to the ground so the foreground flowers blur softly in front of the lens.
Technical Tips for Wind Photography
- Shutter speed: Use 1/500 or faster to freeze hair and fabric detail sharply, or drop to 1/60–1/125 if you want intentional motion blur for a sense of movement.
- Wind direction: Shoot with the wind coming from behind the camera so hair and clothing lift away from the face rather than across it.
- Positioning priority: Positioning your subject’s back toward the sun for flattering light should be your priority, followed by angling their shoulders into the wind, rather than the other way around.
- Shelter and patience: Scout a wind-blocked pocket nearby for calmer portraits, and don’t hesitate to wait out a lull before shooting with the next strong gust.
- Lighting: Backlighting (shooting toward the sun) makes wind-blown hair and fabric glow at the edges, while side lighting is better for showing texture in jackets and scarves.
- Burst mode: Wind timing is inconsistent, so shoot in continuous mode and expect to sort through several frames to find the one where movement and expression line up.
- Lens protection: Use a lens hood and keep a microfiber cloth handy, since wind kicks up dust and debris on exposed trails more than most people expect.
- Wardrobe: Loose layers, unzipped jackets, scarves, and longer hair all give the wind something to move. Tight, fitted clothing won’t produce much visible effect.
- Safety first: Keep subjects a safe distance from drop-offs and ledges, especially in gusty conditions where a sudden strong gust can affect balance.
Final Thoughts
Wind is one of the few natural elements you can’t fully control, which is exactly what makes it useful. It introduces movement and unpredictability, and the poses should work with that unpredictability rather than fighting it.
Pay attention to wind direction relative to your light source before you start, and don’t be afraid to wait out a lull for the next good gust. Some of the best wind-blown shots come from patience rather than perfect direction.
Above all, keep safety in mind on exposed ridges and summits. No photo is worth standing too close to an edge in gusty conditions.

Check out these 8 essential tools to help you succeed as a professional photographer.
Includes limited-time discounts.
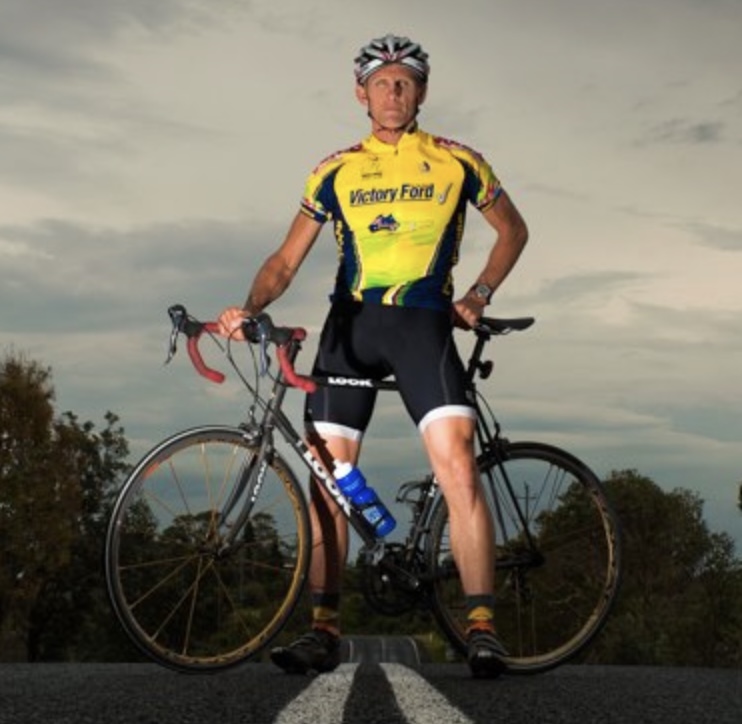
Jeff Collier is an experienced film photographer who enjoys experimenting with modern digital photography equipment, software and apps. He’s also an ex-world champion triathlete and avid cyclist, clocking hundreds of km each week in the beautiful Tweed Valley of northern NSW, Australia.
👋 WELCOME TO SHOTKIT!
🔥 Popular NOW: