How to Work with the Catalog in Luminar Neo
The Luminar Neo image catalog provides several key ways to interact with your images. In this guide we'll explain the best way to set up and use your catalog.
Luminar | Software | By Jeff Collier
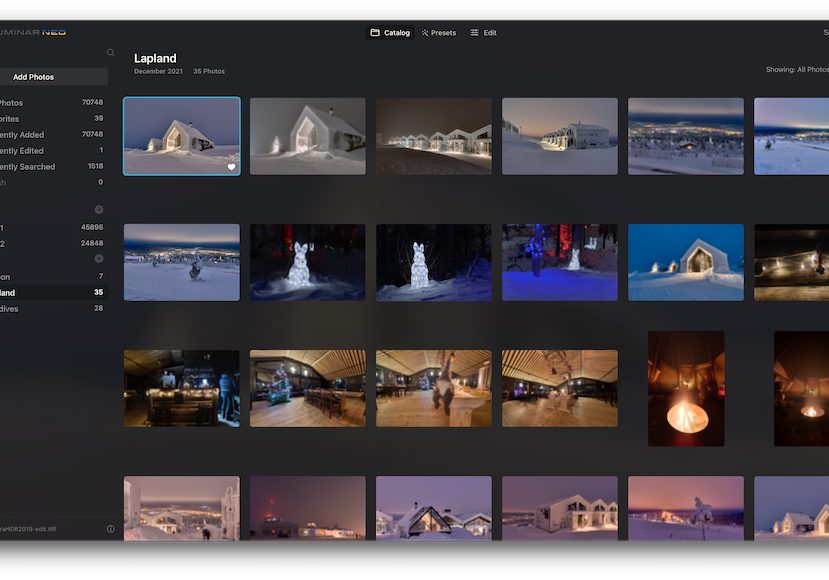
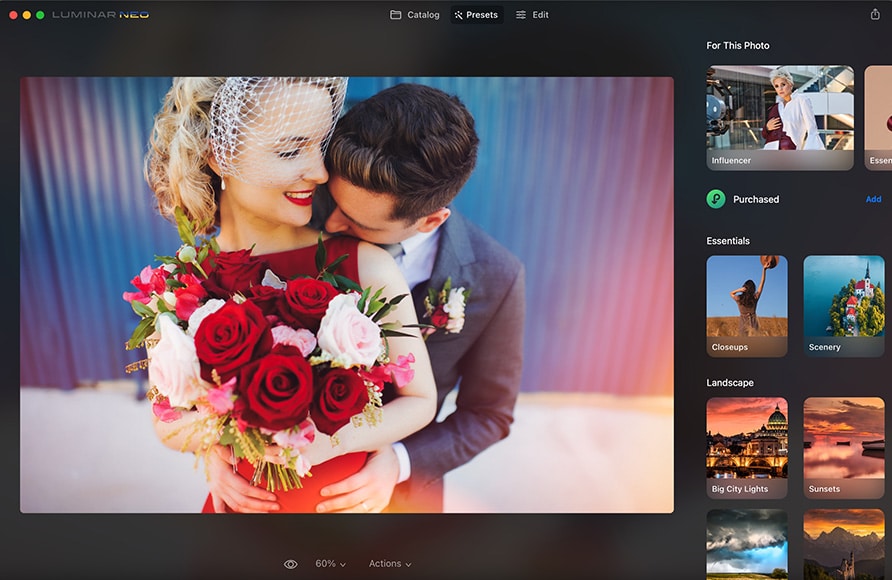
Luminar Neo as a standalone program gives you a powerful interface to manage your image library, or Catalog.
In Neo, your Catalog is a database of your images, information about their location on your drive(s), thumbnails, and a history of adjustments to each image.
Let’s take a closer look at how to use the Catalog in Luminar Neo.
For a more in-depth analysis of the software, check out our Luminar Neo review.

Powerful AI editing tools improve photos in less time. Affordable one-time price and expandable features.
Use code shotkit10neo to save $10.
Understanding Catalogs in Luminar Neo
When you first launch Luminar Neo, it will create your first default Catalog inside your computer’s Pictures folder.
You can use this Catalog to store all your images, or you can create multiple Catalogs.
For example, you may wish to separate client images from images taken for your personal enjoyment.
Creating a new Catalog
You can create a new Catalog by heading to File > Catalog > New. A dialog box will open where you can choose where to save the Catalog. After pressing Save, the current Catalog will close and the newly created Catalog will open.
Opening a Catalog
You can open a different Catalog by heading to File > Catalog > Open. A dialog box will open where you can locate the desired Catalog. After pressing Open, the current Catalog will close and the selected Catalog will open.
Backing up and restoring a Catalog
You can back up a new Catalog by selecting File > Catalog > Backup. A dialog box will open where you can specify where the Catalog will be backed up. When you press Save, the current Catalog will be backed up while remaining open.
To restore a backup of a Catalog, head to File > Catalog > Restore from Backup. A dialog box will open where you can locate the Catalog backup. After pressing Open, the current Catalog will be restored to the previous state from the backup.
Loading images

To load images into the current Catalog, head to File > Add Folder with Images.
Find the folder with the images you want to add and click Add Folder to import all of its images into your Catalog.
This may take some time if the folder contains many images.
The importing process will automatically generate subfolders too.
For example, if you store your images in a Year/Month/Date hierarchy, selecting a year folder will import every month and date folder within.
(Learn more about this process by watching these Luminar Neo tutorials.)
Managing your Catalog
Flagging images

Images in your Catalog can be flagged, which is a quick and easy way to sort them. There are three types of Flags that you can apply to an image.
- Flagged. Flagged images are considered your Favorites. To flag an image, head to Image > Flag > Favorite, or click the heart icon. Alternatively, press P on your keyboard.
- Rejected. These are images you don’t want to use. Perhaps the image was out of focus, your subject was moving, or there was some other issue that editing cannot solve. To reject an image, head to Image > Flag > Rejected. Alternatively, press X on your keyboard.
- Unmarked. Images that are neither Flagged nor Rejected remain unmarked. Perhaps these are images you haven’t made a decision on yet or that you have no strong feeling about. To unmark an image that you have previously flagged or rejected, head to Image > Flag > Unmarked. Alternatively, press U on your keyboard.
You can use flags to sort your images. In the Showing drop-down in the top right of the Catalog window, you can choose to show all images or show only those with a specific flag: Flagged, Rejected, or Unmarked.
There is also an Edited option, which displays only images you have already worked on.
I like to flag all the images from similar conditions so I can batch edit them all at once – learn how to batch edit in Luminar Neo.
Deleting images
Deleted images are sent to the Trash folder.
Here you can review images you have marked for deletion, choosing to either send them to your computer’s trash for permanent deletion or to return them to the Luminar Catalog.
Albums
It is important to understand the difference between Folders and Albums.
A Folder exists on your storage device, and it is the location where your image file is saved.
Albums are virtual collections for your images; placing an image in an Album does not change where the image is saved on your storage device.
You can name and group your Albums however you want.
For example, if you want to keep track of your favorite landscape photos or the best photos from a vacation, an Album is where you’d put them. The same photo can exist in multiple Albums.

To create a new Album, go to File > New Album (or press + next to the Albums menu). Next, give your Album a meaningful name.
To add one or more images to your Album, select their thumbnails, then click and drag from the Folder to your new Album.
You can also create a new Album by selecting thumbnails of the images you want to add, then going to File > New Album (or pressing + next to the Albums menu). The new Album will be created with the selected images inside.
To remove one or more images from an Album, select the images, right-click, and choose Remove From Album. To remove an entire Album, right-click on the Album name and choose Delete.
Note that removing an image from an Album or deleting an Album itself will not delete images from your storage device.


