Best Luminar Neo Tutorials to Help You Improve Your Editing
Luminar Neo isn't a complicated software, which is why it's so popular with beginners. However, to use its advanced features, these tutorials will help.
Luminar | Software | By Andrew Dilks
These Luminar Neo tutorials will help you become quickly accustomed to the software’s many tools and settings and provide the means to focus on creatively enhancing your photographs.
I’ve used Luminar Neo for a variety of image post-processing, from enhancing landscapes to sharpening portraits, and its impressive array of tools makes these tasks simple and intuitive.

Download the latest version of Luminar Neo to follow along with this simple tutorial.
Use code shotkit10neo to save $10
We chose Neo as the best photo editing software for beginners due to its ease of use.
However, there’s a wide variety of advanced features that do require some explanation to get the most out of your images.
Read on, and I’ll break down the best Luminar Neo tutorials you can turn to in order to master the basics of the platform, as well as dive into some of the more advanced processes you can use.
Best Luminar Neo Tutorials (From Beginner’s Guides to Advanced Processes)
Luminar Neo has many exceptional tools you can use to edit your photographs, in addition to a broad selection of presets, and the best Luminar Neo tutorials help you to discover and use these tools to the best of your abilities.
While Luminar Neo is popular among both amateur photographers and working professionals, these tutorials can be of great help to anyone who’s new to the software and wants to quickly find their way around it.
There are also advanced tutorials that I’ll dive into, which are designed for specific tasks, including comprehensive tutorials for landscape and portrait editing that explore a broad selection of tools you can apply to this shooting style.
With that said, let’s start at the beginning with a great Luminar Neo tutorial for beginners to help get you oriented with the settings and tools you need to know.
Complete Luminar Neo tutorial for beginners
This excellent tutorial for beginners delivers an excellent primer on how to use Luminar Neo for newcomers to the software, whether you’re an experienced photographer accustomed to other post-processing software or a complete newbie who needs walking through the various tools.
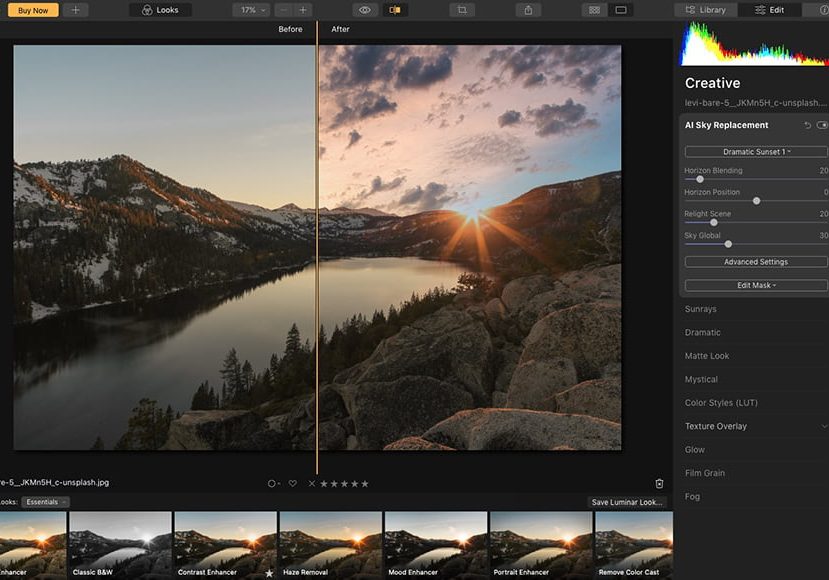
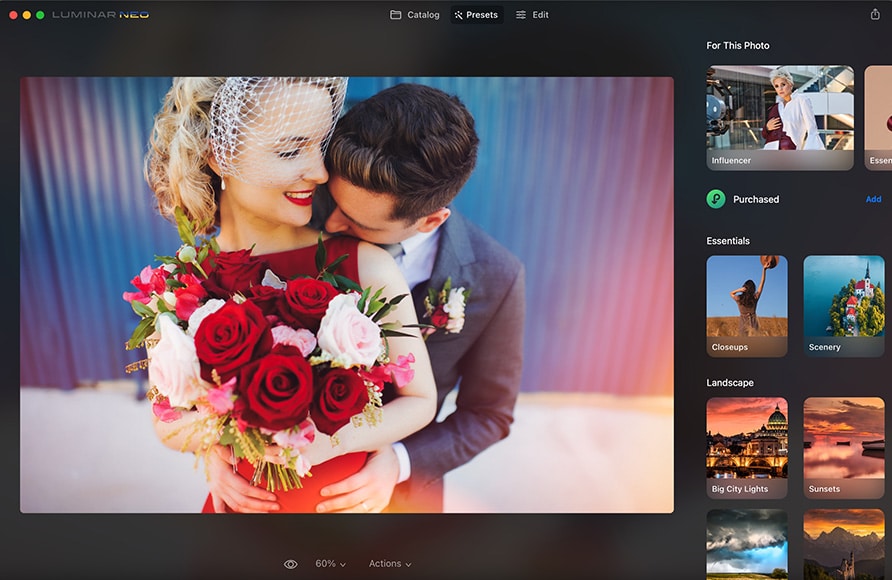
It begins with a brief explanation of how you can import images into the Catalog, then takes users through the basic layout of the Edit workspace and how they can quickly apply one of Luminar Neo’s many Presets.
Next, the tutorial moves onto specific tools that can be accessed via Luminar Neo’s Edit tab, beginning with the Crop tool and moving through the Apply, Essentials, Creative, Portrait, and Profesional tools, offering a brief explanation of what each tool does.
There’s also a short section outlining more advanced features you can access in Luminar Neo, with a brief overview of Neo’s masking tools, as well as how to use layers to create even better images.
Finally, this tutorial explains the simple steps you need to take to Export and Save your project, so you can return to it at a later date to continue editing or share in a web-friendly format online.
How to start any edit in Luminar NEO
Editing photographs often revolves around certain rules of thumb in order to get the best results, and this tutorial covering the basic steps to begin with serves as an informative primer on what to do first when editing your images.
This tutorial from Anthony Turnham’s YouTube channel is all about the correct steps to follow when editing Raw photographs, adjusting exposure, contrast, sharpness, and other settings which can be found in Luminar Neo’s Develop tools.
The Develop tools can be overwhelming for beginners, with many subcategories to choose from, and this tutorial kicks off with the Profile setting, which can be used to set the specific camera model that was used to take the photograph.
Next, the Exposure level is adjusted to correct the amount of detail in the picture, with some handy tips on how you can use the histogram graph at the top of the tools list to monitor how the image is altered when moving the Exposure slider.
The tutorial then goes into more depth on how to effectively adjust contrast, including adjusting the Blacks and Whites as an alternative to the Smart Contrast tool to improve the tonal range without losing detail in shadows and other darker areas.
Midtones, white balance, colour temperature, and other core factors you need to know when editing Raw images in Luminar Neo are also covered here, all with practical examples of how these settings work in the context of the software’s histograms.
In addition to covering the basic Develop tools, this tutorial also explains how Luminar Neo’s Structure AI tool can be used to bring out additional details and generally improve the overall quality of the photograph.
How to edit a landscape photo with Luminar Neo
Different styles of photographers will use Luminar Neo in different ways to get the desired results. If you’re a keen landscape photographer who wants their images to truly shine, this tutorial is a must-see for your editing needs.
It’s another highly informative tutorial from Anthony Turnham that explores many processes you can use to improve your landscape photographs, beginning with how to get the best exposure and contrast by using exposure-bracketed images.
The tutorial touches on the excellent Luminar Neo extension HDR Merge, using this to reduce chromatic aberration and blend multiple shots, as well as how the basic Develop tools can be used to enhance images with the various light and curve sliders.
Next, the Structure AI tool is explored in the context of landscape photographs and how masks can be used to select specific elements to apply the tool for a more professional and refined aesthetic with more detail.
Turnham’s tutorial also covers more advanced techniques that can be achieved through Luminar Neo, such as controlling the viewer’s eye by applying a vignette and using the Inner Light tool to brighten the centre of the frame.
Finally, this tutorial explores Luminar Neo’s bespoke Landscape tools, which include the self-explanatory Dehaze, Golden Hour, and Foliage Enhancer tools, with a concise explanation of how each of these tools can be used in conjunction with masks.
With additional tips on how to clone out unwanted elements from your landscape photograph, this is a comprehensive yet easy-to-follow tutorial that will give landscape photographers plenty of food for thought when using Luminar Neo.
How to edit portraits with Luminar Neo
Luminar Neo features a great set of tools and presets you can use to edit and enhance portrait photographs, something this succinct and informative tutorial from Antony Turnham covers in depth.
As with his landscape photography editing tutorial, this portrait tutorial offers a comprehensive overview of many techniques you can apply with Luminar Neo’s Develop Raw tools, as well as portrait-specific tools powered by AI.
The tutorial explains how you can recover highlights and use Luminar Neo’s bespoke Portrait AI tools to enhance bokeh, adjust skin tones, and alter the face’s light and slimness to enhance the portrait.
It also covers the many eye-related tools you can use, adjusting the iris flare, enlarging the eyes, and enhancing and whitening the eyes and eyebrows using masks to fine-tune the effects of each of these tools.
With an excellent dodge and burn hack and how to make your portraits pop with custom vignettes and cropping, it’s an exemplary tutorial you can learn a great deal from to create truly impressive portrait photographs.
Frequently Asked Questions
I’ve covered a selection of great Luminar Neo tutorials for a variety of uses and levels of experience to help you get started with the software and make the most of its powerful potential.
In case you still have any queries, here are some answers to frequently asked questions about Luminar Neo.
Is Luminar Neo good for beginners?
Luminar Neo has become one of the go-to programs for professional photographers to edit and enhance their images quickly. Still, its simple interface and AI-powered tools make it a great choice for beginners who want great results without a steep learning curve.
This simplicity makes it less intimidating for beginners than high-end software such as Photoshop. However, it retains the professional-level tools such as those found in the Develop subcategory that professionals need to optimise their Raw photographs.
Do professional photographers use Luminar Neo?
The broad appeal and impressive selection of tools and presets make Luminar Neo an excellent photo editing suite for a wide range of applications, with its AI tools popular among professionals looking for a more versatile and streamlined editing process.
While many professionals use Adobe Photoshop, the ability to include Luminar Neo in Photoshop’s Filters makes it a powerful add-on that enhances the range of options professionals have to produce the best possible quality images.
Is Luminar Neo destructive?
Luminar Neo’s editing tools function in a non-destructive manner, which means it isn’t possible to ruin your original photos since you can revert back to this original copy at any given time.
You can undo a single edit or step back through a range of previous edits, as well as save any changes you’ve applied as a preset to apply to new images with a single click.


