


How to Convert Mini DV to Digital (My Experiences)
Converting your old Mini DV video tapes to digital is a great idea to relive your cherished memories and preserve them for years to come. Here's how to do it.
Learn | By Jeff Collier
Shotkit may earn a commission on affiliate links. Learn more.
This guide to converting Mini DV to digital will help you protect and preserve your cherished memories.
When I turned 60, I decided it was high time to start converting a box full of Mini DV tapes I'd shot on a Canon camcorder back in the 90's.
In this article, I'll show you exactly how to do it, as well as some tips on preserving your DV tapes and how to troubleshoot playback issues.
By the end, you will have the knowledge and confidence to enjoy your Mini DV recordings digitally!
Introduction to Mini DV Tapes
Mini DV tapes were all the rage in the late 90s and early 2000s, used in camcorders to capture some of the most important events in our lives—weddings, birthdays, graduations—you name it. The ‘Mini' in Mini DV stands for ‘Miniature Digital Video'.
Unlike analog tapes of the previous era, Mini DV tapes recorded video in a digital format, making them superior in terms of quality.
However, there's a catch. Despite their ‘digital' nature, the content on these tapes isn't readily accessible or transferable to today's digital devices.
That's where our conversion process comes into play!
What does digital conversion involve?
Digital conversion essentially means transferring the footage from your Mini DV tapes onto your computer or external hard drive and saving it in a digital format that can be easily viewed, shared, and edited.
The most commonly used formats are MP4 and AVI. The MP4 format, in particular, is a great choice for most users—it offers a good balance between file size and quality and is compatible with almost all modern devices.
Why is it important to convert Mini DV tapes to digital?
Firstly, it's about accessibility. Once converted, you can watch those videos anytime on your smartphone, computer, or smart TV, share them with friends or family over the internet, or even upload them to social media.
Secondly, it's about preservation.
While Mini DV tapes were great in their time, they are susceptible to damage from heat, humidity, magnetic fields, and of course, the simple passage of time.
Converting them to a digital format ensures that your precious memories are safe and sound for future generations to see.
In the next sections, I'll walk you through the tools you'll need for this conversion process and how to use them. Stick with me, and together we'll bring those memories back to life!
How to Convert Mini DV to Digital

SebSelter
Step 1: Get your equipment ready
To embark on this journey of converting Mini DV to digital, we're going to need a few key pieces of equipment.
Don't worry, it's not as daunting as it sounds.
Most of the items you'll need are probably already in your house.
And if not, they're easily available online or at your local electronics store. So let's go over what you need.
1. Mini DV Player or Camcorder: The first thing you'll need is something to play your tapes. If you still have the camcorder that you used to record the tapes, that's perfect.
If not, you can look for a Mini DV player. Either way, it should have an output port that matches the input port of your analog-to-digital converter. Typically, this would be a FireWire (IEEE 1394) or a USB port.
2. Computer: You'll need a reliable computer with a decent amount of free hard drive space.
The exact amount of space depends on how many tapes you plan on converting, but I'd recommend having at least 30GB free for each hour of footage.
The computer should also have a compatible port (FireWire or USB) to connect with the analog-to-digital converter.
3. Analog-to-Digital Converter or Video Capture Device: This is the magical gadget that'll convert the analog signal from your Mini DV tapes into a digital format your computer can understand.
These come in a range of prices and complexities, but for home use, a simple and affordable model should suffice.
Make sure it has the correct input port to match your camcorder or player's output port.
4. Appropriate Cables: You'll need a cable to connect your camcorder or player to the analog-to-digital converter, and another to connect the converter to your computer.
The type of cable depends on the ports on your devices, but in most cases, a FireWire or USB cable will do the trick.
5. Digital Video Editing Software: This is the tool you'll use to capture and edit the footage on your computer.
Some popular choices include Adobe Premiere Elements, iMovie (for Mac users), or even free options like OBS Studio. Most of these software options are user-friendly and have plenty of online tutorials to guide you.
6. Optional but Recommended: The ClearClick Video to Digital Converter is a really useful gadget for converting your old video tapes or camcorder tapes to a digital format with just one touch of a button. (You don't even need a computer or video editing software.)
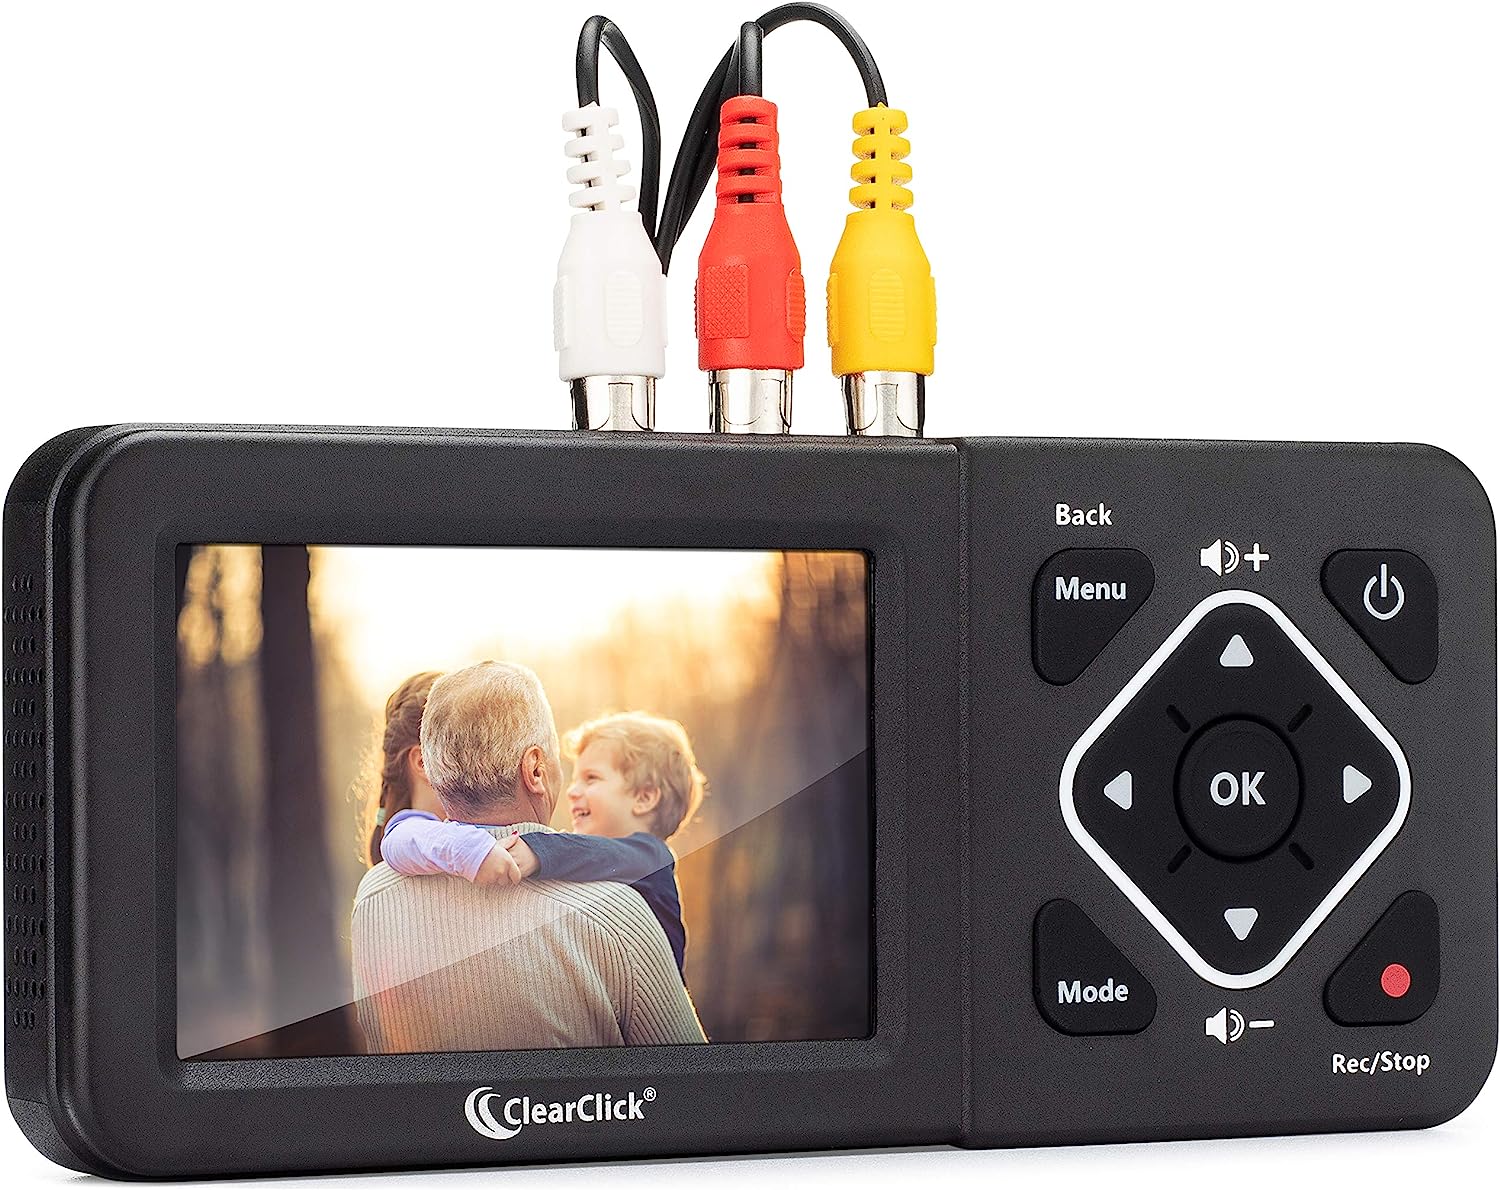
ClearClick Video to Digital Converter 2.0 (Second Generation)
So there you have it, our little toolbox for digital conversion! Now, let's prepare for the conversion process.
Step 2: Prepare for conversion
Firstly, inspect your Mini DV tapes. Check for any obvious signs of damage or degradation.
If the tapes have dust or debris, clean them gently using a soft cloth.
Do not use any harsh cleaning solutions as they could damage the tapes.
Next, set up your equipment in a clean, well-lit area where you can comfortably work.
Make sure your computer is plugged into a power source—you don't want it dying in the middle of a transfer!
Free up enough hard disk space on your computer.
As a rule of thumb, you'll need about 30GB for each hour of footage. Remember, it's always better to have extra space than to run out midway through the process.
Lastly, install your digital video editing software. Familiarize yourself with the basics of capturing and saving video files.
There are plenty of tutorials available online that can help you navigate the software of your choice.
Step 3: Converting Mini DV to Digital Video
1. Connect Your Equipment
Start by connecting your Mini DV player or camcorder to the analog-to-digital converter using the appropriate cable (FireWire or USB). Then, connect the converter to your computer with another cable. Make sure all the connections are secure.
2. Set Up Your Software
Open your digital video editing software. You'll need to set it to capture mode (sometimes also referred to as “import” or “record” mode). Make sure it recognizes the analog-to-digital converter as the video source.
3. Play and Capture
Insert your Mini DV tape into the player or camcorder and press play. As the tape starts playing, hit the capture or record button in your software. You should see the video appear on your computer screen as it's being recorded.
4. Save the Digital File
Once the tape finishes playing, stop the recording on your software. Review the video to make sure everything was captured correctly. Then, save the digital file in your desired location and format (usually MP4 or AVI). Give it a descriptive name so you can easily find it later.
5. Repeat
Repeat the process for all your tapes. Remember to take breaks. While it's exciting to see those old memories, it can be a long process, especially if you have a lot of tapes.
Potential Problems and Their Solutions
Like any DIY project, you may encounter a few hiccups when trying to convert your DV tapes to digital… but fear not!
With a little patience and perseverance, most issues can be resolved.
Here are some common problems and their solutions:
Poor Video Quality: If the video quality seems off, it might be due to dirty or damaged tape. Gently clean the tape with a soft cloth. If the quality is still poor, it may be due to age or the original recording quality.
Dropped Frames: This occurs when the computer can't keep up with the data transfer. To prevent this, close any unnecessary programs to free up your computer's resources. Also, make sure your hard drive has enough free space.
Audio Issues: If the audio is out of sync with the video or is missing altogether, check your audio settings in the video capture software and on your computer. If you're still having trouble, it might be an issue with the tape or the camcorder.
Software Not Detecting the Video Capture Device: Ensure the device is properly connected to the computer and the power is on. Try reconnecting the cables or restarting your computer. If the problem persists, check for driver updates for the video capture device.
Can You Pay Someone Else to Convert Mini DV Tapes for You?
Despite our best efforts, there might be times when you just can't get the conversion process to work, or maybe you simply have too many tapes to convert and not enough time.
In such cases, it might be worth considering a professional video conversion service.
Professional services have the right equipment and expertise to convert your Mini DV tapes to a digital format. They can handle everything from cleaning and repairing tapes to enhancing video quality.
I haven't tried any of these services, but a quick Google search came up with ScanMyPhotos, TapestoDigital.com and Capture.com offering services to convert Mini DV tapes to digital.
While they do charge a fee, it might be a worthwhile investment for the convenience and peace of mind they provide.
- How much does it cost to convert MiniDV to digital?
If you're doing it yourself, a video capture device or an analog-to-digital converter can cost between $20 to $100 or more, depending on the brand and quality.
If you decide to use a professional service, prices typically range from $10 to $25 per tape. Some services offer discounts for bulk orders, so if you have a lot of tapes, you could potentially save some money.
How to Preserve Your Mini DV Tapes
To ensure the longevity of your Mini DV tapes and the preservation of your precious memories, consider the following tips:
- Store Tapes in a Cool, Dry Place: Keep your tapes away from extreme temperatures, humidity, and direct sunlight to prevent damage.
- Handle Tapes with Clean Hands: Before handling the tapes, make sure your hands are clean to avoid transferring dirt or oils onto the tape surfaces.
- Avoid Magnetic Fields: Keep the tapes away from magnets, speakers, or other magnetic sources that could potentially erase or distort the recorded data.
- Rewind and Fast-forward Periodically: Occasionally, rewind and fast-forward your Mini DV tapes to keep the tape mechanisms in good condition.
- Make Backup Copies: Consider making digital copies of your tape recordings to protect them from deterioration over time.
Common Issues with Mini DV Players
When using the DV player on your camcorder, you could run into some problems. Here are some of those problems along with their troubleshooting tips to help you resolve them:
1. No Playback on the External Screen
If you're not seeing any playback on the external screen, double-check the cable connections. Ensure that the cable is securely plugged into both the camera and the screen.
Also, make sure the input source on the screen is correctly set to the connected camera.
2. Distorted or Noisy Playback
If you're experiencing distorted or noisy playback, check the Mini DV tape for any signs of damage or wear.
Clean the tape heads with a head-cleaning cassette or a soft, lint-free cloth. Gently wipe the tape heads in one direction to remove any debris or dirt that may be causing the issue.
If the problem persists, the could be irreversible. If that’s the case, I recommend making a digital copy of whatever is in the tape to at least preserve what’s left of it.
3. Playback Freezes or Stutters
If the playback freezes or stutters during viewing, try fast-forwarding the tape to a different section and then rewinding it back to the desired position.
This action can help re-align the tape inside the cassette and improve playback stability.
4. Unresponsive Controls
If the playback controls on the camera are unresponsive, check the battery level and replace or recharge if necessary.
Ensure that the controls are not obstructed or damaged. If the issue persists, consult the camera's user manual for further troubleshooting steps.
FAQs
- Can I transfer videos from the DV directly to my computer?
Yes, it is possible to transfer videos from your DV player to your computer. To do this, you will need a FireWire or USB cable, depending on the available ports on your computer and the Mini DV player.
Connect one end of the cable to the Mini DV player and the other end to the suitable port on your computer. Follow the instructions provided with your Mini DV player and computer to initiate the transfer and manage the files.
- Can I record videos directly onto a computer with my Mini DV player?
No, the Mini DV player can only playback videos and doesn’t have the capability to record videos directly onto a computer or external storage device. Its primary function is to play back recordings from Mini DV tapes.
However, you can connect the Mini DV player to a computer and use video capture software to record the playback from the Mini DV player onto your computer or external storage device.

Check out these 8 essential tools to help you succeed as a professional photographer.
Includes limited-time discounts.

Jeff Collier is an experienced film photographer who enjoys experimenting with modern digital photography equipment, software and apps. He’s also an ex-world champion triathlete and avid cyclist, clocking hundreds of km each week in the beautiful Tweed Valley of northern NSW, Australia.
1 Comment
Leave a Comment
👋 WELCOME TO SHOTKIT!
🔥 Popular NOW:

I’m a bit confused why you’d need an analog to digital converter for transferring your DV (or Digital-8) tapes to a PC.
The “D” means “digital” and either DV/D8 camcorders or players have a IEEE 1394 (aka. “Firewire”) built in, so it’s just a matter of either having a computer with a IEEE 1394 port built in or upgrade it with a IEEE 1394 PCI(e) card. You would then just connect the device directly to the PC, hit PLAY and start your capturing software to grab the digital video stream incl. timecode from the IEEE 1394 interface.
Secret pro tip: Many Sony D8 Handycams are downward compatible with Video-8 and Hi-8 tapes, so that is a convenient way to digitize those as well without the need for a dedicated analog to digital converter.
Problems arise with not-so-great tapes that have dropouts or other damage. Some capturing software does not just skip frames in that case but entirely stop the process. And there are two different DV standards, but the VLC media player managed to play both.