


How to add text into Premiere Pro
Learn the simplest way to add good-looking text to your Premiere Pro video projects in this beginner's tutorial which includes customisation examples.
Premiere Pro | Software | By Dmitry Masyakin
Shotkit may earn a commission on affiliate links. Learn more.
If you need to add text into Premiere Pro, it's actually very easy and won’t take much of your time.
Premiere Pro suggests flexible text editing to create any text layer you need.
In this guide, we’ll learn how to add and customize the text in Premiere Pro, one of the best video editing software available in 2024.
Download the latest version of Adobe Premiere to follow along with this simple tutorial.
Start a free 7-day trial today
How do you add text to Premiere Pro?
Let’s create a basic title in Premiere Pro via Effect Controls and Essential Graphics to see which menu is more convenient to use.
Basic text settings
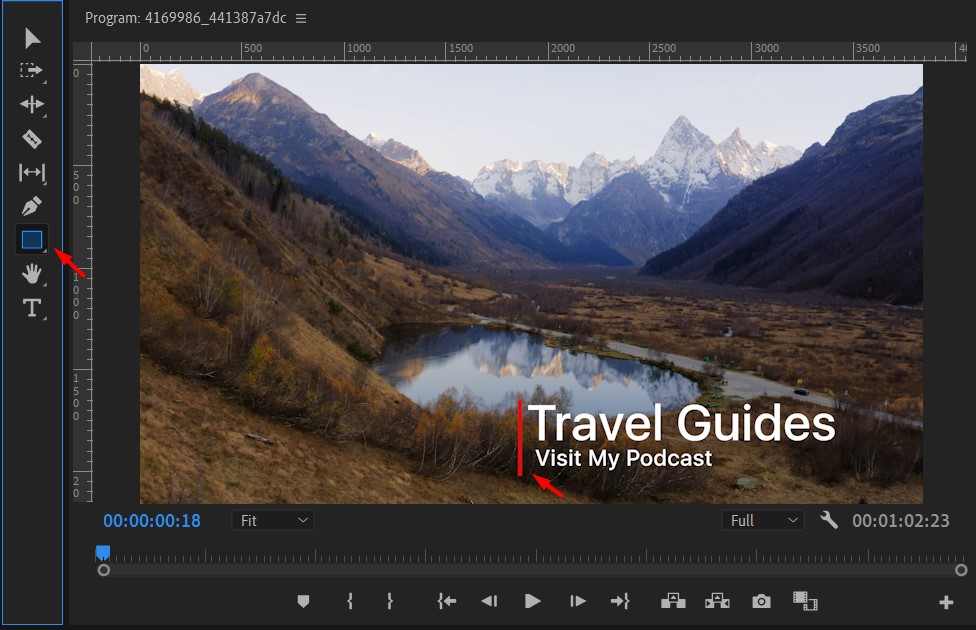
First, click on the Text Tool or press T on the keyboard. Click on the part where you want to add your text and type it.
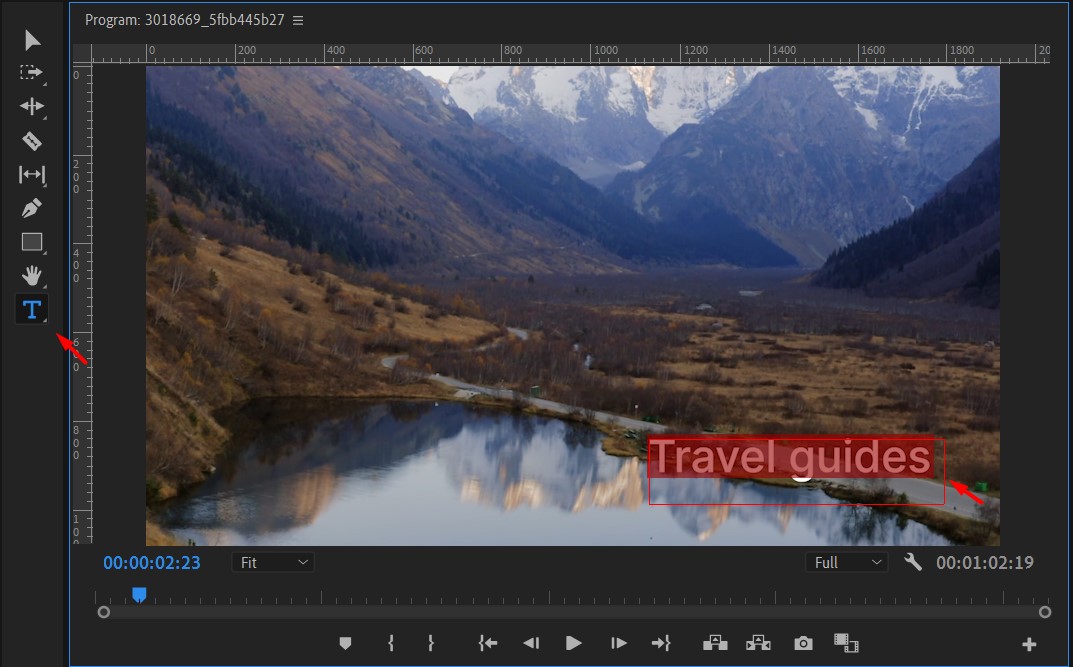
Select the text you just typed and click on the text layer that appeared on your timeline, so you can apply changes, particularly to the text layer.
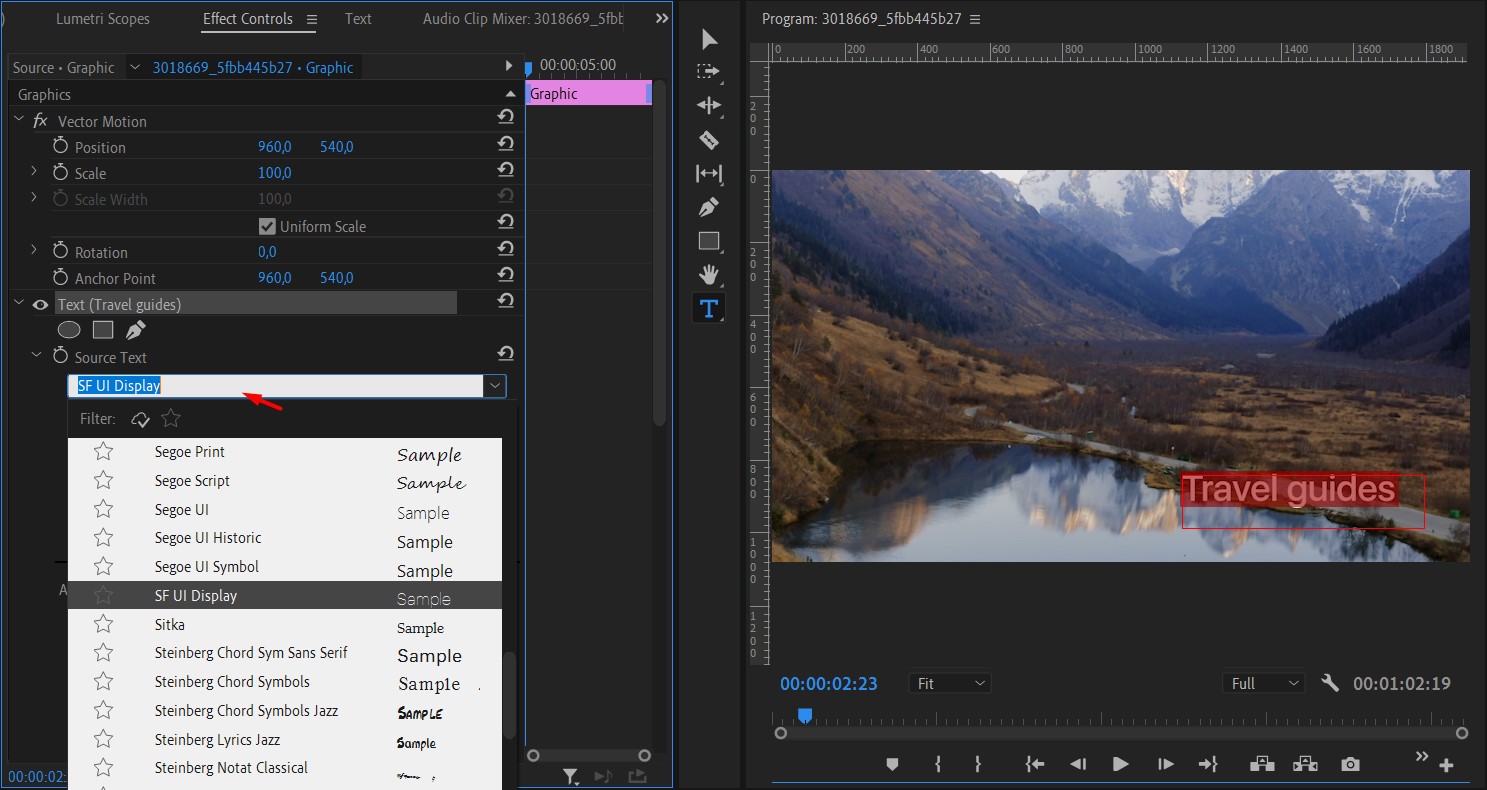
Go to Effect Controls>Text – here, you can change basic text attributes.

If you don’t see it in your workspace, just click on the Window tab and select Effect Controls tab.
In this menu, you can quickly change the font, the position or scale of your text, the anchor point, and other attributes.
For example, if you want to apply any other font to your text – keep your text selected and scroll through the font options, until you find the suitable one. Just click on it to apply.
Note that you can always install and add new fonts, for example, from the Adobe official font source.
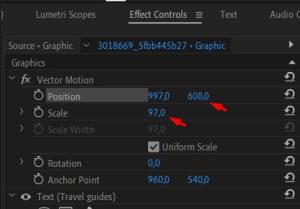
If you need to change the size or position of your text, drag the Scale or Position sliders to move your text layer within the screen.
Now, you successfully added text into Premiere Pro and customized it!
Advanced text settings
You can also apply text settings from Essential Graphics, which is more convenient for advanced text editing. Go to Essential Graphics and select Edit menu:
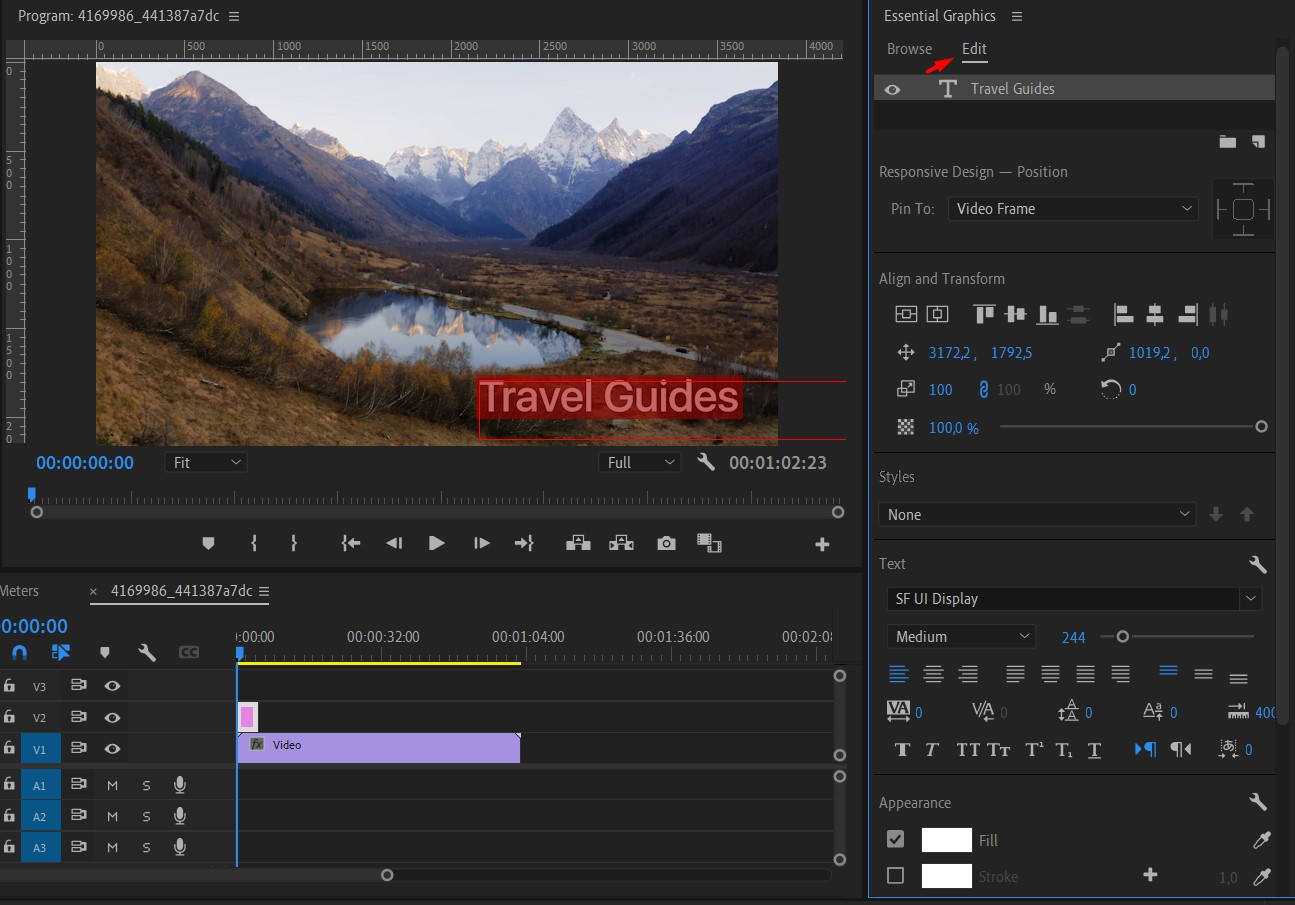
Here you’ll find the same settings as in Effect Controls and new ones, which will make your editing more flexible.
With options here, you can align your text in several different ways; for example, align it to the center or to the bottom right corner.
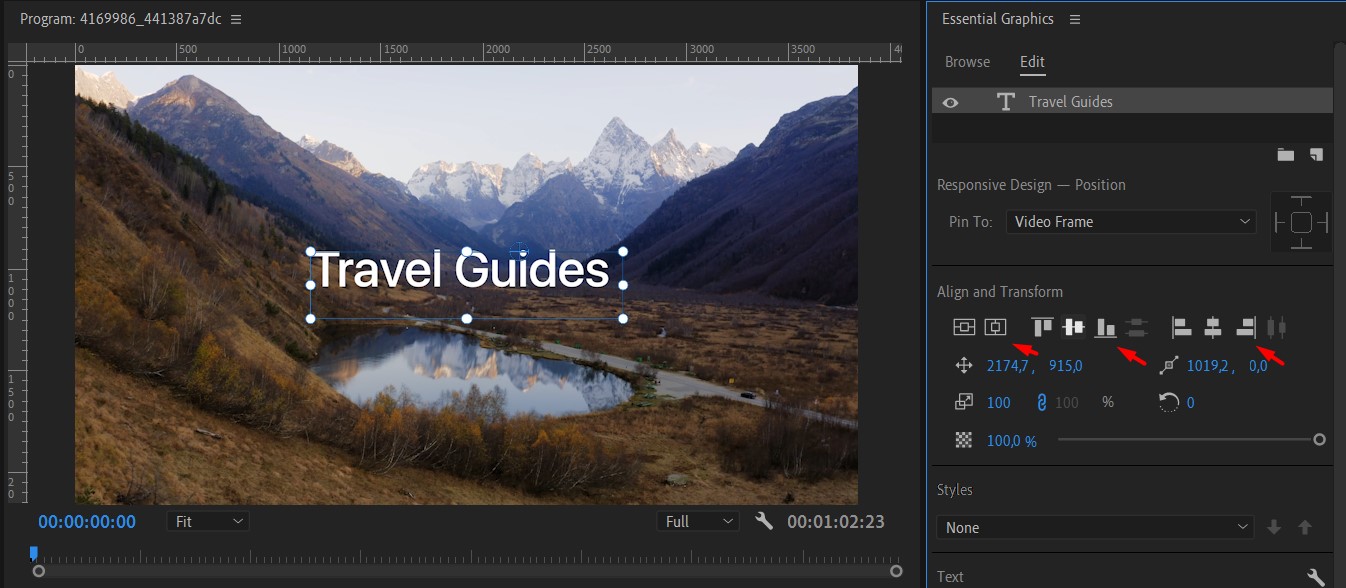
While aligning your text, you can also use margins – right-click on your preview monitor and select Safe Margins.

This will make your text nicely aligned and good for different platform safe zones.

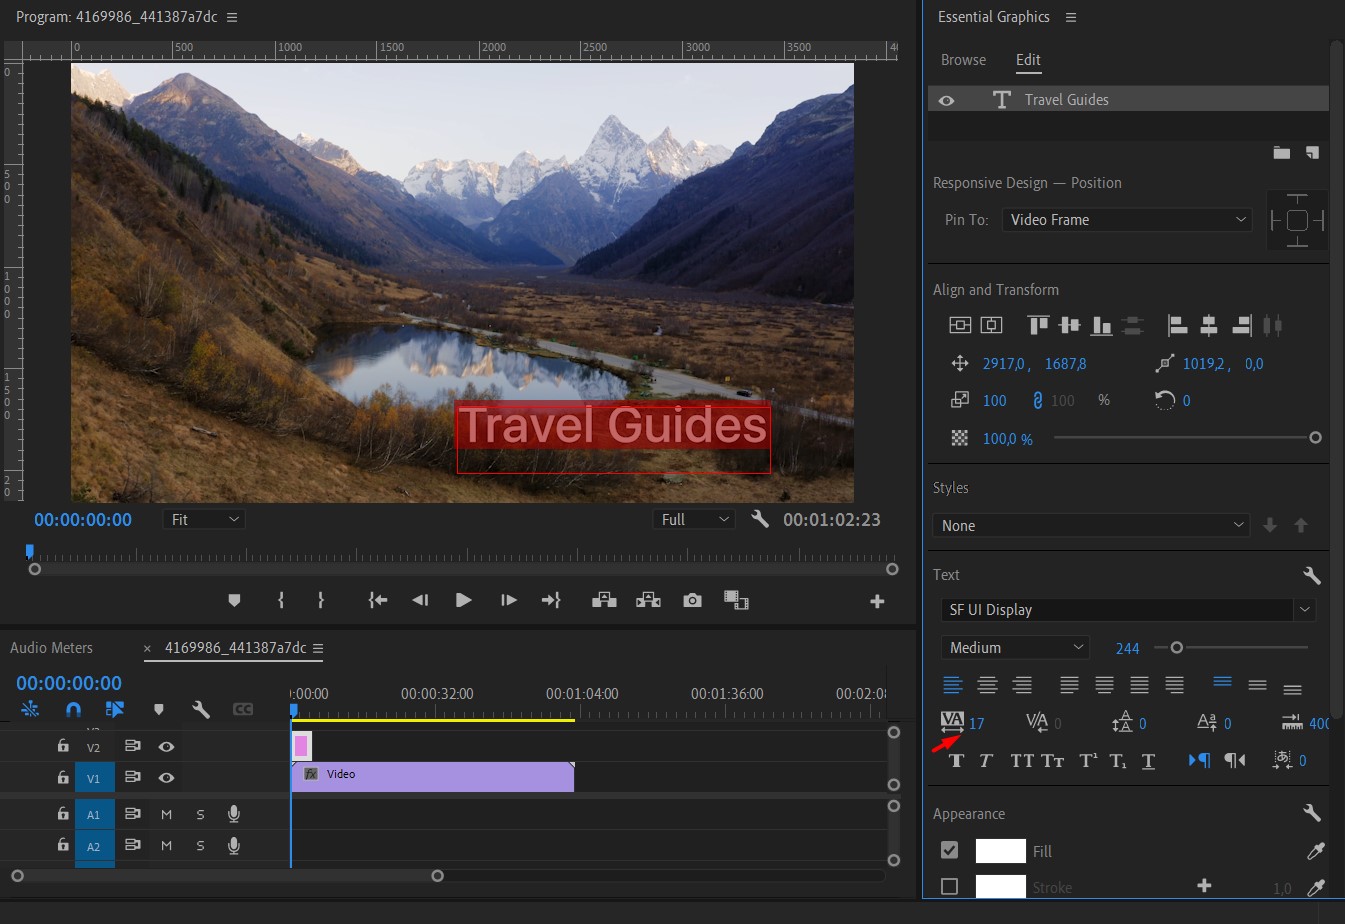
If you need to customize your text further, you can space up the letters by using the Tracking tool:
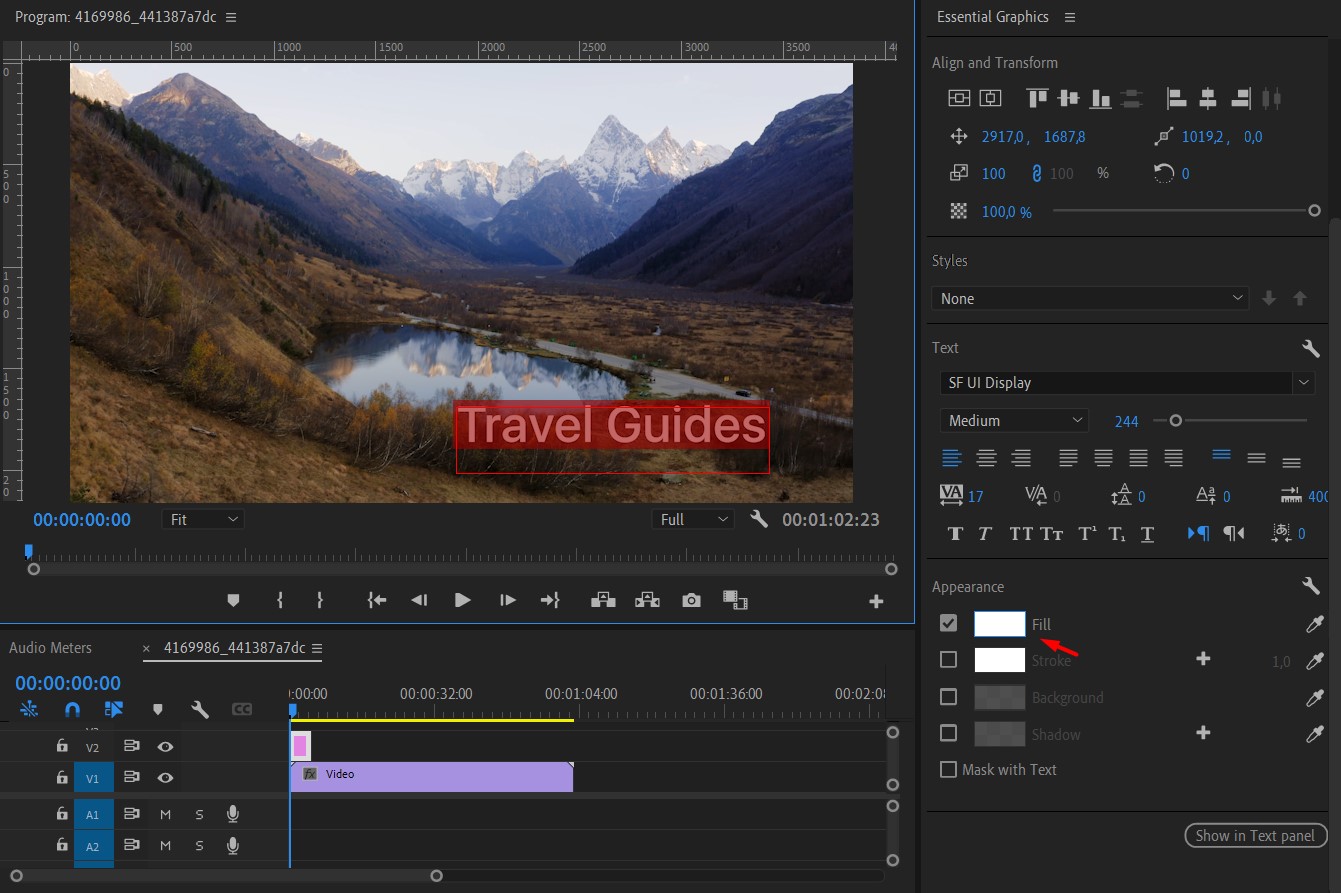
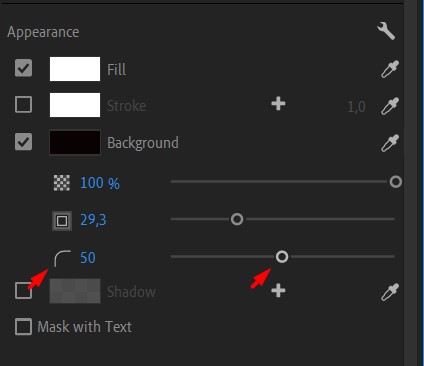
You can always change the Appearance of your text – for example, change the color by clicking Fill and selecting the color you want:
Also, you can create a text box. Click on the Background icon and select the desired color of your background; increase the opacity of your text box if needed.

You can also change the corner radius of your text box by dragging the slider.
Now, we’ve created a title with a text box aligned to the center.

You can also customize your text differently by adding a shape. Select Shape>Recktangle Tool and add to the preferable part of your text.
In Essential Graphics, you can easily customize created shape by changing it’s color, size, opacity or corner radius.

Here’s our nice title with a shape, which we aligned to the bottom left corner.

Then you can move on to exporting your video from Premiere Pro.
Ready-made title templates
If you’re looking for custom titles, you can use Titles Pro – the tool with more than 1500 different animated text templates.
Apart from basic titles, the project includes cinematic, liquid, kinetic, minimal, and other text templates for any case.
All titles support 4K and can be quickly previewed and customized.
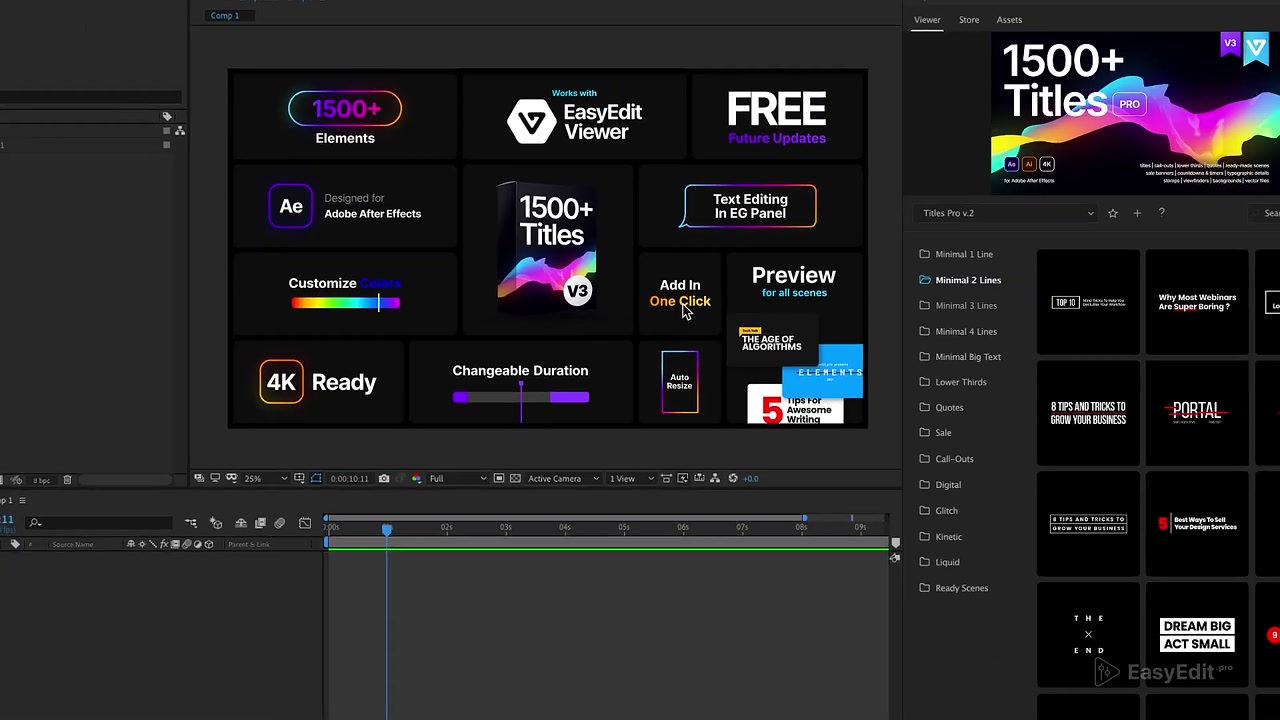
Make your design detailed with custom backgrounds, details, countdown timers, and ready scenes – the project includes a complete set for editors.
Adobe MAX 2024 Update
As part of the MAX 2024 Update, Adobe Premier Pro is enhancing its use and application of generative AI technology.
To optimize the outcomes, Adobe Firely seamlessly adds frames to the start or end of a clip while aligning to audio. While it doesn’t sound like much, the effort and time savings will streamline overall workflows.
Generative Extend
Premiere Pro’s Generative Extend is Adobe’s first pro-grade video feature, making the most of generative AI.
The Adobe Firefly Video Model harnesses AI learning and application to deliver commercially safe outcomes.
As part of the MAX Update, Generative Extend lengthens clips to cover gaps in video footage, ensures smooth transitions, and holds shots longer for precision edits.
Content Credentials
One of the most valuable assets in the age of AI image creation and manipulation is content certification.
Adobe Premier Pro introduces a new form of media metadata that identifies if the content has been tampered with. It’s an essential element to confirm the validity of any visual creative’s work.
The Adobe MAX 2024 Updates are now live, and there's never been a better time to optimize your creative output with the Adobe Creative Cloud suite of applications.
Dmitry Masyakin is a Ukrainian video editor and motion designer, founder of EasyEdit.pro, motion design studio.
👋 WELCOME TO SHOTKIT!
🔥 Popular NOW:
