


How to Make a Photo Garland (Photo Bunting)
Dive into a simple yet stylish DIY creative project with this tutorial for putting together your own festive photo bunting or garland.
Learn | By Ana Mireles
Shotkit may earn a commission on affiliate links. Learn more.
Are you looking to make a photo garland?
Here's an easy way to do it with a small budget and just a few steps.
Photo garlands (also known as photo bunting) are a great way to decorate your house for a party or just a festive way to display your photos.
Imagine hanging a garland featuring your newborn's photo session over the baby's crib, for example.
Are you ready to get started? Let's go!
Here are some more fun DIY photo projects for you to try:
Materials
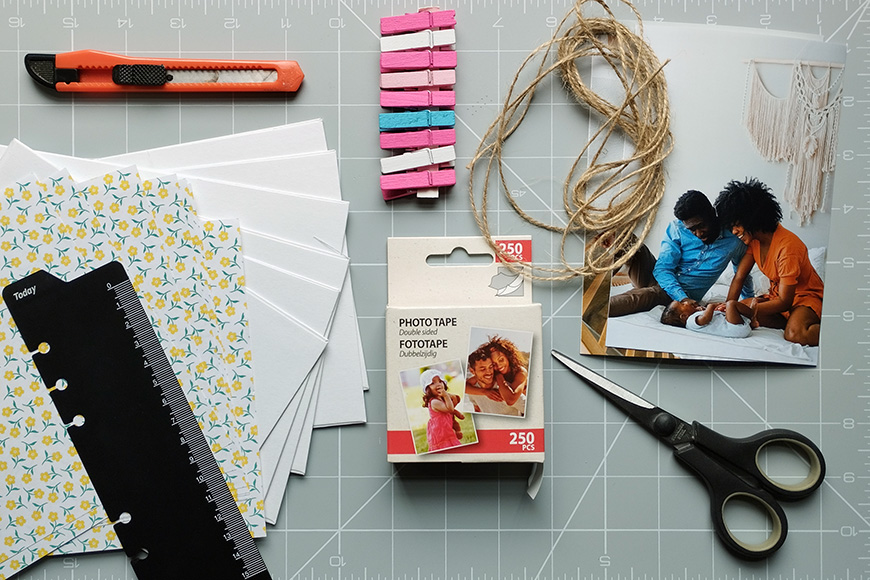
- Photo mats or white card stock
- Color or patterned paper
- Cutter
- Scissors
- Cutting mat
- Photos
- Twine
- Small clothespins (or pegs)
- Scrapbook tape
Process
In this example, I'm using postcard-size photos, but you can follow these steps for any size of photo and garland.
Remember that deciding on a colour palette is useful to obtain a more harmonious look.
Step 1
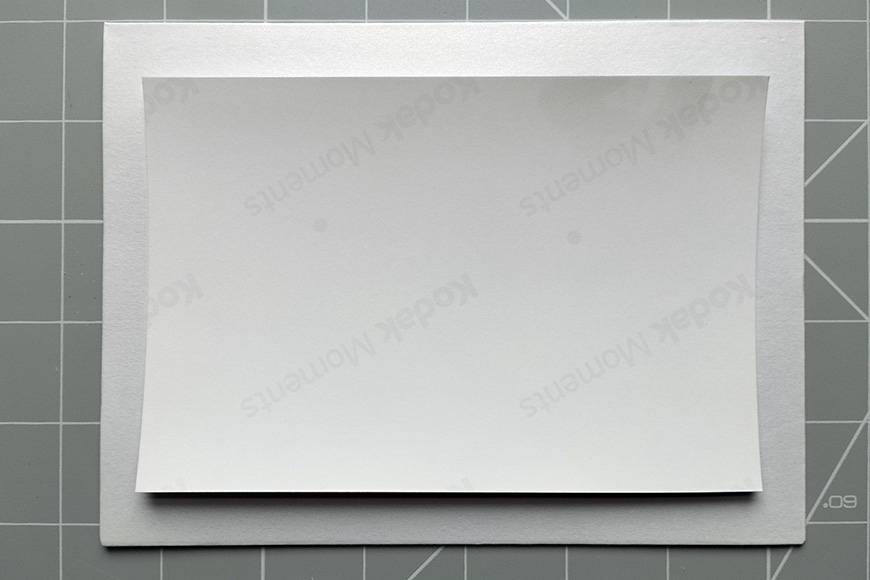
If you have photo mats that are already the right size for your photos, you can skip directly to step number four.
Otherwise, cut the card stock to a slightly bigger size than your photographs. If you're using 4 x 6″ photos, I advise you to cut the card stock to approximately 5 x 7″.
You'll need twice as many card stock pieces as you have photos because the idea is to paste them together to form envelopes.
Step 2
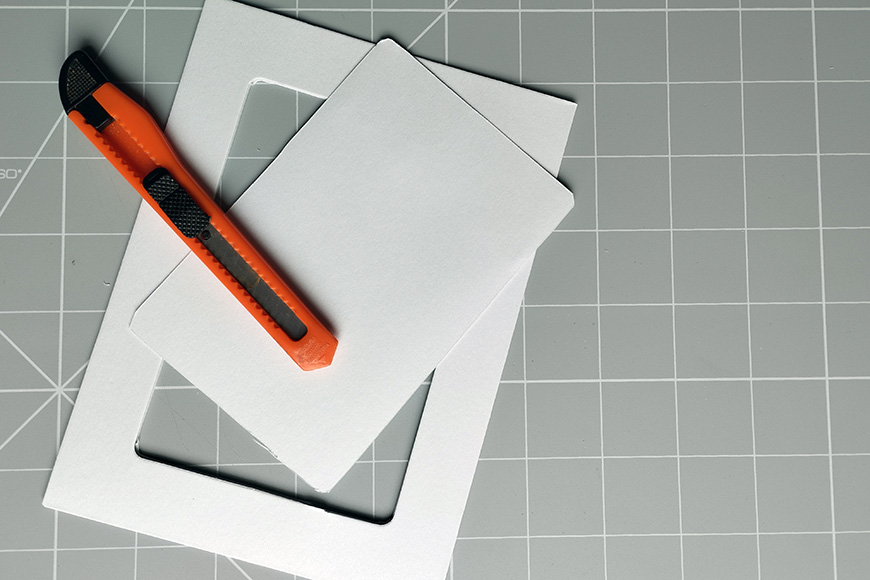
You'll need to cut out a window on half of the card stock pieces to display the photos. This should be slightly smaller than your photograph to hold it inside.
Step 3

Next, take one of the full card stock pieces and one with a window. Using Scotch or scrapbook tape, paste three sides of them together, forming an envelope.
Repeat this step with all of them.
Step 4

Now, mount each photo on its own envelope or photo mat, according to what you're using.
If needed, you can use scrapbook tape or mounting corners to hold the photos in place.
Step 5
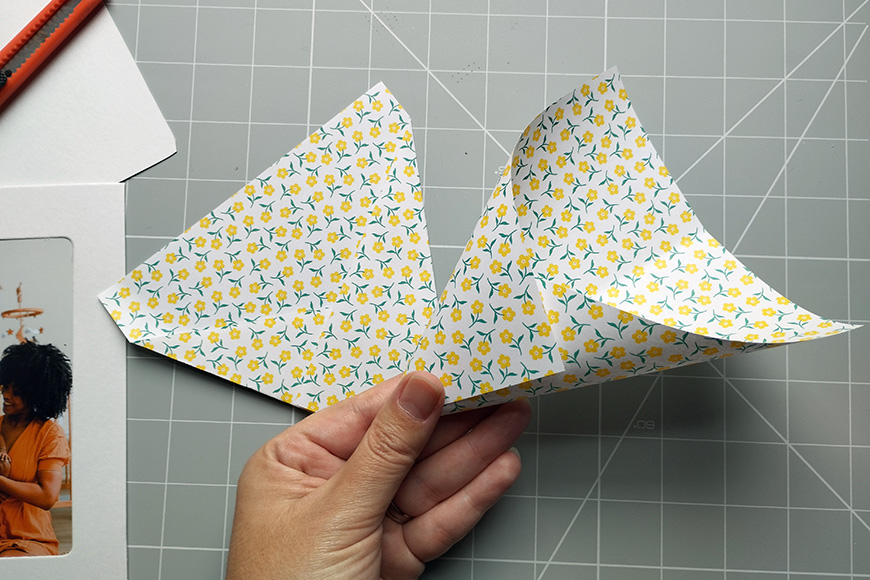
Once all your photos are ready, it's time to assemble the color elements. You have more freedom with these – you can use any size and shape you want.
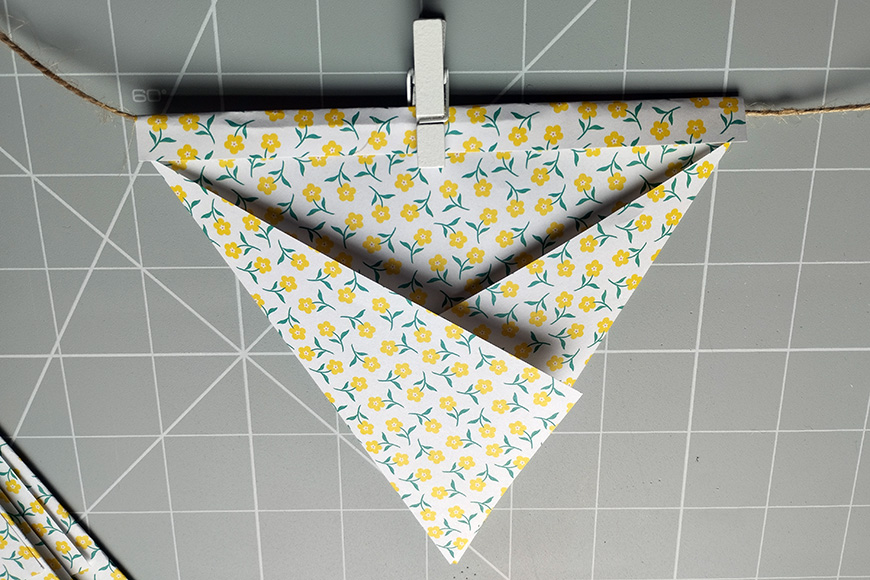
I'm using origami paper and folding it into a triangle. To do so, I mark the center on one of the edges. Then, I fold the sides as if I were forming a cone.
Then, I flatten the shape and pass my thumb over the fold to keep it in shape without using tape.
Repeat this until you have enough elements to put one after each photo when you assemble the garland.
Step 6
Take the twine and start assembling the garland or bunting. I'm using small clothespins, but you can use another method.
Make sure there's more or less enough space between each element.
Step 7
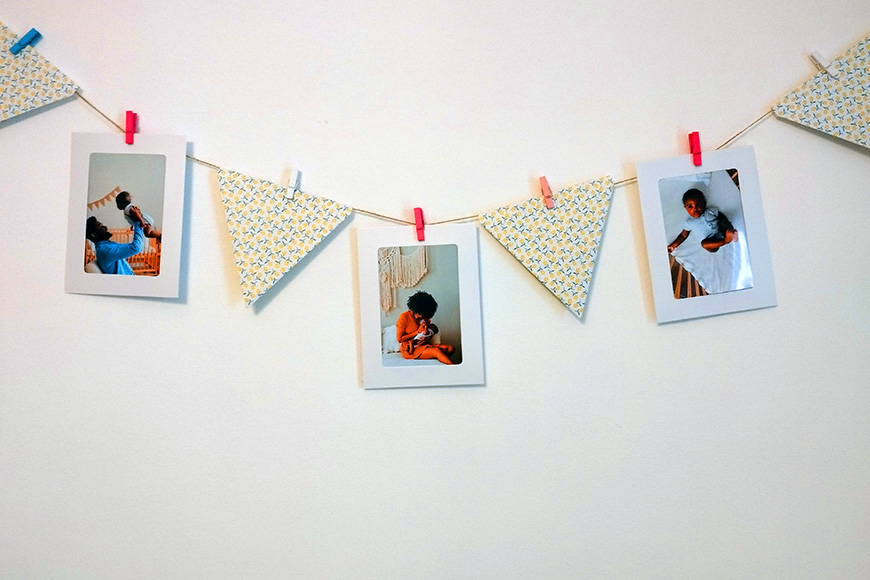
That's it. Now, it's time to hang your garland.
Make a loop on each side of the twine and use nails to hang it on the wall. If you don't want to use nails, you can use special tape or clay to hang things on the wall without damaging the paintwork.
Have fun making your own festive photo bunting!

Check out these 8 essential tools to help you succeed as a professional photographer.
Includes limited-time discounts.

Ana Mireles is a Mexican researcher that specializes in photography and communications for the arts and culture sector.

👋 WELCOME TO SHOTKIT!
🔥 Popular NOW:
