


How to Stretch an Image or Layer in Photoshop (3 Ways)
Learn three easy ways to stretch an image in Photoshop, including how to keep the aspect ratio or stretch with distortion.
Photoshop | Software | By Judyth Satyn
Shotkit may earn a commission on affiliate links. Learn more.
When editing photos, you'll sometimes need to stretch an image or layer, either to adjust the perspective, correct it, or remove unwanted areas.
In this tutorial, we'll take you through three easy ways to stretch an image in Photoshop.

Download a free copy of Adobe Photoshop to follow along with this simple tutorial.
More about Photoshop pricing here.
How to Stretch an Image or Layer in Photoshop (Three Easy Methods)
Here are three easy ways you can stretch an image in Photoshop so you can get it looking the way you want.
Option 1 – Using the Free Transform Tool
The Free Transform Tool gives you the freedom to edit the image dimensions without being confined by the canvas dimensions.
Using the Free Transform Tool, you'll have the option to stretch the image layer beyond the canvas boundaries.
You can only use the Free Transform Tool if the layer is unlocked, so the first step is to unlock the layer in the Layers Panel.
In the Layers Panel, check the layer you want to stretch is active and does not have a lock icon beside it.
To unlock a locked layer, click on the layer's lock icon.

To select the Free Transform Tool, head to the top menu bar and select Edit > Transform > Scale.
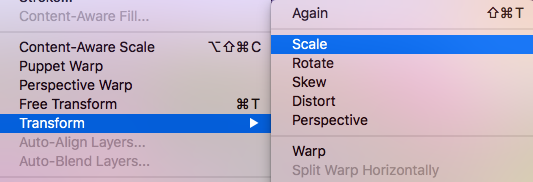
Alternatively, you can access the Free Transform Tool using the keyboard shortcut Command + T (for Mac) or Ctl + T (for Windows).
The Free Transform Tool options menu will open above your canvas workspace.
You can resize the image or layer by entering the new width and height values in the boxes beside W: and H:.
![]()
To enter a height and width that don't fit the layer's current aspect ratio, uncheck the lock icon that sits between the height and width values.
When the Free Transform Tool is active, a blue bounding box will appear along the edges of the layer.

To manually stretch the image, drag the box's edges – i.e., click on the blue line and drag with your cursor.
You can drag the layer inwards or outwards – if the lock icon is active between the height and width values, there will be no ratio distortion.
Uncheck the lock icon if you want to adjust the width or the height separately to each other.
Drag the blue bounding box sideways to adjust the width, or horizontally to adjust the height.
Use the Zoom Tool if you wish to zoom out to view the stretched image.
If you stretch the image beyond the canvas edges, the blue box will still be visible and you can continue to stretch it.
When you've stretched the image to the size you want, hit enter and the blue box will disappear.
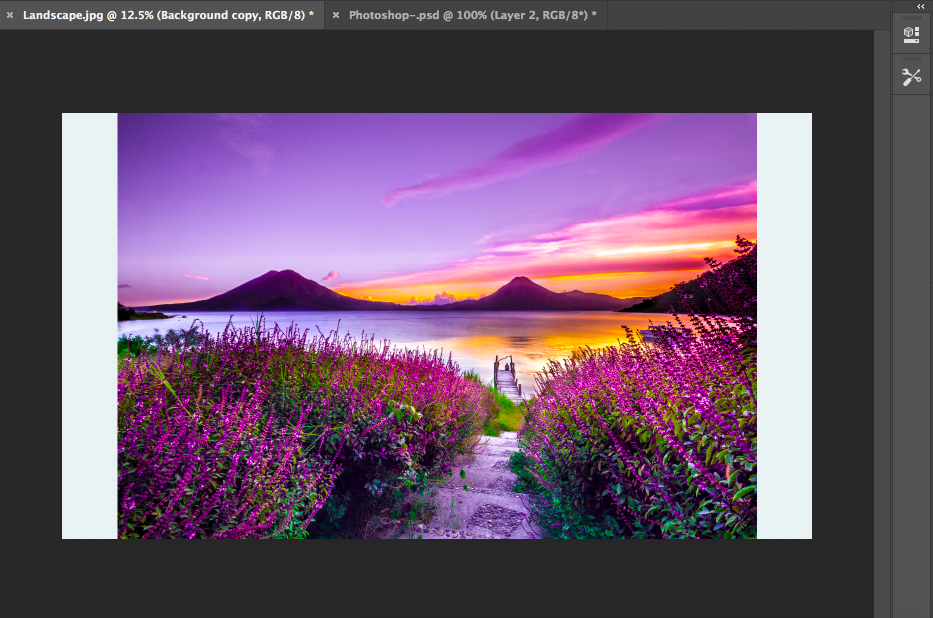
Your layer has now been stretched.
Option 2 – Using the Image Size Command
When you use the Image Size command, you will stretch the image and the canvas together.
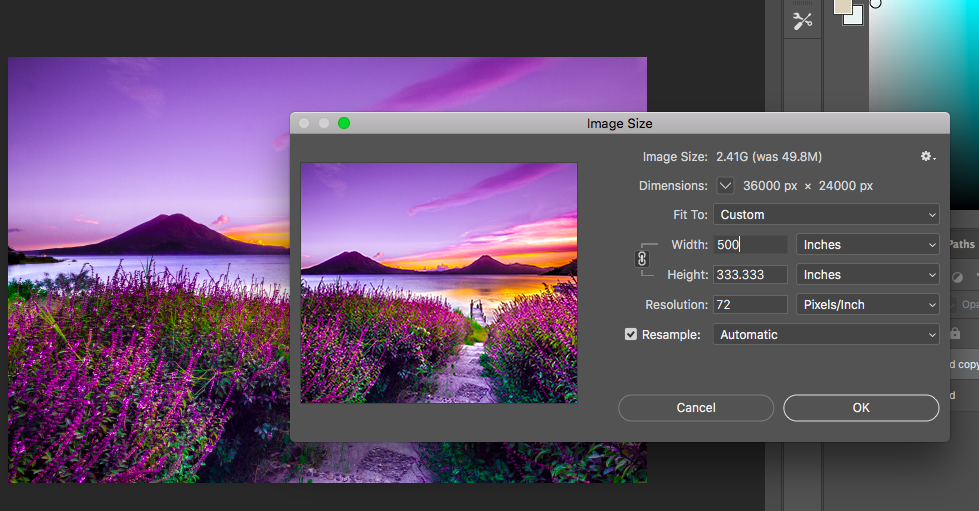
Navigate to the menu bar and select Image > Image Size.
Once selected, a pop-up box will appear giving you the option to resize the image.
You can resize the image even if a layer or multiple layers are locked.
In the Image Size box, enter the new dimensions for the image.
If you want to distort the image ratio aspects, you'll need to first uncheck the chain link icon.
This will give you the freedom to enter width and height values that are not restrained by the original image ratio.
To select a preset size, click the box beside Fit To: and in the drop-down menu select a preset.
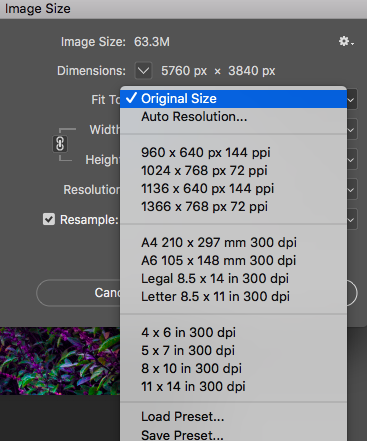
You can select a preset size that suits your printing needs.
Using this option is best if you want to resize the image to print.
Click OK when you have entered the new details.
The entire image and canvas will automatically be resized.
Option 3 – Using Canvas Size
The Canvas Size command will stretch or shrink the canvas but not the image.
Changing the canvas size in Photoshop is a good option to use if you want to create extra space around the image for a border.
Alternatively, you can use it to crop out excess parts of the image that you don't wish to use.
Head to the menu bar and select Image > Canvas Size.

When clicked, the Canvas Size Dialog box will appear.
Enter the values of the new canvas size beside the Height and Width boxes.

Uncheck Relative if you want to allow for distortion.
Make sure the dot is centered between the arrows inside the Anchor box if you want to keep your image in the center of the canvas.
When you've entered all the details, click OK.
The canvas size will be altered and stretched but not your image.
However, if you want the canvas to be bigger without having empty spaces, you can use the Generative Expand tool. This way, Photoshop uses AI powered by Adobe Firefly to generate content and seamlessly expand your photograph.
If you want to learn more about resizing images in Photoshop check out this tutorial – How to Crop an Image in Photoshop.
How to Stretch an Image or Layer in Photoshop without Distortion
To stretch an image or layer in Photoshop without distortion, you'll need to ensure the aspect ratio is not affected.
Don't worry, this is simple to do!
When making any adjustments, you just need to ensure the aspect ratio is locked.
When using the Free Transform Tool, check that the aspect ratio lock symbol is checked. You can find it in between the width and height values in the tool's options bar.

This will lock the aspect ratio and stop any image distortion.
Do the same when using Image Size to stretch an image – ensure that the lock icon is active.

If you want to learn more about image distortion, check out this Photoshop tutorial – How to Use Vanishing Point in Photoshop.

Judyth is an experienced studio photographer and glass artist. When she isn’t Photoshopping comedians into the bellies of sharks, you can find her cooking delicious treats for her guests.
👋 WELCOME TO SHOTKIT!
🔥 Popular NOW:
