






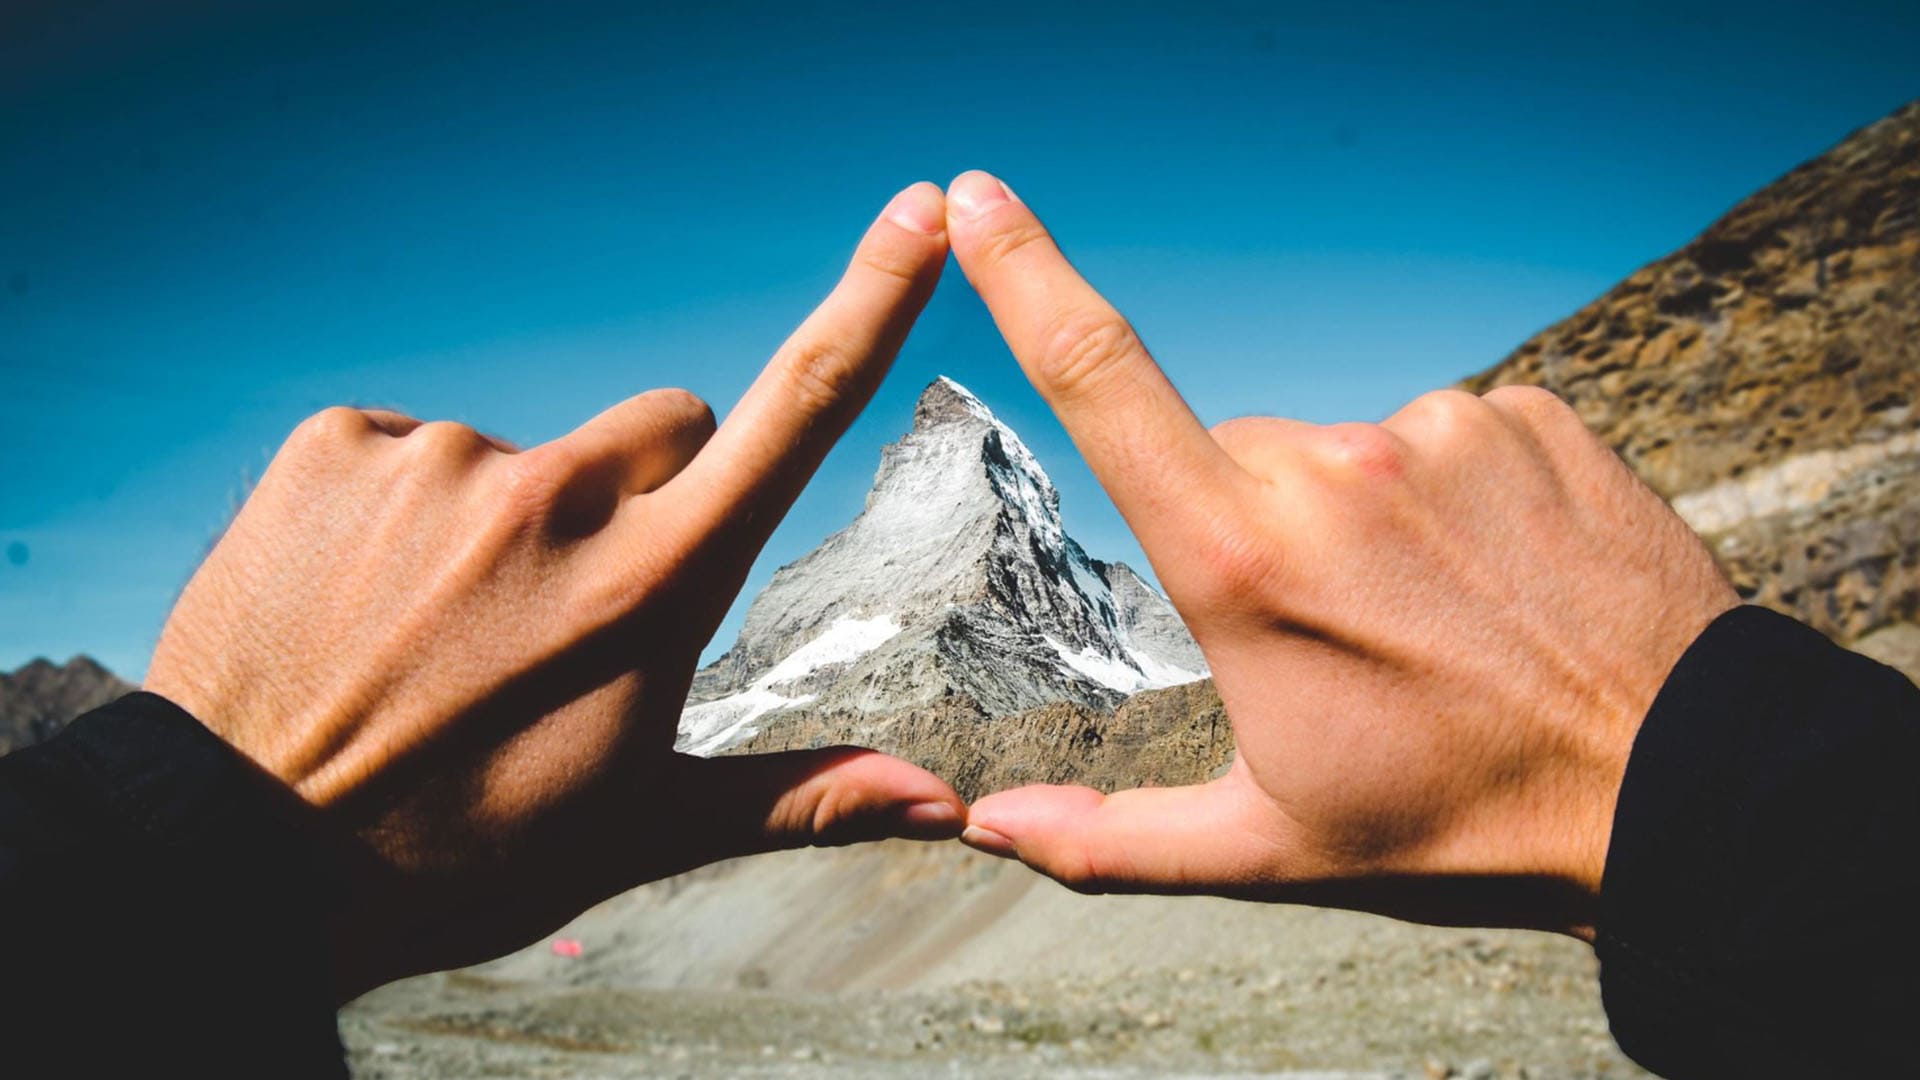
How to Use the Triangle Method for Better Outdoor Photos
The “triangle method” is a clever trick you can use to make your outdoor photographs more engaging. Find out how it works in my guide.
Learn | Posing | By Jeff Collier | Last Updated: July 12, 2026
Shotkit may earn a commission on affiliate links. Learn more.
Look closely at your favorite outdoor photos, and you may start to notice a familiar shape emerging: the triangle.
Captured at the right angles, anything from boulders to streams can take on a triangular form, and pictures that incorporate these shapes tend to be particularly impressive.
This is something I learned quite early on in my time as an outdoor and nature photographer.
It’s a trick that has served me well over the years, helping me shoot beautiful scenes and spaces in the most wonderful ways, and it’s remarkably simple, once you know the basics.
In this guide, I’d like to share the secrets of this method with you, so that you, too, can take more alluring outdoor photos through the magic of triangles.
What Is the Triangle Method?
Triangles have quite a special place in the world of photography.
Experts often speak about the “Golden Triangle” rule, for example, which involves dividing the frame of a photo using diagonal lines to create triangular sections in order to place subjects correctly. The triangle method for outdoor photography is different, but still focuses on that familiar three-sided shape we all know.
It basically revolves around finding actual triangular shapes in nature, formed by rivers, canyons, rock formations, mountains, etc., to help you frame and compose your photos.
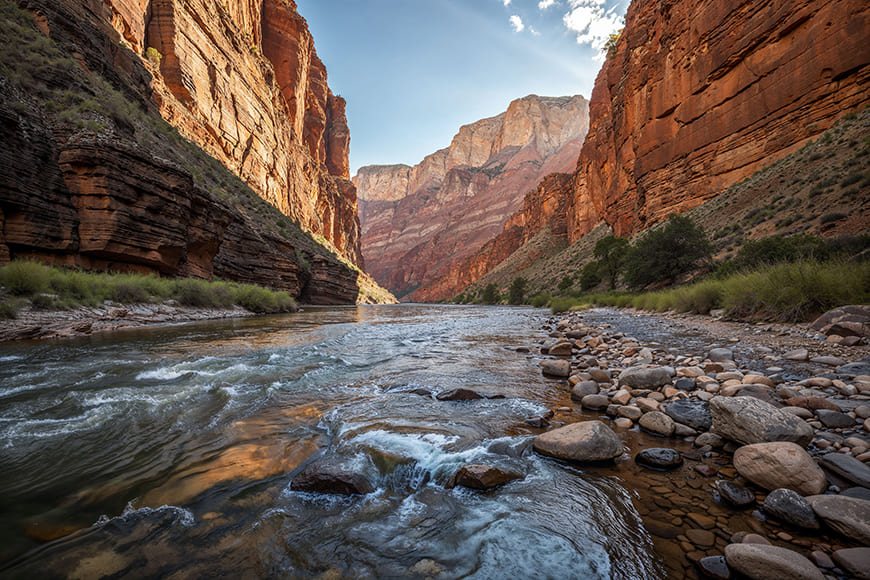
Let’s say you want to take a picture from the bottom of a canyon. Following the triangle method, you’d want to look for an area where the lines of the canyon come together, like the sides of a triangle, in order to capture an image that feels particularly captivating to your audience.
Why Use the Triangle Method?
Now that you know what it is, it’s worth exploring why you would actually want to use the triangle method, rather than simply snapping your photos without having to worry about finding specific lines and shapes in the world around you.
Put plainly, the triangle method is worth using because it can make your outdoor photos more engaging. Think of it like a clever optical illusion. But rather than “fooling” the viewer, it draws them deeper into an image, making it more engaging, appealing, and pleasant to look at.
If you look at the work of some of the world’s finest outdoor photographers, you’ll often be able to spot triangular forms in their photos, whether it’s a towering mountain in the background or a bubbling stream converging at a vanishing point on the horizon.
These shapes naturally provide leading lines that guide the viewer’s gaze into and across the composition. They can draw your attention to key points or features, while also adding depth by linking foreground and background elements together.
Triangles also have an uncanny ability to lend balance and structure to outdoor photos, bringing a certain level of simplicity to the often chaotic scenes of the natural world. At the same time, they can make certain images, like those of rushing rivers, feel more dynamic and energetic, too.
In short, using triangles correctly can help you frame the kinds of photos every outdoor photographer dreams of.
How to Use the Triangle Method
Now you know the value of the triangle method; let’s take a look at how to start using it. I’ve included a mixture of tips and tricks below, including some that are aimed at absolute beginners and others that are more oriented towards advanced outdoor photographers.
Paths and Rivers Provide Easy Triangles
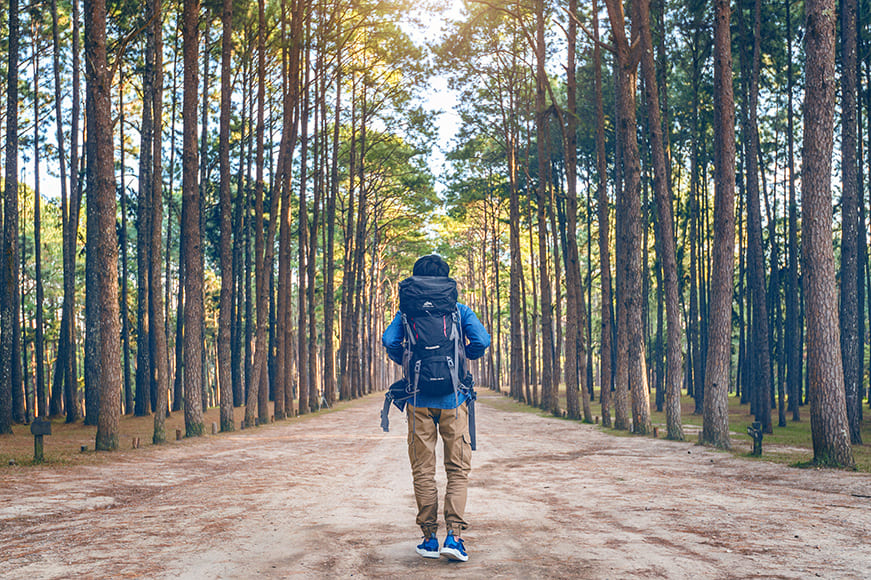
I’ll begin with a great tip for those who are just starting with this method: look for paths, roads, and rivers, as these features can all easily form triangles, provided you place yourself (and your camera) in the right locations.
If you can find a relatively straight forest path or hiking trail, for example, position your camera in the center and quite low to the ground. You should find that the edges of the path naturally form a triangular shape as they draw closer together in the distance.
By placing the vanishing point near the center of your frame, you can capture photos that naturally draw the viewer into the frame, inviting them to look deeper and appreciate every aspect of your photograph.
Look for Triangular Features in Nature
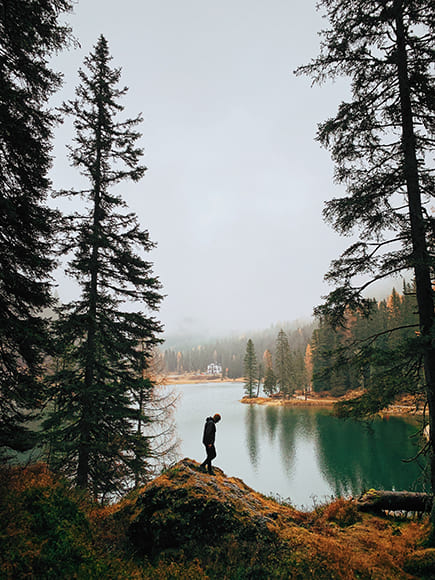
Triangles aren’t only reserved for mountains and pyramids; you might be surprised to see just how often this shape actually appears in the great outdoors. Look around you the next time you set out into the wilderness and try to spot triangular features dotted across the landscape.
This is a great habit to get into, even when you’re not taking photos, as it can help you start to spot the distinctly three-sided shapes and patterns that echo across the natural world; rock formations, dunes, trees, and hills can all form triangles, for example.
But spotting triangles is just one piece of the puzzle; you also need to capture them from the right angles. So don’t hesitate to move around a triangular feature once you find one, positioning your camera in different ways to shoot it in the most captivating light.
Use a Grid Overlay
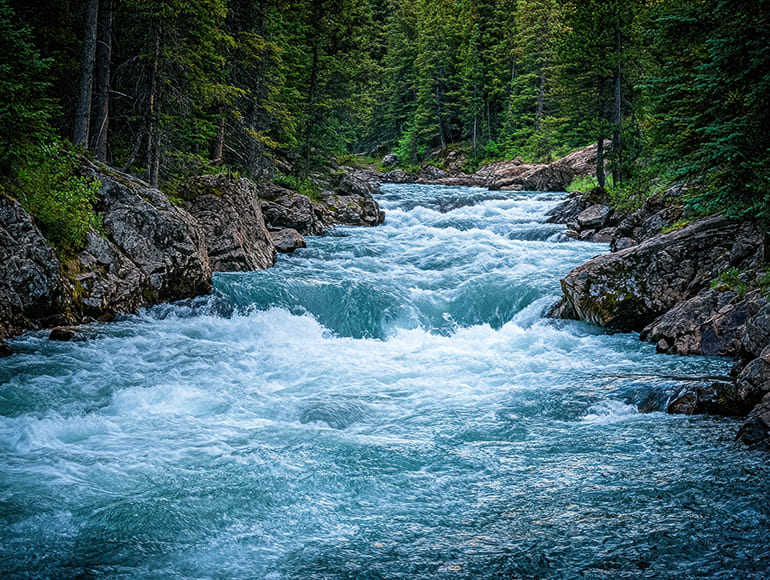
Here’s another helpful tip for beginners, but one that is also worth keeping in mind for more experienced photographers, too: use the grid overlay on your camera. It’s a simple feature and often goes overlooked, but it can significantly help when it comes to framing your pictures correctly.
With the grid overlay activated, you can more easily line up the triangles you find in the right locations before you hit the shutter button. This can help you capture pictures that are more balanced and symmetrical, without your triangles taking up too much or too little of the overall image.
Triangles Don’t Have to Point Up
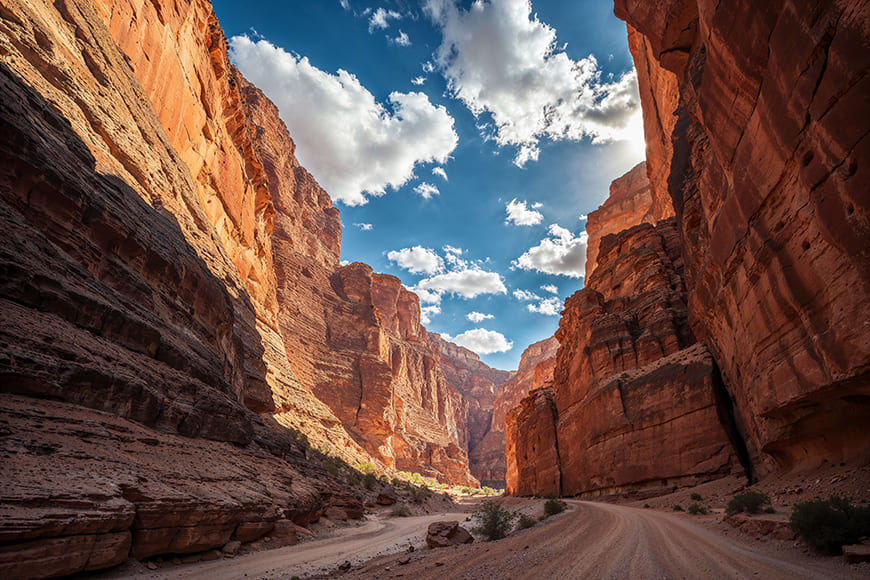
When people first start with the triangle method, they often focus on looking for pyramid-style triangles that point up towards the top of the frame. It’s important to remember, however, that you can also find three-sided perspectives in nature that point down, as well.
In the canyon image above, for example, a beautiful triangular slice of blue sky and clouds helps to introduce some much-needed color and contrast, capturing the viewer’s attention before inviting them to look down and admire the rest of the scene.
These kinds of triangles can be a little harder to spot, particularly if you tend to keep your gaze low to the ground. So just remember to look up from time to time; you might be surprised by the shapes you find above you.
Nor Do They Have to Be Perfect
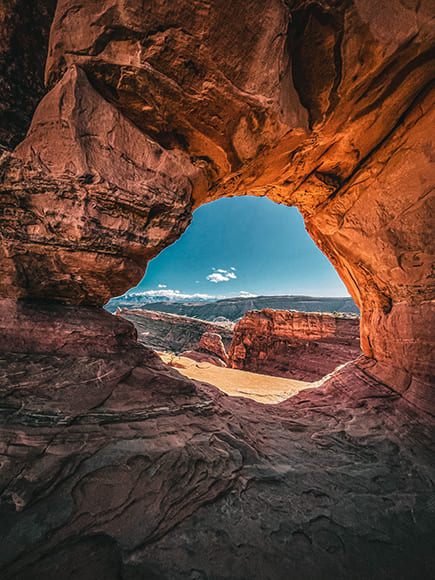
Another issue that some people may encounter when first starting with this method is that they’re a little too perfectionist; they try to find triangles that are absolutely flawless, with three sides of even length, converging at clear, sharp points.
But nature is often chaotic. It doesn’t necessarily follow the rules of straight lines and sharp angles, and its shapes are often a little more irregular than those you might find in a geometry textbook.
With that in mind, don’t get too caught up on the idea of finding flawless triangles in nature. Often, a close approximation of a triangle is perfectly sufficient to help you capture a truly fabulous photograph, even if it has wobbly sides and curves, instead of points.
Find Three Distinct Elements
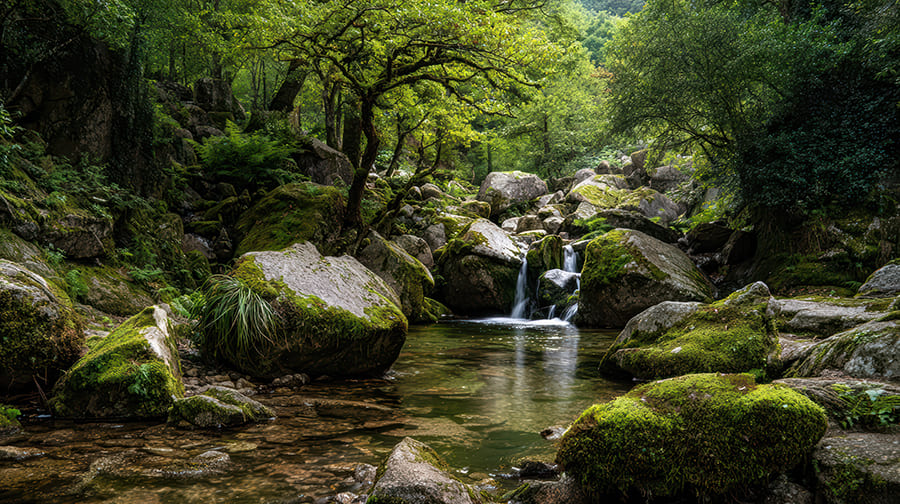
Sometimes, you might find yourself in locations that don’t appear to have any obvious triangles, but here’s one of the best tricks of the triangle method: you can make your own triangles from almost anything in your surroundings.
All you have to do is look for three large features or points of interest and then try to line them up in a triangular pattern. The image above, for example, uses the small waterfall as the top point of the triangle and the large boulders in the foreground to flesh out the rest of the shape.
Link the Foreground and the Background
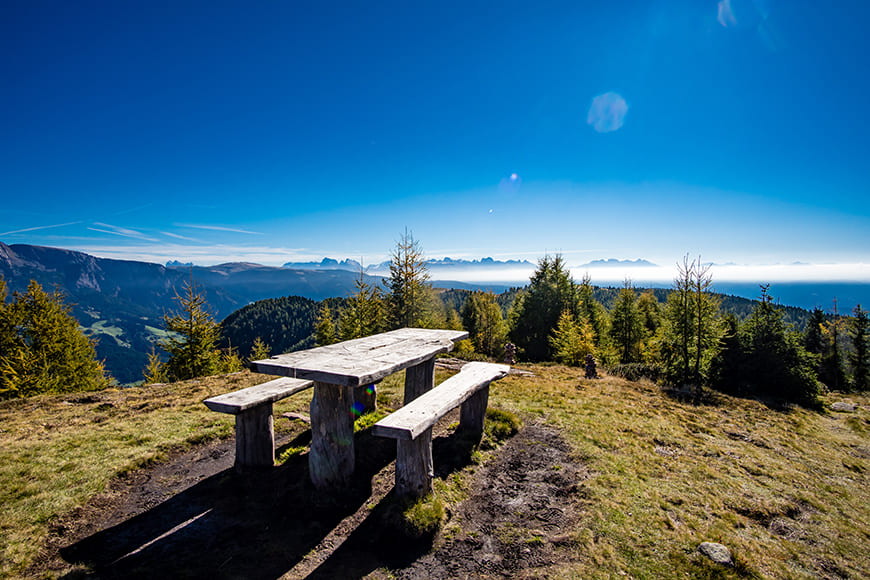
One of the most visually powerful ways to use triangles in your outdoor photography is to link foreground and background scenes. To do this, try to find a triangular shape in the foreground that seems to jut out into the backdrop.
In the picture above, for instance, the photographer has positioned themselves at the perfect angle so that this little patch of grass with a picnic bench seems to converge with the forests and hills beyond.
Don’t Miss the Obvious
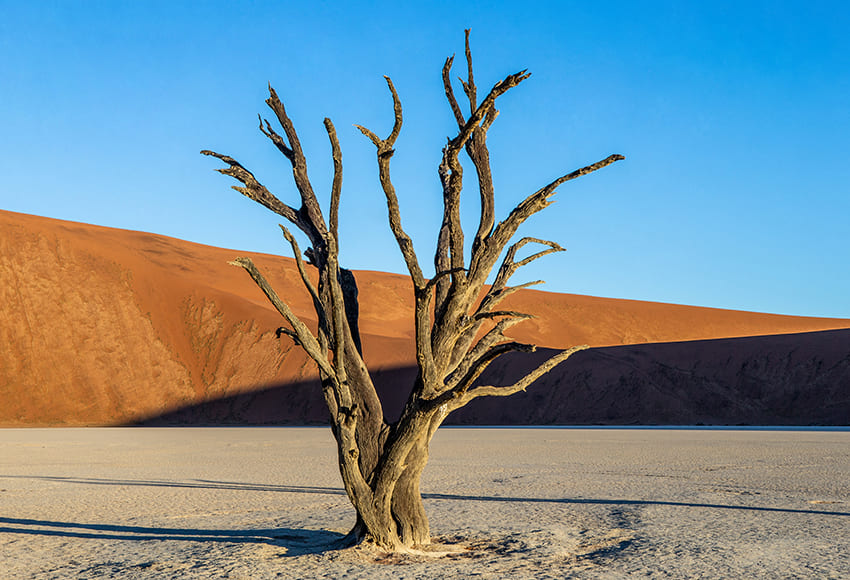
Last but not least, don’t make the mistake of thinking too big when looking for your triangles. Many people focus exclusively on features like rivers and mountains to form these shapes, but you can find triangles in plenty of other places, often in features that are standing right in front of you.
Trees, for example, can form beautiful triangular shapes, particularly when their leaves have fallen off. The same applies to other plants and foliage, which is why it’s important not only to focus on the big picture and large, landscape-dominating features but also to pay attention to the smaller sights around you.
Bonus Tips for Improving Your Outdoor Photos
Mastering the triangle method is an excellent way to upgrade your outdoor photography skills, but you don’t necessarily need to look for triangles in every single shot. Nor should you assume that finding triangles is the only way to take amazing nature or landscape pictures.
Here are some of my personal top tips to keep in mind if you want to become a better outdoor photographer:
- Look for Layers: Let’s say you want to take a dramatic shot of some distant mountain peaks. Rather than focusing solely on the mountains themselves, look for ways to layer your shots, introducing foreground elements, like trees and rocks, to add depth to your images.
- Bide Your Time: Patience is a virtue when it comes to outdoor photography, as a single scene can look very different depending on the weather and time of day. If the lighting and shadows don’t feel quite right for your composition, wait a while and watch them change.
- Play with Perspective: So many beginner photographers make the mistake of taking all their photos from the same angle. More advanced enthusiasts, however, know the importance of moving their camera to different heights, capturing scenes from above and below.
- Rule of Thirds: Rather than placing your subject in the center of the frame, position them in either the right or left third of your image. Or, if shooting a landscape, don’t put the horizon in the dead center of the image; move it up or down to accentuate the foreground or backdrop.
- Exposure Compensation: If you’re dealing with a brightly lit landscape, add negative compensation (via your camera settings) to prevent the scene from looking washed-out. Conversely, add positive compensation to compose darker and dimly lit scenes more naturally.
More: How to Prep for Outdoor Photography
Take Your Outdoor Photos to the Next Level With Triangles
The triangle method may seem simple, yet, it’s often the simplest things that make the biggest differences. As someone who has used this method on countless occasions in the past, when photographing the likes of lakes, rivers, canyons, and forests, I can testify to how well it works.
It can take a little getting used to, and you may need some time before you begin to start spotting more and more triangles in the world around you. However, with time, patience, and practice, even complete beginners can master this skill and take truly awe-inspiring outdoor photographs.
So, the next time you’re out and about, searching for that perfect sunset shot or mind-blowing wilderness picture, keep the triangle method in mind. It might prove to be the difference-maker between taking a good shot and a great one.

Check out these 8 essential tools to help you succeed as a professional photographer.
Includes limited-time discounts.

Jeff Collier is an experienced film photographer who enjoys experimenting with modern digital photography equipment, software and apps. He’s also an ex-world champion triathlete and avid cyclist, clocking hundreds of km each week in the beautiful Tweed Valley of northern NSW, Australia.
1 Comment
Leave a Comment
👋 WELCOME TO SHOTKIT!
🔥 Popular NOW:

thank’s