


How to Type in a Circle in Photoshop in Just 3 Steps
Typing text in a circle looks great and can add an element of interest to your design projects. Here's how to do it in 3 simple steps.
Photoshop | Software | By Judyth Satyn
Shotkit may earn a commission on affiliate links. Learn more.
Funky, fun text draws attention, making it a great way to enhance your graphic design projects. That's why circular text is so perfect for creating eye-catching marketing material.
You can make the text “pop” using outlines or vibrant rainbow gradients, but have you tried writing text in a shape?
Follow this tutorial and you'll quickly learn how to type in a circle in Photoshop, a great addition to a budding graphic designer's kit of skills.

Download a free copy of Adobe Photoshop to follow along with this simple tutorial.
How to Type in a Circle in Photoshop in 3 Steps
With Photoshop you have the option to type inside, on top of, or in the shape of a circle. Follow these steps and we'll show you how.
Step 1 – Add Guides to your Document
Guides will help you position the text accurately in your document.
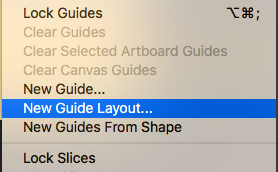
Navigate to View in the Top Menu bar and from the drop-down menu select New Guide Layout.
Select the Custom guide option beside Preset to divide your canvas into equal quarters.
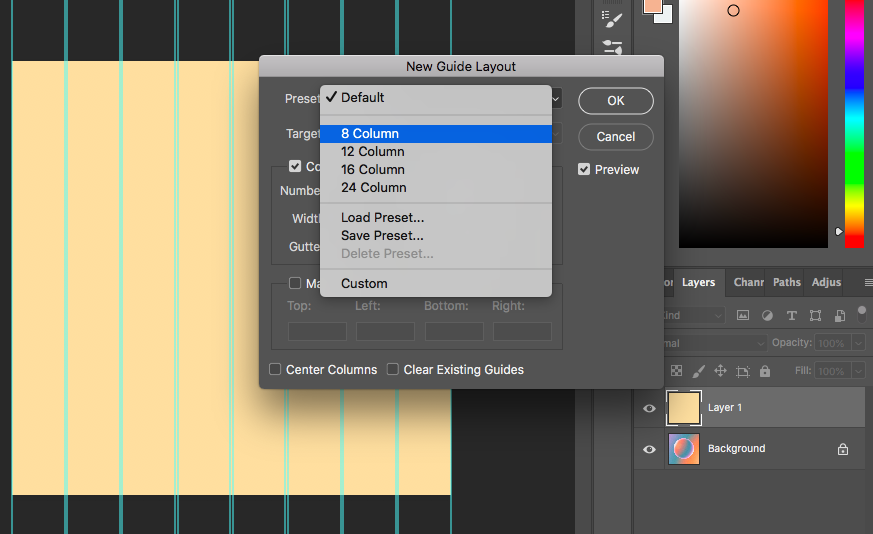
Make sure that the boxes beside Columns and Rows are ticked and in each box beside Number enter 2.
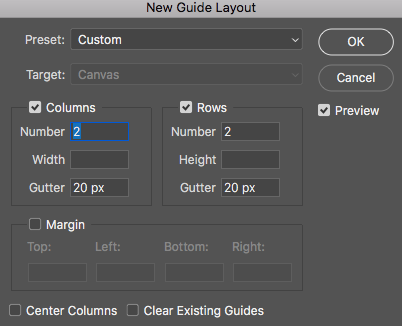
This will divide your canvas into equal quarters.
Click Ok and the guiding lines will appear.
Step 2 – Create a Circle Path
Create a New Layer – this will give you editing freedom to move or transform the circle path independently of its background layer.
Navigate to Layer > New > Layer.
From the Toolbar to the left of your canvas window select the Ellipse Tool.
If you can't find the Ellipse Tool, open the Shape Tool's drop-down menu, which is located under the Path Selection Tool.

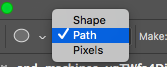
When the Ellipse Tool is active, the Ellipse Tool Options bar will open.
Select Path from the drop-down menu beside the circle icon.
Click onto your document with the Ellipse Tool Pointer and Drag your Cursor across the canvas.
As you drag, the outline of a circle will appear on your document.
To create a perfect circle path, hold the Shift Key as you drag. Alternatively, enter the dimensions of the circle in the Ellipse Tool Property Panel.
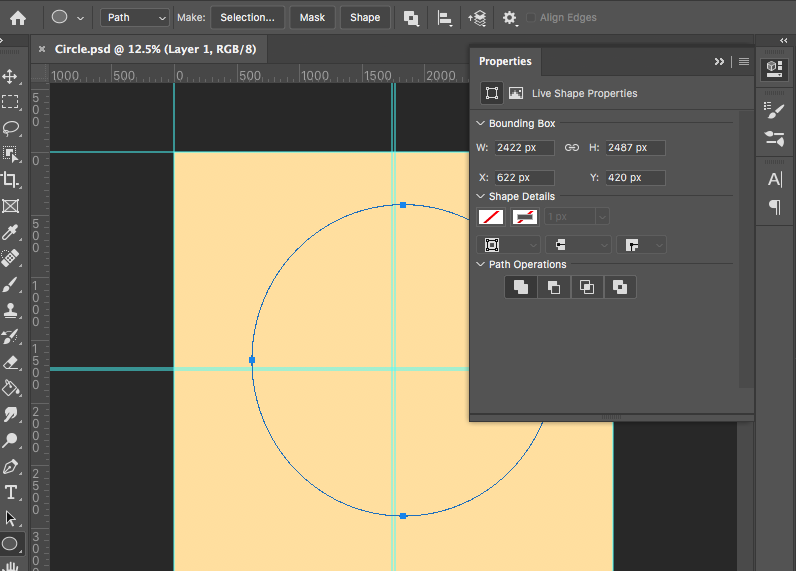
When the Circular Path is complete you will be able to reposition it using the Move Tool.
Step 3 – Select the Text Tool
Select the Text Tool from the Tool Bar to the left of your canvas window or for the keyboard shortcut press T.
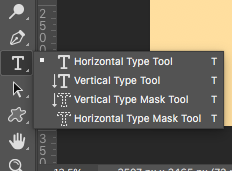
Before you create text, customize your text in the Text Tool Options bar.
Select and set the font style, size, and color.

With the Text Tool active, hover your cursor over the Circle Path.
Type on the Circle Path when a squiggly line appears below the Text Tool Pointer.
It is only when the squiggly line appears below the Text Tool Pointer that the Text Tool's ability to type on a path is activated.
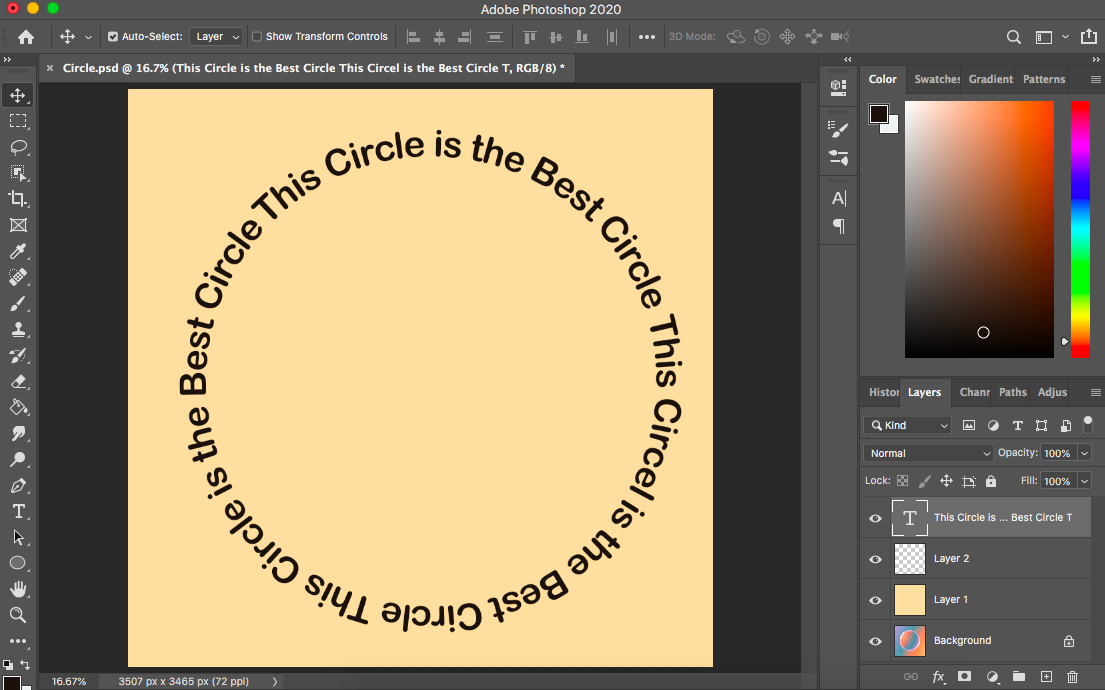
Type your text and the text will follow the circle path.
Now you know how to type in, on, or around a circle in Photoshop.
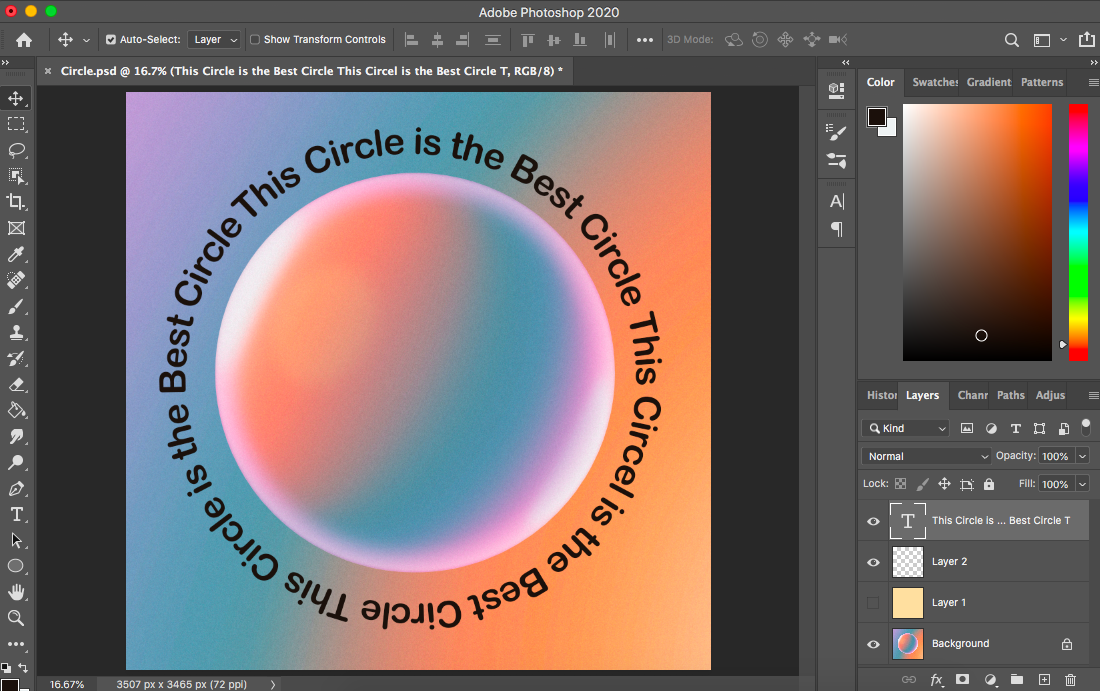
You can insert an image behind the circle text or overlay it with a fun pattern such as a Rainbow Gradient.
How to Warp Text in Photoshop
Photoshop gives you an easy option to warp text.
Activate the text layer and select the Text Tool from the toolbar to the left of your canvas window.
When active, the Text Tool Options bar will open above your canvas window.
Here you can customize the font's size, style, and color.
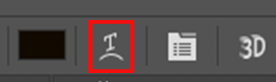
After customizing the font click on the Warp Text Icon (a T resting on a semi-circle) on the right-hand side of the Options bar.
When clicked, a pop-up window will appear, giving you the Warp Text Options.
These options include Arc, Fisheye, Flag, and more.
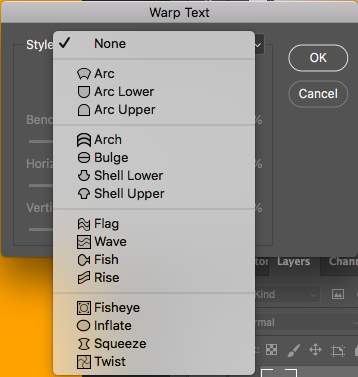
Select a Warp Text Style. When selected, the style's Warp Text dialog window will appear.
Adjust the settings of the Warp. As you adjust the settings, your text will be altered in your canvas window.
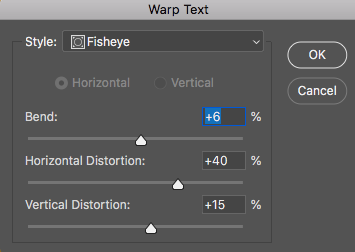
When you have achieved the desired Text Warp, press Ok.
If you want to learn more about editing Text in Photoshop, try out this Photoshop Tutorial: How to Outline Text in Photoshop.
Adobe MAX Update 2024
Photoshop is the ultimate tool for photographers, graphic designers, and visual creatives looking to take complete creative control of their workflow.
The Adobe MAX Update 2024 introduces several enhancements and new features to simplify core tasks.
With the assistance of Generative AI, these tasks include the ability to remove distracting elements from an image and streamlined processes for placing 3D elements in a 2D design.
Removal Tool – The key updates include an enhanced Remove Tool to effectively remove unwanted or distracting objects from an image without deteriorating the overall composition.
Distraction Removal – The automated Distraction Removal feature identifies people, objects, and overhead wires that may distract from the image.
Generative Fill – Powered by Adobe Firefly AI, Generative Fill allows you to build a composition with photo-realistic 3D elements, including correctly placed shadows, highlights, and perspective.
Generative Expand – Photoshop’s Generative Expland allows you to resize the canvas and use Adobe Firefly Image Mode to fill in photorealistic elements.
The Adobe MAX 2024 Updates are now live, and there's never been a better time to optimize your creative output with the Adobe Creative Cloud suite of applications.

Judyth is an experienced studio photographer and glass artist. When she isn’t Photoshopping comedians into the bellies of sharks, you can find her cooking delicious treats for her guests.
1 Comment
Leave a Comment
👋 WELCOME TO SHOTKIT!
🔥 Popular NOW:

Mind bogglingly frustrating that the one thing i needed to see a picture of, where the circle path tool is, is basically the only one you omitted here.