


How to Convert Negatives to Digital Pictures Easily
Learn the step-by-step process to convert your old film negatives into high-quality digital pictures to preserve all your precious memories with ease.
Film Photography | Learn | By Judyth Satyn
Shotkit may earn a commission on affiliate links. Learn more.
This guide on how to convert negatives to digital pictures will help you recover and print family photo treasures.
Converting and printing out negatives is fun for rediscovering forgotten stories to share.
You will learn simple ways to convert negatives (digitize photos) and how to store precious negatives to increase their life span.
If you have old video film, our guide to digitizing 8mm film will help.
How to Convert Negatives to Digital Photos: 5 Methods

Image: Shvets Production
It is a great idea to convert negatives to digital photos so you can see them in their full splendor, share the photos online, or simply revisit the past.
Negatives deteriorate over time, just like photos, so converting them to digital versions is a good idea to preserve them.
Before we dive in and learn how to convert negatives one note of caution – when handling negatives always take care only to hold the edges of the film.
Never touch the surface of a negative. Even if you are wearing disposable latex gloves.
Negatives are extremely delicate. Mishandling with oily or dirty fingers can damage them.
Do not cut negatives from their stips when converting them. This will make them more cumbersome to handle and store.
1. Use a Smart Phone App
If you want a super convenient and fast option to convert negatives to photos you can use your phone's camera and a specialised app.
Filmbox by Photomyne is a scanner for smartphones. The first scans are free but then you will need to subscribe.
Photomyne has pretty much sewn up the market of converting negative to digital pictures. It has gone a step further than most and patented the technology to reverse a negative by photographing it.

Image: Cup of Couple
Here's how to use the Filmbox app.
Step 1. Download App
Head to Google Play if you have an Android or the Apple store if you have an iOs device and download the Filmbox app.
Step 2. Light Source
For the best conversion of negative to digital picture, the negative must be adequately lit by a bright and consistent light source.
Open your device's screen and set it to a blank white. Ramp its brightness up high.
Step 3. Position Negative
Carefully hold your negative vertically in front of a light source. Hold it two inches from the screen and include the perforated borders.
Step 4. Capture
To capture the negative tap the Capture button on the app or if you have an iOS device you can use the voice command and say Go.
The voice command is the best option because the slightest movement, even from a tap, can result in a blurred image.
Step 5. View
Head to Filmbox stored photos to find the image saved for you to view.
Filmbox will have immediately converted your negative to a positive photo. You can now share from your device.
2. Use a Flatbed Scanner
Flatbed scanners are everywhere these days and readily available making them easily accessible to convert negatives.
You might even choose to invest in a dedicated film scanner if you're serious about scanning lots of old negatives.
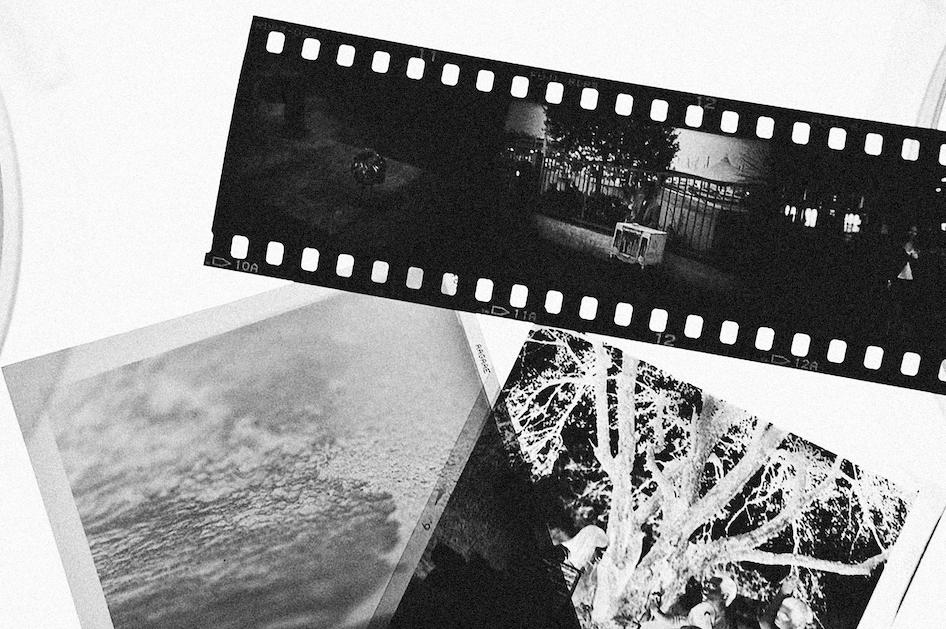
Image: Alexey Demidov
Here's how to use a flatbed photo scanner to convert your negatives to photos:
Step 1. Prepare Scanner
Ensure the flatbed is collaborated and ready to use. Clean the glass surface of the flatbed so that the negative is not damaged.
Step 2. Place Negative
Position the negative flat and align it on the glass sheet of the flatbed. Handle the negatives carefully by their edges.
Ensure the negative is dust free and clean.
Flatbed scanners usually have a white surface cover. If this flatbed scanner cover is missing place a piece of white paper over the negatives.
This will help to increase the amount of contrast captured.
Step 3. Scanner Settings
Adjust the scanner's settings size and resolution. Use 600 dpi and scan negatives.
Save the scanned file as a TIFF file.
Step 4. Store
Save the scanned files to an external hard drive or the cloud.
Step 5. Edit
Once scanned you can use photo editing software to adjust the color balance, contrast, and brightness of the negative.
You can now invert the colors of the negative to create a photo.
3. Use an Online Service to Convert Film Negatives
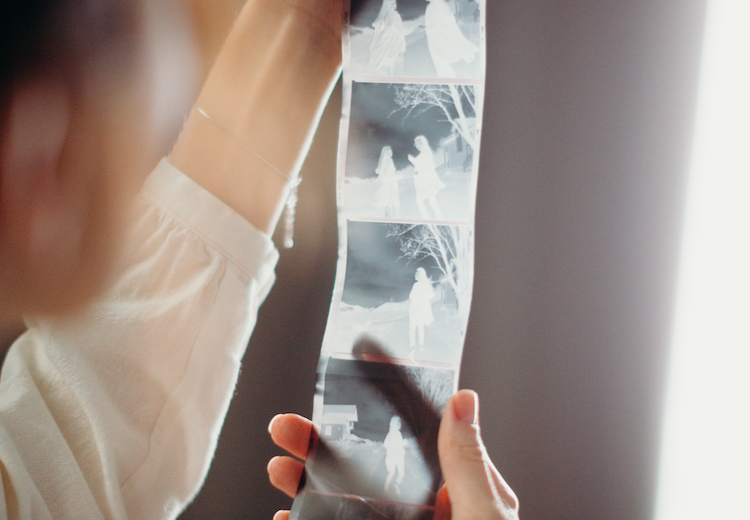
Image: Cottonbro Studio
Send your scanned negatives to an online film conversion service like ScanMyPhotos for them to convert the negatives for you.
Step 1. Scan Negatives
Ensure the flatbed and negative are clean before scanning negatives. Place the negative on the glass sheet of the flatbed.
Adjust the scanner's settings size and resolution. Use 600 dpi and scan negatives.
Save the scanned file as a TIFF file.
Step 2. Email Files
Email the files to Reelbox and pay for the service.
Step 3. Print, Save, or Share
Reelbox will convert the negatives, color correct them, fix scratches, remove dust marks, and deliver the final product to you.
All you have to do is print, save, or share the beautiful and perfectly produced photos.
4. Take a Photo of the Negative with your Digital Camera
This is a simple and resourceful way to digitize negatives if you don't have access to other options or you are a camera fanatic.
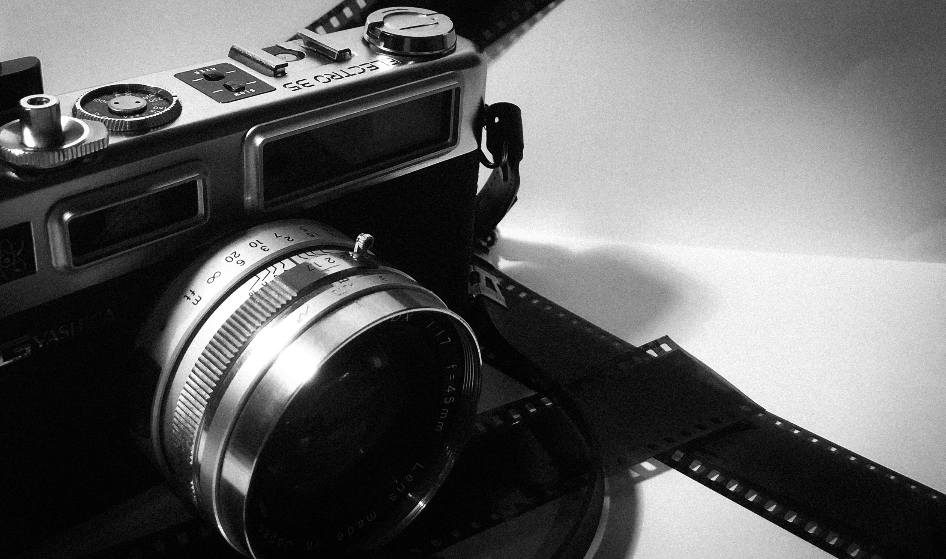
Image: Muhammad Addi
To get the most precise replication of the negative use a tripod. The steadier the camera is the less blur factor will be included in the final result.
Here's how to convert a negative to a digital picture using a digital camera:
Step 1. Light Source
You will need a strong and consistent light source to capture the best copy of the negative.
You have a couple of options when shooting using a digital camera. You can use a lightbox or your device's screen by setting the screen to white at the highest brightness.
Step 2. Place Negative
Hold the negative in front of the light source and shoot.
Step 3. Transfer and Save
Transfer the digital shots to an external hard drive or the cloud to save.
Step 4. Edit
Now you have converted the negative to a digital file you can edit and save it for future use.
Experiment with digital negatives in photo editing software programs and convert them to photos.
5. Use a Local Photography Shop to Convert Film Negatives
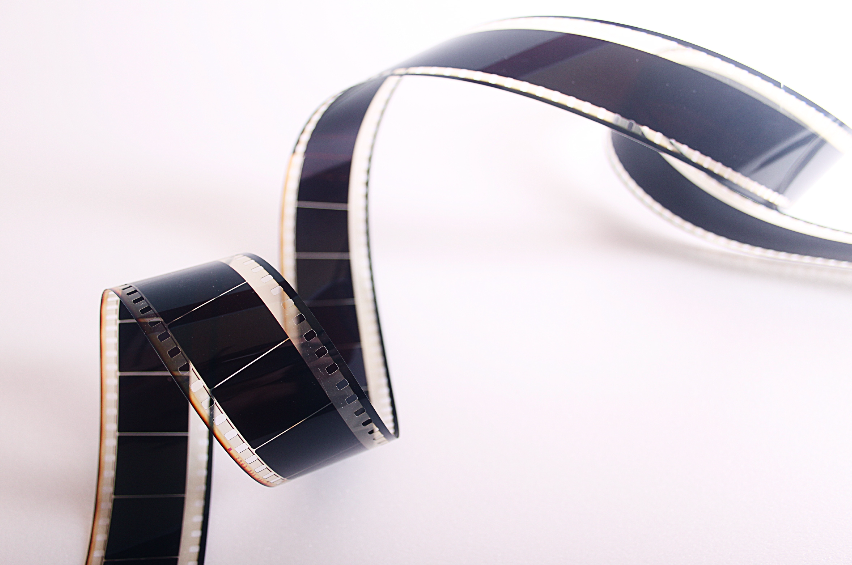
Image: Pietro Jeng
If you don't trust your capabilities at converting negatives and are aiming for the ultimate in stunning results, you can hand the task over to a trusted professional photographer.
Contact a local photography business. Deliver the film, pay the fee for the service and the professional photographer will take care of the rest.
The photo results will be returned to you as prints, digitally on a hard drive, or as a disc.
What Are The 3 Types of Film Negatives?
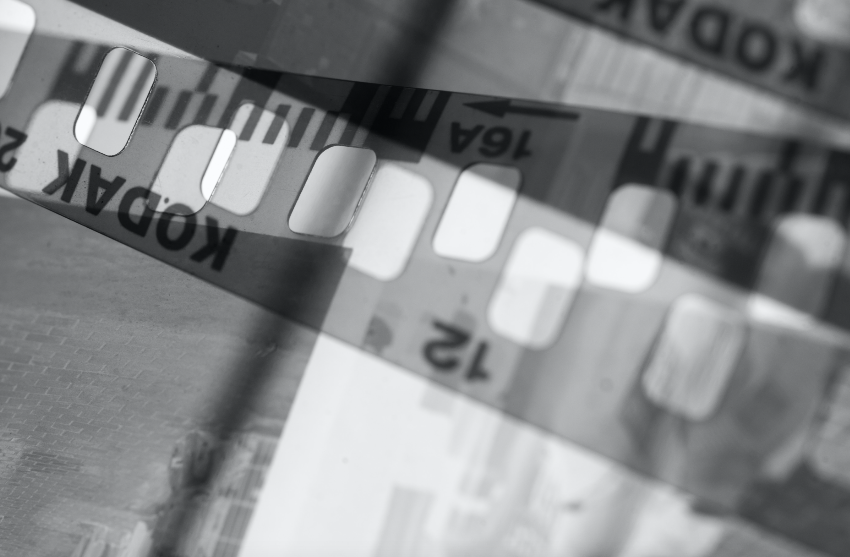
Image: Brahim Mahmuti
Today if you are looking to shoot with film there are various formats, sizes, and colors available.
Film is categorized into three types positives, color negatives, and black and white negatives.
They respond differently to light due to the film's ISO, color tone, dynamic range, grain, and sharpness.
Film negatives are strips of clear plastic (cellulose acetate or polyester) coated in a light-sensitive image-forming substance.
Film cartridges were invented for photographers to conveniently load in daylight, instead of loading in a darkroom.
Color Negative
Color Negative is the most common film on the market. It captures a color inversion of the scene.
It has a high dynamic range and will give realistic precise results.
Photographers will say that Kodak color film produces warmer tints and that Fujifilm will give greener tones.
Color negatives are available in a range of ISO but most commonly in 100 to 800 ISO.
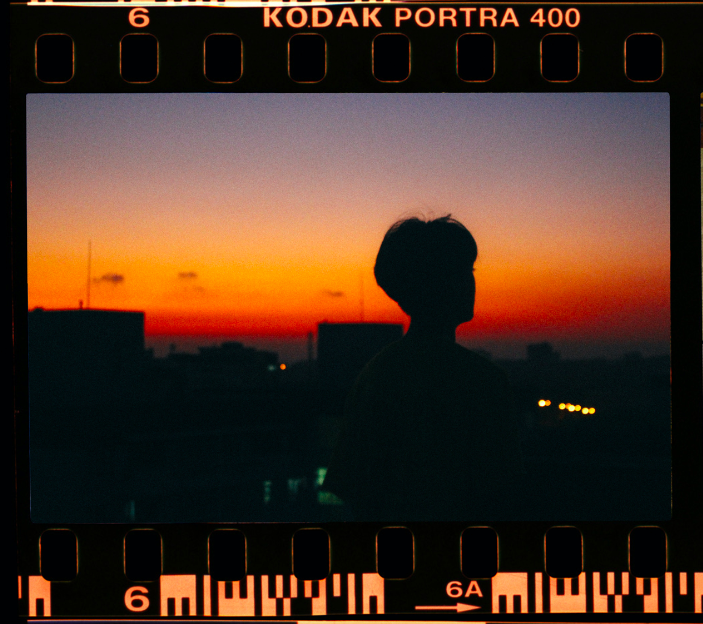
Image: Loc Dang
Black and White Negative
Black and White Negative captures an inverted scene in the tonality of black, gray, and white and produces mono-tone photos.
Black and white was the original film used by photographers. Like a color film, it comes in different ISO ratings.
You may even choose to colorize your black and white photos.
Positive film
Positive film is called positive because it captures the colors as they are. It is the opposite of a negative which captures colors and inverts them.
Positive film is not as sharp as a color negative it is softer with higher contrast.
Using positive film you will find that the magenta hues are higher and the result is a cooler-toned photo.
This generates an interesting effect specific to positive film. However, it is not an accurate replication of the captured scene.
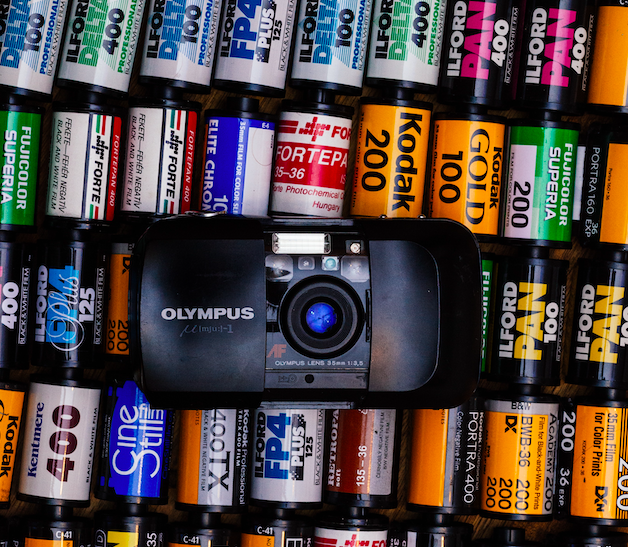
Image: Balázs Benjamin
Film Format and Sizes
135 mm film is the standard-sized film most commonly known as 35mm film. 135mm film format was first used to shoot motion films and later used in cameras.
120 film medium format is larger than 35mm film and is known for producing higher-resolution images.
220 film medium format is similar to the 120 film format except there are double the exposures stored on the film cartridge.
Large format film is larger than the commonly used 35mm film and medium format 120mm film and is used in large format cameras.
There were many sizes of films over the past decades that were discontinued due to a lack of popularity and other factors.
126mm film was an Instamatic cartridge-based film format created by Kodak. With square frames typically 28mm x 28mm in size it was discontinued in the 1980s.
116 and 616 film was one of the earliest films used dating back to 1899. It was sizeable at 2.5 x 4.5 inches and only 6 fitted on a spool. These were discontinued in 1984.
8mm Disc. Kodak created an 8mm disc negative its popularity dwindled due to its poor quality and it was discontinued.
3 Tips on Storing & Preserving Your Old Film Negatives
Storing and preserving negatives is worth your time because you will be able to use them in the future to make vibrantly colored new prints.
Think of photos from the 1980s whose colors have faded and the texture has fuzzed up.
When you keep the negative safe you will always have the option to reprint the photo in its original glory.
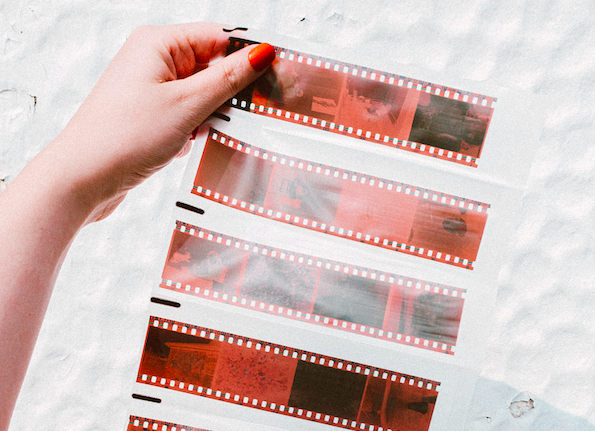
Image: Lisa Fotios
Some people store their negatives by placing them in an envelope and throwing them in a shoe box, to be kicked under the bed. Done!
And hey that's all good if you don't value your shots, but if you do value them you will want to keep them organized and protected.
Here's how:
1. Protect
Film negatives should be protected from dust, scratches, and oily fingers. The tiniest scrape can result in an irreparable loss of a section of the scene.
When handling the negative hold it on its edges and never touch the flat side. Touching the surface of the negative will leave it vulnerable to collecting finger oil and dirt.
Storing your negatives in PVC-free plastic negative sleeves will allow you to flick through pages of negatives without subjecting them to oily fingers, or bringing them into contact with dirt.
You can slide each strip of negative into a separate slot in the sheet.
Don't place more than one negative into a protective slot. When stored together they can become stuck and unsticking them is not an easy task without damaging them.
The transparent negative sheets make it easy to view the negatives without needing to touch them.
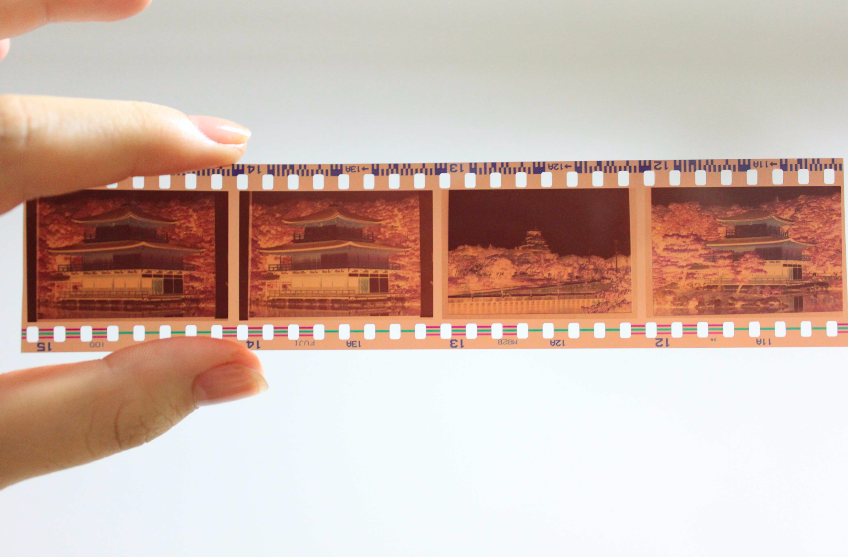
Image: Luriko Yamaguchi
See also: How to store photos
2. Organize
Organizing your negatives will remove any unnecessary exposure and handling the negatives could be subjected to.
Invest in some good old-fashioned ring binders to clip the negative plastic safe sleeves into.
Create an archive when storing your negatives by listing dates on the sides of the binders, or if you prefer you can use the theme of the photography project.
Organize your negatives so you won't have to fumble around trying to find the correct negative.
3. Location
Keep the negative binders in a low-humidity cool location in your house.
Humidity can affect the life span of the negative so store it in a cool, dark, dry place where the temperature doesn't fluctuate.
Avoid storing negatives in attics, basements, or garages where they can be susceptible to fluctuating temperatures, dampness, and mold.
How to Store & Preserve Film
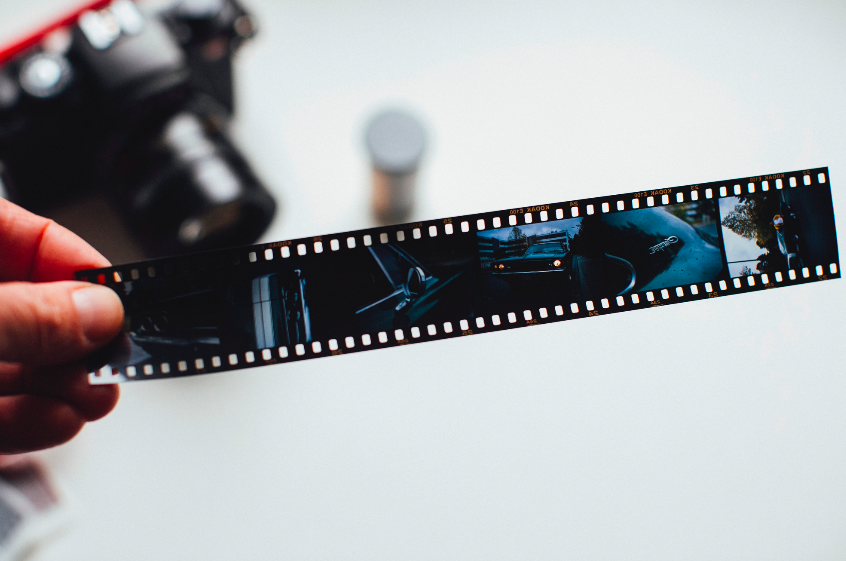
Image: Markus Spiske
Brand new fresh film straight from the factory gives the ultimate results in color, clarity, and definition.
The second best option is to store film to preserve it so it remains as new.
Film stock has an expiry date, but you can extend its life to years past the expiry date when you store it carefully.
The best conditions to store film to stop degradation are low temperatures with low humidity.
If you live in a warm climate use the fridge and if you live in freezing cold temperatures use the fridge.
To keep humidity at bay it is suggested that you keep the film unopened in its original canister.
If you want to take extra precautions against humidity place the film in an air-tight container in the freezer.
Keep the film in view so that you are reminded to go out and take more awesome shots.
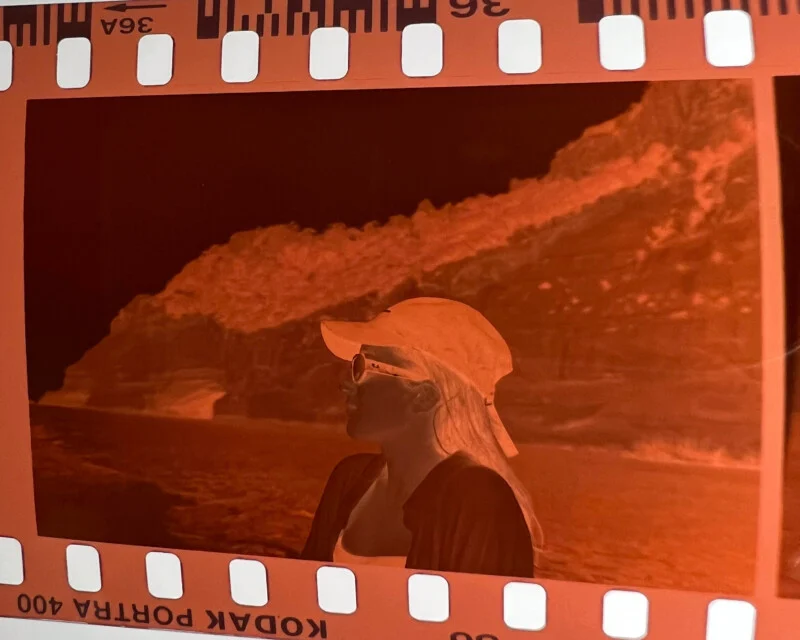
How to Scan Negatives with a Smartphone
Recently, one photographer explained on TikTok how she easily manages to scan reams of 35mm film negatives with her phone.
Many of us, photographers or not, still have many old 35mm photographic film negatives lying around that we’d like to transfer over to digital.
Doing this through special devices or by hiring a third-party service can just be tedious, but this photo trick is a neat workaround.
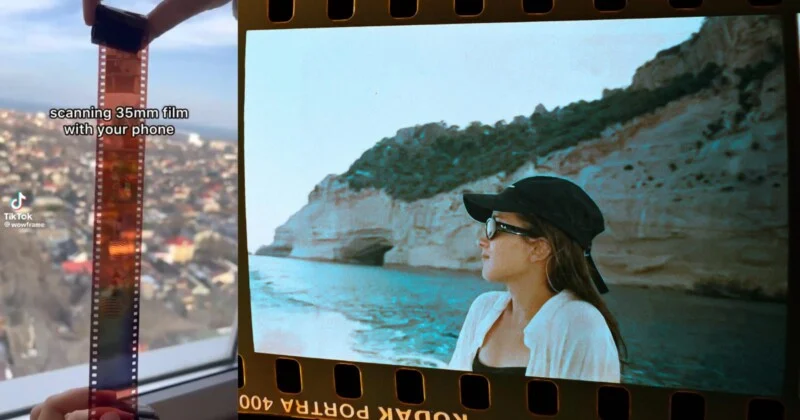
Video producer and photographer, Ksenia Bakalo recently shared a TikTok clip in which she explains her process.
Before beginning the smartphone-based scanning process Bakalo first has the film developed through traditional chemical means. The following doesn’t work with unprocessed film rolls (so please don’t open any you have up and expose them to light!)
Ksenia Bakalo
Once she has her negative, the rest is easy enough: What Bakalo does is take a photo of each negative frame from a developed film roll and then load the image to her Lightroom app right inside the phone.
With this done, she then uses the curve feature in the Adobe Lightroom app to scan the negative and rapidly convert it into a positive image in color or black and white.
According to Bakalo, “To convert the negative of a photo into a positive, all you need is the curves feature in Adobe Lightroom,”
It’s really that simple and doesn’t even require a laptop, though you could perform the same process with the Lightroom software on your PC if you prefer the more extensive interface.
Bakalo also explains something that makes this simple technique useful for both black and white and color photos,
“To make the colors in the photo correct, you need to drag the lower left end of the curve to the upper left corner and the upper right end to the lower right corner. If you do everything right, the photo will become colored.”
Ksenia Bakalo
The TikTok video she posted has already amassed over 27 million views, more than 2 million likes and thousands of comments for its practical simplicity.
Its popularity applies especially because the technique doesn’t even require a special high-end phone of any kind. Most smartphone models, Android or iOS, can handle it just fine.
In the comments for the video and in other posts by different photographers, other methods for scanning film into digital positive images have also been suggested.
One photographer mentioned using the app Filmbox to do something similar, and another talked about working with an “invert filter”. These are available online as free photo color inversion tools.

Check out these 8 essential tools to help you succeed as a professional photographer.
Includes limited-time discounts.

Judyth is an experienced studio photographer and glass artist. When she isn’t Photoshopping comedians into the bellies of sharks, you can find her cooking delicious treats for her guests.
1 Comment
Leave a Comment

👋 WELCOME TO SHOTKIT!
🔥 Popular NOW:

I have had very good luck with the Pacific Image PowerFilm scanner. One can load up to 7-9 film strips and walk away from it. It gives excellent scans and one has many options to chose from as far as setting it up is concerned. I must have scanned several thousand negatives with it comprising all of the photos of my family, and even before I was married, with it. It can be a little finicky at times, but I would definitely buy it again. If you have a lot of negatives to scan, this is what you want.