


How to Curve Text in Canva (Fast & Easy!)
An easy, step-by-step tutorial on how to angle and curve text in Canva. Level up your graphic designs with curved text effects.
Canva | Software | By Judyth Satyn
Shotkit may earn a commission on affiliate links. Learn more.
Curved text can add the style twist that a design needs to lift the look to the next level. It's also a fun way to soften formal text.
Canva was designed to be intuitive, with ease of use in mind, and curving text with Canva is no different.
In this easy step-by-step tutorial, we'll take you through the main points on how to curve text in Canva, so you'll be a pro in no time.
Get a 16% annual discount to Canva Pro for UNLIMITED access to all the best design content!
How to Curve Text in Canva
It's easy to take advantage of the extensive range of options, ideas and features that Canva has to offer, including the curved text feature.
There are many design reasons to add curved text when you're creating a graphic design: it adds emphasis to wording and can help to jazz up a dull poster or banner.
Here's how to add curved text in Canva.
Step 1 – Open Design
Open the design you want to add curved text to or create a new one.
To create a new design, click on the “Create a design” button in the top right-hand corner of your workspace.
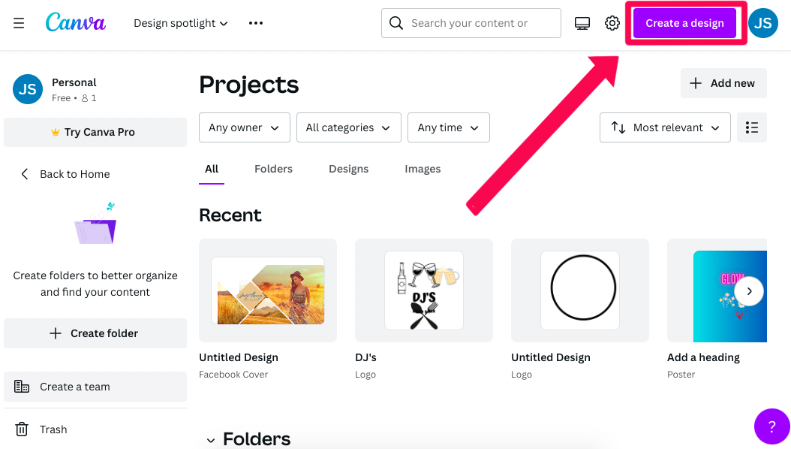
Here you can search for a design in the search bar or select one from the drop-down menu.
Click on your choice of design and it will open the Canva workspace, ready for you to begin.
For this tutorial, we'll be designing a Facebook Cover.
When your workspace has opened, select a template from the templates to the left of your workspace.
Step 2 – Select Text
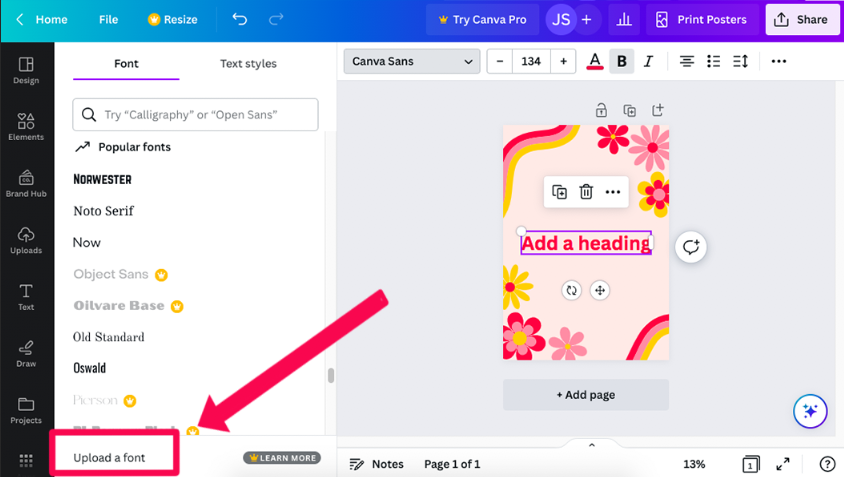
To select your text of choice, head to the panel on the left of your workspace and first click on the Text icon.
This will cause the Text panel to open.
Canva only lets you add your own font if you are subscribed to a Canva Pro account.
If you have a Canva Pro account and want to upload your own font, simply click on the “Upload a font” at the bottom of the Text panel.
If you don't have a Canva Pro account, you can select a font from the list of standard fonts.
Choose the text style you would like to use and type your text into your document.
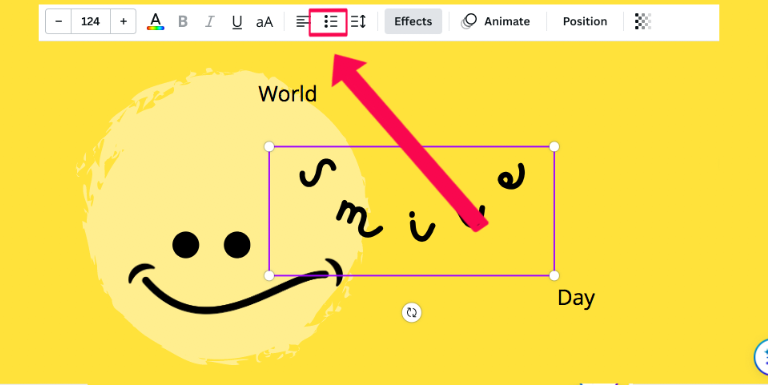
Step 3 – Select Curve Effect
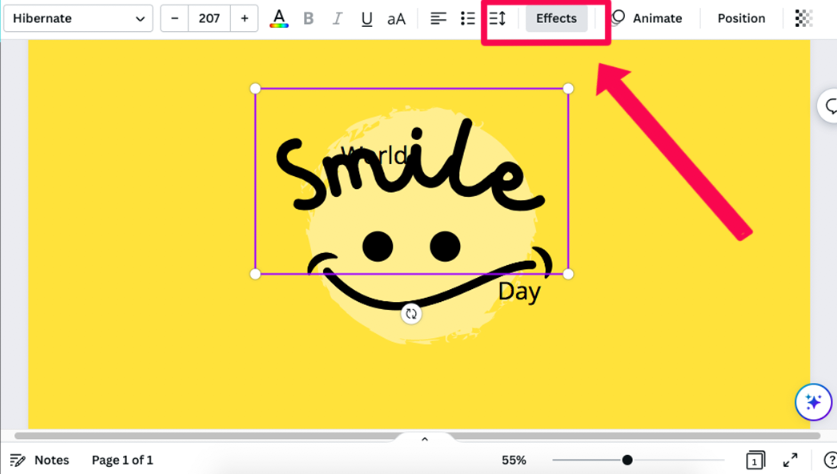
When you've added the text you would like to curve and it's surrounded by a purple bounding box, you can begin to create curved text.
In the top right corner of your workspace you will find the “Effects” button – click on this to add the curved effect.
When you have clicked the Effects button, the Effects panel will open to the left side of your workspace.
Scroll to the bottom of the effects panel and you will find the “Curve” button under “Shape”.

Click on the “Curve” button to start creating curved text.
Step 4 – Create Curve Text
When you've clicked on the “Curve” button, a slider will appear below it.

Move the Curve slider to the left or right to create curved text.
The text in Canva will automatically curve as you slide the Curve slider to the left or right.
When you slide the Curve slider to the left, the text will be curved upwards; when you slide it to the right the text will curve down.
As you create curved text using the slider, watch your workspace to see the text change in real-time so you know when you've reached the desired curve effect.
- Read more: How to use frames in Canva
Step 5 – Fine tune
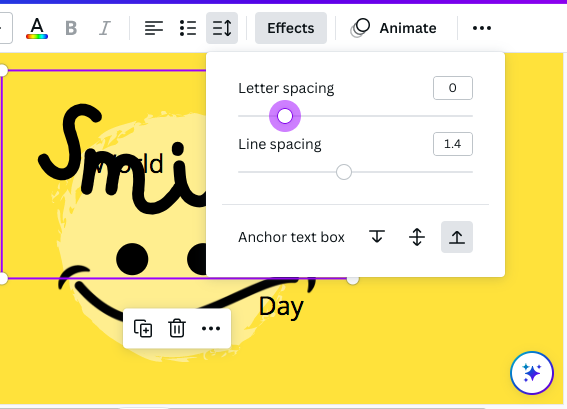
When you create curved text in Canva, you'll want to fine-tune the spacing – sometimes curving text will result in the text looking squished.
To change the letter spacing select the text. When it has a purple bounding box around its edges, click on the “Spacing” feature.
A pop-up window will appear with two sliders – one for spacing text and the other for spacing lines.
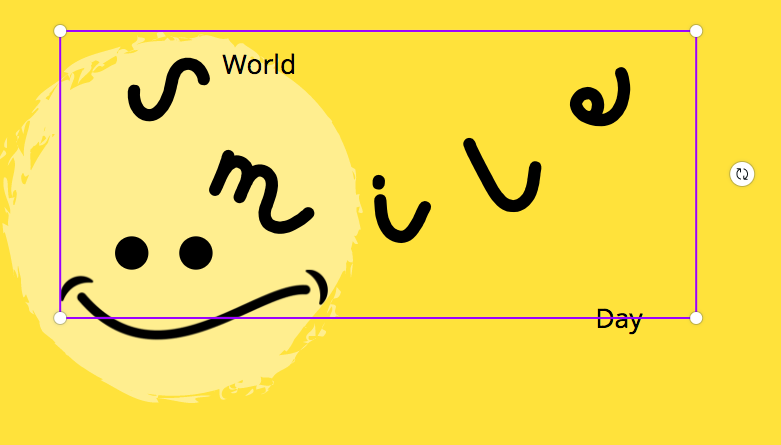
Slide the “Letter spacing” slider to the left or right to increase or decrease the spacing between the letters.
As you fine-tune the spacing of your text, the curve of the text will expand or contract. This is a useful way to make the curve larger or smaller to fit your design.
If you have multiple lines of text, you can slide the “Line spacing” slider to the left or right to adjust the distance between them.
When you've created curved text you will still have the option to edit the text.
You can edit the color and font or adjust the position of your curved text. You can even add more text if you need to.
There's so much you can do with curved text in Canva – try experimenting with it in your different Canva designs.
How to Change the Angle of Curved Text in Canva
Now you know how to curve text in Canva, why not go crazy and add an angle?
Whether you have normal or curved text, changing the angle uses the same procedure.
Click on your text so that it's surrounded by the purple bounding box.
When your text is selected, click on the “Position” button above your workspace.
When the “Position” button has been clicked, a panel will open beside your workspace.
Scroll down to the bottom of the panel until you locate the “Rotate” box.
The value in the “Rotate” box will be set at “0” if the font is currently level.
To change the angle of the text, add a new value in the “Rotate” box.
When the value is changed, the text's angle will be adjusted.

You can also change the angle of the curved text by hovering your cursor over the double arrow circle icon, which will be centrally positioned below the text's bounding box.
A bent arrow pointer will appear – use this to click and drag your cursor beside the bounding text box.
You will be able to reposition the angle of the text.
And that's it! We hope you enjoyed this tutorial on how to curve text in Canva. For more, check out this post on how to draw in Canva.

Judyth is an experienced studio photographer and glass artist. When she isn’t Photoshopping comedians into the bellies of sharks, you can find her cooking delicious treats for her guests.
👋 WELCOME TO SHOTKIT!
🔥 Popular NOW:
