


How to Use Frames in Canva (Including your Own)
Learn how to add frames in Canva to shape and resize photos and add creative effects to your graphic designs.
Canva | Software | By Judyth Satyn
Shotkit may earn a commission on affiliate links. Learn more.
In Canva, the world's top free online design platform, you can create almost any design element. Learning to add a frame is an important part of the process.
In Canva, frames enable you to add or crop images into a shape.
For example, you might add a circular frame to your graphic design. You can then add any image you want and it will be displayed inside that circular shape.
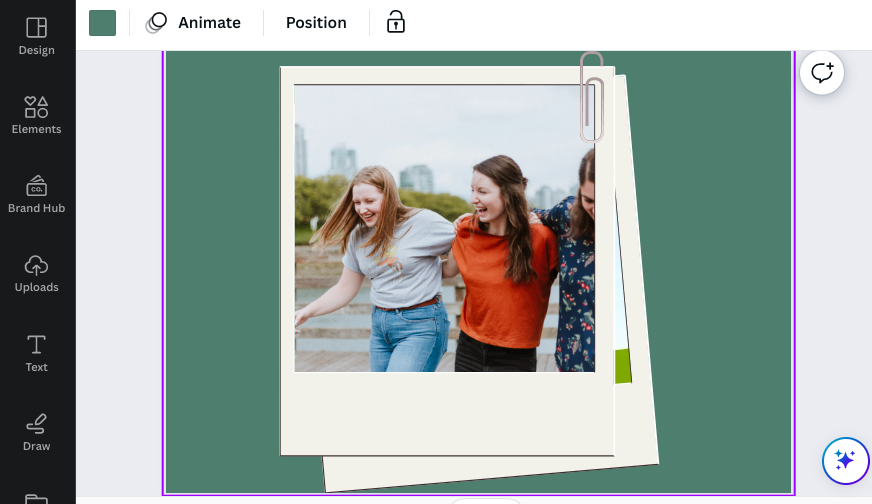
You can also use Canva frames to do fun effects – like creating retro look by adding Polaroid frames.
Read on to learn how to use frames in Canva.

Get a 16% annual discount to Canva Pro for UNLIMITED access to all the best design content!
How to Use Frames in Canva
There are many good reasons to frame an image. Below we have selected our top five reasons for framing an image.
1. Images can be enhanced by adding a textured or designed frame. The dynamic of the image will be altered creating visual interest.
2. A colored frame can be used strategically to draw attention to a similar colored subject within the image.
3. Frames separate the work from its surroundings, removing visual distractions and helping to focus the viewer's attention.
4. Using frames strategically you can cut out excessive unnecessary parts of the image that distract or confuse the viewer.
5. Frames in Canva can be used to easily insert a photo or image into any shape you desire.
Follow the steps below to find out how to use frames in Canva.
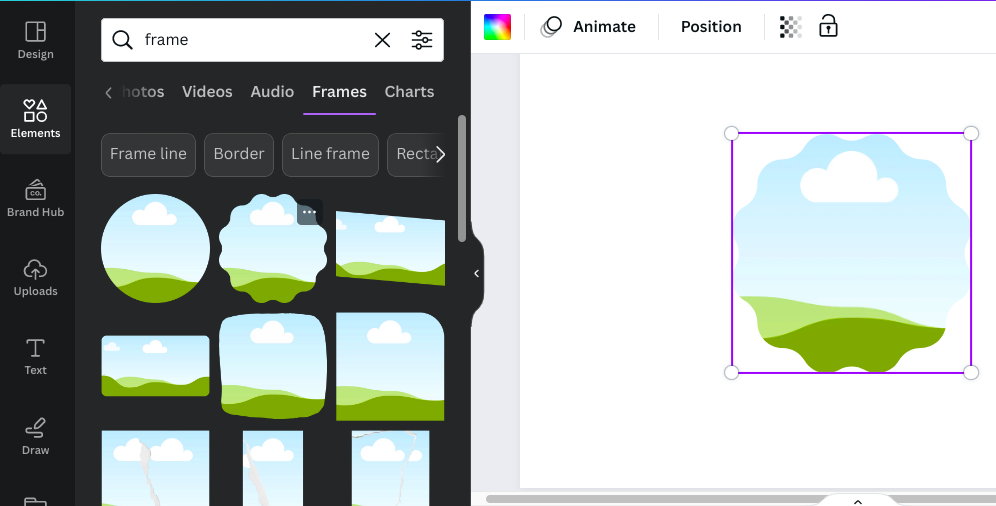
Choose a Frame
On the left-hand side of your workspace, click on the “Elements” button.
This will open Canva's design elements in a pop-up panel to the left-hand side of your workspace.
In the Elements search bar enter the keyword “frame”.
The Elements tab will be opened, containing a selection of Canva's frames.
Scroll up and down. left or right to view the different Canva frames.
Click on “See all” on the right side of the Canva frames panel to be presented with multiple frames.

Find the frame you want to use and click on it.
Once clicked the frame will open in your workspace.
Reposition the Frame
The frame can be added to a blank template or it can be placed on top of other images or design components.
To reposition the frame simply click on the frame. Then, hold your cursor down and drag the frame into its new position.
If you need to resize the frame, drag the frame's borders outwards, inwards, upwards or downwards using the cursor.
Add an Image
When your frame is correctly positioned you can add the image you wish to frame.

It may seem counterintuitive to add an image to a frame rather than a frame to an image, but this is how it works when using Canva.
Head to where your image is located.
If it's stored with your uploads, click on the “Uploads” button.
If your image is one you have created in Canva click on the “Projects” button.
Click on your image and it will open in your workspace.
To add the frame to your image, simply drag the image onto the frame element.
Once positioned over the frame element it will set inside the frame.
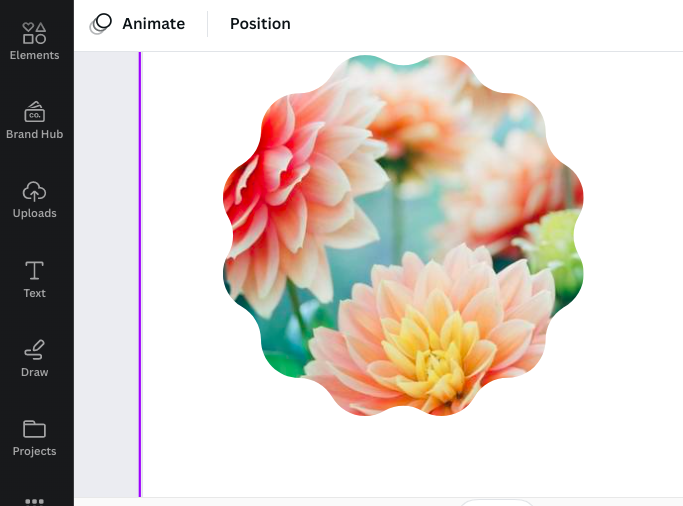
Resize & Reposition the Image
If the image isn't the right size, double-click on the image.
A purple bounding box will appear. Drag the edges to reposition the image inside the frame.
The Canva frame element and your image will now be melded together as one element.
You can move it around your workspace or adjust its size and it will remain locked together.
- Want to learn more? Check out this tutorial on how to draw in Canva.
How to Use Your Own Frame in Canva
Now you know how to use frames in Canva, but how do you use a personalized frame you have created yourself?
Maybe you have a specially designed frame or maybe you've found a frame that suits your image down to a T, and no other frame will do.
If you don't want to use the inbuilt Canva frames, follow these steps to add a frame to your Canva design.
Open your Image
If it's an image you have created outside Canva, upload it into Canva by clicking on the “Upload” button located in the left menu panel.
Locate your image and open it in the Canva workspace.
Alternatively, if you've created the image in Canva, find your stored image by clicking on the “Projects” button located in the left-hand menu panel.
When your image is perfectly positioned, you will be ready to add a Canva frame.
Upload your Frame
Click on the “Upload files” button located in the left-hand menu panel.
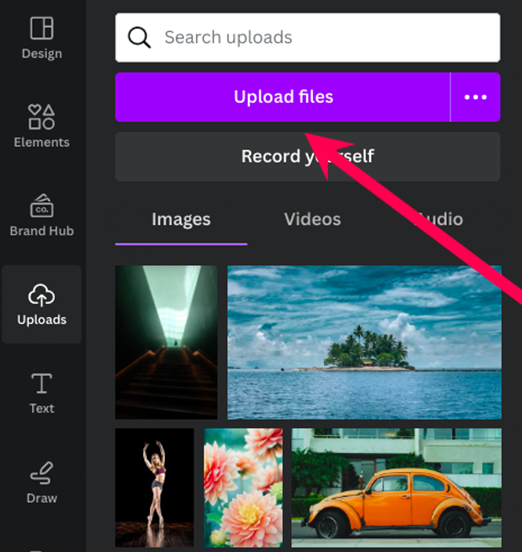
Once clicked, Canva will prompt you to locate your frame for upload.
Once your frame is uploaded it will be ready to use.
Click on the frame you have uploaded to open it in your workspace.
Alternatively, drag your frame from your desktop onto your open Canva workspace.
It will then be added to your workplace as a design element for you to reposition and resize.
- Read more: How do you create an eBook in Canva?
Position & Resize
Click on the frame, hold your cursor down, and drag the frame into place over your image.
Resize your frame by using your cursor to drag the frame's borders outwards, inwards, upwards, or downwards.
Alternatively, click on the “Position” button above your workspace.

This will open a side panel where you can reposition your frame by manually entering data to achieve the desired size.
Your frame will now be stored in Canva uploads ready to frame any image you have.
Thanks for reading – now you know how to use frames in Canva, you can let your creativity run wild.
You might also like to check out this tutorial on how to create tables in Canva.
If you have any comments or questions, leave them for us below.

Judyth is an experienced studio photographer and glass artist. When she isn’t Photoshopping comedians into the bellies of sharks, you can find her cooking delicious treats for her guests.
👋 WELCOME TO SHOTKIT!
🔥 Popular NOW:
