


How to Create a Seamless Pattern in Photoshop (6 Quick Steps)
In this Photoshop tutorial, you will learn how to turn your custom pattern into a repeatable seamless pattern for some creative and alluring designs.
Photoshop | Software | By Judyth Satyn
Shotkit may earn a commission on affiliate links. Learn more.
A seamless pattern is a pattern that can be repeatedly duplicated into infinity without any evidence of noticeable seams.
Seamless patterns are most commonly used for wallpaper, bedding, or as a background layer.
In this Photoshop tutorial, you will learn how to turn your custom pattern into a repeatable seamless pattern.

Download a free copy of Adobe Photoshop to follow along with this simple tutorial.
How to Create a Seamless Pattern in Photoshop in 6 Steps
Step 1 – Open Pattern
If you have hand drawn or painted a pattern you will need to first scan it before opening it in Photoshop.
To open your image head to the top menu bar and select File >Open.
Locate your scanned image or digital file and click to open.
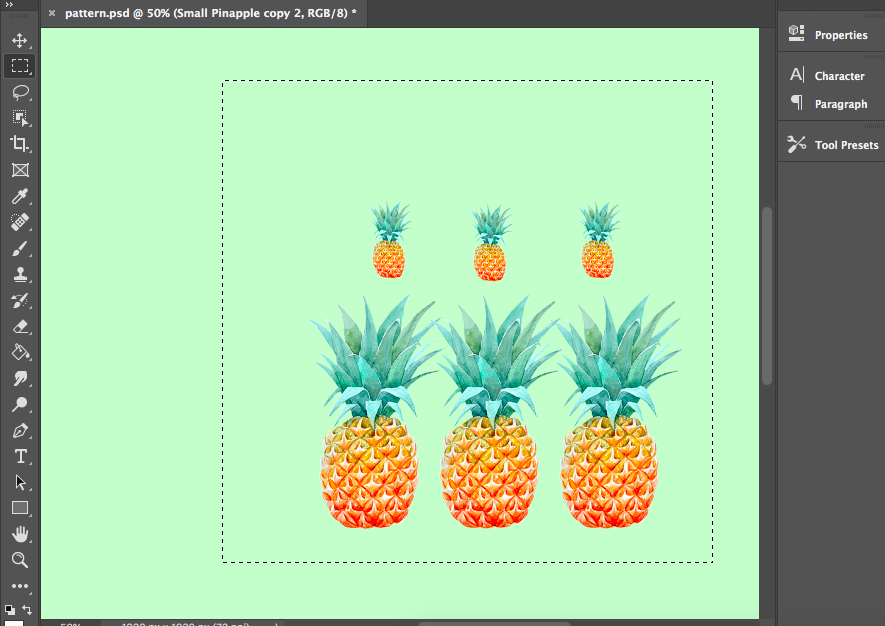
Step 2 – Organise Elements
Each element or design component will need to be positioned on its own layer so it can be moved independently.
Navigate to the toolbar and select the Lasso Tool or for the keyboard shortcut press L.

Create a selection path with the Lasso Tool around the first design element.
Then cut and paste the design element back into your workspace.
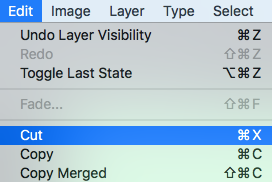
Navigate to the Edit menu and select Cut in the drop-down menu or for keyboard shortcut press Command and X (for Macs) and Ctl and X (for Windows).
Now paste your item back onto the canvas Edit > Paste or for keyboard shortcut press Command and V (for Macs) and Ctl and V (for Windows).
The design element will now appear as a separate layer in the layers panel.
Repeat this with the rest of the elements so they are all on separate layers in the Layers Panel.
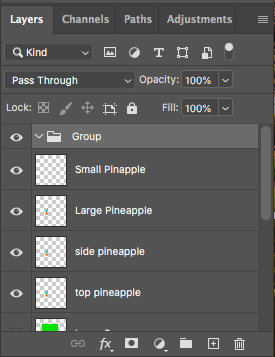
Rename each new layer so that you can easily find them in the Layers Panel.
Make a new folder by pressing the folder icon at the bottom of the layers panel and drag all the new layers inside.
Step 3 – Create a Frame
Create a rectangle frame to define the space in which you will arrange and position the design elements.
This will be the original building block of your repeating pattern.
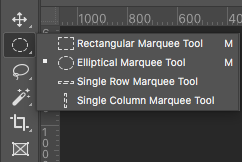
Select the Rectangular Marquee Tool from the toolbar to the left of your workspace.
Click and drag a square or rectangle selection on your workspace.
Create a new layer and select the Paint Bucket Tool from the toolbar or for the keyboard shortcut press P.
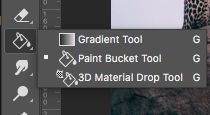
Select a background color and fill the rectangular selection area by clicking inside it with the Paint Tool pointer.
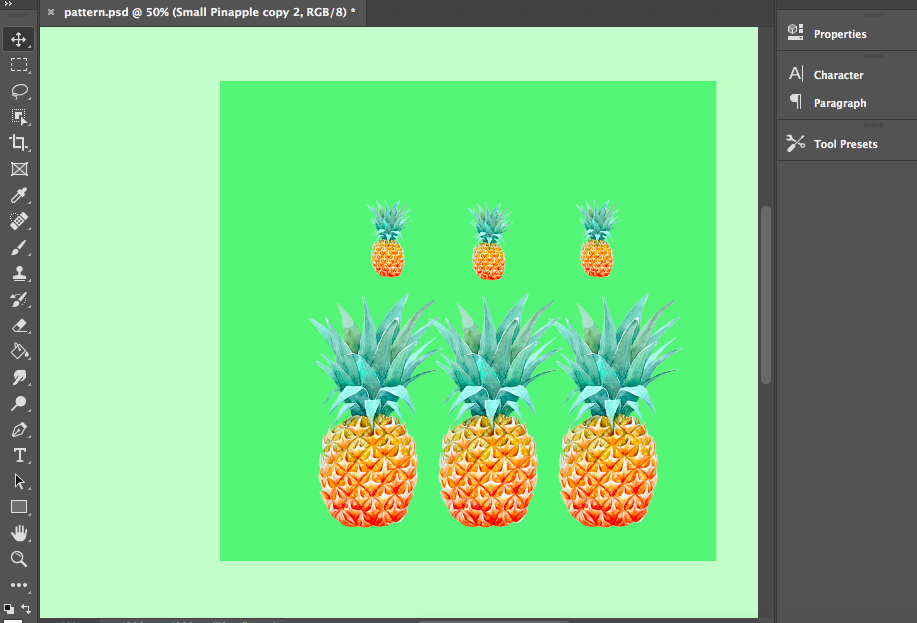
You now have a rectangular block in which to arrange your repeating pattern.
Step 4 – Create a Pattern
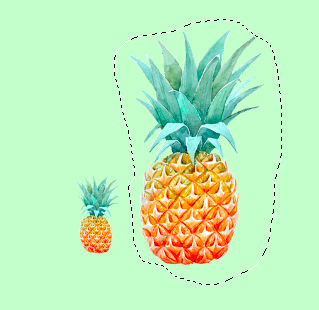
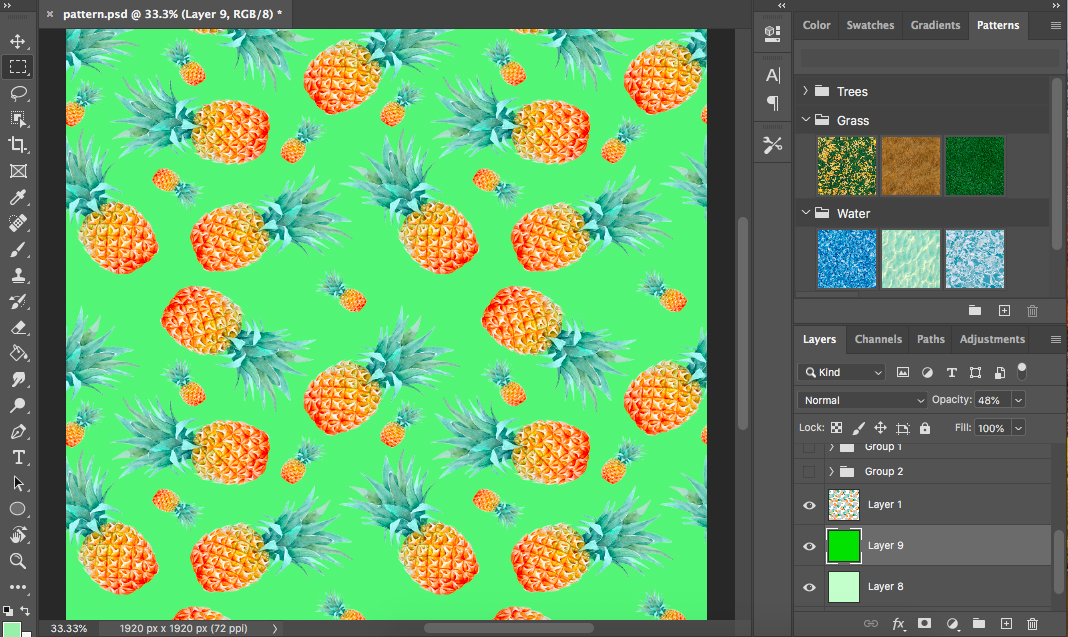
Using the Move Tool you can reposition the design elements.
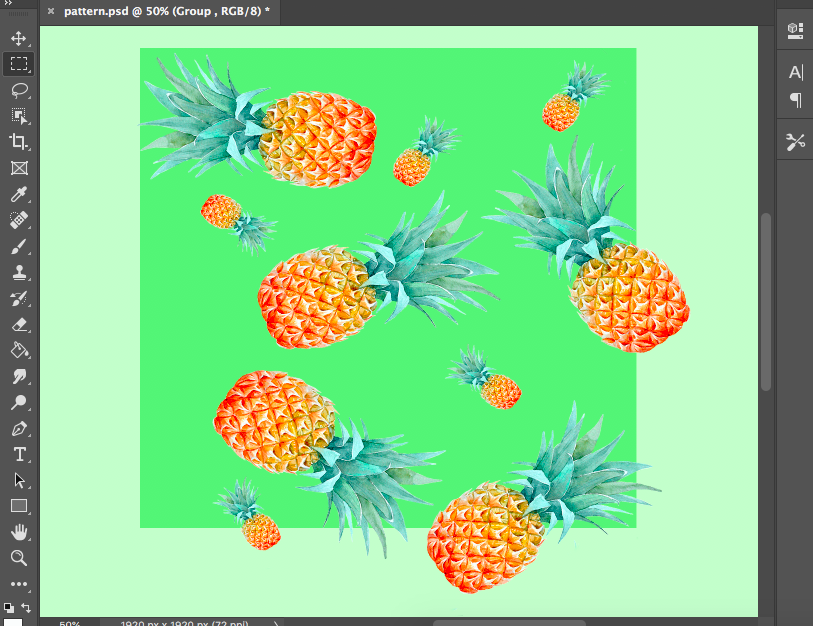
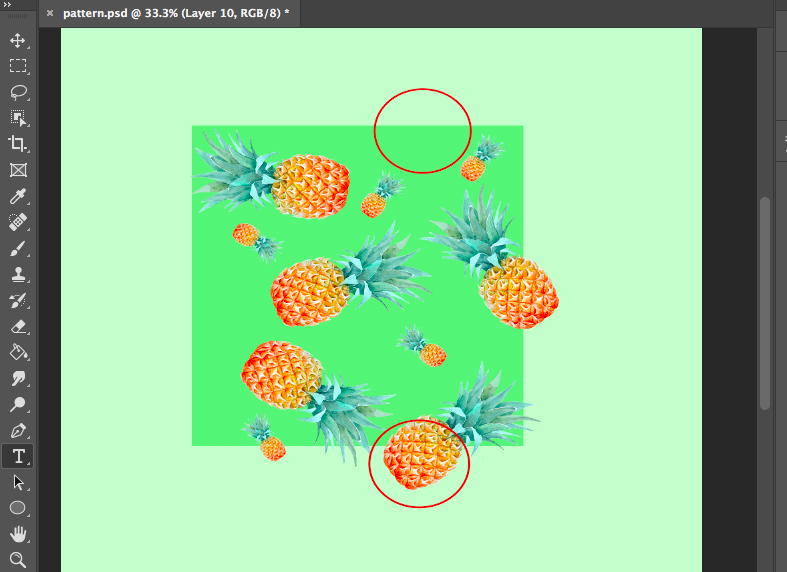
You can allow them to hang out of the edges of the frame.
Be mindful that if part of the pattern is outside the frame you will need to leave space for it to “loop” back in on the opposite side of the frame.
As you can see in the image below the bottom pineapple hangs over the edge of the frame, but there is space left at the top for it to loop back in.
See also: How to create a pattern in Photoshop
Step 5 – Cut and Paste
To make the seamless pattern we will need to cut off the parts of the pineapples which hang off the edges of the frame and paste them back in.
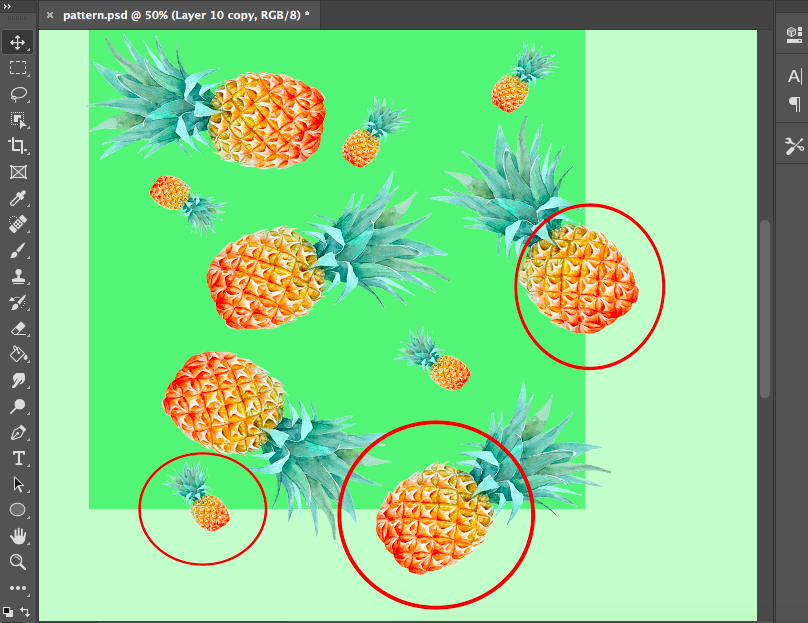
Create a selection path using the Rectangular Marquee Tool where the design element (in this case the pineapple) sits on the edge of the frame.
Now we will cut and paste back the overhanging section of the design.

Navigate the Edit menu and select Cut in the drop-down menu or for the keyboard shortcut press Command and X (for Macs) and Ctl and X (for Windows).
Now you will need to paste the pineapple back into the canvas workspace.
Now paste your item back onto the canvas Edit > Paste or for keyboard shortcut press Command and V (for Macs) and Ctl and V (for Windows).
Position the pineapple section on exactly the opposite side of the block from where it was cut away.
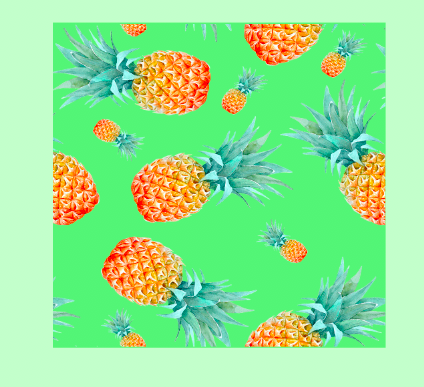
When you have cut and pasted all the overhanging sections of your design, you will have created the building block of your repeating pattern.
Step 6 – Flatten the Pattern and Save
The last step will be to flatten your pattern and save it into the Photoshop pattern preset group.
Click on the group containing all the layers of the seamless pattern in the Layers Panel.
Navigate to the top menu bar and select Layer > Merge Group.
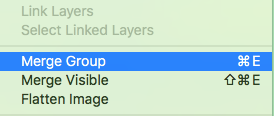
Now your seamless pattern will be merged into one layer.
Create a selection around the pattern block using the Rectangular Marquee Tool.
Navigate to Edit > Define Pattern.
When you click Define Pattern the Define Pattern dialog box will open.
Enter a name for your pattern and click OK.
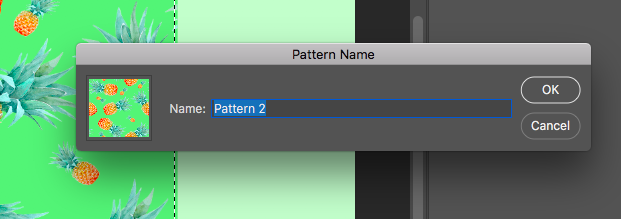
Your seamless pattern will now be stored in the Patterns panel for future use.
Go crazy and see how many times you can repeat it seamlessly.
Photoshop how to Create a Pattern from an Image
Now you know how to create a perfectly seamless pattern but how about creating a pattern from one of your favorite images.
To create a pattern from an image you will first need to save the image to Photoshop’s preset patterns.
Use the Rectangular Marquee Tool to create a selection around the image or to select the entire image using Select > All.
Now you have a selection around the image you can add it to Photoshop’s group of preset patterns.
Navigate to the Edit menu and select Define Pattern in its drop-down menu.
When you click Define Pattern a dialog box will open.
Enter a name for the pattern so you can locate it easily and click OK.
Navigate to the Patterns panel on the right-hand side of your workspace and you will find the image saved here.
You can now use the image as you would any of Photoshop’s other preset patterns.
Want something wackier? Learn how to create a rainbow gradient in Photoshop.

Judyth is an experienced studio photographer and glass artist. When she isn’t Photoshopping comedians into the bellies of sharks, you can find her cooking delicious treats for her guests.

👋 WELCOME TO SHOTKIT!
🔥 Popular NOW:
