


How to Fill the Frame for Great Photography Composition (8 Tips)
Want to use the fill-the-frame technique to create stunning images? This guide will give you ideas, tips and examples on filling the frame.
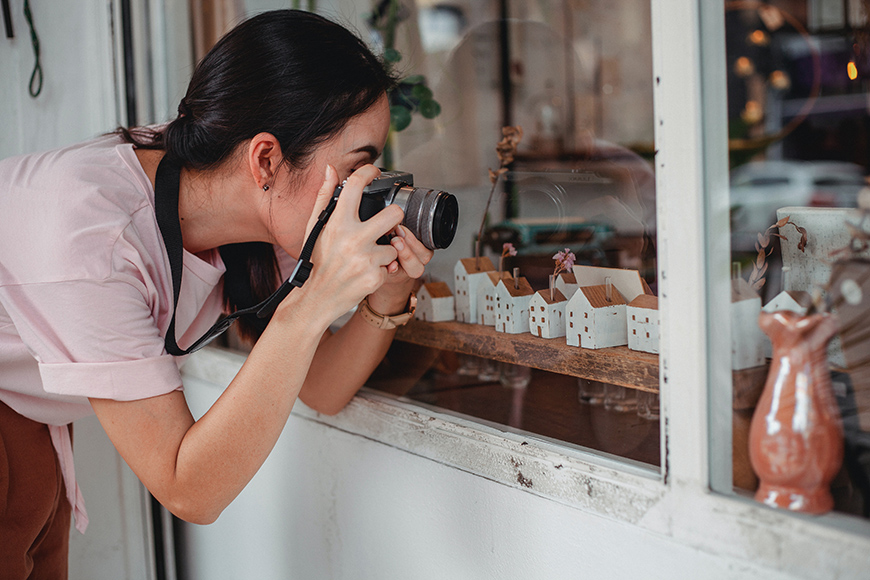
Learn | By Ana Mireles
Shotkit may earn a commission on affiliate links. Learn more.
Fill-the-frame photography is when the subject occupies a significant portion of your photo.
This is one of the first things that beginning photographers learn, even though they might not know it by this name.
Regardless of what you call it, this composition technique will help you to create stunning images and expand your creativity.
In this article, you'll find some fill-the-frame ideas and techniques for every photographic situation.
Are you ready to get started? Let's dive in!
Why Do We Use Fill the Frame in Photography?
Before discussing why you should consider using this technique, let's start by defining what filling the frame is.
The frame refers to the physical boundaries of your photograph. In other words, the four sides that determine the area of your image.
The composition determines what you put inside those edges and how you place each element.
Now, there isn't one composition rule that unites all great pictures. Instead, there are a series of guidelines that you can use to make your images more powerful.
These guidelines also help you to express the story you want to tell with your photography more clearly.
Fill-the-frame is one of these composition techniques or guidelines. It's also one of the most popular ones because it can be used in such a wide variety of ways.
Robert Capa once said, “If your pictures aren't good enough, you aren't close enough.”
This might just be the best explanation as to why you should try doing fill-the-frame photography – it encourages you to get closer to your main subject.
It doesn't matter if you do this by changing the focal length or by physically moving. When you do this, your subject will occupy the entire image instead of taking up only a portion of it.
This will make the viewer immediately drawn into the story you're telling.
How Can You Fill the frame of a Photograph?
So, now that you understand why fill-the-frame photography is one of the most essential composition techniques, let's take a look at some strategies you can use to fill the frame of a photograph.
1. Change the focal length to isolate your subject

Credit: Zepps Project
A wide-angle shot is meant to include as much of the scene as possible. That's why you normally use wide-angle lenses to capture landscapes or environmental portraits.
As the focal length gets longer, it brings your subject closer and narrows the angle of view.
This means fewer distracting objects will be in the picture. Thus, the subject will cover a more extensive area.
That's why one way to fill the frame is by using a telephoto lens. It doesn't matter if you use a prime telephoto lens or a zoom lens – the frame-filling effect will be the same.
Of course, more things should be considered when deciding between zoom lenses and primes. You can learn more about that here.
For now, let's just say that a long focal length allows you to get a tight shot and fill the frame with the main subject, even if it's far away.
2. Get physically closer to your subject
Credit: Sam Lion
Some might say that your legs are better than a zoom lens.
That's because physically moving does have its advantages over zooming to the farthest focal length. For that matter, the same applies to changing prime lenses.
When you move, you get a different perspective.
Also, in the case of portrait photography, getting closer to the subject changes the way you engage with them.
It's not the same to be photographed from afar as to have the camera (and photographer) coming into your personal space.
Sometimes this intimacy is an advantage, and sometimes it isn't. This is for you to judge.
However, one thing remains true. As you get closer, you'll see the subject more prominently. And this will make you fill the frame with it.
So, the next time you're out capturing photographs, consider taking a few steps forward to see if the image improves.
3. Fill the frame with negative space

Credit: Cottonbro Studio
This is a bit of a controversial one.
Some photographers consider the intentional and creative use of negative space a way to fill the frame.
They argue that filling the frame encourages you to leave out anything that doesn't add value to your picture. Given that, in this case, negative space is a critical element in the composition, it's considered frame filling.
Other photographers are against this idea. They consider that filling the frame means that positive space should occupy most of the picture.
It's not that these photographers are opposed to using negative space. They just consider it a different composition technique.
Whatever your position on this matter, I do suggest you experiment with negative space. Whether you consider it filling the frame or not, it is a beautiful composition technique.
4. Combine it with another composition technique

Credit: Philippe Donn
Fill the frame is a great composition technique to make your subject stand out.
However, by combining it with other compositional guidelines, you'll be sure to make stunning photos.
Look at the example image above. The main subject is the hummingbird approaching the hibiscus flower.
They are filling the frame as there is nothing else in the picture.
Also, the background has a bokeh blur to avoid distractions, and the placement follows the golden triangle rule.
These are just a couple of rules that you can combine. You can also try center composition, off-center placement, the rule of thirds, symmetry, and so on.
5. Learn where to crop

Credit: Anete Lusina
Beginner photographers tend to include the entire subject in the frame. They often do this because they don't know where to make the cut so that it looks pleasing.
This is especially true in portrait photography.
By doing this, they keep a wide shot, taking away most of the impact the image could have if they filled the frame.
So, to get closer, you need to learn where to crop.
Some of the best photography advice you can follow is to stay away from the joints. For example, if you're doing close-ups of the hands, don't crop precisely at the wrist.
If you're doing a headshot – depending on how wide the shot is – avoid cropping the neck, the elbows, or the waist.
Also, stay away from the hairline if you're cropping the top of the head.
Portraits aren't the only type of photos where you want to apply some rules. For example, in landscape photography, don't crop the horizon.
When you're starting in photography, your initial impulse might not be perfect. However, as you get more practice, this will become more natural.
6. Subject spill

Credit: Alexander Grey
Once you learn where to crop, you might want to get really close.
So much so that your subject spills out of the picture's edges. Obviously, this ensures that you're filling the frame with only your subject.
Spilling out of the frame means that your subject clearly continues beyond the four edges of the photograph. For example, as it happens in the image above.
The framing is so close to the eye that we don't see any negative space. The subject is completely filling the frame.
This is something to consider when you're printing too. Often, the aspect ratio of your photograph doesn't match the aspect ratio of the printing paper.
When this happens, you'll have two choices: Either spill the image out of the page or crop it.
So, think about your final use of your photograph while composing your framing.
7. Use macro lenses

Credit: Asim Alnamat
When your main subject is small, it isn't easy to fill the entire frame with it. That's because most lenses don't focus at close distances.
As a result, you get a wider shot that lacks visual interest.
To solve this problem, you can use a macro lens. Macro lenses allow you to reproduce a subject at a 1:1 ratio (i.e., a 1.0x maximum magnification or MM).
This means that a single bee would fill the frame of a full-frame camera sensor.
Some macro lenses even reach a 1.5x MM, but they can be pretty expensive.
Depending on the subject, you might not need that much magnification to fill the frame. Even if you do, some other budget-friendly macro photography options exist.
For example, you could use extension tubes. These are plastic tubes that you put between the camera and the lens. This way, you extend the focal length.
Just note that you'll need a wider aperture if you use this setup.
Another option is to use a macro bellows. Unlike extension tubes, this accessory is flexible. It allows you to focus closer to the subject to achieve greater magnification.
Or, for another solution, you could DIY a macro lens. This very popular hack requires you to reverse your regular lens. For this to work, you need an adapter that lets you connect the front of your lens to your camera.
While this trick helps you with the filling-the-frame technique, it will decrease the quality of your image.
However you do it, macro photography is a great way to fill the frame. Check out this guide to macro photography to learn more.
8. Crop in post-processing

Credit: Clem Onojeghuo
It's always best to fill the frame from the start. However, this isn't always possible.
Maybe you didn't have a longer focal length or couldn't get closer to your subject.
If this is your case, you can always crop your image with an editing app or post-processing software.
All of them have this feature, though some have more advanced tools than others.
The most basic ones only let you crop to a few preset sizes and aspect ratios. The more complete ones will give you total freedom, a wider variety of presets, etc.
Some of them, like Adobe Photoshop and Lightroom, even have composition overlays.
You can use these to crop your image to fill the frame. At the same time, you can make sure you place the most essential elements in strategic points.
By paying attention to both the crop and how your composition is arranged, you can create a stunning final photograph. Just remember that cropping means cutting out pixels.
As a result of cropping, you'll have a smaller image, and you'll lose image quality if you try to enlarge it back to the original size.
Fill the Frame Photography: Final Words
You'll encounter a wide range of composition rules during your photographic exploration.
Let's not even call them rules. I prefer the term guidelines.
This is because adhering to a hard and fast composition rule isn't what makes an image great.
You can use different approaches to depict different things. The techniques you choose will depend on the subject and your artistic style.
In most cases, you'll want to combine more than one composition “rule” to make your image more engaging.
So, I encourage you to try different compositions and experiment until you find the best shot.
Frame filling is definitely one technique you should try. It really can improve your picture in most cases.
Try some of the techniques and ideas above to start filling the frame in your photography, and let us know how it goes.
If you have any questions or suggestions, don't hesitate to share them in the comments below.

Check out these 8 essential tools to help you succeed as a professional photographer.
Includes limited-time discounts.

Ana Mireles is a Mexican researcher that specializes in photography and communications for the arts and culture sector.

👋 WELCOME TO SHOTKIT!
🔥 Popular NOW:
