


How to Load Film Into a Camera the Easy Way
Discover how to load film into a camera with our straightforward guide, simplifying the process for both beginners and seasoned analog photographers.
Film Photography | Learn | By Tammy Danan
Shotkit may earn a commission on affiliate links. Learn more.
How to load film into a camera – a guide that will help you embark on a journey back in time with a few steps!
If you’ve fallen in love with the timeless appeal of retro cameras and have become the owner of a 35mm film camera, I welcome you to this fun journey!
While digital photography has its allure, the nostalgia of film photography draws many people back to the old school.
So, let's leave your digital camera behind for a while and get lost in the timeless appeal of analog photography.
By the end of this guide, you'll be well-equipped with the knowledge to load film confidently into a 35mm camera.
So get out your favorite film camera and follow the step-by-step instructions below.
How to Load Film Into a Camera (35mm): A Step-By-Step Guide
Unlike digital cameras, a lot goes into using film cameras. Knowing how to load the film properly is important because these cameras are sensitive.
In film photography, careful handling is essential to avoid a range of potential issues that can impact the quality and integrity of your photographs.
Improper loading can result in film jams, light leaks, and accidental exposure to direct light – all of which can lead to ruined or unusable frames.
Furthermore, it can cause overlapping or skipped frames, losing precious moments that cannot be recreated. Misalignment with the camera's focal plane can also result in blurry or misaligned images.
Knowing how to load film properly will help maintain the overall functionality of your 35mm film camera, reducing the risk of damaging any internal components.
It’s an assurance that your camera will continue to operate smoothly and gives you an easier transition into film photography.
1. Prepare Your Film
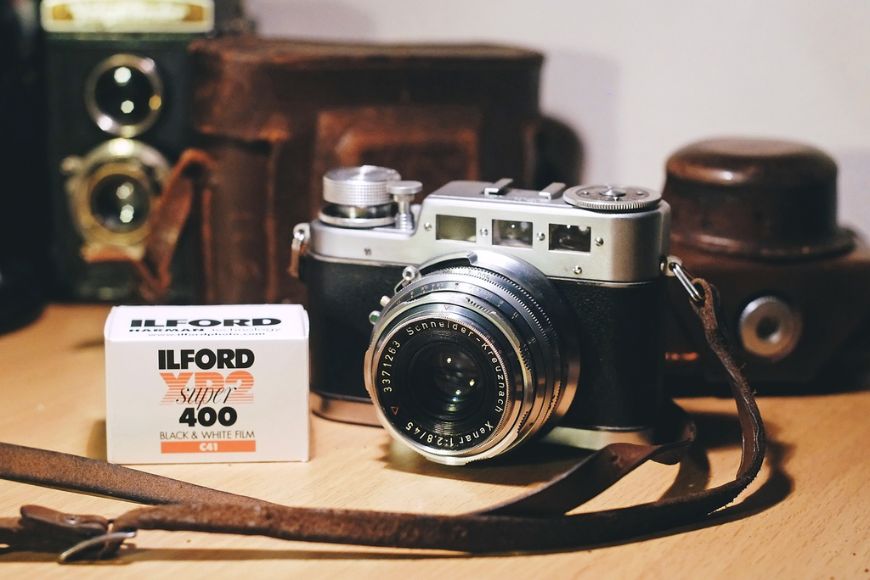
Image Credit: Unsplash
Before loading film into your 35mm film camera, having all the necessary materials and clean and dry work space is essential.
Remember to choose a room with minimal dust and airflow to avoid dust and debris that could damage your films.
Start by gathering the necessary things: your 35mm film camera and a roll of 35mm film – see the other types of film stock.
You need these initial preparations to ensure your film remains uncontaminated and has everything you need to load in your 35mm film camera.
Now, onto the next step.
2. Check For Any Film Inside

Image Credit: Unsplash
First, locate your camera's rewind button, which you'll usually find on the top or bottom of the camera.
In some film cameras, you may need to press and hold this button to unlock the film spool.
Gently rewind the film by turning the rewind lever or crank. If you feel resistance or hear the film winding, it indicates there's film inside.
Continue rewinding until you hear a distinct click, signaling the film is fully rewound and safe to remove.
Once you're sure the film is fully rewound, you can then safely open the camera back to remove the film.
3. Open the Back of the Camera

Image Credit: Unsplash
Locate the latch of the release mechanism of your camera to open the back. This will mainly depend on the specific make and model, so you can also look this up if you’re unsure.
If you still have your camera manual, it will provide you with the necessary information.
When you find the latch, switch, or button, take your time to understand how it operates. Then, gently open it.
Avoid sudden or forceful movements that may damage the camera or any internal components.
Clean and dry hands will also prevent any oils or moisture from being transferred from your fingers to the film or camera.
Remember: Opening the back of your film camera will vary depending on its model.
Some film cameras have a lift mechanism with a film rewind button that triggers the back cover to open or a slide-to-open switch mechanism with an arrow indication while holding the lock button down.
4. Insert the Film
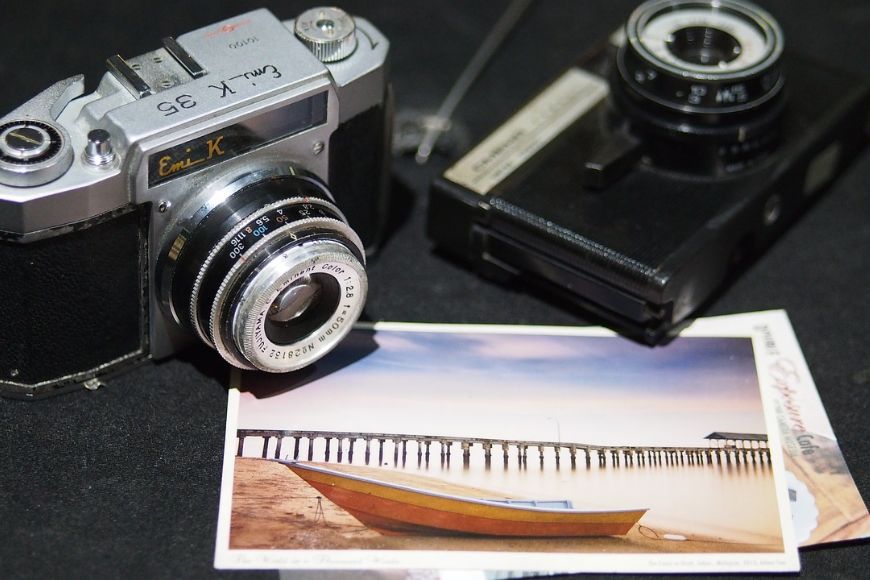
Image Credit: Unsplash
Now that you've opened the camera back, you're ready to load the film. Look for the film chamber, which is the area where the film roll is placed.
Take your roll of 35mm film and align it with the film chamber. Ensuring correct alignment will help the film feed smoothly through the camera.
Gently insert the film roll into the chamber. Make sure that it fits securely in place.
Depending on your film camera model, you may need to engage the film's leader (the small protruding piece of film) with the take-up spool.
This might involve gently rotating or adjusting the take-up spool until the film leader is securely attached. You'll often hear a slight click or feel the film engage with the spool mechanism.
5. Thread the Film
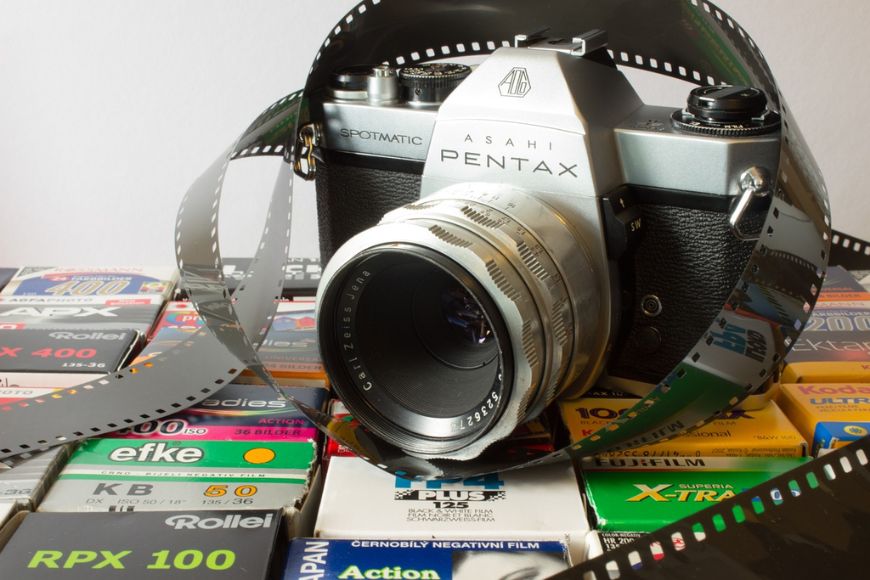
Image Credit: Unsplash
Now that the film is already in place, find the film leader. This is a narrow strip of film protruding from the roll. It’s usually an exposed sheet sticking out of the canister that's lighter in colour than the rest of the roll.
Carefully pull out the film leader just enough to reach the take-up spool on the other side of the film chamber.
Only pull it as much as you need to! Remember, exposed parts of the film are sensitive to light and may not be usable.
Insert the end of the film leader into the slot or hook on the take-up spool. Ensure it's securely in place.
If your camera has a film advance lever, now is the best time to put it to use. Gently pull the film advance lever and ensure the sprocket holes in the film strip align with the sprocket.
6. Time to Close the Camera Back
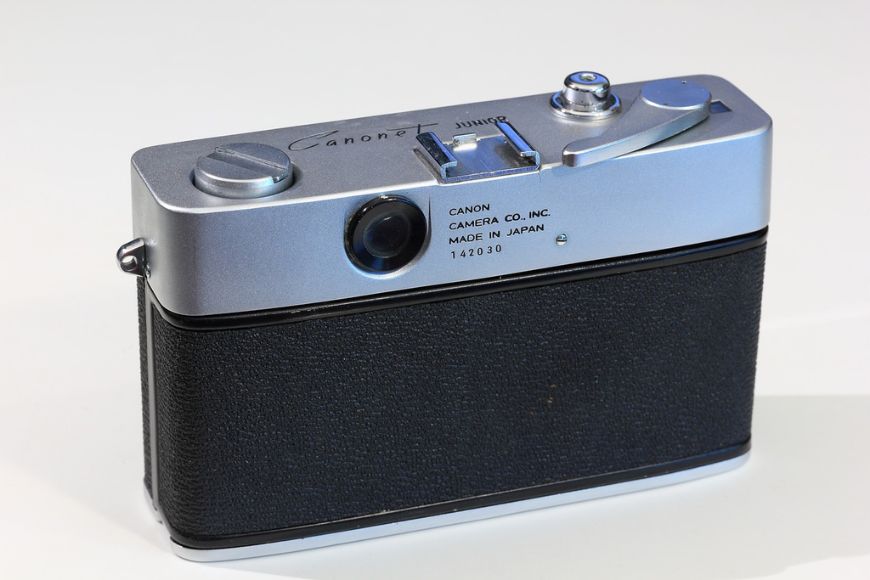
Image Credit: Unsplash
Before closing the back, ensure the film canister is properly aligned, there's no debris or loose film inside, and the light seals are intact.
After that, you can gently close the camera. Firmly but not forcefully, give it a press to ensure that it’s secured and there are no gaps or loose sections.
This protects the film from any light leaks and keeps it in place.
7. Advance the Film to the First Frame

Image Credit: Unsplash
This last step is to ensure your camera is ready for your first photograph. Advancing the film will avoid any accidental double exposures of overlapping frames.
With the use of the film advance lever or button, determine the direction in which your film needs to be advanced.
Some cameras require you to wind the film advance lever in a full stroke, while others may have a shorter stroke or a button that needs to be pressed.
Observe if the film moves smoothly when you pull the lever.
Any resistance means there is an issue with how you’ve placed it, and you can try inserting it again.
If that still fails, best to seek assistance from your camera’s manual or a professional.
Do not forcefully rewind it as this may result in tears or jamming inside the camera.
Remember to pay attention to your film counter if it exists. It’ll be your guide to the number of displayed exposures inside the film.
Avoid touching your film with dirty fingers or any oily objects. Refrain from exposing it to direct sunlight as it may cause unwanted light leaks or fogging on the film.
Ensure that you place your camera in suitable environments where it is not exposed to extreme conditions, such as direct sunlight or contact with moisture. This can affect the film and its quality.
The best place to store it is in a cool, dry place to maintain its optimal film conditions.
This is my step-by-step guide on how to load film into a camera! Film photography is so much fun, and I hope that this guide helped you and cleared up some confusion.
FAQs

Check out these 8 essential tools to help you succeed as a professional photographer.
Includes limited-time discounts.

Tammy Danan is a freelance storyteller and the founder of Moss Content Studio. She’s a highly visual person who loves exploring how the art of photography intersects with our everyday lives.
👋 WELCOME TO SHOTKIT!
🔥 Popular NOW:
