


How to Make a Table in Canva (Two Options)
Add professional-looking tables to your Canva documents by following these simple steps.
Canva | Software | By Judyth Satyn
Shotkit may earn a commission on affiliate links. Learn more.
The amazing online design platform Canva has everything you might need to make a table, and it's intuitive to use.
Canva also offers a range of fantastic pie graphs, professional-looking tables, and more to suit all your business, school, or home requirements.
In this Canva guide, we'll show you two ways to create a professional-looking Canva table.

Get a 16% annual discount to Canva Pro for UNLIMITED access to all the best design content!
How to Make a Table in Canva
The first thing to consider is what purpose the table serves, then design or pick the layout to suit.
Canva offers a huge range of table templates so having an idea of what you're looking for before you start will help you hone down the search faster.
There are different ways to make Canva tables – we'll show you two of these.
One way is using a table template from Canva's Template Library and the other is using a table from Canva's Design Elements.
Create Using a Table Template
Canva's table templates are stylish and eye-catching, but you will be restricted when modifying the table.
If you want the freedom to add and adjust the cells in the table, choose the next option – creating a table using Elements.
- Read more: How to create (and sell) an eBook in Canva
Open Canva
Sign in and open up your Canva account.
When you are in, click on the “Create a design” button in the left-hand corner of the top menu bar.
Enter the keyword “table” into the search bar.
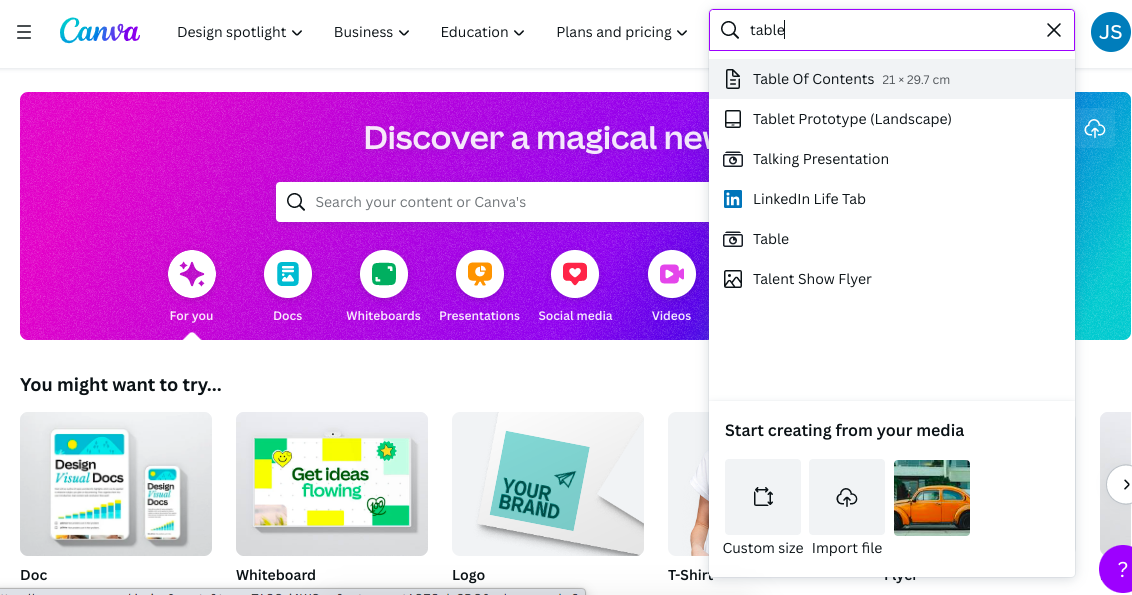
In the search's drop-down menu, you will be able to choose between, “Table Of Contents” or “Table”.
Choose “Table”.
When clicked, the table workspace will open.
Open Design Tab
Click on “Design” at the top of the left-hand panel.
Once clicked, the Design Templates panel will pop out.

You can scroll through the templates to see which table suits your purpose or you can refine your search by adding extra keywords to it.
For example, if it's a school planner you're looking to create, type in “school planner.” If you're looking for a more traditional bar graph or pie chart, enter this and a selection of templates will appear.
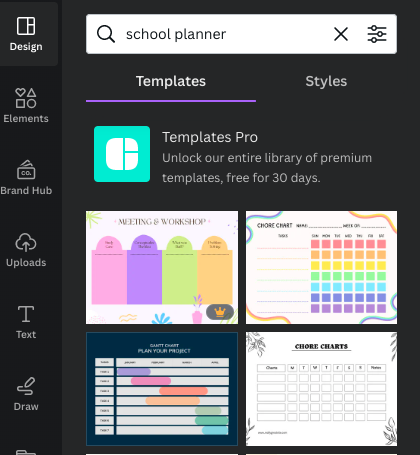
Scroll through the ample options of templates and select the one you want.
The templates with a small crown icon at the bottom right-hand corner of the template are locked for pro account users.
If you're using a free account, you can sign up for a Canva Pro account to access all Canvas design features.
When using a Canva Pro account you will also be able to resize the dimensions of the template by clicking on the “resize” button in the left-hand corner of the top menu bar.
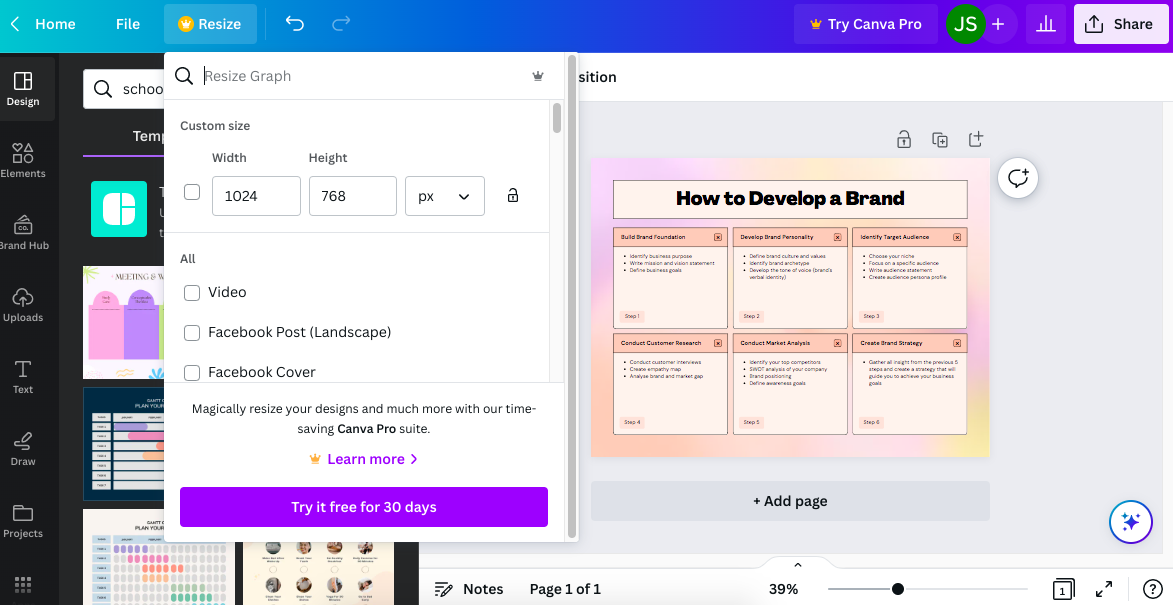
Using a free Canva account, you will be restricted to the set dimensions of the table 1024 px width by 768 px height.
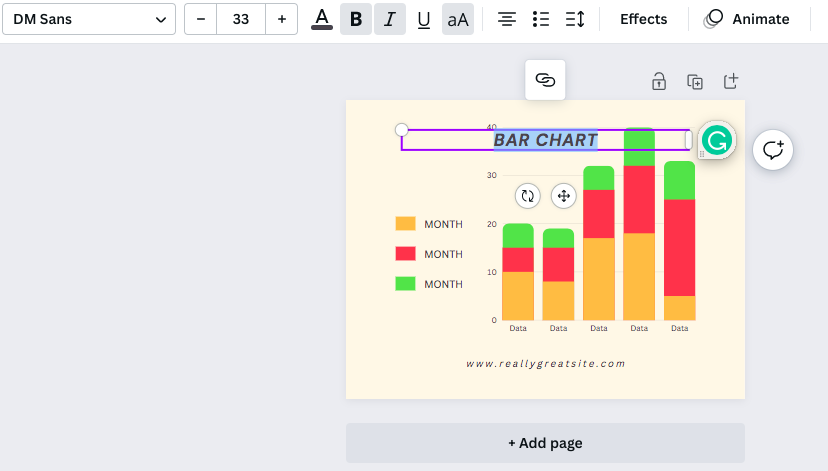
Choose a Template
Click on a template that best fits your purposes and it will open in the workspace.
To alter the table elements simply click on the one you wish to edit.
When the design element is surrounded by a purple bounding box, it's ready for you to edit.
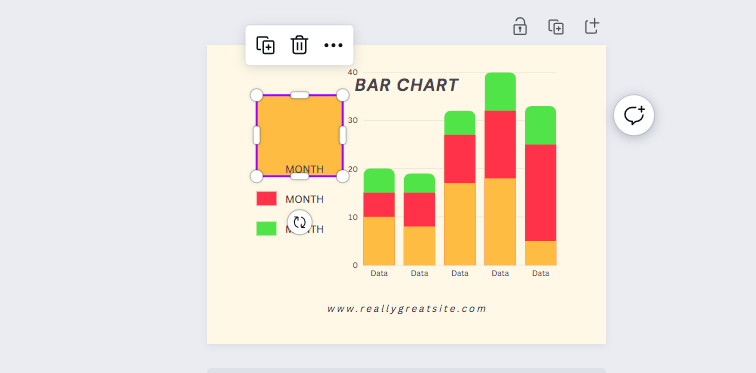
You can delete, resize or duplicate the existing elements.
However, you can not change the color or alter the ratios of the dimensions.
If you wish to draw or add more text to the table click on the “Draw” or “Text” button in the left-hand panel.
Draw on the table and a new layer will be created; you can resize or delete this layer without affecting the other design components.
You can alter the text components of the template by clicking on the component in the workspace.
When the text is surrounded by a purple bounding box, the text menu bar will open above the workspace.
From here, you can change the font, color, size, and position of the text.
- Read more: How do you draw on a Canva design?
Option 2 – Element Table
Do you have a specific table you need to design and none of the Canva templates are suitable?
There's an easy alternative for creating a simple table in Canva using a blank document and the Elements tab.
Open and Select
Start by selecting a blank document and size it to the dimensions you require.
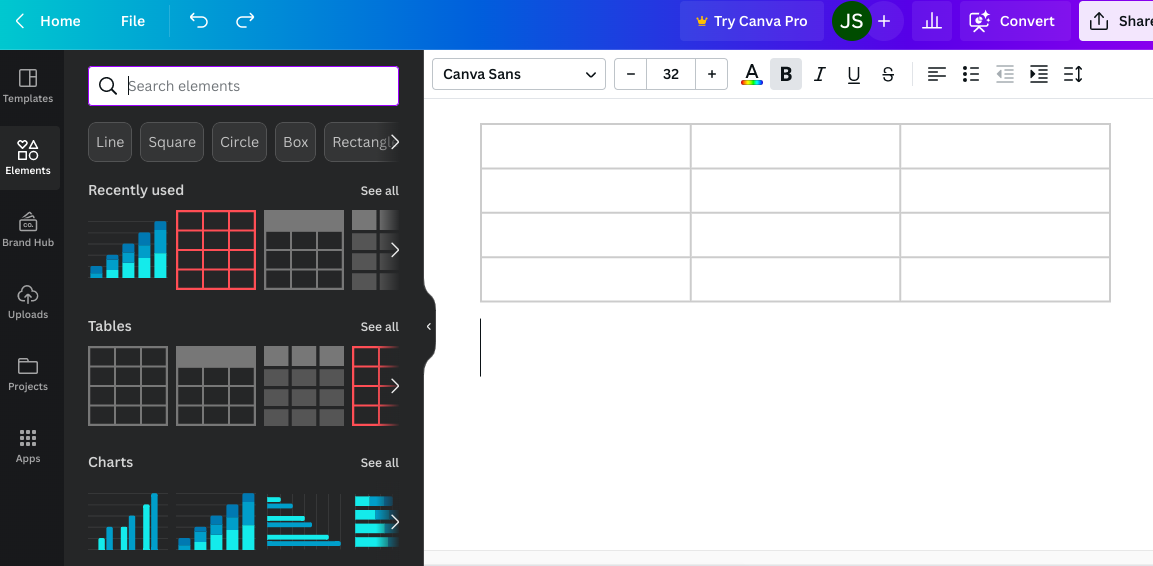
Click on the “Elements” tab on the left side of your workspace.
When the Elements tab side panel opens, enter “table” into the Elements tab search.
Canva's selection of Element tables will open. Scroll across or down to find the table that suits your needs best.
If you need a header row make sure to select a template with a header row.
Don't worry about how many columns or rows there are in the tables – you will be able to add extra rows and columns next.
Add Extra Rows or Columns
When the table template is open in your workspace, click on a cell and a pop-up window will appear.
Here you can select to delete a column or row or add a column or row.
You can also reposition the columns to the left or right or move the rows up or down.
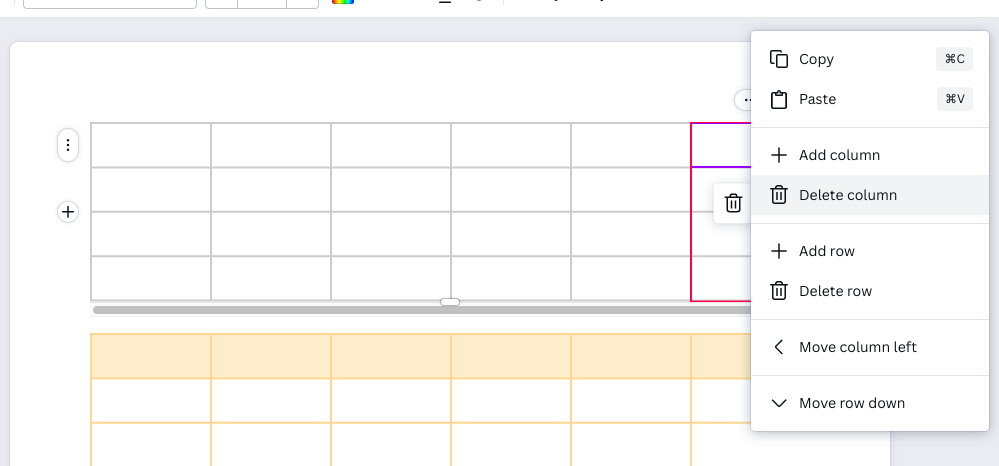
Add as many rows and columns as you need.
Customise
To add color, select the individual cell by clicking on it.
When the cell is framed by a purple bounding box, click on the color icon (a checkered square crossed with a red line, in the top left corner of your workspace).
A panel will appear with color options – click on the color you wish to fill the cell with.
When you click on a color in the panel, the chosen cell will be filled with this color.
If you wish to color the outline of the cell and not fill the cell with color, click on the small checked square.

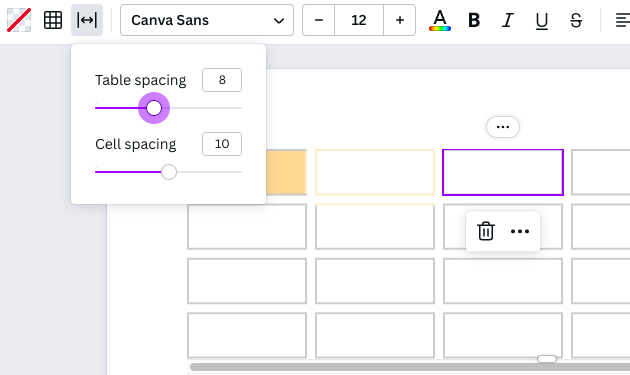
To change the spacing of the table's cells, click on the spacing icon above your workspace. Once clicked two sliders will open.
Slide the sliders left or right to increase or decrease the spacing between the cells.
You now know how to make a table in Canva.
With two options under your belt, you will be equipped for any situation.
Save the Table
When you're happy with the table you have designed, click the “File” button and select “Download” from the dropdown menu.
When clicked, a window will pop up on the left side of your workspace. Choose which format you would like to save the table in.
PNG will be suggested, but you can also choose PDF or JPG.
How do you Insert a Table from Excel into Canva?
If you have the perfect Excel table and you want to upload it to Canva, you might find there is a hitch when uploading it.
Canva won't accept Excel documents for upload.
But there are two options to get around this and insert an Excel table into Canva.
To insert a table from Excel into Canva, you can drag the Excel table into the document workspace or take a screenshot and use the Canva upload option.
Open your Canva document and use your cursor to drag the Excel document from your desktop into your workspace.
You won't be able to drag the Excel table into all Canva document workspaces – some won't accept it.
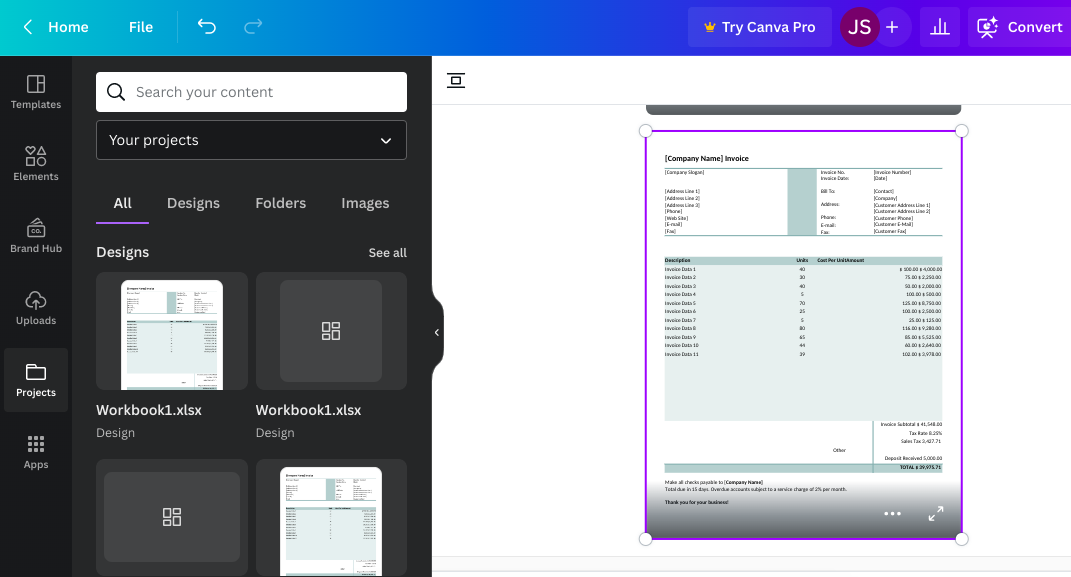
When the Excel sheet is open in the Canva document, you will be able to treat it like you would any other Canva design element – resize, duplicate, reposition, or delete it.
If you want more flexibility of use, take a screenshot of the Excel table and upload the screenshot.
To take a screenshot of your Excel table hold Shift, Command + 4 (for Mac) or Windows Key + Prtscn (for Windows).
When your image is uploaded you will be able to use it in Canva documents.
- Read more: How do I export a print file from Canva?

Judyth is an experienced studio photographer and glass artist. When she isn’t Photoshopping comedians into the bellies of sharks, you can find her cooking delicious treats for her guests.
👋 WELCOME TO SHOTKIT!
🔥 Popular NOW:
