


How to Use Content-Aware Scale in Photoshop
The Content-Aware Scale tool can save you hours of editing time. Learn how to use it in this easy-to-follow Photoshop tutorial.
Photoshop | Software | By Judyth Satyn
Shotkit may earn a commission on affiliate links. Learn more.
When you want to resize an image in Photoshop, the most common method is to use the Crop or Transform tool.
However, these two editing options will scale the entire image.
When the Content-Aware Scale tool is used, Photoshop analyses your image and decides which areas will need to be resized and which should remain as they are.
Content-Aware Scale is a great tool to use to save hours of editing time. Check out how to use content-aware scaling in this tutorial.

Download a free copy of Adobe Photoshop to follow along with this simple tutorial.
How to Use the Photoshop Content-Aware Scale
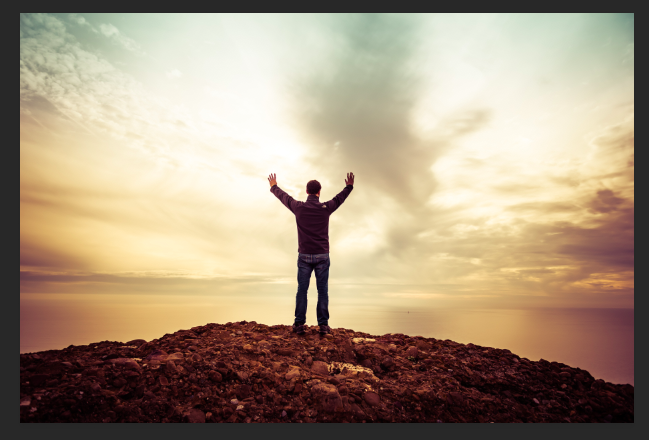
Imagine you’ve taken a photograph where the subject appears lost in an expanse of landscape – for example, sea or clouds.
The usual editing solution is to crop the image.
But what do you do if you don’t want to lose any of the magnificent landscapes that you’ve captured?
Using Content-Aware Scale, you can scale the background area behind the subject without losing or cropping out any of the background landscape or affecting the subjects in the foreground.
The Free Transform command works similarly, but is not capable of resizing the background area and leaving other components unscaled.
The Free Transform tool will not discriminate: the entire image will be scaled, like in the example below.
Using the Free Transform tool, we can resize the image to condense the landscape, but as you will see below the ratios of the man become unnaturally squished.
If you want a quick editing option for resizing an image’s background so that subjects aren’t distorted, the Content-Aware Scale tool is the best option.
Now you know why to use the Content-Aware Scale, let’s look at how to do it.
Step 1 – Open & Duplicate Layer
When you’ve opened your image, check in the Layers Panel that the image is unlocked. If it is locked, click on the lock icon to unlock it.
Content-aware scaling will not work on background layers, smart objects, adjustment layers, layer masks, 3D layers, or layer groups.
If the layer you want to edit is a background layer, duplicate it. Head to the top menu bar, and select Layer > Duplicate Layer.
Step 2 – Open Content-Aware Scale
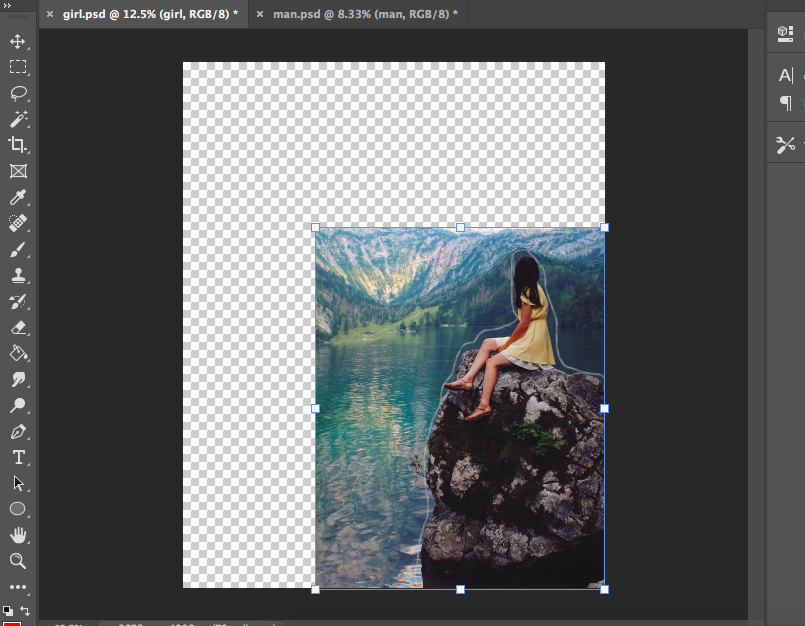
Before opening the Content-Aware Scale tool, first select all of the background images. To do this, navigate to the top menu bar and select Select > All.
Now, open Content-Aware Scale by selecting Edit > Content-Aware Scale.
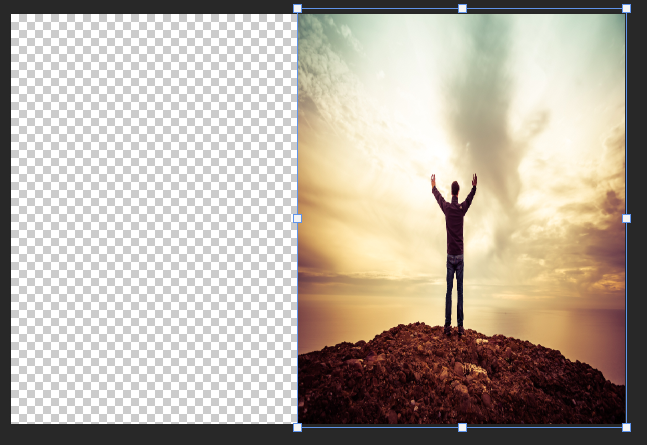
Step 3 – Set Reference Point
The Content-Aware Scale options bar will open above your workspace.
The first box gives you the option to select a Reference Point.
Tick the box to activate the Reference Point option.
When activated, select a point in the square icon as the point of reference – any point around the square or centrally positioned.
The image will be scaled out from the reference point you set.
![]()
Step 4 – Set the Dimensions
To set the new dimensions for the image, you can enter them in the value box beside the Width and Height boxes.
Alternatively, you can move the bounding box which will surround the image when Content-Aware Scale is activated.
![]()
Uncheck the link icon in between the Width and Height value boxes if the new setting will have different image ratios. Make sure it’s active if you want the image’s current ratios to remain.
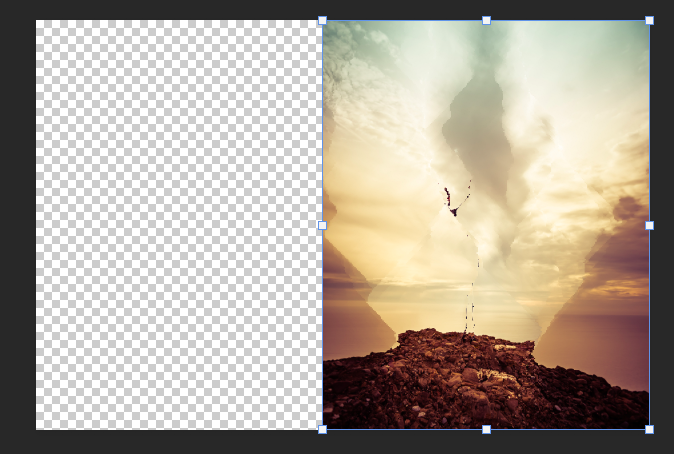
Step 5 – Protect
When you use the Protect option, you are informing Photoshop that you want people to be protected, not scaled.
Click on the person icon.

Using Content-Aware Scale without the use of protection can cause items to go missing or become distorted, as in the example below.
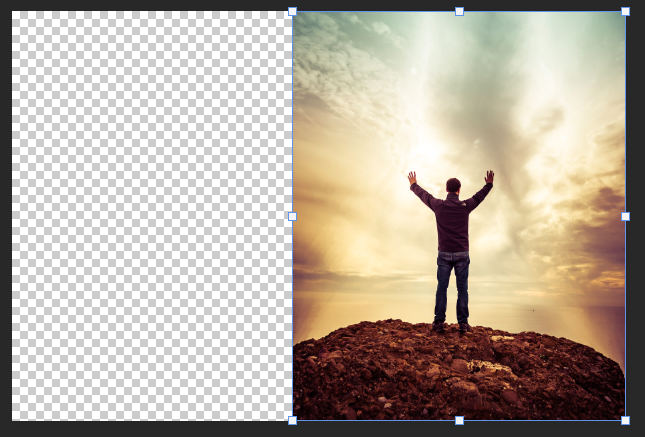
Although the People icon action is to protect items with skin tones, Photoshop can intelligently decipher when it is likely to be a person.
Below is an example of what happens when you activate Protect.
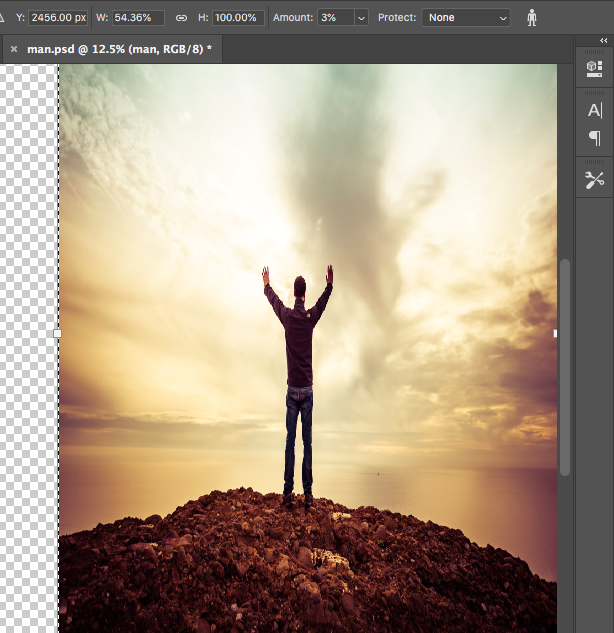
Besides Amount in the options bar, you can enter a value for the percentage you want the subject to be protected.
In the image below you can see the value entered beside Amount is only 3%.
The result is very similar to when the Free Transform Tool is used.
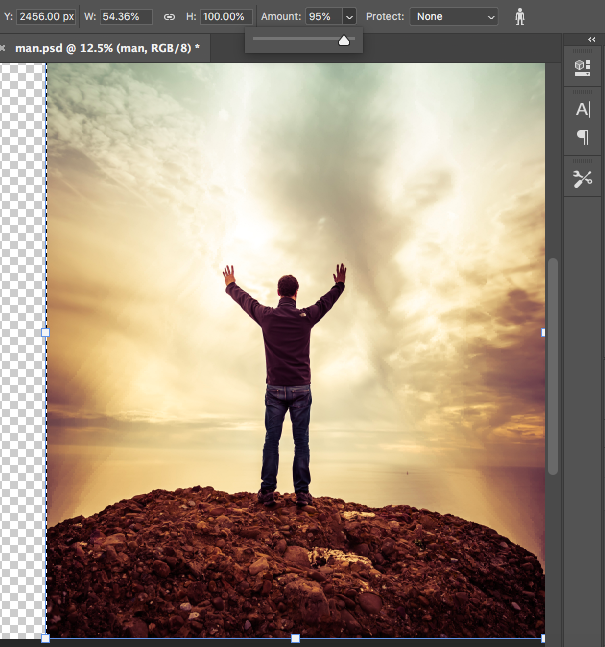
Now look below to see what happens when the Amount value is set higher. At 95%, the subject is not distorted or warped but remains intact in ratios.
Step 6 – Manual Protect
If you have a subject that Photoshop does not recognize and includes in the rescale command, you have the option to select and protect this item.
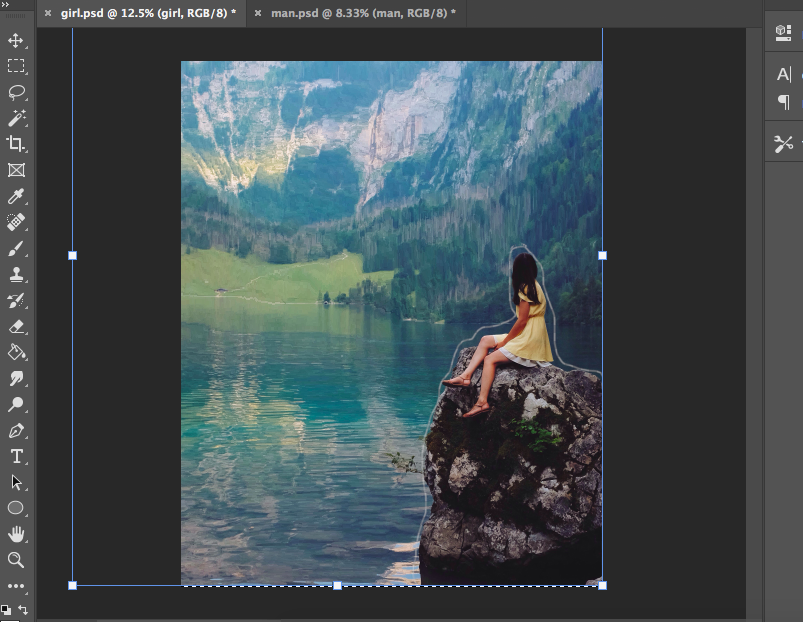
First, create a selection around the subject using the Lasso Tool or another selection tool.
Select the Lasso Tool from the toolbar and create a selection around the subject or subjects you would like to protect.
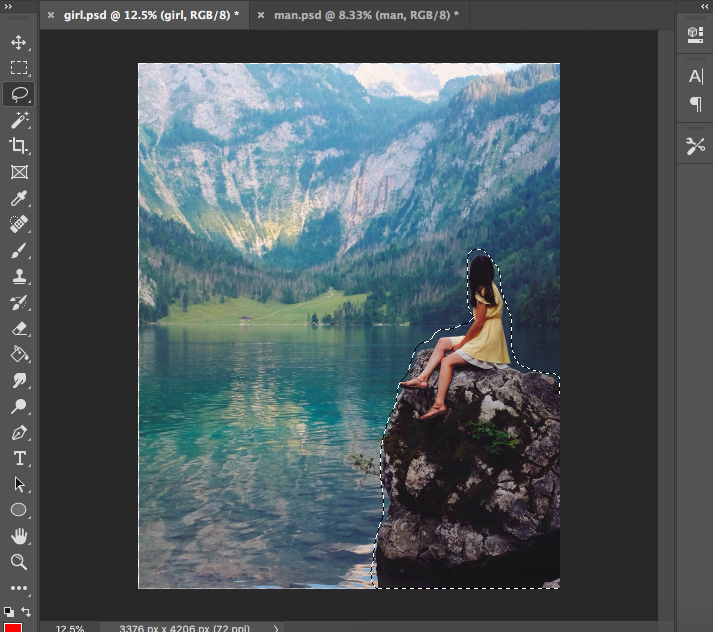
When the item is surrounded by marching ants, create a channel in the Channel Panel by clicking on the Channel Icon (the white square with the circle at the bottom of the Channel Panel).
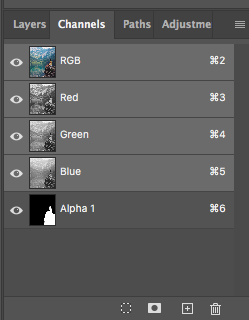
When clicked, a new channel will be created called Alpha 1.
Now head back to the Content-Aware Scale options bar, and in the drop-down menu beside Protect, you will find there’s a new option – Alpha 1.

Select Alpha 1 and the Alpha 1 channel which will include your subject will not be affected by the scaling action.
Now, you can scale the landscape behind the subject without affecting the subject.
You can increase the scale as you can see in the image below.
Or you can decrease it as in the image below.
And viola – now you can hit the tick icon on the right-hand side of the options bar and your edits will be saved.
As you can see, the Content-Aware Scale tool in Photoshop is ideal if you’re a landscape photographer and you want to alter the background without affecting other components.
You can check out the other Content-Aware Tools, such as the Content-Aware Fill Workspace, to see how they can save you hours of editing time.
If you’d like another option to alter backgrounds, try this tutorial – How to Extend the Background in Photoshop.
What are the keyboard shortcuts for Content-Aware Scale?
The shortcut to access Content Aware Scale via the keyboard instead of the top menu bar is Command-Alt-Shift+C (for Mac) or Ctrl-Alt-Shift+C (for Windows).
To save the Content-Aware Scale command when you have finished editing, press Enter.
Adobe MAX Update 2024
Photoshop is the ultimate tool for photographers, graphic designers, and visual creatives looking to take complete creative control of their workflow.
The Adobe MAX Update 2024 introduces several enhancements and new features to simplify core tasks.
With the assistance of Generative AI, these tasks include the ability to remove distracting elements from an image and streamlined processes for placing 3D elements in a 2D design.
Removal Tool – The key updates include an enhanced Remove Tool to effectively remove unwanted or distracting objects from an image without deteriorating the overall composition.
Distraction Removal – The automated Distraction Removal feature identifies people, objects, and overhead wires that may distract from the image.
Generative Fill – Powered by Adobe Firefly AI, Generative Fill allows you to build a composition with photo-realistic 3D elements, including correctly placed shadows, highlights, and perspective.
Generative Expand – Photoshop’s Generative Expland allows you to resize the canvas and use Adobe Firefly Image Mode to fill in photorealistic elements.
The Adobe MAX 2024 Updates are now live, and there’s never been a better time to optimize your creative output with the Adobe Creative Cloud suite of applications.

Judyth is an experienced studio photographer and glass artist. When she isn’t Photoshopping comedians into the bellies of sharks, you can find her cooking delicious treats for her guests.

👋 WELCOME TO SHOTKIT!
🔥 Popular NOW:
