


How to Merge / Blend Two Images in Photoshop
Create stunning composites with this guide to merging (blending) images in Photoshop! Learn 3 simple yet powerful methods for blending photos.
Photoshop | Software | By Stephan Jukic | Last Updated: December 30, 2023
Shotkit may earn a commission on affiliate links. Learn more.
If you've ever wanted to learn how to merge two images in Photoshop, this guide will show you three fairly simple and fundamental techniques you can use to combine images creatively.
As with most tasks in Adobe Photoshop, there are several ways to achieve the same outcome. Some of these will fit your specific needs better than others, so experiment a bit and see what works best for the final creative result you want.
It's also possible to combine two or more of the options below together to create a more complex photo composition. We actually explain how to do a basic version of this for methods 2 and 3 below. (You can also record the steps to make an Action like these.)
Also note that the following techniques have been arranged in order of difficulty from more complex (and powerful) down to the simplest, though the basic photo joining steps described in Method 1 (Layer Masks) apply to all three photo merging options.
Alternatively, if you don't have the time or inclination to use Photoshop on your desktop, there are also phone app options available for both Android and iPhone that allow you to do a quick creative blending of two photos.
Ready to get started? Here's how to mesh two photos together using Adobe Photoshop.

Download the latest version of Adobe Photoshop to follow along with this simple tutorial.
Start a free 7-day trial today
Method 1: Use a Layer Mask

To start things off, let's look at Layer Mask. This is probably the most versatile and popular method of merging two images in Photoshop. It also comes with the benefit of letting you manipulate exactly how and where two images blend together.
With the other two techniques we're going to cover below, this last trick isn't quite as easy.
You can actually do a ton of stuff with Layer Mask, and to cover all of it would mean a whole separate tutorial just for this specific method, so here we'll focus on the essentials for understanding this process easily.
What is the purpose of masking a layer?
Layer Masks basically control the transparency of a layer, but with one very useful twist: instead of a whole layer being given a certain level of transparency, the Layer Masks method lets you apply it at different levels across different parts of an overlaying (layered) image.
This is done by using black and white gradients. If you fill part of an overlying layer with white, it will remain visible, and if you fill it with black, it will be concealed to show the background image
Basically, you can use masks to hide and show parts of both superimposed images very selectively. Here's the step-by-step process:
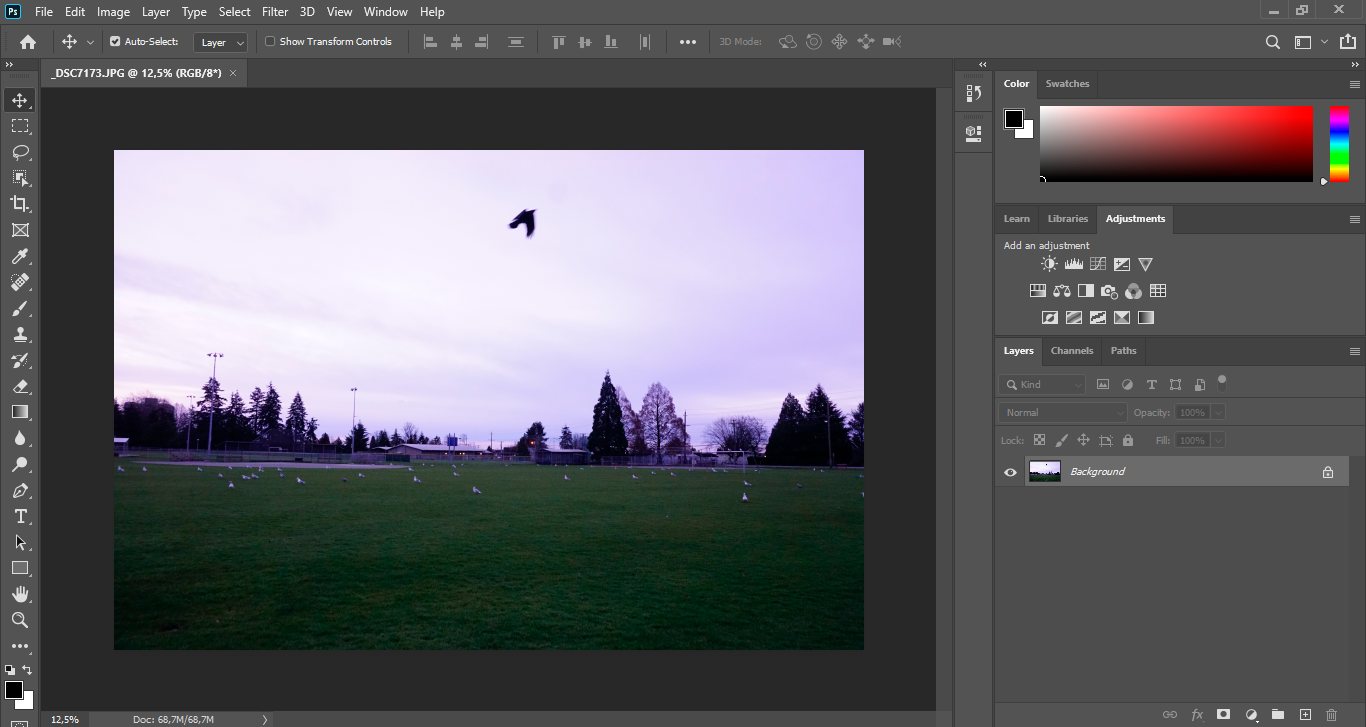
Step 1: Select a background image and a top layer image that you want to merge together. It's important that both images have the same size and that they both use the same color space option. Open both of them in Photoshop.
Step 2: Now that you've opened up both images, you'll see their respective tabs along the top of your Photoshop window.
To make your photos merge, all you need to do is click the Move tool on the left icon menu, and click the image you want as the overlay.
Holding down the left mouse button and the shift key while dragging, move it over the image that will be your background and then release. Holding the shift key centers the image.
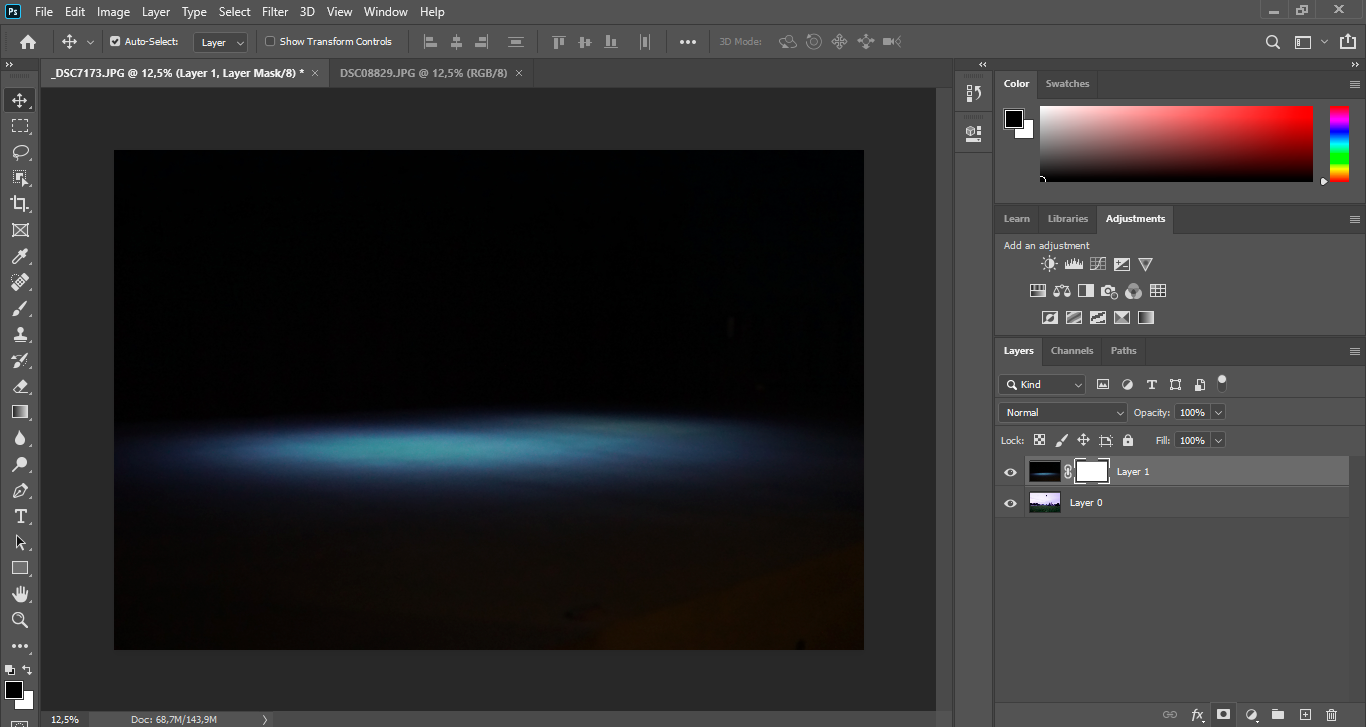
Step 3: Now you have two layers in the same image tab and it's time to add the Layer Mask.
You can do this by moving down to the layer mask button at the bottom of the layers panel where your two image layers are listed on the lower right of the screen. It vaguely looks like a little camera icon (with a hollow circle in the middle of it).
Click on it and you'll see a white Layer Mask square form next to your layer image icon in the layers panel.
You now have a transparent Layer Mask between your two pictures. You can also change which image you want to use for the overlying image by clicking it and moving it up or down after unlocking whichever image was set as the default background by Photoshop.
Now, select the Gradient tool at the left of the Photoshop screen.
Step 4: Making sure that the blank layer mask box next to your overlay image is selected, you can now merge by selecting the gradient tool (on your keyboard press G for quick access).
Before you do this though, at the bottom left of the Photoshop screen, you'll note two overlapping boxes, one white and the other black. You can make white or black be at the forefront by pressing either D or X on your keyboard and switching whenever you like.
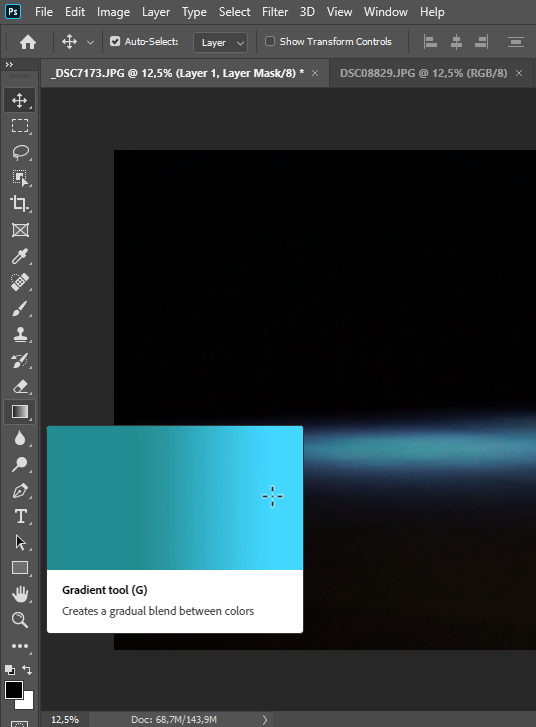
Step 5: With the gradient cursor tool, simply click at the edge of any part of the overlay image you want to replace with the background image, and then while still holding the mouse button down, drag the gradient line along until you've reached where you'd like the overlay image to remain, then unclick.
Remember to make sure that your foreground box (lower left corner) color is set to black so that the underlying image will appear as you play with gradient.


Step 6: You've just mastered the basic art of using a layer mask with broad gradient shifts. If you want a more precise edit, I'll show you how to merge photos realistically in Photoshop using the brush tool.
Instead of using the gradient tool, select the brush tool on the left panel of Photoshop, and at the top of the screen, set the brush thickness and hardness (lower hardness means a more soft-edged brush stroke).
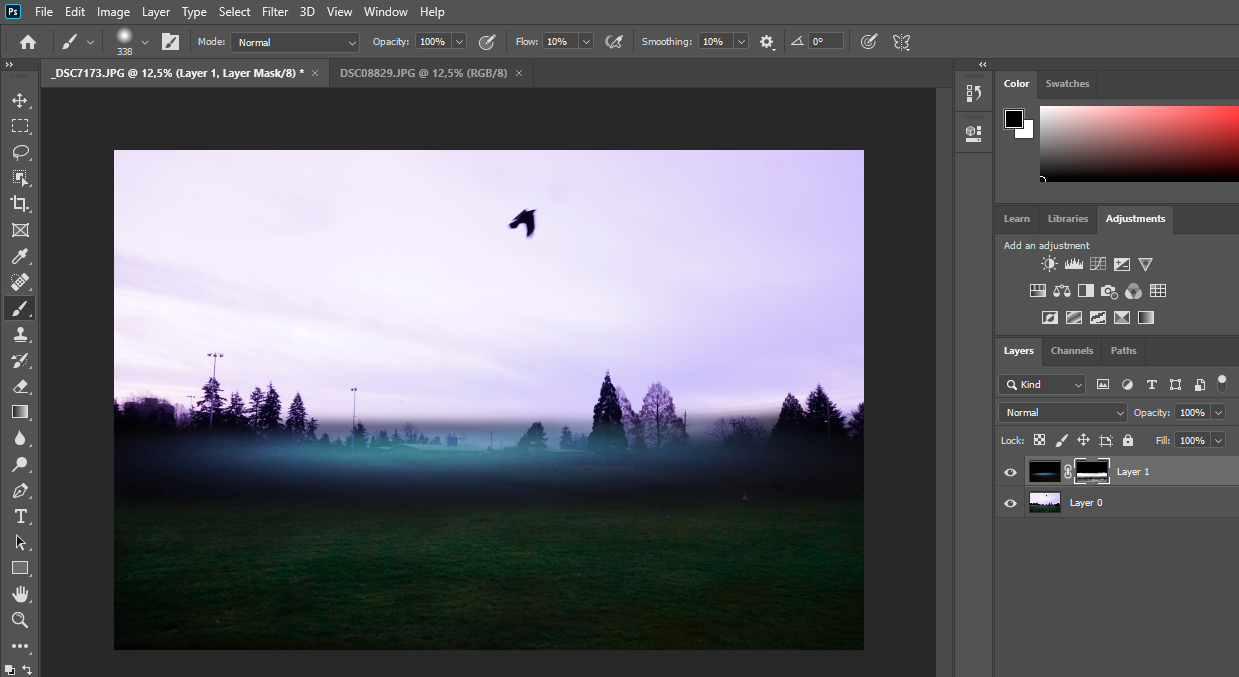
You can then use this brush tool across your overlay image to more specifically remove parts of it and show the underlying image, or undo any mistakes by reverting to black with white in the foreground, (Pressing D or X to switch the two little boxes in the lower left corner) and re-revealing the overlay image.
Congratulations, you've just learned how to use Photoshop layer mask merging in two different ways.
- Read more: How to Insert Images in Photoshop
Method 2: Use a Blend Mode

With Blend Modes, two images are layered together and you adjust the transparency of one or the other to make elements from both appear as parts of the same image.
In other words, Blend Modes are a broader method of merging images in Adobe Photoshop, but can be very useful for a quick job.
Step 1: Just as we described above for the first method, open two photos that you'd like to merge.
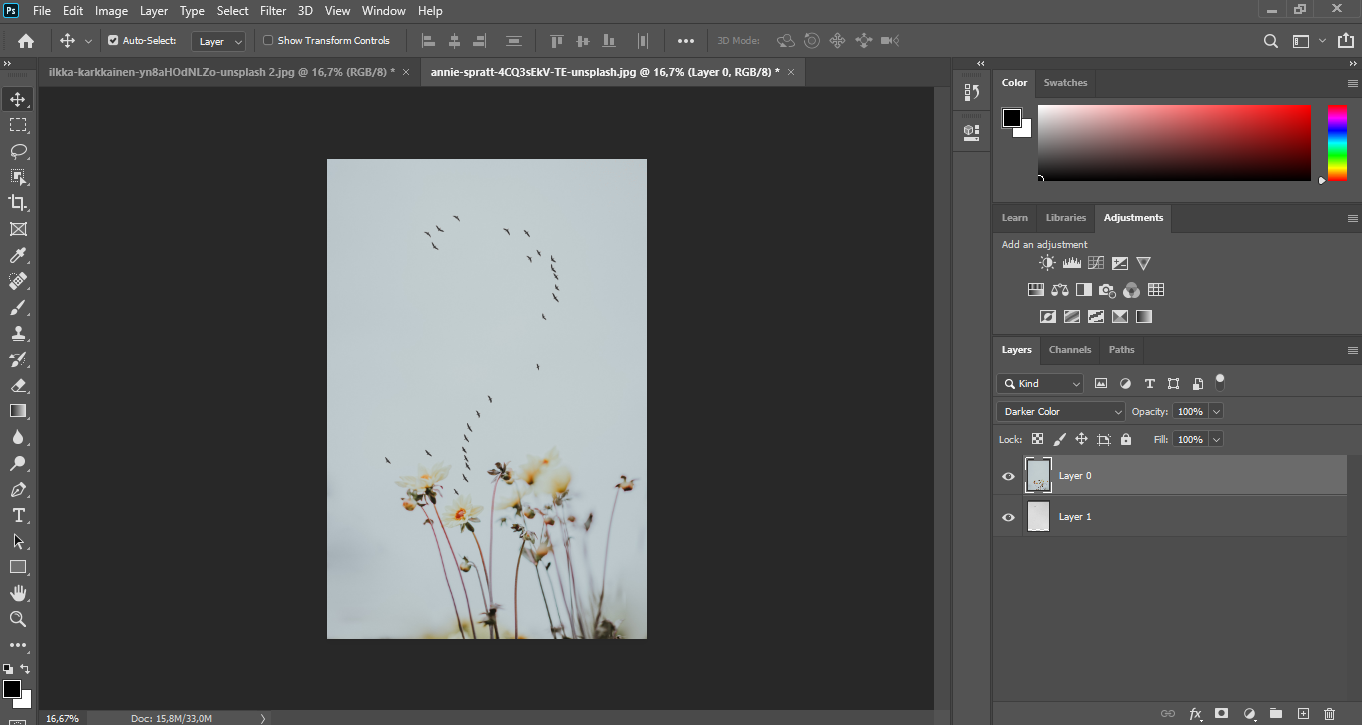
Step 2: With both photos open, you can now drag one image over the other just as we instructed in method one above. Once these images are layered, you can change which one you want as the overlay image just by switching around the two layers in the Layers panel (whichever one is the top layer will be your overlay).
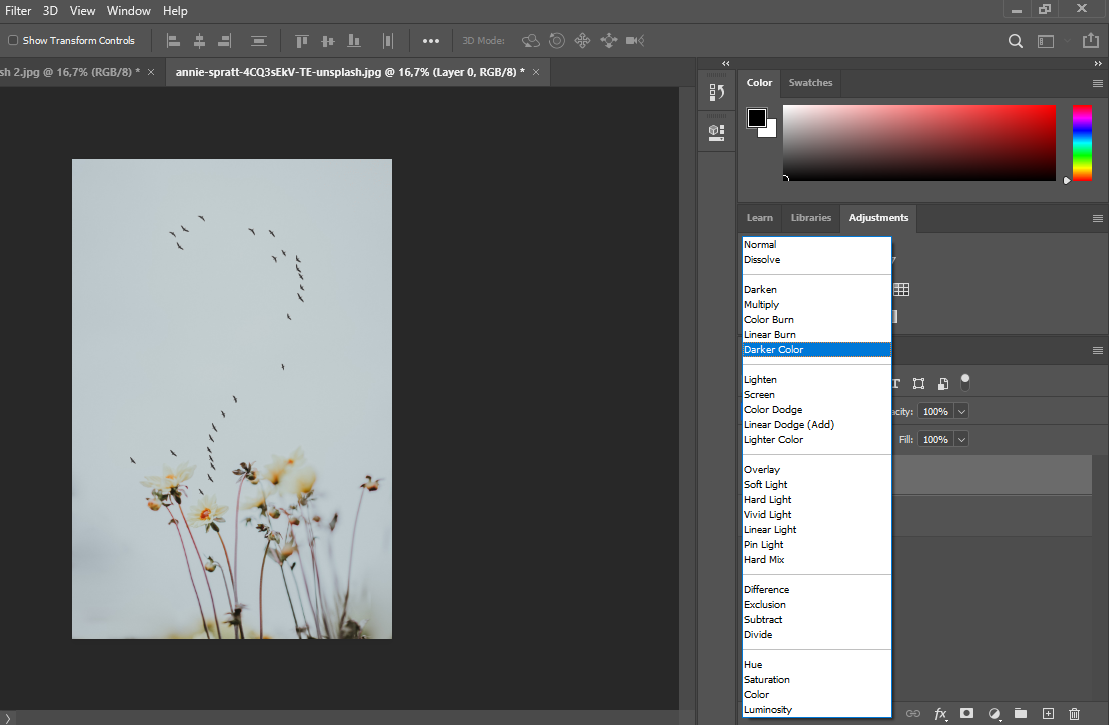
Step 3: With your overlay image selected, you can pick from any one of numerous blend mode options in the Layers tab on the right, right next to the Opacity slider. Play around with any of these options to see which one creates the best results.
You can also modify opacity for either of the two photos by moving the slider left to right.
Step 4: You can also cycle through the Photoshop blend modes with your keyboard for quicker workflow by pressing V on your keyboard to activate the move tool, and then holding down the Shift key while pressing the + or – keys on your computer to scroll up and down.
Bonus step: It's perfectly possible to layer more than two images together and adjust both Blend Modes and Opacity or Fill (see below) between all three of them one by one until they combine in just the right way for you to like the end result.
This is a bit more complicated because it means you'll have a larger range of composition elements and objects, and you'll have to make sure they don't crowd into the complete composition. If you want to try it, however, the editing process in Photoshop is just the same as for two pictures.
Congratulations. You've just learned how to combine images together into a new composition using this method. Now let's move onto adjusting opacity and fill with your Blend Modes and layered images.
Method 3: Use Layer Opacity
Layer Opacity options are even simpler to use than Blend Modes, and in fact, the two can be smoothly combined to create a more fine-tuned photo overlay. Basically, Blend Modes and opacity options go side by side as ways to combine images in Photoshop.
What Layer Opacity lets you do is change the opacity of the overlying layer image so that it's only partly visible on top of the background image. The reason that Opacity works with Blend Modes is that the visual result it creates will vary depending on which blend mode you applied to the image layers first.
If you want to know how to fade two images together in Photoshop, then Layer Opacity is the tool you've been looking for.
Both Blend Modes and Layer Opacity cause one image to become visible over the image below it, but Layer Opacity increases or decreases the transparency of the overlying image. Here's how it's done:
Step 1: Open up two images in Photoshop just as we described in the steps for Layer Masks, and then join the images as layers in the same way we described under our Layer Masks section above.
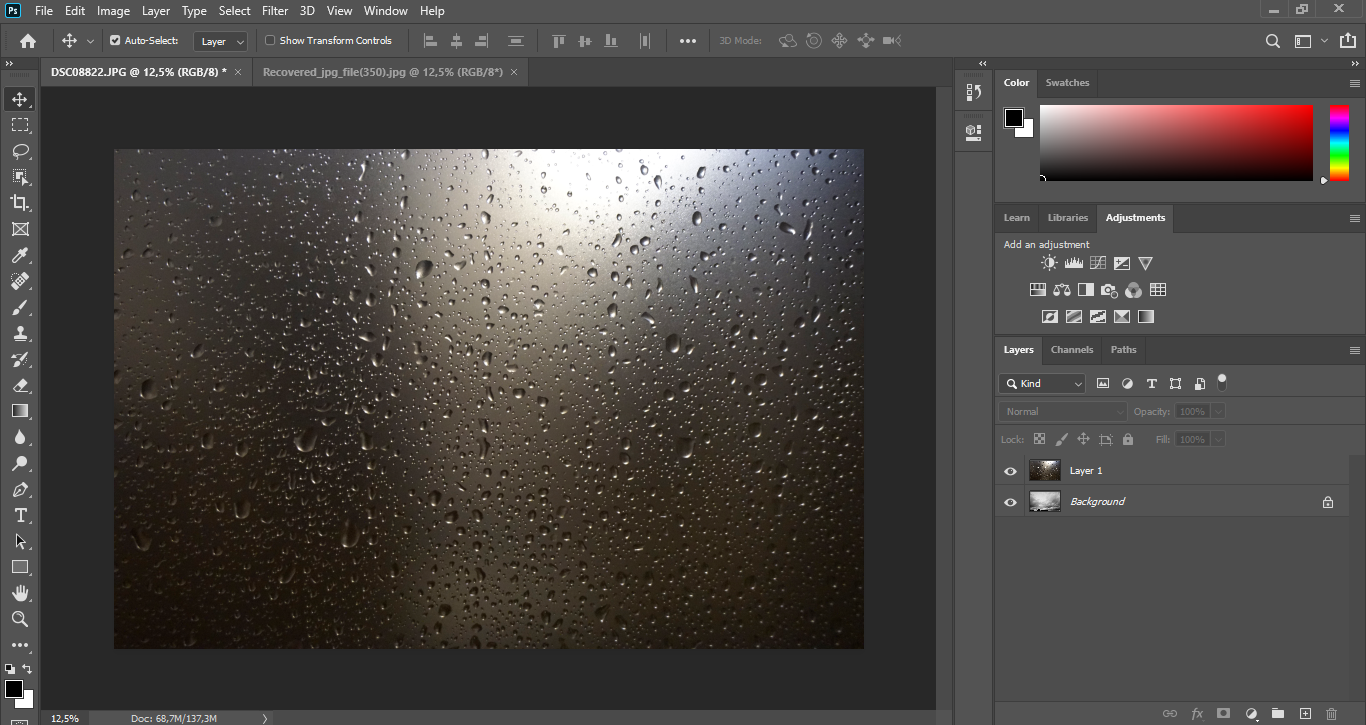
Step 2: Now that you have your images in layers, with one as the background and the top layer as the one you want to merge over, you can select the top layer by clicking on its thumbnail in the layers panel and play with its opacity.
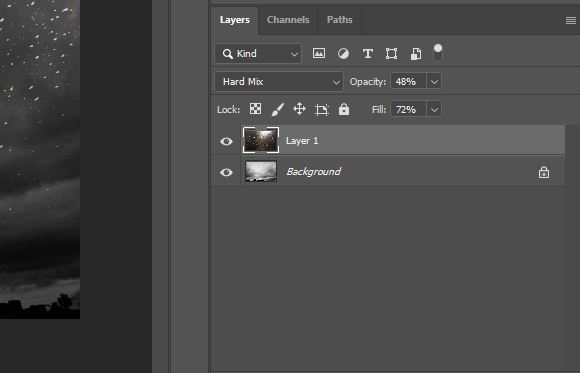
This is located just to the right of the Blend Modes box in the lower right panel in Photoshop, and can be changed with a little slider that goes from 0% to 100%.
Step 3: You can adjust the overall look of your merged images by selecting different Blend Modes and then playing with the opacity level while any of them is active on the layer you're editing.
Experimenting with these two options lets you create a composition that you're most happy with.

Remember that an image layer locked as Background can't be edited – you have to first unlock it by clicking on the padlock next to its thumbnail so that it becomes just another editing layer.
Step 4: Right below the Opacity slider, you'll see another slider for Fill. This also changes opacity but in a slightly different way: While Opacity creates different effects depending on the Blend Mode it's reacting with, Fill will change the absolute opacity of the pixels and shapes in the overlay layer that you're editing over the background.
Bonus step: You can also apply the Layer Mask merging process described in Method 1 to two or more images that you've been editing with Opacity/Fill layers and Blend Modes. This mix of methods can be useful in creating a composition that's more smoothly merged among multiple images.
It's also great for making large areas of one whole layer disappear via layer masking. You can also add Layer Opacity that we cover in our next step to Blend Modes with Layer Masks.
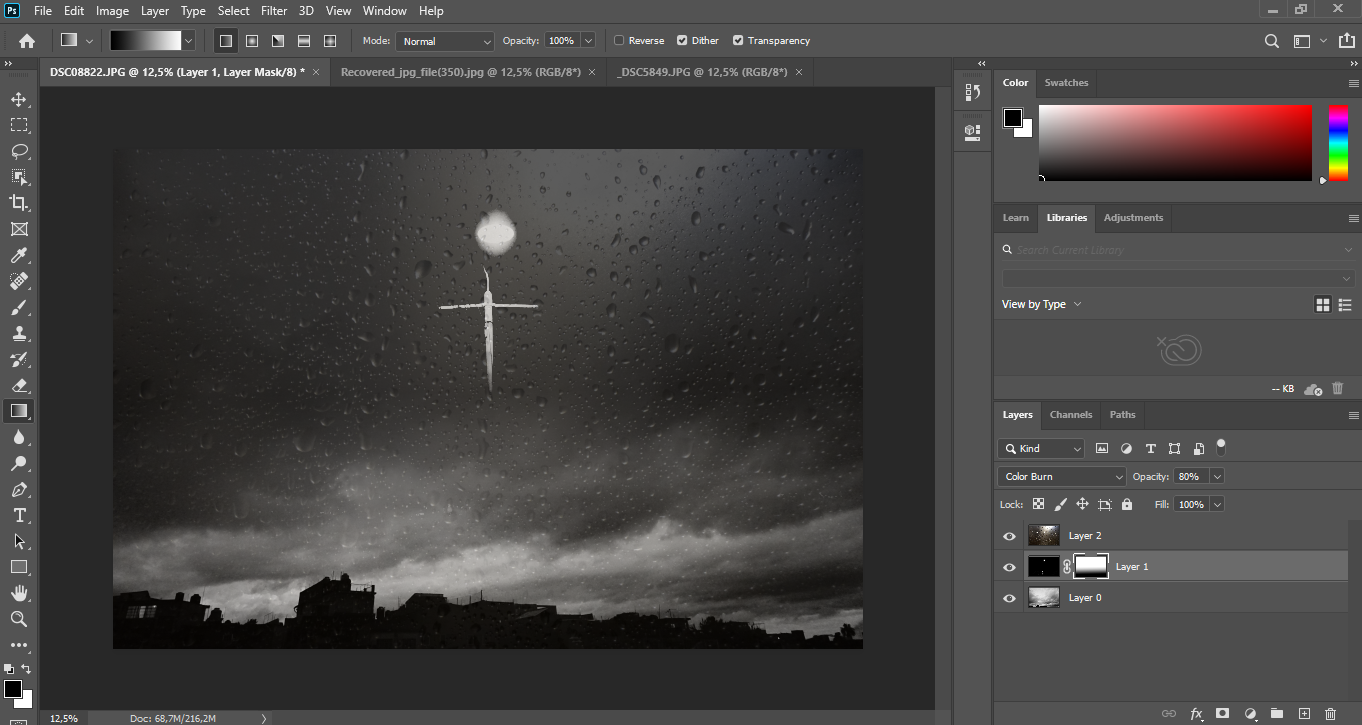
Here's one example of a three-layer photo merge that I created using all three above methods.
FAQs About Merging and Blending Photos in Photoshop
How do I merge multiple images into one in Photoshop?
There are several methods for merging multiple images in Photoshop. To merge multiple images, use the Layer Mask, Blend Mode, or Layer Opacity tools to control the merge function.
The Layer Opacity tool is the simplest method to merge multiple images.
How do you blend images in Photoshop?
Adobe Photoshop features a very effective Blend Mode that allows you to layer two or more images and control the opacity of each.
With the Blend Mode tool, you blend two images seamlessly to appear as a single image. The process is quick and simple and one of the most popular methods of blending images in Photoshop.
Can you combine Blend Mode with Layer Opacity?
It's also possible to create a single image from multiple images using a combination of Photoshop blend/merge tools.
To gain greater control over the subtlety of a merge, combine any or all of the Blend Mode, Layer Mask, and Layer Opacity in Photoshop.
How to stitch images together in Photoshop?
Photoshop has a one-touch edit that lets you join multiple images together. You can create a panorama and combine images with a smooth transition by selecting Photo › Photo Merge › Panorama Merge.
Panorama merge is the fastest way to learn how to attach two pictures together in Photoshop.
How to create a Photoshop morph between two images?
A quick way to learn how to joint photo in Photoshop is to use the Auto-Blend Layers command. This command lets you auto merge two pictures into a single image.
You can mix and fuse photos by selecting the layers you want to work with then clicking Edit > Auto-Blend Layers. The Panorama option stitches images into a larger panorama while the Stack Images option uses the photo editor to combine images which works best with layers that are aligned like two portraits with the same profile.
How to merge two photos with same background online?
You can merge two photos online using web apps like Fotor, PhotoKit, or even Adobe's beta browser-based Photoshop app. These online editors have more limited tools which means they work best with images that have simple or identical backgrounds.
Final Words
The three above photo merging techniques for combining images in Photoshop can be used to merge images together into many different compositions.
We've covered only the essentials of understanding each of them and joining together all three techniques, but there's an enormous amount of room for experimentation beyond that.
In other words, now that you understand these fundamentals, just have fun and explore.
Grab two or more images, make sure you don't save anything to the original copies, and start seeing what kind of new art you can create from mixing ordinary pictures together.
Stephan Jukic is a technology and photography journalist and experimental photographer who spends his time living in both Canada and Mexico. He loves cross-cultural street photo exploration and creating fine art photo compositions.
2 Comments
Leave a Comment
👋 WELCOME TO SHOTKIT!
🔥 Popular NOW:

No gradient box on the left hand side of the screen, pressing G didn’t work. Just like these instructions, which don’t work.
Hello Rog, sorry to hear that. We wrote this while actually going through the steps ourselves and it worked in our case. However, newer editions of Photoshop may change in their details. Could you name any other specific part or parts of the instructions that didn’t work?