


Guide to Milk Bath Photography (+ 16 TOP Tips!)
Get creative with milk bath photography using this guide! Capture the perfect shots with our best tips on lighting, props, gear and more.
Learn | Photography Guides | By Ana Mireles
Shotkit may earn a commission on affiliate links. Learn more.
Legend says that Cleopatra used to take milk baths to keep her skin looking smooth, young, and beautiful. Unfortunately, photography wasn’t around at the time.
Lucky for you, nowadays it's possible to make milk bath photo sessions that will give your clients smooth skin and amazing pictures.
This type of photography is extremely trendy right now, but it’s far from being new. One of the most iconic Annie Leibovitz's photographs is the portrait of Whoopie Goldberg in a bathtub full of milk made for Vanity Fair in 1984.
That was a concept picture charged with social implications, but there's a lot of uses and genres that you can give to this technique. You can do glamour shots, maternity sessions, newborn photography, still-life and so much more.
If you decide to ‘dive' into it, here are a few tips for you to try milk bathtub photography.
What is Milk Bath Photography?
Milk bath photography implies a photo session in which your subject is submerged in a tub or a vase filled with milk diluted in water.
Basically, it's a technique more than a genre because it can be used for portrait photography, lifestyle shots, editorial, commercial and even conceptual images.
How Do You Make a Milk Bath for Photography?
Credit: Engin-Akyurt
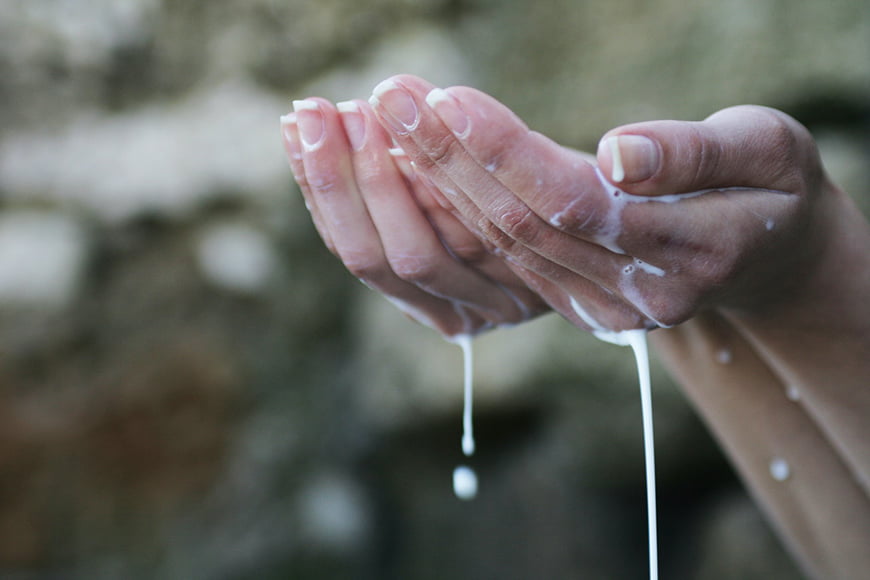
A lot of people are afraid to try this technique because they worry about the cost (and waste) of milk. But, how much milk do you need for milk bath photography?
It might look like you fill an 80-gallon (302-liter) tub with whole milk, but it's not really like that. You have to dilute it with water. The exact ratio will depend on the effect that you’re after, but you shouldn't need more than 2-4 gallons (about 7-15 liters) to make a full bathtub white and opaque.
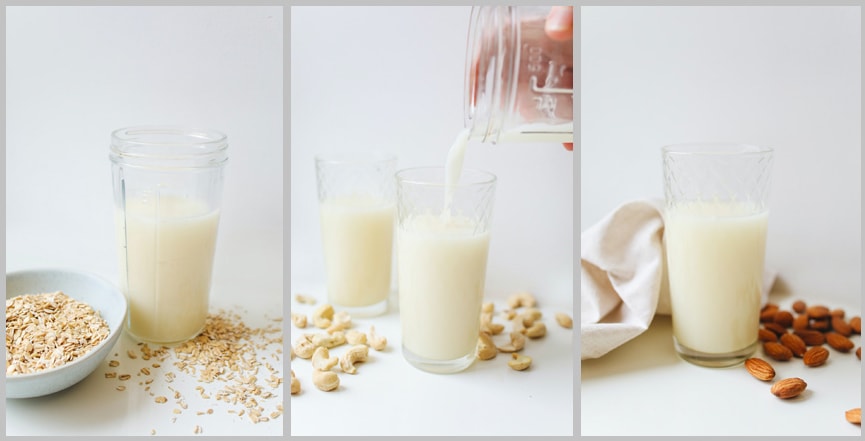
You can also complement with powdered milk and even non-toxic paint if you want to use less fresh milk. If you have vegan clients, plant-based milk (oat milk, for example, is very cheap and easy to make at home) would be a great alternative.
Here's how to do a milk bath shoot, step by step:
1. Set up – Before you start filling your bath, you need to get the set and the lighting ready. This is because the temperature of the water goes down quickly. Also, depending on your props, they might not resist long before they start to sink.
2. Prepare the milk bath – Fill the tub with water almost to the level you’ll want it at for the photo. Then start adding milk and stop when it’s reached the color and density you want. A small amount of milk will keep some level of transparency. The more concentrated it is, the less you’ll see through it.
3. Pose your subject – Floating props can be difficult to deal with and the tiniest movement can ruin your composition. That’s why it’s better to position your subject before adding anything else into the tub.
4. Add props – If your picture includes any props, this is the time to place them. Think about the composition and the colors. If you’re having problems with some of them sinking, try putting something underneath to hold them. Also, try to waterproof them in advance with Scotchgard.
5. Start shooting – These are all the basics you need to make a milk bath session. It’s very easy to set up, but the success of it relies on the details and creativity.
16 Milk Bath Photography Tips
Making milk bath photography sessions can be quite simple, but if you want to stand out in this type of photography, you need to experiment and get creative.
Here are some tips to make your milk bath photoshoot go smoothly and have your images pop.
1. Plan ahead
Credit: Grace Madeline
It's important that you plan your photoshoot so that you can get the right equipment and props. If the bathroom is very small, you need to bring a wide-angle lens.
If the window is small, you'll need to add reflectors or artificial lights. Or maybe you'll even decide to use a hotel room for a better set up. All of that needs to be decided in advance.
Also, try to experiment ahead of time with the props to find out if they float and how long they will stay fresh, especially if you're using real flowers.
Choose the wardrobe and the props appropriately to the mood you want to set and make sure they complement the model.
2. Keep everything safe
You should always keep safety at the top of the list when shooting. With milk bath photography, there are some things that will always be an issue:
Temperature: Always keep the bath at a reasonable temperature for the model. Especially if it's a milk bath baby shoot.
For example, if you’re using powdered milk you’ll need to draw the bath with very hot water to avoid clumps. Make sure that the temperature lowers before asking your model to step inside.
The opposite is also true: if the bath gets too cold it will be uncomfortable for the model.
Allergies: As I mentioned before, there are different types of milk and they can be vegetal or animal-based. Make sure that your model isn’t allergic to the one that you’re using.
The same goes for any essential oils that you add as well as the props, whether they're real flowers, leaves, or fruits.
Surfaces: Bathtub shots can get messy because you're working with liquids. This is dangerous for you and for your model as you can slip and fall. Keep everything dry and clean throughout the session.
Find steady supports: Protecting yourself and your equipment is also important. Use the camera strap to secure it to your arm to avoid any accidents – see our guide to the best camera straps here.
Also, don’t try to stand on the edge of the tub or climb onto an unsteady surface to get the photo. Bring the necessary accessories for the images you’re planning to take, from ladders to boom stands.
If you don’t have them, maybe it’s best to change the composition of the photo than risk getting hurt or damaging your gear.
Never leave babies unattended: If you’re making baby milk bath photos, you should always have someone (the parent or your assistant) keeping an eye on the baby, even if the water is very shallow.
Place your model comfortably: Ensure that the depth of the bath is comfortable for your model so that they are not constantly struggling to keep their head above the surface.
3. Offer a variety of milk
Credit: Polina Tankilevitch
Some photographers prefer to use whole milk in their milk bath photography, but most of them will agree that the kind of milk you use is irrelevant for the visual result of your image.
However, offering a variety of milk to your client can go a long way in making them feel comfortable.
For example, vegans might prefer non-dairy milk even if they're not drinking it. Others might want to have a choice depending on the benefits for the skin.
Coconut milk is moisturizing and anti-inflammatory, while almond milk soothes the skin. Alternatively, goat milk is anti-bacterial and leaves the skin smooth like silk.
Some types of milk can be more expensive, so make sure to add a supplementary price to the budget in some cases. Either way, as a client, knowing that you have a choice is important.
4. Be aware of the color palette
When you're buying props or thinking about coloring the milk bath, you should stick to a color palette to keep harmony.
It’s important to talk to your model or client about it to make sure that they like the palette you've chosen and can coordinate wardrobe and makeup (if they're using any).
You can then buy the flowers, props and dyes for your milk bath photos accordingly.
5. Add essential oils
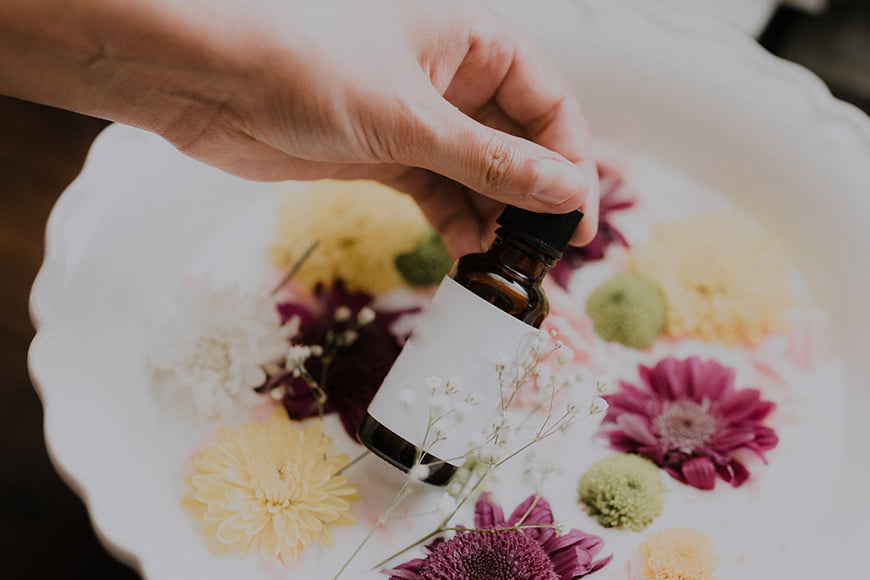
Credit: Priscilla du Preez
Carrier and essential oils can work for relaxing and healing. You can add some to your milk bath if your subject is feeling anxious, having stage-fright, or is a hyperactive baby.
Make sure that the oil compliments the natural perfume of the flowers, plants or fruits that you're placing in the tub as props. Otherwise, instead of relaxing your models, it could make them want to finish the shoot as quickly as possible.
6. Bring extra everything
When you're preparing for the milk bath photo session, make a list of everything you’re going to need. Then pack a little bit extra of everything.
Ask your model to bring a second pair of clothes to change into after you’re done with the photos.
Bring extra towels, not only for your model but also to keep drying the floor and the borders of the tub. Remember that a wet surface is a hazard and safety should always be a priority during any milk bath photography session.
Bring some extra milk. Once you have the right mix at the correct temperature you can get your subject in the bath and start the photoshoot.
However, the water gets cold fairly quickly, and arranging floating props can be time-consuming. So you might have to refill with warm water just to keep your model comfortable.
This will change the water-to-milk ratio causing a more transparent bath. If this isn’t to your liking, you should have extra milk to fix it.
Finally, certain props might lose their original look as time goes by. Real flowers may wither if the water is hot.
Synthetic flowers, even if you sealed the bottom, might get wet in the border and start to sink. So bringing extra props is always a good idea in milk bath photography.
7. Bring different focal lengths
Credit: Anastasya Pavlova
Using different focal lengths will add variety to your milk bath photos. If you're using prime lenses, you can use either a 50mm or 85mm for the portrait and details.
On top of that, bring a wide-angle lens in case the bathroom is small and you want to include more from the scene.
If you're using a zoom lens, you can use one that covers from a slight wide-angle to a short telephoto. For example, a 24-70mm lens works well for milk bath photography.
Using a wide angle lens can also make you look fatter in pictures than you normally look in real life, so be aware of that when choosing anything wider than 50mm.
8. Play with light

Credit: Isi Parente
How to light a milk bath set is another head-scratcher. Most photographers like to use window light.
But maybe this isn’t an option. Or maybe you just want to create a more moody shot. For this, you can modify natural light or use artificial light with modifiers.
9. Change your point of view

Credit: Timothy Dykes
Most of the images you’ll find as inspiration for milk bath photography are going to be overhead shots, or at least from a high point of view.
You should definitely tick the box in the photoshoot list and do some of those, but don’t forget to mix things up and try new angles.
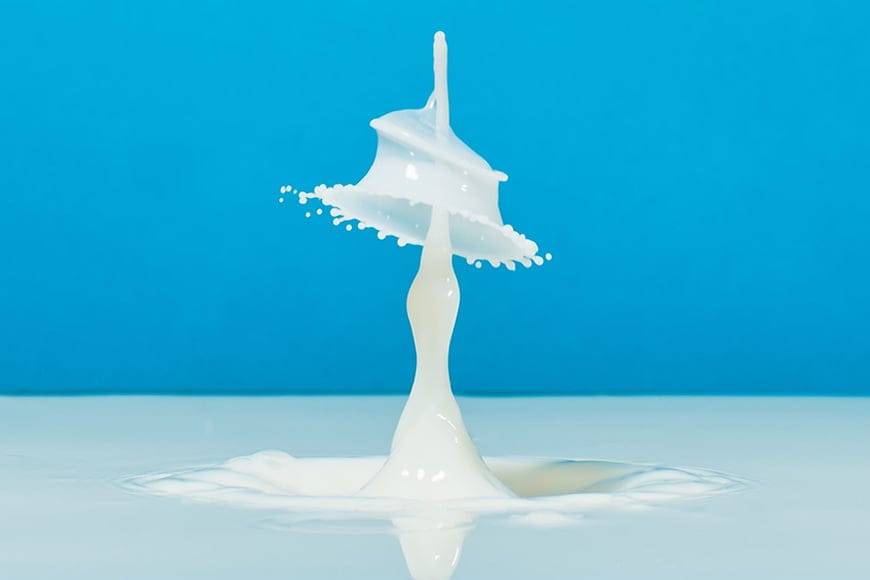
10. Add movement
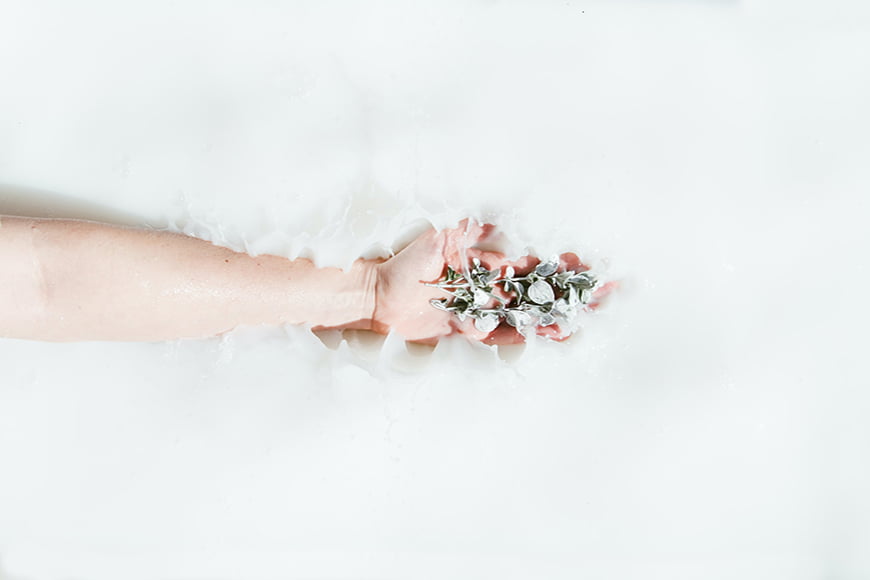
Credit: Evie S
I told you in the step-by-step guide that your subject should be very still to avoid moving the props that were already arranged.
While this is true, there’s nothing wrong with intentionally adding movement as part of the idea – for example, freezing splashes, or creating waves for texture.
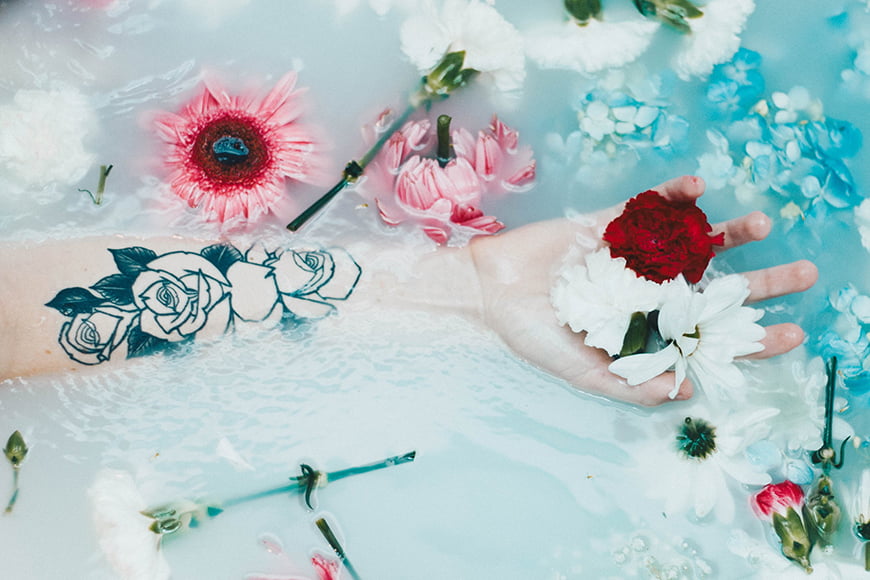
11. Go minimal and use negative space

Credit: Bennie Lukas
It’s not written in stone that you have to use flowers and props for a milk bath portrait. You can just place your model and use negative space to add interest to your compositions.
You can also modify how much of your subject is under the surface to emphasize shapes and create different results.
Allowing the model to choose what parts of her body to show or hide is useful for unconfident models or plus-size boudoir photography (see guide), where your client may wish to make certain areas semi-visible while highlighting others.
12. Try nude photography
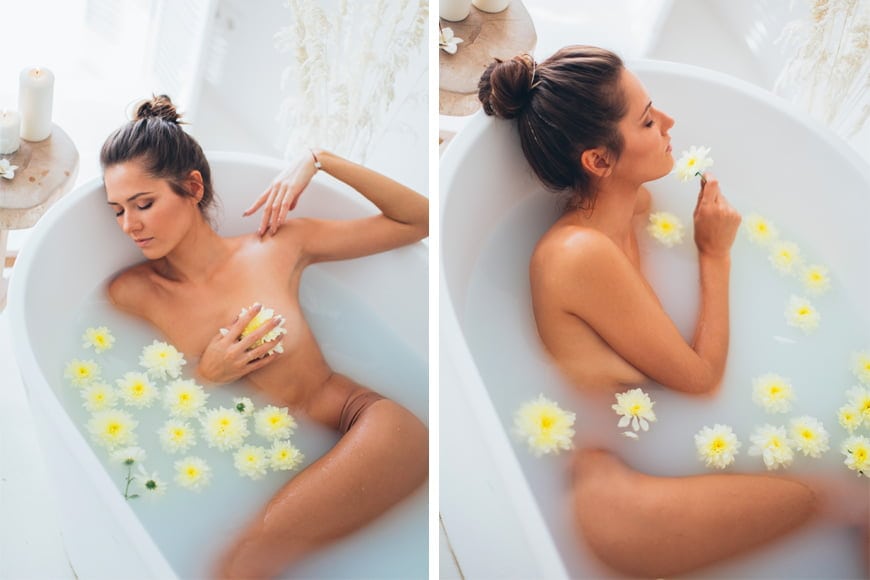
Credit: Elly Fairytale
Using lingerie or sheer fabric adds color and texture to your milk bath photography images. It’s also great for clients who are not professional models or who are shy.
However, you can try a nude photoshoot that emphasizes the smoothness of the skin and the shape of the body.
If your model is too shy, or you want to keep it G-rated to use in social media and other channels you can cover the sensitive parts under the surface and use careful posing.
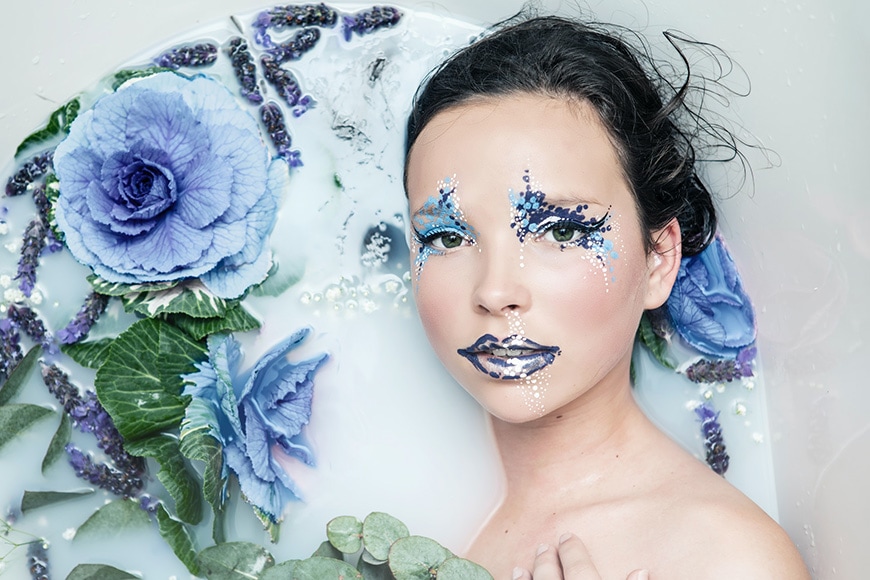
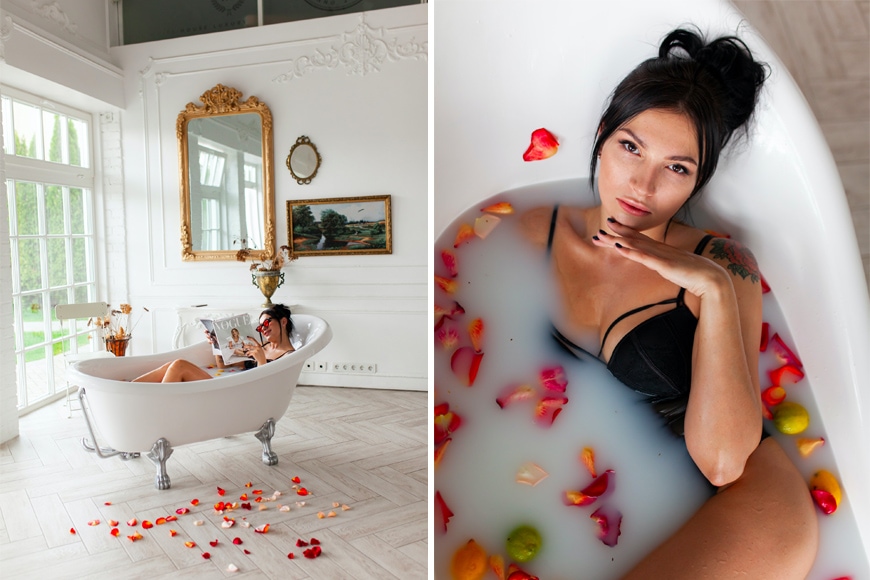
13. Color the milk bath
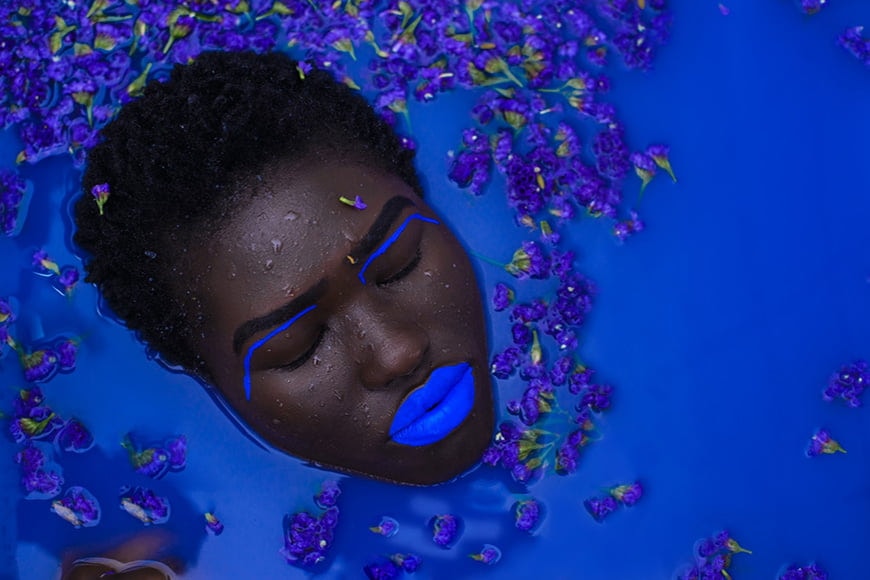
Credit: Dazzle Jam
Using the natural tone of the milk can be useful to have a neutral base to work with. It’s also complimentary for a certain mood when you’re doing milk bath maternity sessions or baby portraits.
But you can also experiment with color by dying the milk bath. For this, you can use bath bombs or food coloring.
You might be wondering why you need the milk instead of coloring the water. Well, because the milk is changing the opacity. Give it a try with different ratios and a mix of colors.
14. Use male models
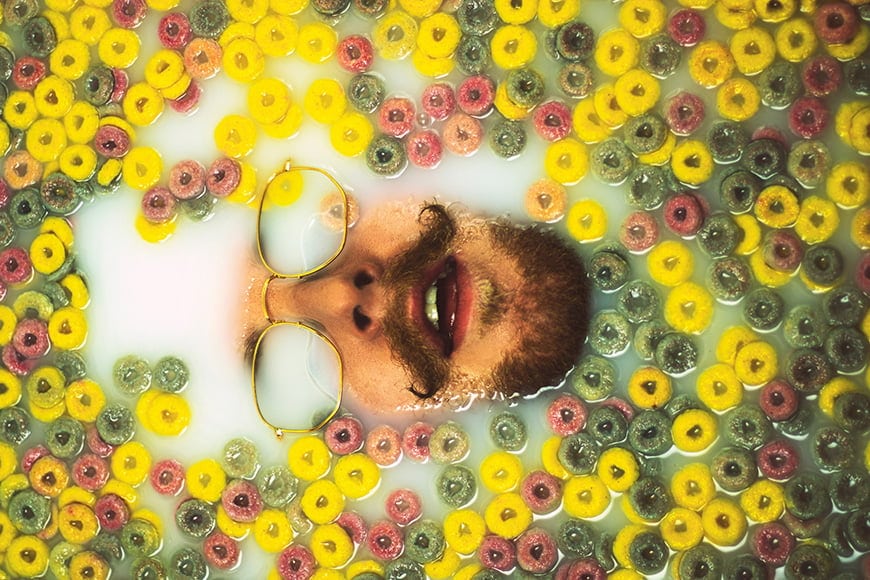
Credit: Luke Jones
Who said that milk bath sessions are just for women?
Even if most photographers stick to boudoir, maternity or newborns, there’s nothing stopping you from trying to break stereotypes by using male models.
Expand your range of subjects to give new creative scope to your milk bath photography. These are also ideas for best friend photo shoots too.
15. Innovate
Credit: Analise Benevides
This is a rule that applies to photography in general, but especially in very trendy types like milk bath photography.
You can get inspired by other photographers and the images you find online, but it’s important to find your own style. To do this, often you have to try new and bold things.
16. Don’t waste it
Credit: Robert Hrovat
Once you’re done with your model, try using your setup for other photographs to include in your book or use as stock photography.
Try doing creative splashes, abstract photography, or floral and food pictures by photographing only the props. This way, the milk from your milk bath shoot doesn't go to waste.
Milk Bath Photography FAQs
How do you do a milk bath for photography?
Depending on the opacity you want, dilute a bathfull of water with 2-4 gallons (about 7-15 liters) of milk. You can use any type of milk you want – from cow milk to goat, coconut, oat, or any other. Powdered milk also works. Add the water first and then the milk so you can control the opacity.
What do photographers use for milk baths?
At the most basic, they use a bathtub, warm water, and some type of milk. Full-fat milk is often used because it adds more opacity, though any milk can be used.
What is the purpose of milk bath photos?
Milk bath photography can be used for many things, from symbolic maternity portraits to ethereal still-life images. How you use the images really comes down to your creativity and vision.
What does a milk bath symbolize?
For maternity or newborn photo sessions, milk baths symbolize the nourishing connection between mother and baby that develops during the breastfeeding years. Thanks to the association with Cleopatra, they can also symbolize beauty, pampering, or self-care.
Final Words
Whether it's in a tub or a bowl, with props like flowers or without, and with white or colored water, milk bath photography is one of the most fun shoots you can do.
It doesn't have to be extremely elaborate or expensive, you can start with an inflatable kiddy tub and practice there. Remember that the most important thing is your creativity.
I hope you enjoyed this article and that you give it a try. Share your tips and images in the comments section.

Check out these 8 essential tools to help you succeed as a professional photographer.
Includes limited-time discounts.

Ana Mireles is a Mexican researcher that specializes in photography and communications for the arts and culture sector.
👋 WELCOME TO SHOTKIT!
🔥 Popular NOW:
