


Shotkit may earn a commission on affiliate links. Learn more.
This guide will give you the easiest ways to round corners in Photoshop.
I’ve been using Adobe Photoshop for many years, and I often need to round corners of photos before delivering them to clients.
Using Photoshop to round corners of photographs helps soften a photograph and create professional-looking images.
Plus, creating graphic designs or unique logos often requires rounding shapes in Photoshop.
Let’s dive into the tutorial.

Download a free copy of Adobe Photoshop to follow along with this simple tutorial.
How to Round Corners in Photoshop in 3 Steps
Rounding corners in Photoshop is relatively easy to do, whether it's on a shape or a photograph.
Round the Corners of a Rectangle Shape
Let’s start by rounding the corners of a shape in Photoshop.
Step 1 – Open a New Document
Open a new document in Photoshop.
Head to the main menu and select File > New.
Create a new custom file by selecting the one that suits your design purposes and hitting the Create button.
Or, if you have a specific document size, enter the document measurements in the right side panel.
Step 2 – Open a Shape
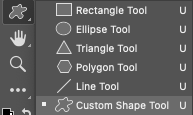
Head to the toolbar and select a Shape tool.
For this tutorial, I'm going to use the Rectangle tool. The technique for rounding the corners of a rectangular shape is transposable to all shapes.
Click on the Rectangle tool icon to open it, or hit U for the keyboard shortcut.
There are two options to curve the corner of a shape in Photoshop: one uses the tool's options bar, and the other uses the Properties panel.
The Options bar technique easily allows you to enter the value for the curve. This measurement will be applied to all corners. Using this technique, there is no option to apply different measurements for different corners.
The Properties panel allows you to set different values for each individual curve. Therefore, the resulting shape does not have to be symmetrical.
Step 3 A – Create a Curve using the Shape Tool’s Options Bar
When you select a shape tool, the tool’s options bar will open above the canvas workspace.
You will find a value box beside the curve icon in the top right-hand corner of the options bar.
Enter a value here to alter the shape of the rectangle's corners before you create it.

Enter the specifics of your rectangle, fill color, and outline in the options bar. Then click on your canvas to begin creating the rectangle.
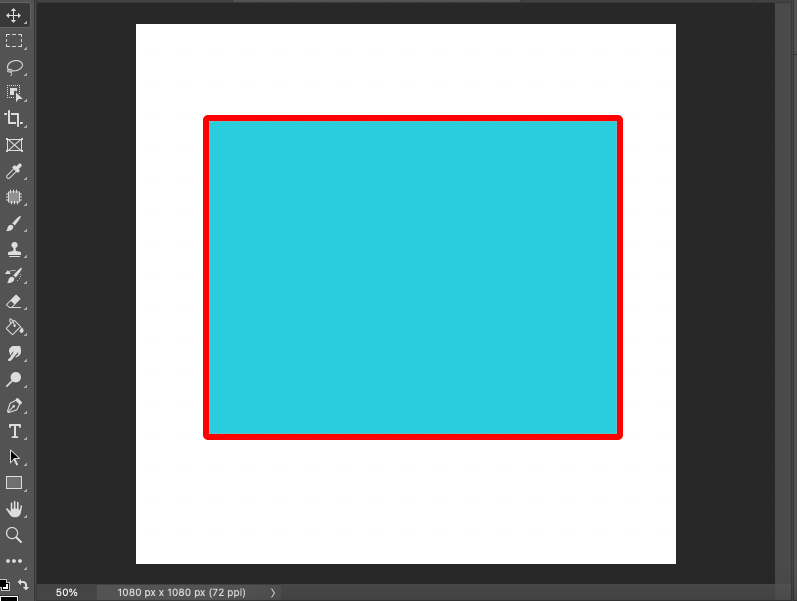
Drag your cursor across the canvas, and the rectangle will appear.
Release the cursor when your rectangle is the desired size.
As you can see in the image below, the rectangle has slightly curved edges. However, as the value is set in pixels, not a percentage, the curve is relatively slight.
If the curve is too small or too large, you won't be able to alter the corners after creating the rectangle.
Instead, it would be best if you redrew the rectangle after changing the value in the options bar.
Do this to achieve the perfect size curve for your rectangle.
Step 3 B – Create a Curve using the Properties Panel
When the Rectangle tool is activated, click on your canvas and drag across the workspace to create a rectangle.
Release when you have reached the correct size.
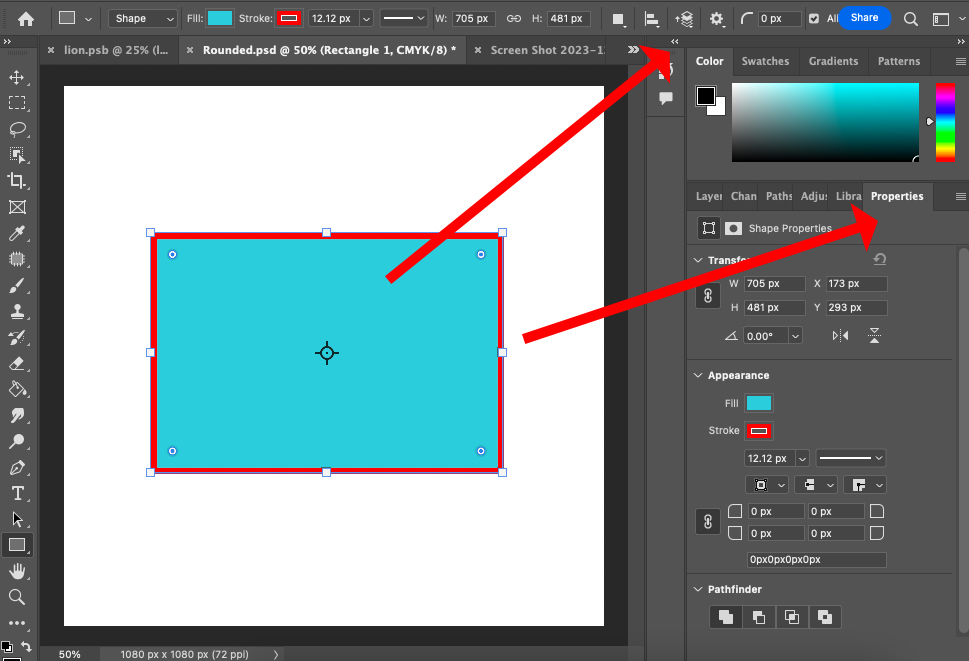
When you've drawn a rectangle, the Rectangle tool's Properties panel will appear.
You will find the Properties panel beside the Layer and Path panels to the right of your canvas workspace.
Alternatively, you can access it by clicking on the two arrows in your canvas's top right-hand corner.
The Properties panel will only appear once a rectangle has been drawn. So, make sure to create a rectangle before you look for it.
Once you've created a rectangle, you can change all the shape's properties using the Properties panel.
This includes the rectangle fill, stroke, and size. Simply alter the fill color, and the rectangle in your workspace will be adapted to suit.
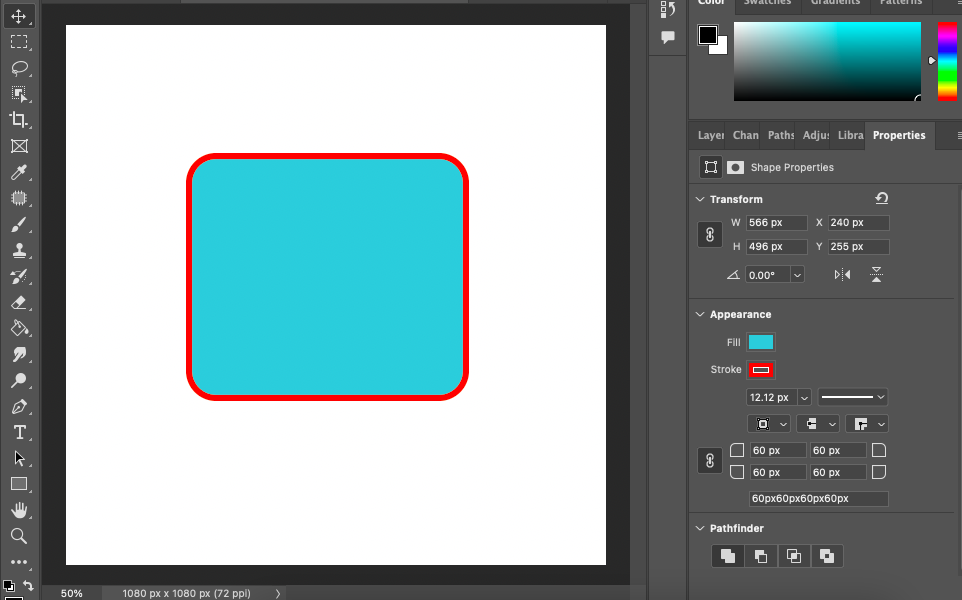
To add a curve to the rectangle, enter a value in the corner value box in the Appearance section of the Properties panel, as shown below.
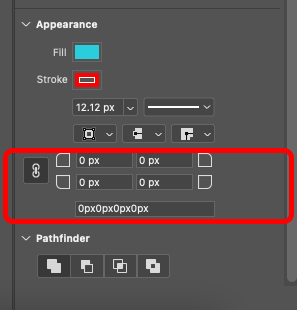
By default, the value will be set to 0 px; therefore, there will be no evident curve.
When the lock icon beside the four curve values is activated, it indicates that all the corners will be given the same curve value.
In the example below, the value of 60 px was entered for the first curve. As the lock was activated, it was applied to all the rectangle's curves.
To enter different values for each curve, click the lock icon to unlock the curves.
Now, enter the new values for each curve. When the value is entered, it will immediately affect the curve of the rectangle in your canvas.
As you can see in the example below, the first curve has a new value entered that is larger than the other three curves.

Using the Rectangle tool's Properties panel is preferable to using the tool's options bar.
The option to adapt the rectangle rather than recreate it makes it easier to achieve the perfect design.
How to Add a Curve to Other Shapes
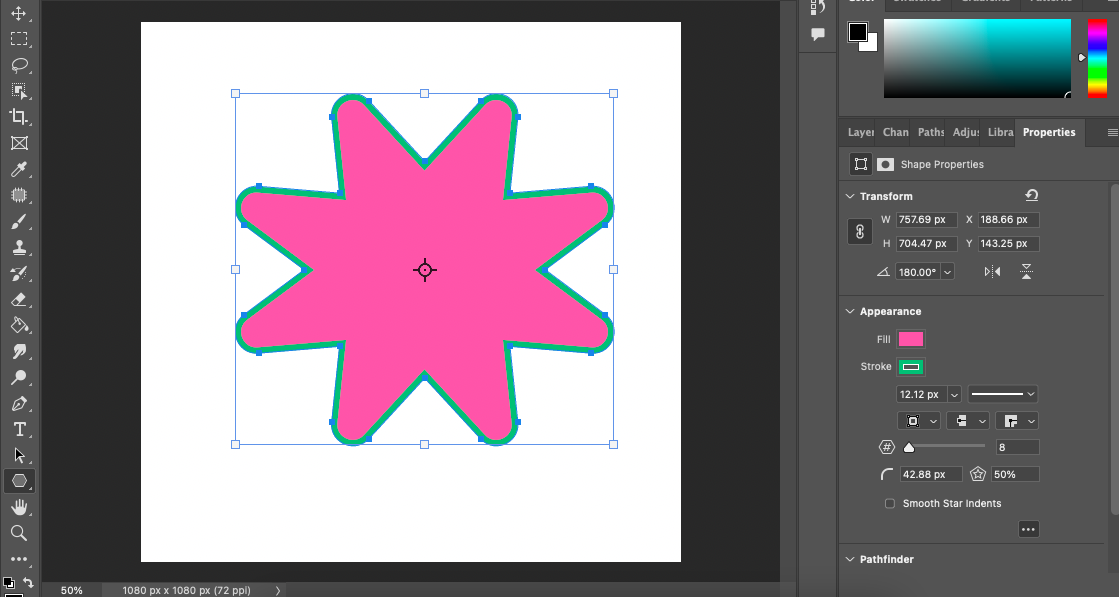
You can use either of the techniques above to curve the corners when using the Triangle or Polygon tool.
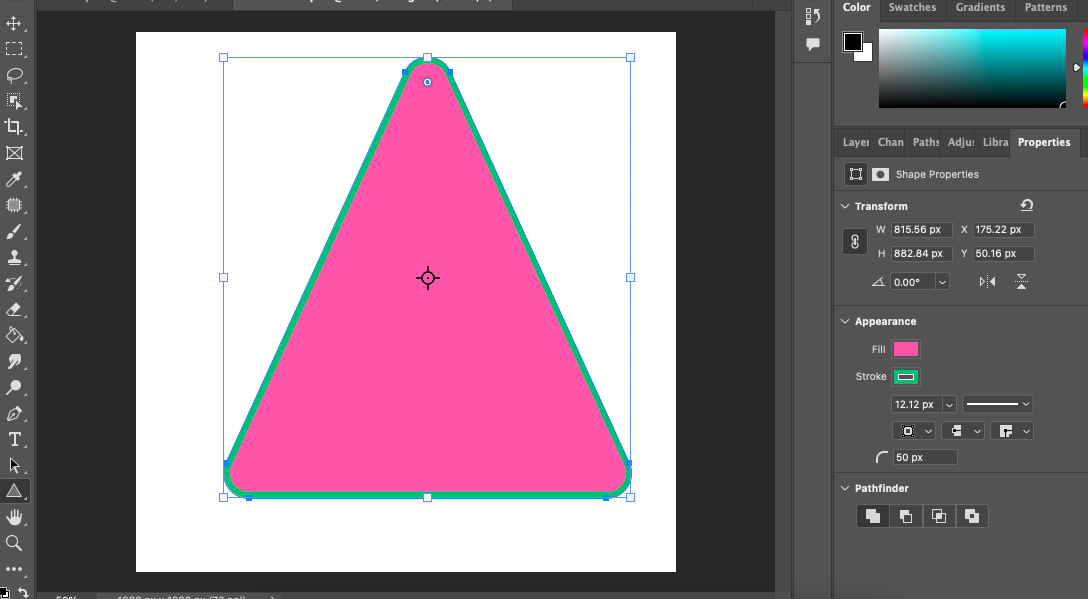
However, neither of these tools will allow you to enter different values for each corner. Each curve will have to have the same size.
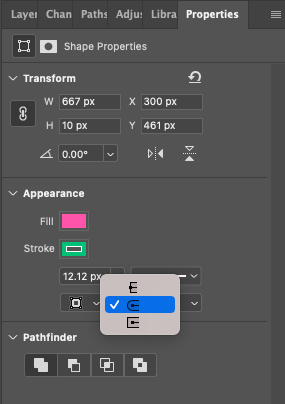
As lines don't have corners, the Line tool doesn't allow curved corners. However, it does give the option to curve the line's ends.
To curve the end of a line using the Line tool, open the Line tool's Properties panel and click on the curve line icon at the bottom of the Appearance box.
A drop-down box will open.
Click the second option, the curve, and a curve will be applied to your line.
Not all the shape tools have the option to create curved corners. For example, the Circle, Eclipse, and Custom Shape tools do not have the option to round corners.
However, you can certainly play around with rounding the corners on squares, rectangles, and other applicable shapes.
Knowing how to round corners and adapt shapes in Photoshop is incredibly useful when creating logos.
Have fun using these techniques and creating unique designs for your clients!
How to Round the Corners of an Image
Rounding the edges of a photograph is an effective technique to generate an image with a softer look.
This makes it a great technique to have up your sleeve when creating photography albums of couples, babies, or children.
To round the corners of a photo, we'll incorporate the Rectangle tool, but this time, we'll use it in path mode.
After creating an active selection, we're going to add a layer mask to remove the corners non-destructively.
Let's get started.
Step 1 – Open the Image in Photoshop
Head to the top menu bar and click File > Open.
Then, locate the file and click on it to open it.
Step 2 – Unlock the Image
To round the corners of an image, it first needs to be unlocked.
In the Layers panel, check if there's an icon in the bottom right-hand corner of the image.
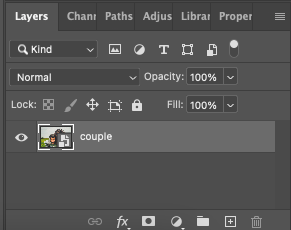
This indicates that the image is a smart object and uneditable.
To round the image's corners, we will need to convert it into an editable file. Double-click the image’s layer icon in the Layers panel to do this.
It's also possible that the image is locked. If there's a lock symbol beside the layer in the Layers panel, it is locked, as you can see in the image below.
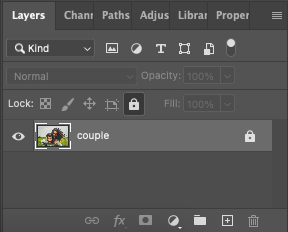
Click the lock icon beside the layer to unlock it. Unlocking the image will allow you to edit it.
Step 3 – Select the Rectangle Tool
Select the Rectangle tool from the toolbar, or hit U for the keyboard shortcut.

The Rectangle tool’s options tab will open above the canvas.
Change the Rectangle tool’s mode from Shape to Path in the options tab.

Step 4 – Create a Path
We will now create the path of the curved corner border.
Drag your cursor across the canvas workspace to create the borders of the photo frame.
A blue frame indicating the path will surround the photo.

Don’t stress if the borders aren’t in the perfect position. You can alter it later.
Release your cursor once you have the correct size for the frame’s border.
You can now adjust the path size by hovering your cursor over the path until an arrow appears.
Once the arrow appears, click and drag the frame into place.
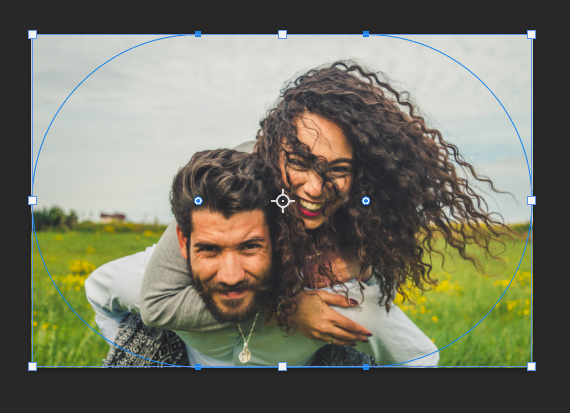
When the border is in the correct position, you will now be able to curve the corners.
Each corner of the path frame will have a blue and white dot.
Hover your cursor over any of the four dots until an arrow and curve icon appears.
Now, click on the canvas and drag the dot inwards. As you drag, the blue path line will split, creating a curved line in each corner.

Drag the dot until you have achieved the correct curve size.
Alternatively, if you have the exact measurements for the curve, you can enter the value in the curve value box.
You will find the curve value box at the bottom of the Appearance box in the Rectangle tool’s Properties panel.

Enter a value for the curve and hit Enter on your keyboard. The corner curves will be created.
Step 5 – Create the Active Selection
Now that the curve has been created, we can change the path into an active selection.
To do this, open the Paths panel.
In the Paths panel, a work path will have been created for the path.

Click the ‘Load path as the selection' button, the dotted circle icon at the bottom of the Paths panel.
Once clicked, the path will be changed into an active selection.
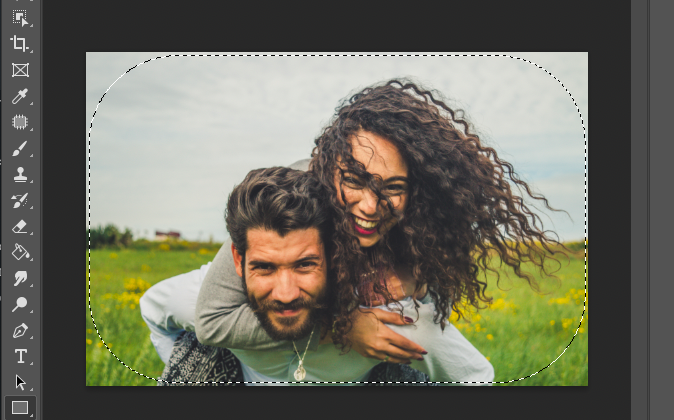
In your canvas workspace, you will see the blue border has changed into marching ants, the active selection.
Step 6 – Create a Layer Mask
To create the border with rounded corners, we use a Layer Mask.
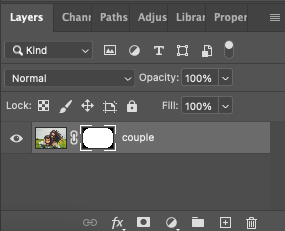
Open the Layers panel and click the Layer Mask button – the rectangle icon with a circle inside.
You can also create a Layer Mask by heading to the top menu, clicking Layer > Layer Mask, and selecting Reveal Selection.

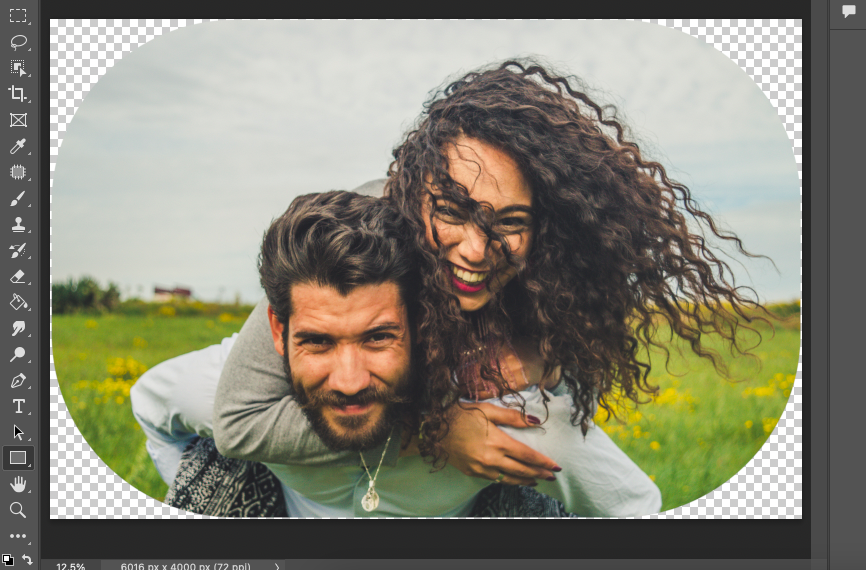
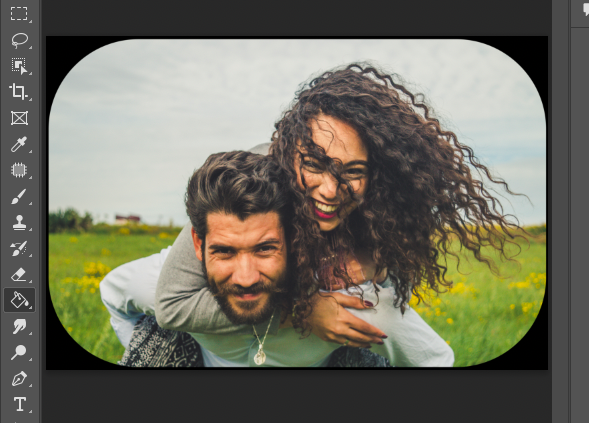
Once clicked, a Layer Mask will be created, and the corners of the image will be rounded.
A layer mask icon will appear beside the layer's icon in the Layers panel.
The Layer Mask gives you editing freedom that permanently cutting away the curved corners will not.
It allows you to alter the borders and excess area later during the editing process.
Using the Layer Mask, you can feather the edges or alter the opacity of the excess image.
To do this, click on the Properties panel.
The Properties panel will now present the options for editing the Layer Mask, including the Density and the Feather slider.
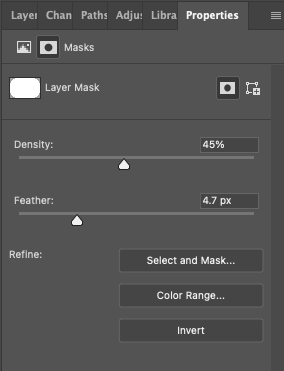
Move the Density slider to the left or right to alter the opacity of the cut area.
As you can see in the image below, decreasing the Density from 100% to 45% creates a transparent look.
Step 7 – Create a New Background Layer
Once the photograph has been clipped, we need to create a background or border for the photo.
There are different methods to achieve this.
However, because we have created a semi-transparent border for this tutorial, we will create a new background layer.
To create a new background layer, click the Add New Layer button at the bottom of the Layers panel.
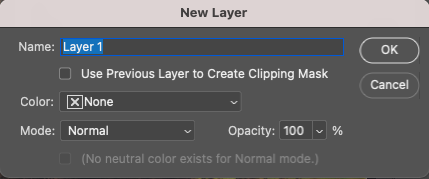
Alternatively, head to the main menu and select Layer > New.
The New Layer dialogue window will open. You can enter a name for the new layer, such as ‘Background'.
When the layer appears in the Layers panel, drag it below the existing layer.

When a new layer is created, it will be transparent, so you can fill it with your choice of color or pattern to create a border.
From the toolbar, select the Paint tool.
In the Color panel, select the color you wish to use as a backdrop or border for your image.
Now, using the Paint tool icon, click on your canvas.
Your background layer will be filled with the color of your choice, and the border for your image will be created.
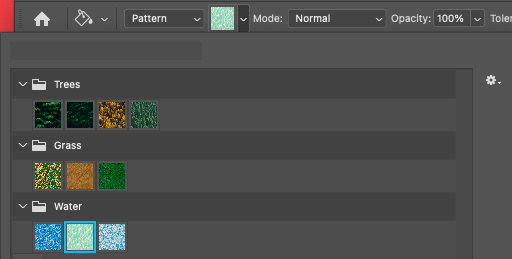
If you want a patterned background instead of a block of color, head to the Paint tool's options tab.
The first option in the options tab allows you to choose between Foreground or Pattern.
Click on the drop-down menu and select Pattern.
To select a Pattern from the Photoshop Pattern library, click on the colored square icon beside Pattern.
A drop-down menu will open, and from here, you can select your choice of pattern.
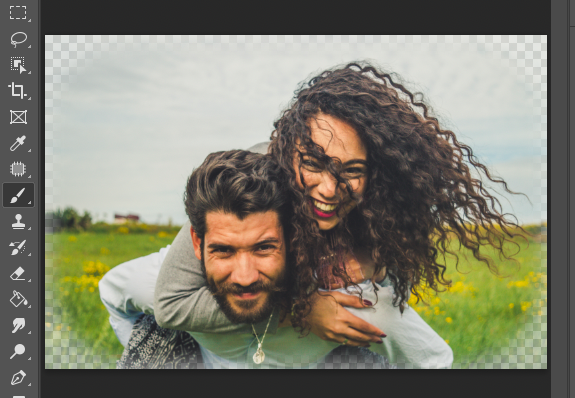
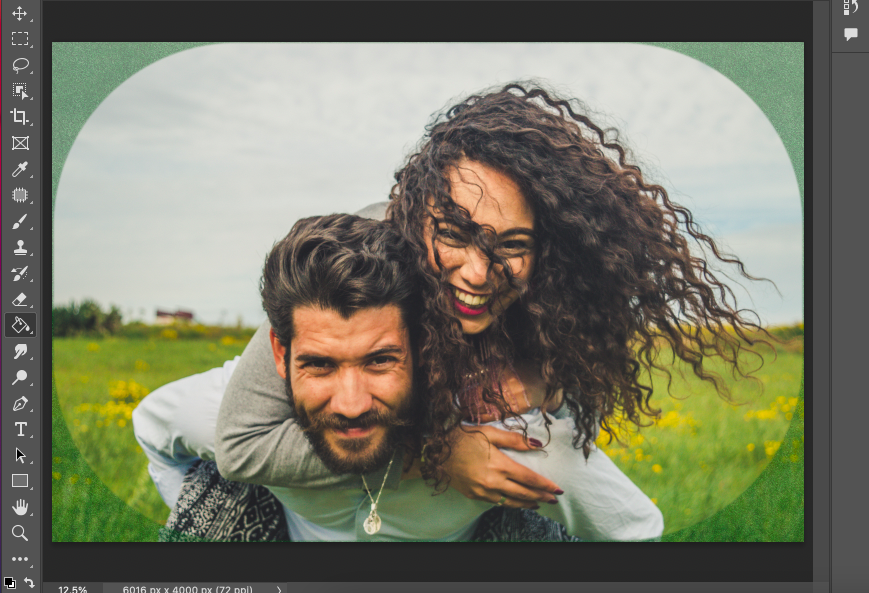
When you have selected a pattern, simply click on your canvas, and Photoshop will fill the empty canvas with the pattern.
As you can see in the image below, the edges are partially transparent, and the Grass Pattern has been used.
Using this method, you can create any style of border.
Step 8 – Save your Image
Now your image has perfectly curved edges, you can save it.
Head to the top menu bar and click File > Save a Copy.
The Save a Copy dialogue window will open.
In the first box beside Save As, enter a name for the image.
Specify the location to which you want it to be saved, and then select the file format in the box beside Format.
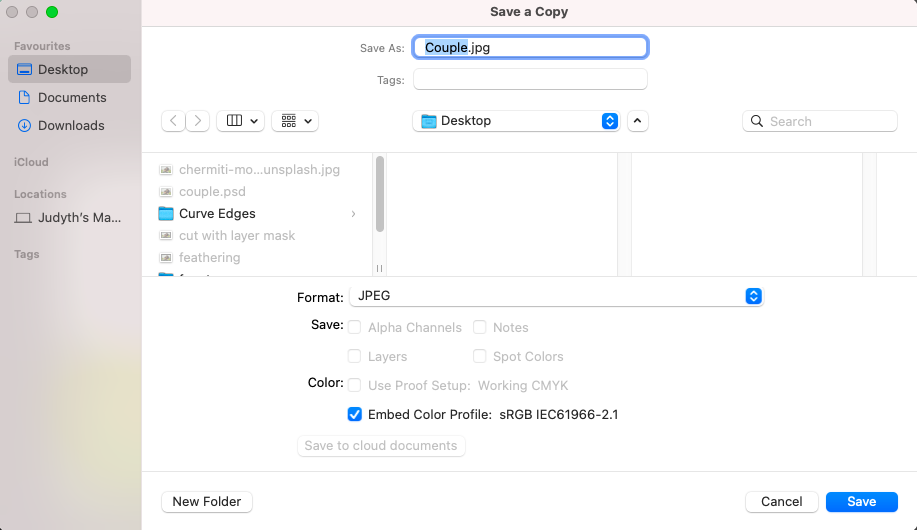
Now click Save in the bottom right-hand corner.
Now, you are equipped with all the techniques you need to curve shapes and photographs in Photoshop.
Have fun creating and editing images and shapes.
If you enjoyed this tutorial, you might also like to check out this one: How To Draw a Curved Arrow in Photoshop (and Save as a Preset).
FAQ
How do I round the corners of a shape in Photoshop?
To round the corners of a vector shape in Photoshop, the quickest option is to use the Shape tool's options tab.
Enter a value for the curve in the options tab beside the curve icon before you create the shape.
How do I curve the edges of a picture?
To curve the edges of a picture, create a path with round corners using the Rectangle tool.
Change the path to a selection in the Path panel, then invert the selection.
When the selection is inverted, cut away the excess borders. The picture will now have curved edges.
Is there a rounded rectangle tool in Photoshop?
There is not a specific Rounded Rectangle tool in Photoshop.
However, the Rectangle tool's properties can be altered to create rounded rectangles.
👋 WELCOME TO SHOTKIT!
🔥 Popular NOW:
