


How to Change Color of Logo in Photoshop (Three Ways)
Unlock the steps to effortlessly modify your logo's color in Photoshop, enhancing brand versatility and design aesthetics.
Photoshop | Software | By Judyth Satyn
Shotkit may earn a commission on affiliate links. Learn more.
Want to know how to change the color of a logo in Photoshop?
It’s easy and a great way to revamp a company’s image without losing brand recognition.

Download a free copy of Adobe Photoshop to follow along with this simple tutorial.
Read on and learn how to change the entire color of a logo, change a section, or all the colors of a logo.
How to Change the Color of Logo in Photoshop (3 Options)
When you have a business, there might come a time when you need to revamp the business’s image.
Colors come in and out of fashion, and changing the colors of a logo can be advantageous for marketing.
New colors can rekindle interest in an old outdated design by generating a new lease of life.
Companies might want to change their logo’s colors to align their marketing strategies.
There are many reasons why you might want to change the colors of a logo.
So, let’s dive in and see how to do it.
Change the entire color of a logo
This method will show you have to change the entire color of the logo to one color.
Step 1 – Open the Logo
Open the logo in Photoshop.
To change the color of a logo, you will first need to check that the logo file is an editable PNG file.
Logos will often be saved as an SVG file. SVG files can be scaled up or down without affecting the quality of the image.
SVG files are also uneditable to protect the file from accidental unwanted edits.
So that you can edit the logo, we will change the SVG to a PNG file.
To do this, open the SVG file in Photoshop. Once opened, select File> Export > Export As.
![]()
In the Export As dialog box, select PNG from the Format drop-down menu.
Then, hit the blue Export button at the bottom of the dialog box.
Save the log PNG file to your desktop and open it again in Photoshop. It will now be an editable PNG file.
Step 2 – Delete the Background
The first step to changing the entire color of the logo is to remove the background.
Otherwise, you will also change the color of the background.
To do this, select the Magic Eraser tool from the toolbar to the left of your workspace.
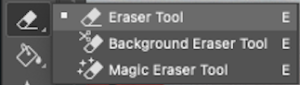
The Magic Eraser tool options bar will open above your workspace when the tool is active.
![]()
Enter a value inside the Magic Eraser tool’s Tolerance box. I have entered a value of 20.
Tick the box beside Anti-Alias and untick the box beside Contagious.
Click the Magic Eraser tool on the logo’s background to remove it.
To remove the background from an uncomplicated shape you might only need to click once.
If the logo is intricate you will have to click inside the logo and its text to remove the entire background.
![]()
Your logo will now sit on a transparent background.
Step 3 – Create a Color Overlay
We will use a Color Overlay using a Layer Style to change the color of the entire logo.
This will add a colored layer over the original logo but leave the background unaffected.
Head to Layer> Layer Style > Color Overlay.

Or, double-click the Layer thumbnail in the Layers Panel to open the Layer Style dialogue box.
Then select Color Overlay from the Layer Style options in the left side panel.
Select the new logo color from the Color Overlay options panel.
The original logo Layer will remain untouched beneath the Color Overlay Effect.
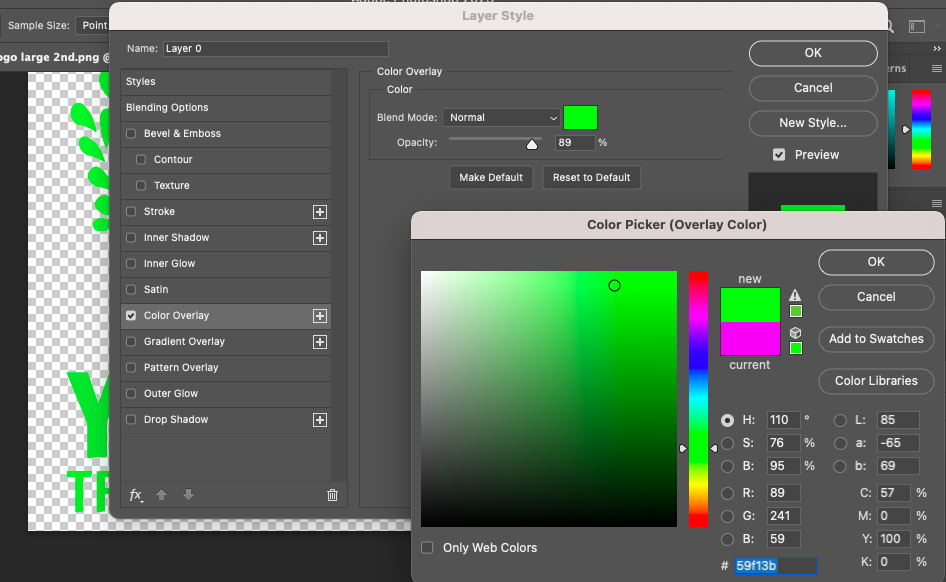
To do this click the colored square beside Blend Mode.
This will open the Color Picker dialog box.
Select the exact logo color you want to set as your new logo color and click OK in the top right-hand corner of the box.
In the box beside Blend Mode, select Normal.
Set the Opacity to 100% and then click OK.
![]()
A Color Overlay Effect will be added to the logo’s Layer in the Layers Panel.
You can remove or hide this at any time while you are editing.
The original logo Layer will remain untouched beneath the Color Overlay Effect.
![]()
Now, the entire color of your logo will be visually altered, covered by your chosen color.
Step 4 – Save the Logo
Save the logo both as a PSD editable and SVG uneditable file.
To save as a PSD head to File > Save As and in the pop-up window beside Format, select Photoshop.
To save as an SVG select File> Export > Export As, and in the drop-down menu beside Format, select SVG.
Select the location for the file and click the blue Save button.
Check out this tutorial to learn how to change background colors.
How to Change a Section of a Logo Color
Sometimes, you don’t want to change the entire color of a logo.
Maybe the font’s color is not exactly the color you want anymore. Perhaps you want to change the font’s color to match the new business fleet of cars.
Well lucky for you, you don’t have to change all of the logo’s colors.
We’ll show you how to change only a section of the logo.
Step 1 – Open Logo and its Remove Background
Open the logo file as a PNG in Photoshop and remove its background (follow steps 1 and 2 above).
Step 2 – Create a Layer Mask
To change only a portion of the logo, first create a layer Mask.
At the bottom of the Layers Panel, click the Layer Mask icon, a rectangle with a circle inside.
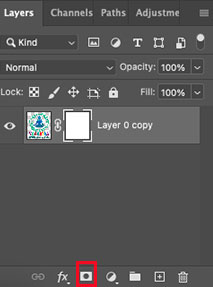
Alternatively, select Layer> Layer Mask > Reveal All at the top menu bar.
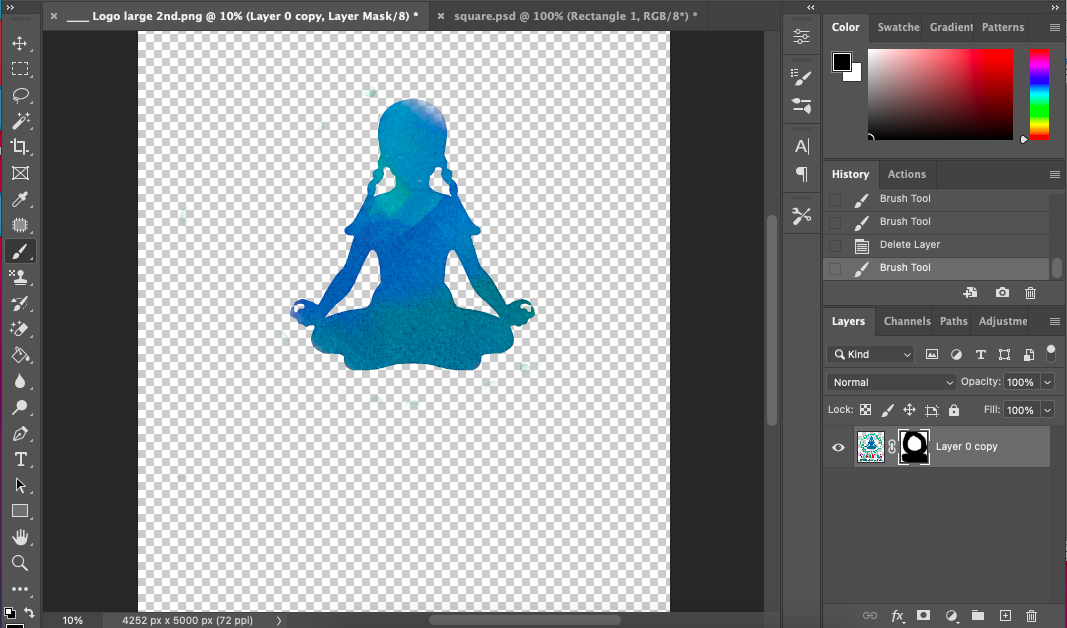
Once the Layer Mask is activated, select the Brush tool from the toolbar.
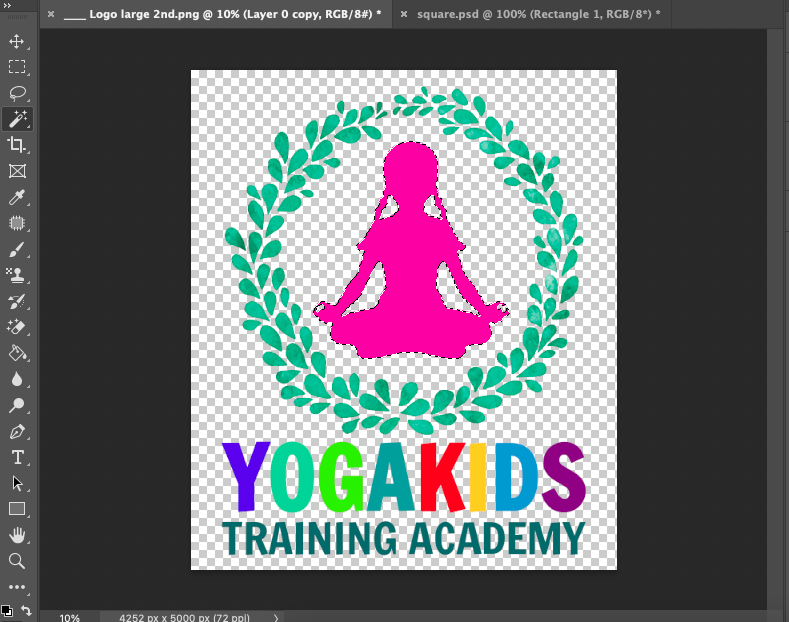
Set the Brush tool to black to hide the areas of the logo you do not want to alter.
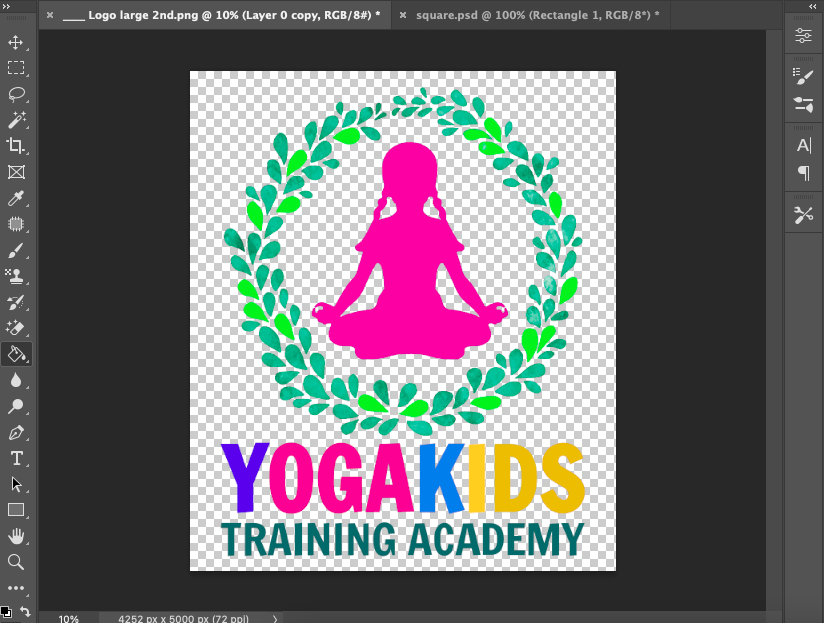
All the logo areas are protected in the window below except the girl’s silhouette.
Step 3 – Paint the Logo
When you have hidden all the areas of the logo that you do not wish to color.
Select the Brush tool from the toolbar.
For more information on the Brush tool, check out how to change the size of the Brush tool.
When the Brush tool is active, head to the Color Panel and select the color you wish to set as the new logo color.
Now, brush over the canvas workspace and color the unmasked section of the logo.

Once the unmasked logo section is colored, you can delete the Layer Mask from the Layers Panel.
Doing this will uncover the unaltered sections of the logo. It will also make the color edit permanent.
Hold the Layer Mask icon and drag it down to the trash icon at the bottom of the Layers Panel.
When the Layer Mask is deleted, the hidden uncolored areas of the logo will be revealed.

Step 4 – Save the Logo
Save the logo as a PSD editable and SVG uneditable file (follow step 4 above).
Select the location for the file and click the blue Save button.
How to Change All Colors of a Logo
You’ve decided to go wild and want to change all the colors of the logo to something different.
And hey, why not? Variety is the spice of life.
Let’s check how to do this.
Step 1 – Open the Logo and Remove its Background
Open the logo file as a PNG in Photoshop and remove its background (follow steps 1 and 2 above).
Step 2 – Duplicate the Logo Layer
Duplicate the logo layer by dragging it down onto the Add Layer icon at the bottom of the Layers Panel.
Alternatively, from the top menu bar select Layer> Duplicate Layer
Step 3 – Use the Selection Tool to Create Selections
You can use this method to color just one portion of a logo or all colors.
Choose your preferred Selection tool.
Each Adobe Photoshop Selection tool suits specific jobs. So select the one best suited to the shape you need to make for your logo selection.
For this job, I will use the Magic Wand tool.
In the Magic Wand tool options bar, I have set the Tolerance value of the Magic Wand to 100.
Mode is set to Normal, Opacity to 100%, and Anti-Alias is ticked.
Using the Magic Wand tool, click on areas of the logo to select each part.
To add or subtract areas of the selection head to the Magic Wand tool options bar. Here click on the plus or minus square icons.
The second icon, the two colored squares, will add extra selection areas.
The third icon will subtract areas of the selection. The third icon is two squares one transparent and one colored.

Step 4 – Color the Logo
When you create each new selection, select the Brush tool from the toolbar. Paint your chosen color over the selection.
Only the inside area of the selection will be colored.
Continue to color the logo by alternating between the two tools. The Magic Wand tool to select areas and the Brush tool to paint the selected areas.
When the coloring of the logo is complete, save it.
Step 4 – Save the Logo
Save the logo both as a PSD editable and SVG uneditable file.
Select the location for the logo file and click Save.
Now you know how to edit logo colors, have fun altering them.
Want to learn more? Here’s a tutorial on how to change an object’s color in Photoshop.
FAQ
How do I change the colors of a logo?
To change the colors of a logo, you can use Photoshop.
Photoshop is a powerful image editing tool and can be used to edit and change the colors of logos.
How do I change the colors of a PNG logo in Photoshop?
Using Photoshop, it is easy to change the colors of a logo that has been saved as a PNG file.
To change the logo’s colors, select the color you wish to change using a Selection tool.
Once the selection is created, use the Brush or Paint Bucket tool to apply the color to the selected area.
Can you recolor a logo?
You most definitely can recolor a logo, and you can have fun doing it.
When a logo is an uneditable file you will need to open it in Photoshop to save it as an editable file. Like a PNG.
If you don’t do this you will not be able to change it.
To do this select File > Export > Export As, and in the Export As dialogue window, enter PNG beside the Format box.

Judyth is an experienced studio photographer and glass artist. When she isn’t Photoshopping comedians into the bellies of sharks, you can find her cooking delicious treats for her guests.

👋 WELCOME TO SHOTKIT!
🔥 Popular NOW:
