


How to Use Focal Points in Your Photography
Discover how to skilfully use focal points in photography to draw attention, enhance composition, and create compelling images that resonate with viewers.
Learn | By Ana Mireles
Shotkit may earn a commission on affiliate links. Learn more.
Did you know that using focal points in your photography helps you create more powerful images? It can also make you a better storyteller.
Are you intrigued? In this article, I'll explain what are focal points and I'll show you how to use them in an effective way.
I'll also talk about the most common mistakes regarding the focal point and how you can avoid them.
If you're ready to take your photography to the next level, keep on reading!
What is a Focal Point?
The focal point in photography refers to the main subject of the image. This is not different from the term focal point in other contexts such as the fireplace being the focal point of a living room. It may be used in a larger context too, like the cathedral being the focal point of a main square.
In other words, it's the primary subject that will draw the viewer's attention.
It's important to remember this definition because in photography you can also hear about the focus point and you shouldn't confuse both terms. The focus points refer to where the camera sets the focal plane to have the sharpest part of the image.
Usually, the focus point is placed on the image's focal point. This is because you want the main element of your photo to be the sharpest one too.
What is the focal point important in photography composition?
The focal point should immediately draw the attention of the viewer. That's why it's important to choose an interesting subject. Otherwise, the viewer is not going to stop and look at your photograph.
Also, it's the most important part of storytelling in photography. A strong focal point makes the rest of the image revolve around it.
Using this main point as the pillar of the story, you can decide how to compose your image, which elements should be included, how to light it, etc.
How to Use Focal Points in Photography
There are different ways to choose and enhance the focal point in photography. Here are some techniques to help you out.
Identifying Natural Focal Points

Credit: Nuno Obey
The first thing you need to do is identify a prominent focal point. Very often this is easy to do – it's what draws you to take that photograph in the first place.
The human eye is naturally drawn to certain elements. Just to give you some examples, consider a headshot where the eyes are the obvious focal point or a red stop sign drawing attention to a street shot.
However, the focal point isn't always so clear, and it's up to you to decide where you want to direct the viewer's eye. Think about a busy market – do you want to highlight a specific product? Maybe you want to focus on a client-seller transaction?
There are too many options. If you don't draw attention to a specific focal point, the viewer's eye will wander aimlessly, and they will lose interest very quickly.
Using Camera Settings to Emphasize Focal Points

Credit: Andrea Piacquadio
A great technique to emphasize a focal point is by using selective focus. This is when the main focal point is sharp, and the rest of the image is blurred.
You can achieve this effect by creating a narrow depth of field using a wide aperture. Remember that the focal length and the distance to the subject also help you to get a shallow depth of field. You can use a DOF calculator to find the best combination.
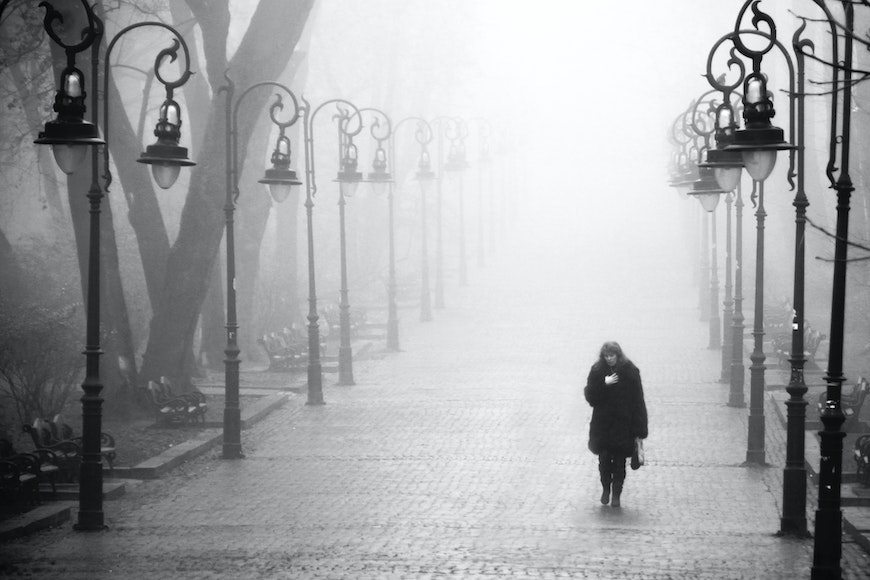
The use of shutter speed is another way to emphasize the main subject. How can you draw attention to a person standing on a busy street? You can use a slow shutter speed and have them stay still. This way, the bustling crowds will blur in the background.
Another way to use the shutter speed for focal point photography is by panning. Think about a sports competition – you can follow the subject with an open shutter. This way, the public in the background appears blurry, and the subject stands out sharp. The motion blur also conveys speed which helps to tell the story.
Take advantage of composition rules

Credit: Lumn
The main goal of composition in photography is to frame and organize the elements in such a way that you build a strong image.
For example, large objects have a high visual weight, but how do you draw the viewer's eyes to small subjects? You can use negative space or leading lines.
You can also use gird lines such as the rule of thirds or the golden grid and place the subject where the lines intersect.
There are many composition guidelines to help you out such as the use of contrasting colors or choosing an odd number when forming a group of elements.
Layering Multiple Focal Points

Credit: Julia M Cameron
Sometimes you face situations in which there are multiple focal points in photography. This may happen when you're doing group portraits. Another example would be if you have a main subject looking at a second subject or a situation that's needed for context.
When this happens, you need to choose which are the primary elements and which ones come second. You need to balance those primary and secondary focal points.
It's important that you use techniques to avoid confusion or make the image look cluttered. You can use composition or technical skills to show how focal points interact.
Using Lighting to Highlight Focal Points

Credit: Eneida Nieves
Light is another important tool in focal point photography. You can have the subject in highlights against a background that's darker. You can also use a directional light or a rim light to separate it from the backdrop.
Shadows are also useful. They can work as negative space or create a frame within the frame, etc. The limit is your own creativity.
Manipulating Focus in Post-Processing
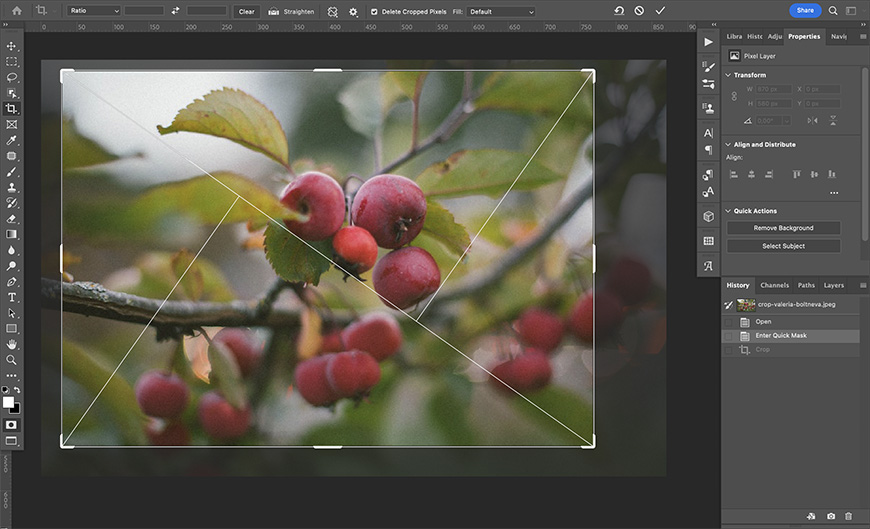
Credit: Valeria Boltneva
If you didn't get a great focal point in-camera, there are a few things you can do in post-processing to enhance it.
For example, you can crop the image to have a better photography composition. In fact, most editing programs have composition overlays to help with this task.
You can also fake a narrow depth of field by adding blur in post-production or a vignette. It's also possible to add light contrast or color contrast.
Focal Point Photography: Common Mistakes + How to Avoid Them
Now that you know what to do, it's also important to know what to avoid and how to correct any mistakes in your final image.
Overemphasizing the Focal Point
While it's important to choose an interesting focal point and enhance it, you also don't want to make your photo too obvious.
The idea is that you use your photography skills to make the image interesting and engaging. If you don't give the viewers enough space to wonder or to connect – you'll lose them.
You need to find the right balance between guiding the viewer and not revealing everything immediately. You need to highlight one element and let the others support it. Hierarchy is important in focal point photography.
Misplacing the Focal Point
I've already discussed the importance of composition in highlighting a focal point. I've also mentioned how you can improve the composition in post-production.
Here's where one of the most common mistakes happens. Many people rely too much on the editing process. If you don't place the focal point in the best possible way – yes, you can later crop your image and re-compose. However, this means that you're losing pixels.
Another common error is to stick with the rule of thirds. Yes, it's a good composition guideline, but there are many others that might fit better for the effect you want to make.
Missing Focus
It's very common to miss the focus of a photograph. For example, taking a portrait where the focus point is on the nose – which may result in blurry eyes.
It's important to understand when to use manual focus and when it's better to switch to autofocus. There are also many autofocus modes. Learn how to make the best use of the focus points of your camera to make sure the focal point is tack sharp.
Focal Point Examples in Different Genres of Photography
Here are some more examples of how to use focal points in photography for your inspiration.
Focal Point Example in Portraiture
Eyes

Credit: Jenna Hamra
Expressions and emotions

Credit: Anna Shvets
Framing

Credit: Kranthi Kubes

Credit: Andrea Piacquadio
Focal Point Example in Landscape Photography
Landmark

Credit: Pixabay
Horizon
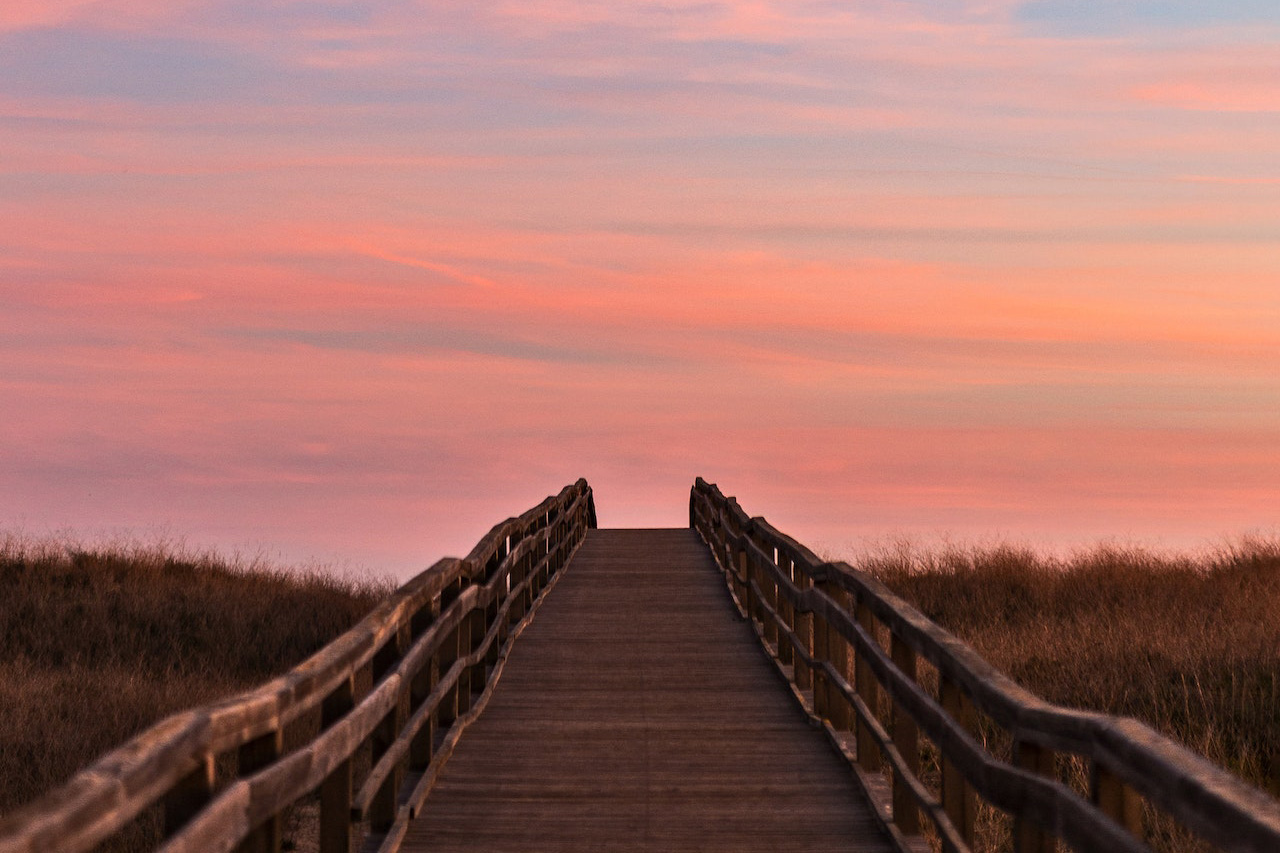
Similar focal points with horizontal lines | Credit: Annam W
Natural elements

Credit: Pixabay
Multiple planes

Two similar focal points | Credit: Ezra Comeau
Focal Point Example in Street Photography
Shutter Speed

Credit: Kaique Rocha
Contrast
Credit: Alexander Zvir
Candid moments

Credit: Ksenia Chernaya
Urban elements
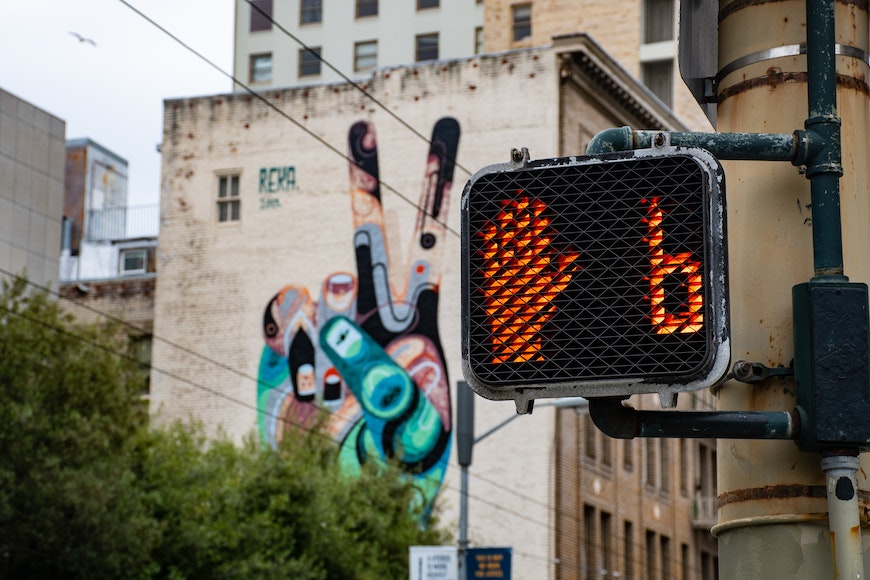
Credit: Brett Sayles
Focal Point Example in Macro Photography
Precision
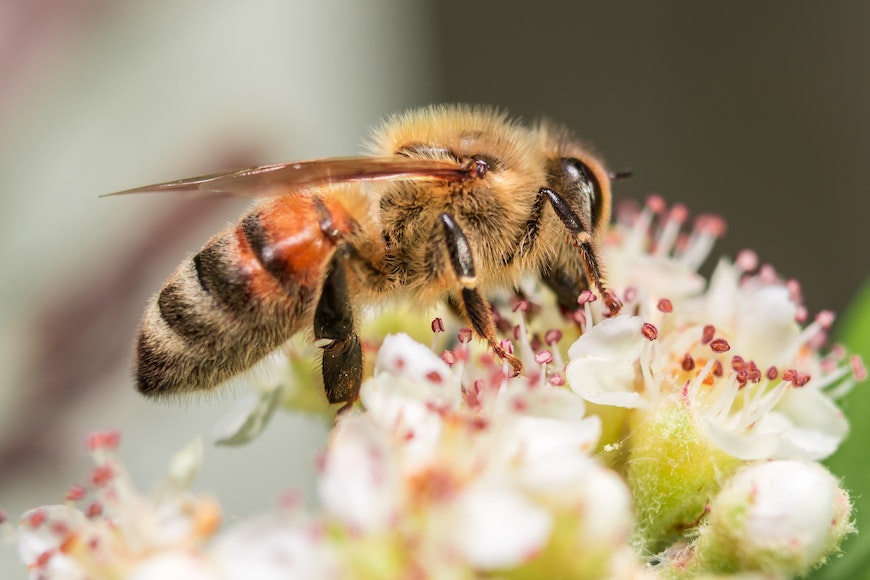
Credit: Suraj Mali
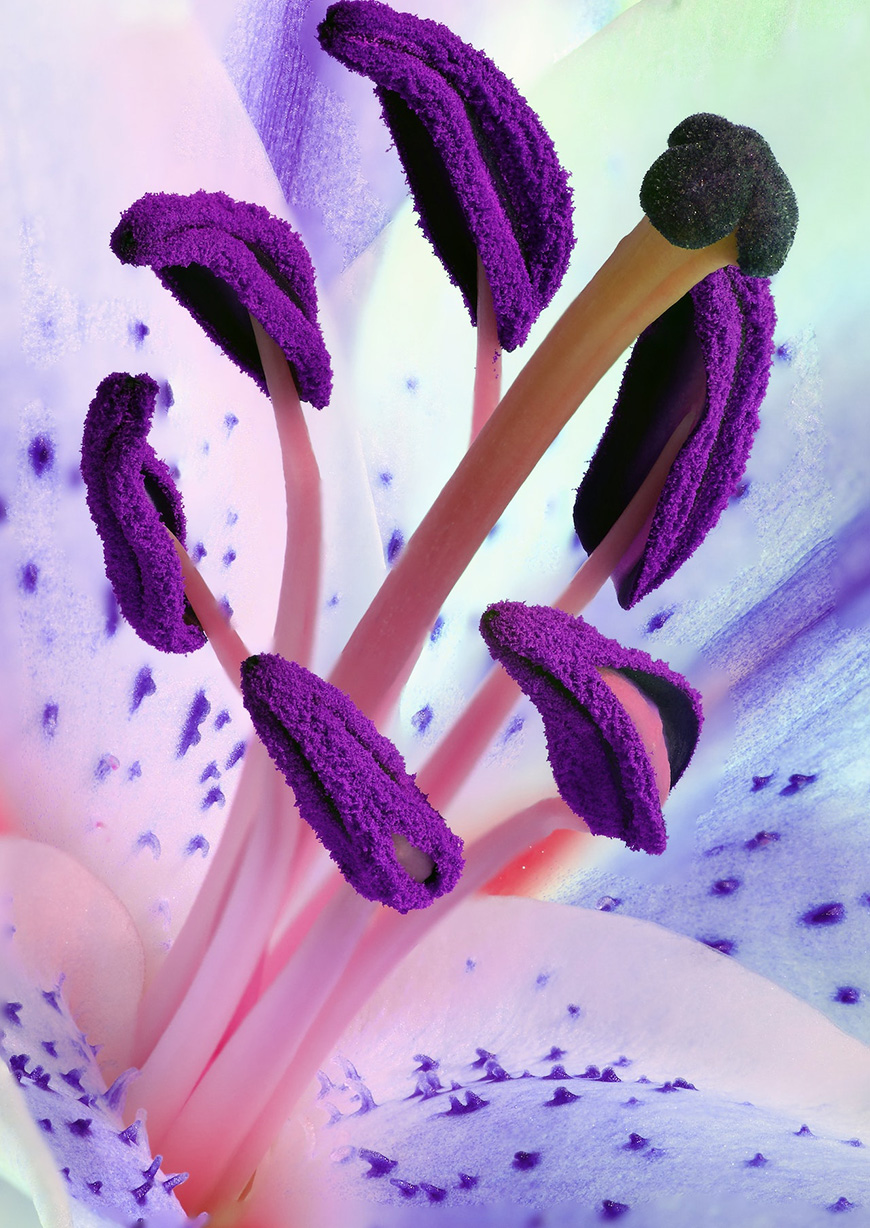
Texture

Credit: Skylar Kang
Details
Credit: Anthony
Focal Point Example in Wedding Photography
Close-ups
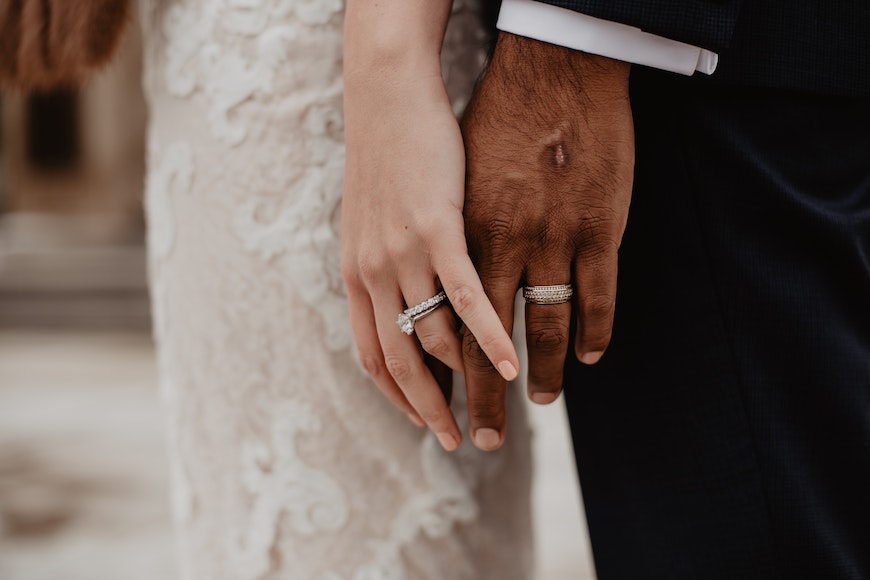
Credit: Emma Bauso
Depth of field

Credit: Wallace Araujo
Light contrast

Credit: Jonathan Borba
Negative Space

Credit: Evgeny Kochurov
Focal Point Example in Art
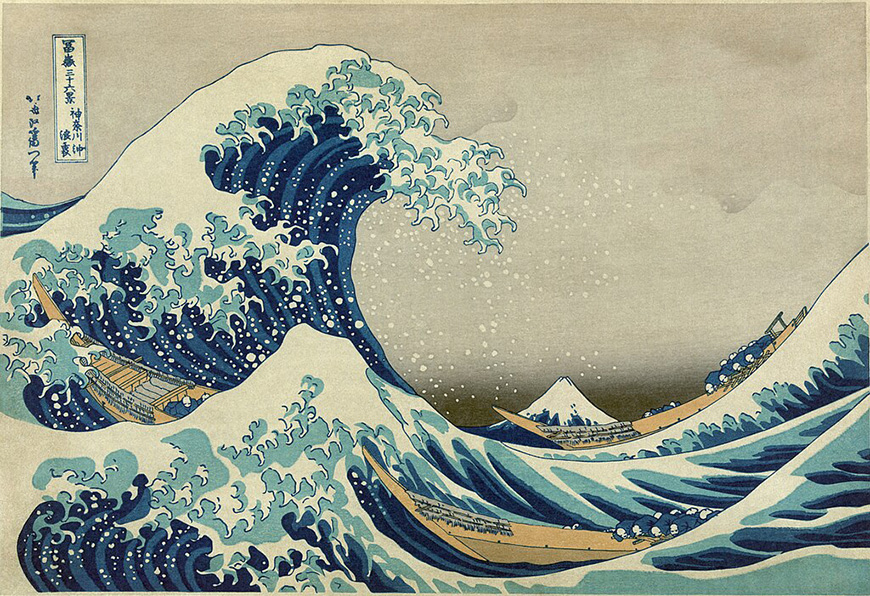
The Great Wave at Kanagawa, Hokusai, Public domain, via Wikimedia Commons
You can see the golden spiral composition in the design of the wave to guide the eye.
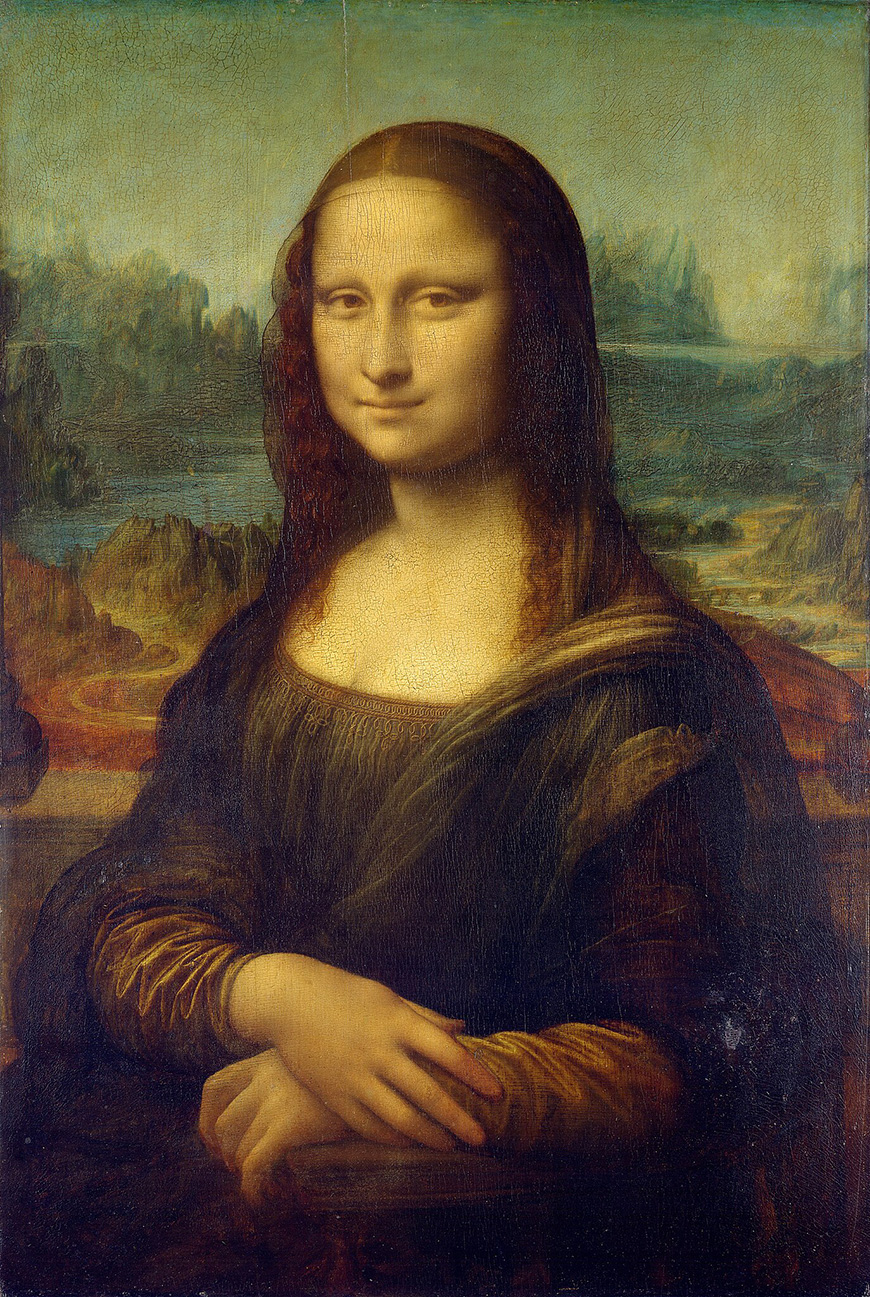
Mona Lisa, Leonardo da Vinci, Public domain, via Wikimedia Commons
The eyes and the smile of the Mona Lisa have intrigued millions of viewers throughout the centuries. They're clearly the focal point of the painting.

Check out these 8 essential tools to help you succeed as a professional photographer.
Includes limited-time discounts.

Ana Mireles is a Mexican researcher that specializes in photography and communications for the arts and culture sector.
👋 WELCOME TO SHOTKIT!
🔥 Popular NOW:
