


9 GoPro Timelapse Tips To Get That Magic Shot
Master the art of GoPro timelapse photography with these top tips, ensuring you capture those magical moments flawlessly every time.
Shotkit may earn a commission on affiliate links. Learn more.
If you're a fan of timelapse photography and own a GoPro, shooting timelapses on your GoPro is the next logical step!
However, you need more than just the correct GoPro video settings to capture awe-inspiring pictures and videos.
You need an understanding of composition, environment awareness, and a touch of creativity!
This is what I hope to inspire through this guide!
We’ll go together through various tips, mixing between the technical side and a more creative one that’ll leave your viewers in awe.
Shooting timelapses on your GoPro is a fun idea, so let's get stuck into the tips.
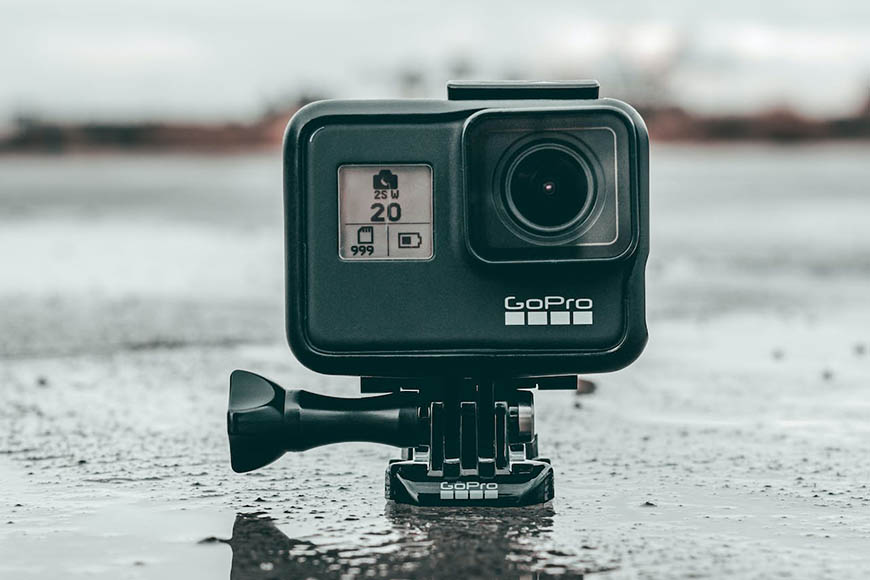
1. Get To Know Your GoPro Model and Its Intricacies
So, you’ve got yourself a beautiful GoPro and want to see it in action. First, you need to ensure it’s the HERO4 model or newer.
These are the only GoPro models with the time-lapse option. After learning the type, it’s time to look for the unique features that make your camera stand out.
For instance, the HERO4 cameras could provide amazing low-light images with excellent quality.
The HERO5, on the other hand, offered better shooting options, like raw photos and wide dynamic range capture. Knowing your model can help you utilize it to the best of its abilities.
Another thing you need to watch out for is firmware updates. GoPro often releases updates that resolve bugs, enhance performances, or introduce new features.
Keeping your camera updated ensures that everything runs smoothly and beautifully!
2. Pick the Right Intervals for Time Lapse
The intervals you pick are where the magic of time-lapse happens. In simpler terms, the intervals are the time gaps between each shot your GoPro takes.
For instance, if you set the intervals for each shot at two seconds, the GoPro will snap a photo every two seconds.
Later, it’ll compile all these images to create a high-quality video with the illusion of sped-up time. The problem with intervals is that you must be mindful of your subject to choose the right timestamps.
If you capture a fast-moving subject, like people moving or rain, short interval time is your friend. These are around 1–2 seconds.
On the other hand, for a sunset or a blooming flower, you can go for longer interval settings. These intervals aren’t just a few seconds but can go anywhere from seconds to a few minutes.
Another thing to think about is the duration of the final time lapse. This can be hard to calculate, so having a time lapse calculator do it for you is more manageable. Knowing this information can help you save up on memory cards and battery life!
3. Stability Is Key
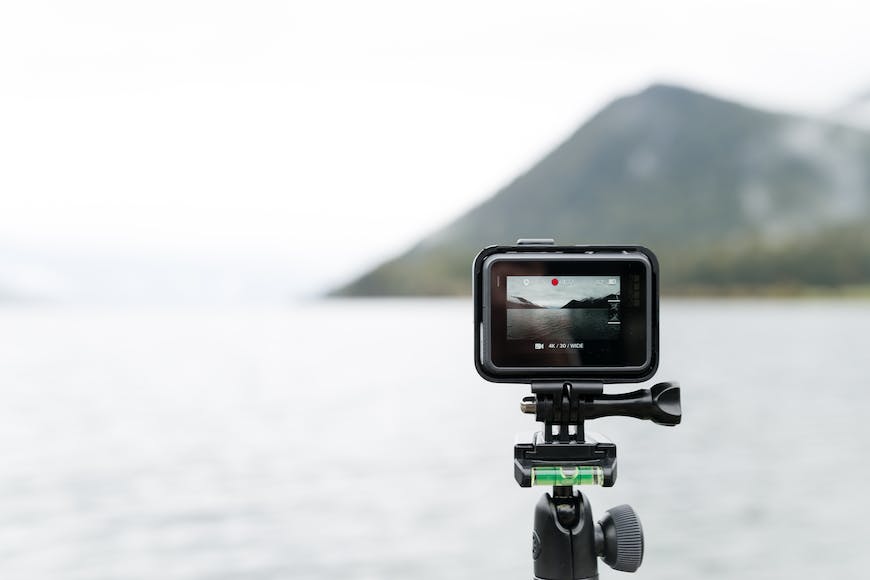
Credit: Gabriela Palai
The main point of a time-lapse is to capture the beauty of time progression through one frame. Nonetheless, what if the frame you’re presenting is blurry images?
Sadly, the tiniest movement in sped-up videos can look like jarring jerks, ruining the whole video.
Plus, the main problem here is that you don’t know what could cause the jerks. It could be an accidental nudge, a gust of wind, or a tiny squirrel that got too curious!
Hence, you’ll need to take precautions from everything. Did you know you can even start the recording using a voice command?
To start, you can use a GoPro-specific mount, like the jaw clamp mount or GorillaPods, that can grip onto almost anything.
If this isn’t enough, you can tie small weights or sandbags to the setup to help anchor the tripod.
Before giving the all-clear, give your camera a gentle nudge. A bit odd, I know! However, this is the best way to test if everything is secure and steady. If the camera wobbles, then adjust and secure further.
4. Scout Your Time Lapse Location
Credit: Frederik Rubensson
Picking your location isn’t just about choosing a beautiful spot; it’s about using that spot to your advantage.
For instance, do you know what this spot looks like at dawn, noon, and sunset? Photographers often praise the golden hours after sunrise or sunset, but what if it looks different where you choose to set up camp?
How do the colors change with each shift in the light conditions? Better yet, how does your subject change with the sun’s movement?
My main tip would be to visit your site in advance, multiple times, and to follow the sun’s path. Certain apps like Sun Surveyor can help you with the sun’s trajectory, so you know the changes are according to what.
Another advice here would be to beware of foot, vehicle, and nature traffic. Each one of those is a double-edged sword. While their hustle and bustle can add to the time-lapse dynamism, it also means there’s a higher chance of something messing it up.
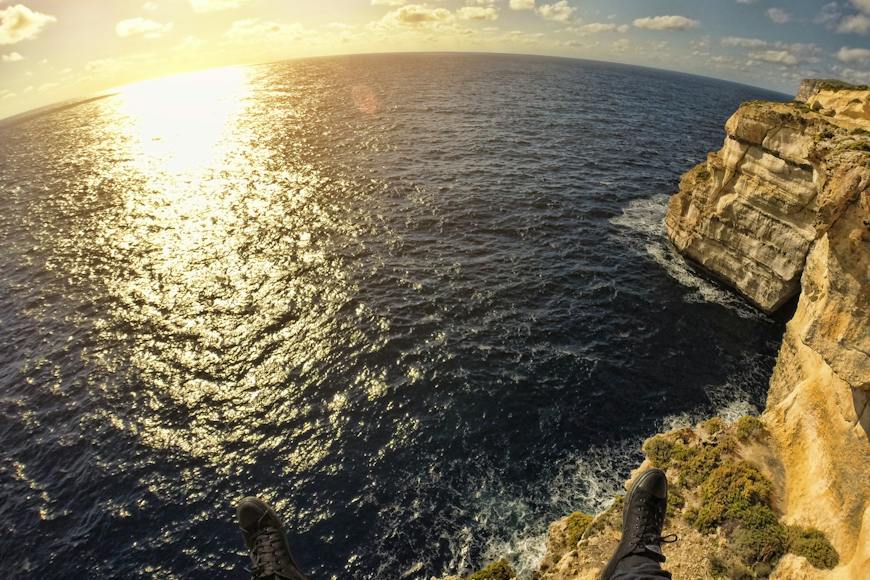
5. Search for Unique Perspectives
Credit: Alan Quirvan
Photographers everywhere took myriad photos of the world from countless angles. What does this mean for you?
Well, it means you need to fish for a new perspective. For instance, take a step back from the traditional eye-level shot.
You can climb up to find a high vantage point or crouch low. These little changes can offer a fresh perspective on something that might’ve been done before.
Another trick here is to use a frame within a frame. This is to say that your camera’s frame isn’t the final composition, and you can create another.
Archways, window panes, leaves, and branches are all natural elements you can frame the shot with.
This way, you can draw the viewer’s attention to whatever you want without ruining the outline. Finally, use a foreground element to add a layering effect to make your shot more dramatic.
6. Keep Your Time Lapse Gear Safe
Whether you’re capturing a serene sunset by the beach or a busy shot with people celebrating, one thing remains a priority: protecting your GoPro.
This is especially important in GoPro time-lapse videos because you’ll have to leave the camera as it is for some time. Naturally, this leaves it exposed to various elements, natural and otherwise.
To start, we need to get waterproof casting for damp conditions. If you’re filming in a wet environment or expecting rain, you’ll be thankful for this!
Also, you must be mindful of the direct sun and heat and how they can heat your camera.
You can do various things to keep it cool, including minimizing your usage by turning off the back screen once you’ve framed your shot.
7. Think About Motion
While static shots are beautiful, why not add a touch of drama to your time-lapse video? I know I mentioned earlier how the tiniest of bumps can affect your video, but this is different.
This is controlled motion.
While you’re showing the viewer the clouds zipping by, you can add a gentle pan or a slow slide to the side.
Having this can help draw in the viewers and make them feel like they’re moving in time with the subject.
Of course, you can’t manage that if you’re holding the camera, as your hands can shake and affect the shot.
Instead, you can use sliders, motorized pan heads, or tilt systems to give your video the touch of flare it needs!
8. Play With Reflections
If you don’t feel like moving your camera around but still want to add drama and depth, then reflections are the answer!
Reflections have this uncanny ability to elevate the ordinary to extraordinary! Their dual perspective of the world has an enchanting appeal that draws many viewers.
Moreover, reflections create symmetry, which is incredibly pleasing and attractive to us. Let’s not forget that with time lapses, the dynamic changes in the scene, coupled with its reflection, can be hypnotic!
You’ll have to search for water bodies, glass facades, mirrors, and shiny surfaces to create such shots.
9. Incorporate Shadows
We often overlook shadows as they’re seen as the mere absence of light. However, while light affects the colors and brightness in your shots, it also affects how the shadows fall.
How is this important to your video? Well, shadows affect the depth and dimensions of scenes.
For instance, as the sun moves from east to west, the shadows elongate, retreat, and dance in front of our eyes. Yet, we don’t notice because of how slow this dance is with the passage of time.
In a time-lapse video, this is different. The sped-up shots can help you show the viewer so much more than what’s simply in the picture.
While I’d love to tell you to use artificial light to create shadows, natural light is almost always the best. The ideal times for shadow play are usually around sunrise, sunset, and midday.
All you have to do is find patterns through trellises, window grills, or leaves and branches, for example. For something even more dramatic, use shadows of people moving or children playing!
Frequently Asked Questions
How to do a timelapse with GoPro?
Starting a time-lapse on your GoPro is relatively easy. All you have to do is follow the steps below:
- Switch to video mode
- Tap the time-lapse mode
- Pick the regular intervals you prefer
- Set up your shot and let it record
- End it by pressing the shutter button
What is the difference between GoPro time lapse and night lapse?
As you already know, a timelapse is a video of photos compiled together. You can use video editing software to adjust its frame rate, white balance, and whatever else you need.
Remember that there are also time lapse video editing apps which may come in handy too.
Regarding the night lapse mode, it does the same thing with the addition of long exposure to highlight the stars in the sky. This way, your video is perfectly set for night photography.
How long can you time lapse on GoPro?
If your battery is charged and you have room for the video file in your memory, your GoPro can continue the time-lapse video for as long as needed.

Jeff Collier is an experienced film photographer who enjoys experimenting with modern digital photography equipment, software and apps. He’s also an ex-world champion triathlete and avid cyclist, clocking hundreds of km each week in the beautiful Tweed Valley of northern NSW, Australia.
👋 WELCOME TO SHOTKIT!
🔥 Popular NOW:
