


How to Photograph Jewelry at Home
Learn how to photograph jewelry at home. Get the best photos of your precious necklace, ring or bracelet with these 15 top tips to bring some sparkle!
Learn | Photography Guides | By Ana Mireles
Shotkit may earn a commission on affiliate links. Learn more.
If you’ve ever wondered how to photograph jewelry at home, this is the beginners’ guide for you!
Whether you want to improve your jewelry product photography to sell some second-hand earrings and bracelets on eBay, or are keen to get into jewelery photography as a profession, you’ll learn plenty of great tips right here.

Prevent harsh reflections and produce sophisticated results with this easy-to-use diffuser designed by leading product photographer Karl Taylor.
Photographing jewelry isn’t as straight forward as you might think – you’ll need some specialist gear, a flexible photography lighting setup, white background and a thorough knowledge of depth of field.
Then there are those troublesome reflections to deal with, not to mention adding sparkle to jewelry in pictures.
So let’s dive right in and learn how to get some stunning images of your precious trinkets!
15 Beginners’ Tips for Photographing Jewelry
1. Use a macro lens
Credit: Say Straight
Using the right camera lens will ensure that you have the best quality in your jewelry photography. Since these are usually small objects, you’ll need to use a macro lens.
This type of lens allows a magnification of your subject that will allow you to fit the frame with it, even when it’s tiny.
An entry-level macro lens allows a 0.5 representation of the subject which is quite good. However, if you have the budget and do this type of photography often, invest in one that will give you a 1:1 – the Sigma 70mm f/2.8 is one great option.
A budget-friendly alternative to a macro lens is an extension tube. You can place it between the camera and the lens to extend the distance to the sensor. This will shorten the focusing distance allowing you to get closer to your subject.
Before you buy an extension tube for your camera, work out if you’ll be able to maintain the autofocus functions of your lens, because this isn’t always the case.
Another solution that’s even more affordable and portable are close-up lenses. You screw them into your lens, and you’re ready to go – they’re also a great lens for product shoots.
Close-up lenses maintain the lens’ autofocus functions, and you can choose the amount of magnification (+1, +2, +3…). The downside is that you’ll lose some image quality.
2. Use a tripod
Using a tripod is key in jewelry photography, for many different reasons.
First, it will allow you to keep the angle and perspective consistent throughout the photoshoot – this is very important when you’re doing a series for a catalogue or an e-shop.
Also, a tripod helps you to avoid any camera shake. This is a common problem when learning how to photograph jewelry because often you’ll need to shoot at slower shutter speeds. This is because you’ll be using small apertures to keep everything in focus – more on that later.
Finally, the focus is critical when you’re working with macro lenses – a tripod allows you to work in Live View for accurate focusing.
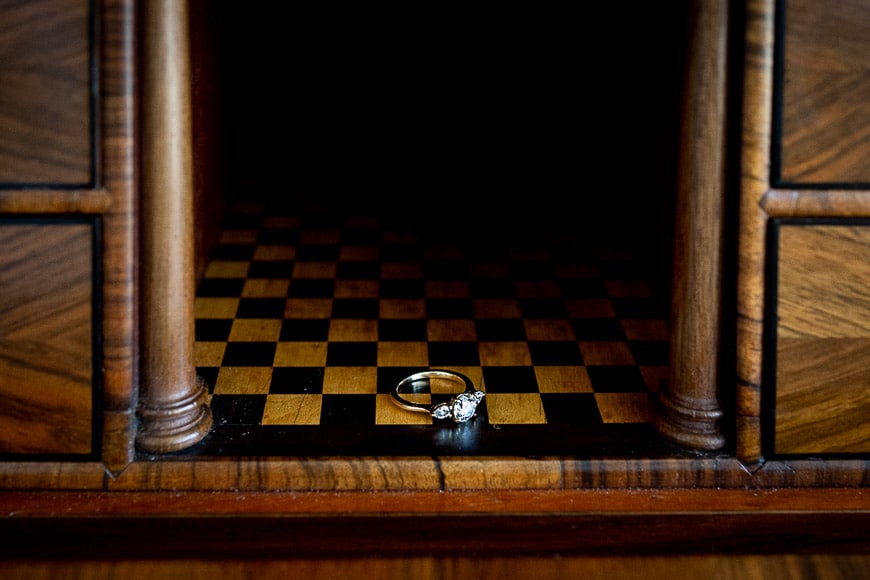
3. Use a white background

Credit: Antonio Uquiche
Using a plain white background is a staple in jewelry photography.
You might think that placing your piece of jewelry on a plain white backdrop is boring and won’t catch the eye of potential buyers. However, that’s not the case.
A white background is the industry standard for product images; in many marketplaces, it’s even mandatory – if you want to sell your jewelry on Amazon, Rakuten or eBay, you need to provide an image like this.
If you think about it, it’s not a bad thing at all. Your piece of jewelry is getting all the attention, and a busy background within the image could work against you.
Once you have the customer’s attention, it’s also a good way to display the product. A white background prevents the jewelry from absorbing or reflecting any light or colors from the surroundings.
This way, it will look as close as possible to how it really is, which is important if you’re trying to sell your jewelry using your photography.
When your buyer receives a product that matches the expectations, you’ll have a happy customer! Not only will you avoid unnecessary returns, but you’ll get a good reputation, and they will be more likely to buy from you again.
4. Use a grey card
White balance is essential for accuracy and consistency. Using a grey card or a color checker is the best way to achieve this.
All you need to do is to take the first image on your camera with the grey card in the scene. Then continue the photo shoot as usual.
If you change the lighting setup, then take another photo of the grey card image and so on.
Then you can use Lightroom to set the correct white balance using the eye dropper tool and grey card image, then synchronize it with the rest of the images taken in the same lighting conditions.
This is why it’s so important to maintain the exact lighting throughout the series of jewelry photos – more on lighting later.
5. Choose the right aperture

Credit: Sabrinna Ringquist
If you browse the websites and catalogues for the most famous jewelry brands, you’ll notice that the subject is always in complete focus.
As you probably know, the aperture is one of the key factors to control the depth of field. To have most of your photograph in focus, you need to use a high f-number. This means that less light will come into the camera, so you’ll have to compensate with other camera settings (see guide).
If you’re not familiar with manual mode and the exposure triangle, set your camera to aperture priority mode. This way, you’re still in control while the camera automatically sets the rest for correct exposure.
Also, use a tripod to avoid camera shake since it’s very likely that you’ll be using long shutter speeds.
If you can’t achieve a full focus, there are a few things that you can do: You can change the perspective to align – as much as possible – the focal plane with the sensor plane. A flat lay composition works well for these situations.
Otherwise, choose the focal point and depth of field wisely. Use it in a way where the selective focus looks intentional to highlight a detail or create a specific effect. For example, by including a bokeh background – just make sure it’s not too distracting.
Finally, you can ‘shoot for post-production’. Check the next tip to learn how this works.
6. Try focus stacking
Credit: Dima Valkov
When you are learning how to photograph jewelry, it’s important to remember to keep the entire subject in focus. This isn’t always easy to do, especially if you’re using a macro lens on your camera.
If you can’t achieve a deep depth of field in-camera, you can always do it in post-production by using a technique called focus stacking.
You’ll need to where you need to photograph the product multiple times, and each time you do it, move the focus point until you’ve covered the entire subject. Some Nikon cameras have a Focus Shift feature that does this automatically.
Later, you blend all those pictures in an image editor, and you construct a fully-focused image – here’s how to do it in Lightroom.
For this technique to be successful, you need to use a tripod with your camera – this way the framing is the same (except for the focus breathing but you can take care of that when post-processing the image). You can also use some dedicated software such as Helicon.
7. Use natural light
Natural light does wonders when you photograph jewelry at home. It’s free, of course, and it’s easier to handle for beginner photographers than building a studio slighting etup.
On top of that, it creates a flattering and smooth atmosphere that works great for this type of photography.
Place yourself close to the window for better results. If the sun is shining too strongly causing unflattering shadows, you can use light diffusers.
In most cases, the best lighting setup for jewelry is backlight. You can add a reflector opposite the window to fill the shadows and make the light more even.
8. Use a light tent
Credit: Sabrinna Ringquist
Soft light is ideal for photographing jewelry. It will prevent any unflattering shadows and high contrasted reflections.
A great way to soften the light is by using light modifiers such as diffusers. To do this evenly, you can use a light tent (also known as a light box).
If you don’t have the budget to buy a light tent, no problem! Building your own one is a straightforward and fun DIY project to do at home. You can find a step by step guide to building a DIY light box here.
Pro Tip: Use a Karl Taylor Light Cone
Using a Light Cone helps prevent harsh and unwanted reflections from highly reflective objects while delivering beautifully soft and even light over your product.
The Light Cone was designed by leading product photographer Karl Taylor to be simple to use with both camera flashes and smartphones.
9. Be careful with reflections
Credit: Pixabay
Gems and metals are highly reflective materials, and this makes them very difficult to photograph. A reflection on your piece can look like a flaw and make it look like it’s poor quality.
When learning how to photograph jewelry, you have to pay a lot of attention to where you place the camera, the supports, the background, lighting etc. All of that could be reflected in the jewelry distracting the viewer.
10. Use props to position the jewelry
This is a good way to up your jewelry photoshoot ideas at home.
There are many ways to position your jewelry to look its best. The important thing is that it’s easy to erase or that it’s not distracting if you want to leave it in the photo.
When you’re photographing necklaces, pendants, long earrings, etc., you’ll want to show them pending naturally instead of laying on a flat surface.
To do this, you can use jewelry display busts. A budget-friendly alternative is to use white cardboard. In it, you make some cuts to fit the jewelry: punch a couple of holes for earrings, or make two cuts on the top to hold the necklace.
Another way to hold pending jewelry is by using a transparent string. Hold it on each side of the frame, and hang on it the piece of jewelry.
Using blue tack or glue dots is great for holding rings upright, and it’s straightforward to erase in Photoshop. Try not to use distracting or unnecessary props.
If you want to incorporate objects that ‘tell a story’ with your product, use them for your social media channels. Product images should be as clean as possible.
11. Use a model
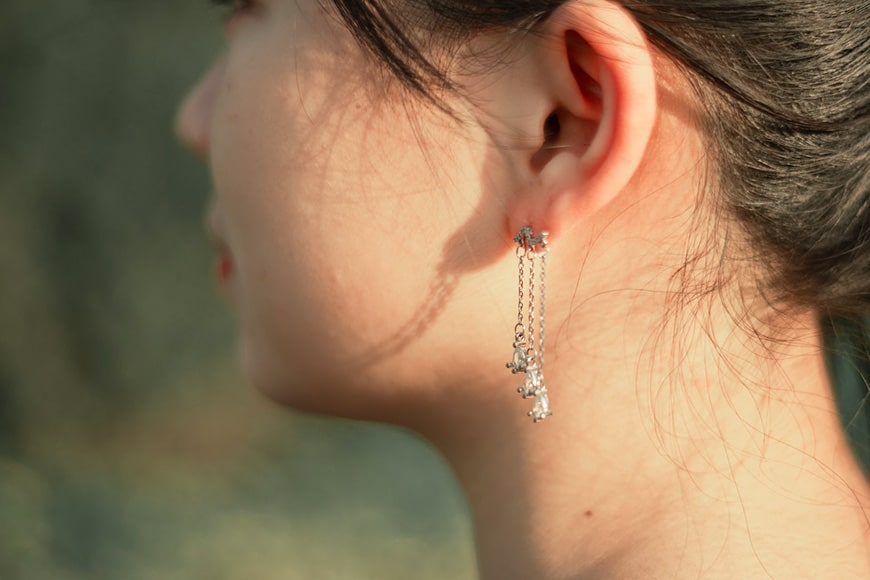
Credit: Shali
At least one picture where a model is wearing the jewel is always recommended. This will give the customer a sense of the size and wearability of the piece.
Hiring a professional model and making a high-end photoshoot is great if you can afford it. If this is not possible, don’t be afraid to ask a friend or a relative to help you.
Just make sure that the jewelry is displayed in a flattering way. Pay attention to details – from the model’s clothes to the background and settings. Keep in mind that you are putting the product into context, and you don’t want it to be sloppy.
Also, consider that the jewelry is the focal point – you don’t want the viewer to be distracted by other elements in the picture.
12. Pay attention to details
When you’re photographing something this small, you’re magnifying the piece… but also the defects! Check for any dents or scratches on it and change the jewelry if necessary.
Also, clean the jewelry before the photoshoot and handle it with cotton gloves to avoid smudges. Any of these handling defects will make your brand and products look cheap.
Instead, you want your jewelry photos to display the products at their best – without, of course, misleading the customer.
13. Photograph different angles
Like any other product photography, you need to be descriptive. Photographing from different angles gives the customer a better idea of what they are getting and will be more likely to buy it.
Make sure the customer can see your jewelry from the front, side and back. Also, include some detail shots if there are any specific inscriptions or decorations on it. Placing a ruler or something that can give a sense of proportion is always a good idea.
If you’re photographing jewelry with the attempt to sell, put yourself in your customer’s shoes – if you were about to buy something that you can’t hold in your hands, what would you like to see?
14. Get creative

Credit: Jenni Miska
Creativity should be the center of your jewelry photography ideas.
Jewelry on a white background is the best way for your client to see the object in detail. This is one of the best ways for people to feel confident when buying online.
As mentioned before, many online shops have photography guidelines that make it mandatory to show your product against a white background. This can be for descriptive purposes and also to keep the website consistent across the different sellers and providers.
In any case, once you have done the standard white background shots, you can – and should – get creative! Photograph with different lights and backgrounds, arrange multiple products on a flat lay shot or make it a lifestyle photoshoot.
These type of pictures ‘sell’ the concept and mood of your brand. They are great for your Instagram Stories or editorial content.
15. Don’t forget about post-processing
Post-processing is an important part of any commercial image. For example, you need to make sure that you have the right white balance, and that it’s consistent throughout the photoshoot – photo editing apps can fix this with one click, as long as you’ve shot in RAW.
Additionally, you need to clean the background and erase any props you used to position the jewelry such as glue dots, strings, cardboards, etc.
Finally, retouch any scratches, smudges, reflections or imperfections that could misrepresent the product. It should look as good in the image as it does when the customer receives it at home.
If you want you can also add some sparkles at this point. You can then crop and resize to the specific formats required for the website that you’re using – see this guide for the export settings required for Instagram.
How to Photograph Jewelry with an iPhone
If you don’t have a camera, don’t worry – you can still photograph jewelry with excellent results. You can still execute your jewellery photography ideas. Check out these photography tips when using the camera on your iPhone.
Step 1: Organize your set and lighting source. First, you need to position and secure your backdrop. Then, clean and position the jewelry you’re going to photograph.
Step 2: Choose and set the lighting. Decide if you’re going to use natural or artificial light. Once you know that, you need to figure out the setup – is it coming from the back, the side, the top? Remember to add modifiers to soften the light.
Step 3: Accessorize your iPhone. The most important accessory that you need to photograph jewelry with your iPhone is a phone tripod or stand. This way, you can keep the framing consistent, and you avoid any camera shake. Also, a good macro lens will help you magnify the subject without losing quality in the image.
Step 4: Lock the focus. Using the AE/AF Lock feature ensures that you get a perfectly sharp and well-exposed image. To do this, tap and hold on the subject to indicate the focus point. Your iPhone will also calculate the proper exposure based on this focus point – you’ll see a yellow square around this area. If you need to adjust the exposure just swipe up to make it brighter or down to make it darker.
Step 5: Start shooting. That’s it – you’re ready to do jewelry photography on your smartphone! Take lots of photos to ensure that you get a perfect result. Then, try different angles to have some variety – just remember to adjust the focus every time you move.
Step 6: Use a photo-editing app. A professional-looking image often needs a little retouching. Most photo-editing apps let you adjust white balance, exposure and cropping, so just use the one you like best.
Jewelry Photography FAQs
What is the best lighting for jewelry photography?
Good lighting is the best way to dramatically up your jewellery shoot ideas. the Soft light is the best one for photographing jewelry. You can use diffused window lighting to achieve an even and natural result.
How do you sparkle jewelry in pictures?
While an even soft light can illuminate the piece, you can add a separate source of hard light to create a sparkle. You can even find lightboxes with built-in sparklers, specially built for jewelry photography.
Alternatively, you can add the sparkles later in post-production.
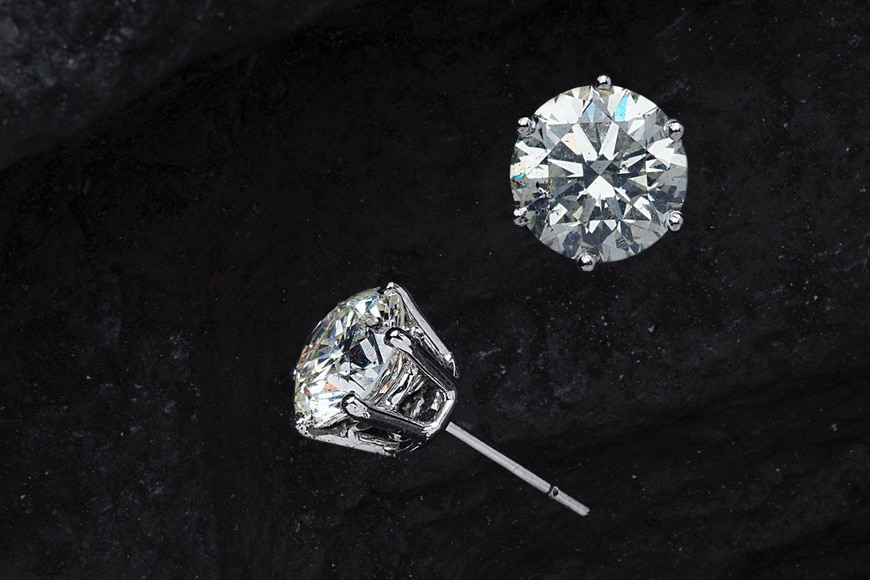
How do you photograph black background jewelry?
One of the biggest challenges when photographing on a black background is achieving the correct exposure. You don’t want to have an underexposed subject nor a washed out background.
To help you with this, you can use a handheld light meter. You can always make the final adjustments in post-production, or even change the background color using Photoshop.
What is the best color to display jewelry?
White is the best background color because the piece of jewelry will keep its original color. Otherwise, it would reflect some of the color from the background and its surroundings, making it look different from reality.
Final Words
I hope you found these photography tips useful to get better results the next time you photograph jewelry at home.
Let us know how it goes in the comments section and best of luck!

Check out these 8 essential tools to help you succeed as a professional photographer.
Includes limited-time discounts.

Ana Mireles is a Mexican researcher that specializes in photography and communications for the arts and culture sector.
4 Comments
Leave a Comment

👋 WELCOME TO SHOTKIT!
🔥 Popular NOW:

I appreciated the tips and perspective but doesn’t adding sparkles later in post-production contradict previous advice to present jewelry as close as possible to reality?
Adding sparkle seems problematic since the item will not match the customer’s expectations and increase the odds of unnecessary returns? As someone who frequently purchases antique jewelry, I dislike “enhanced” photos as even with best intentions it causes trust issues with how the jewelry is being depicted.
Hi Gary, I’m glad you appreciated the article. I agree that enhancing photos in such a way that could mislead a potential buyer is problematic.
However, I wanted to mention that it’s a possibility to offer the readers a complete picture of what’s out there. A photographer may have a client who wants sparkles in their photos – or maybe they want it for an editorial photo, a fantasy shot, an Instagram Story, etc. This way, if any of the readers is interested in this effect, they know it exists and they can further research it if they want to learn how to do it.
Thanks for reading and commenting. Have an excellent day.
Many, many thanks! I will start using these tips this week!
The content is really helpful for beginners. Thanks.