


Topaz Studio 2 Review
An honest, real-world review of Studio 2 by Topaz Labs. Find out if this user-friendly software is what you need for your creative photo editing.
Software | Software Reviews | Topaz | By Polina Raynova
Shotkit may earn a commission on affiliate links. Learn more.
This is a review of Topaz Studio 2 – “the future of creative photo editing”…. at least, that’s what their sales page says!
There’s such an impressive variety of photo editing programs nowadays that you can easily get overwhelmed when trying to choose the one that’s best for you.
Adding to the confusion, not all of the software companies set clear goals and priorities when developing their products, meaning it can be difficult to know who they’re best suited for.
Thankfully, that’s not the case with Topaz Labs’ Studio 2.
Powerful image editor for amazing one-click filter effects and non-destructive editing.
Officially released at the end of July 2019, it was created a clear and direct purpose in mind. And, as we’ll see in this review, it does an excellent job of catering to its niche.
So is Studio 2 the right software for you? Let’s take a look.
What is Topaz Studio 2?
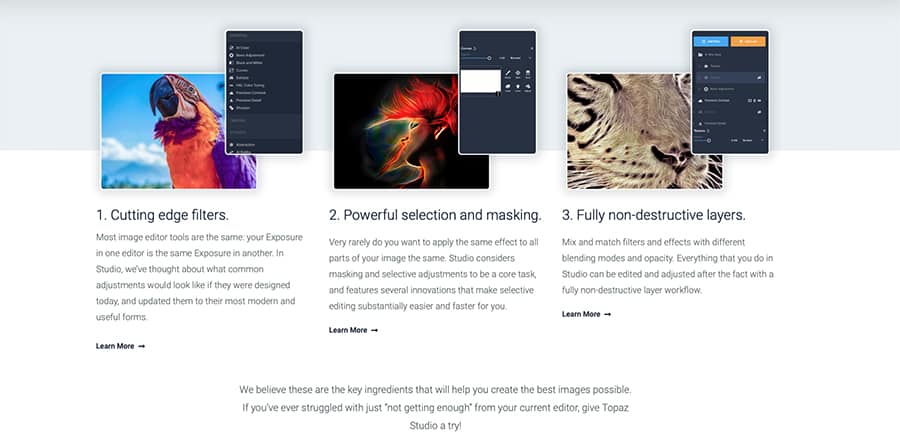
- Excellent range of presets & filters
- Simple non-destructive layer editing
- Wide range of tools
- Good value (one-off fee)
- Slow processing
- High system requirements
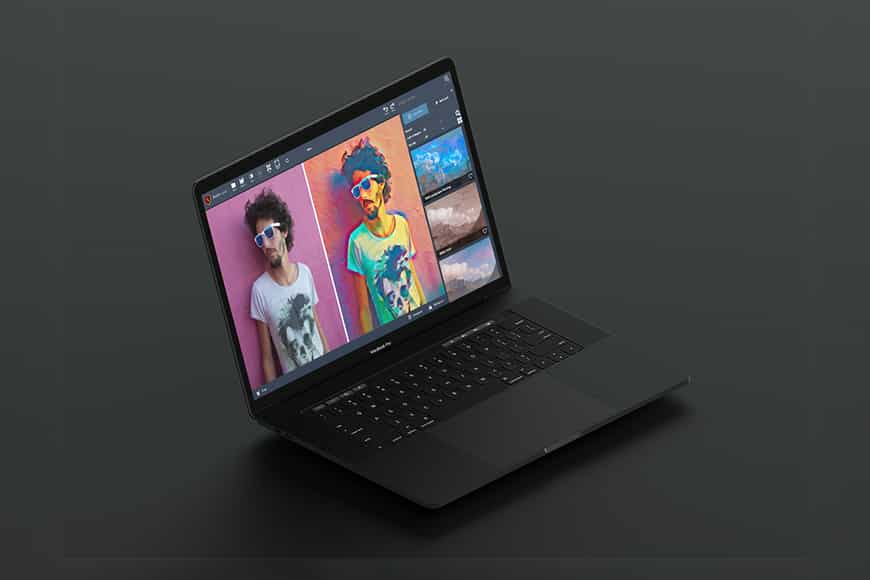
Studio 2 is an image editing software which can be used both as a standalone program and as a Photoshop or Lightroom plug-in. It’s compatible with both Mac and Windows.
As hinted above, this is not a do-all software package.
(Topaz Labs is known for making great, standalone photo editing tools – see our Topaz DeNoise Review, Topaz JPEG to RAW review and Topaz Gigapixel Review, for 3 good examples.)
With Studio 2, Topaz makes it clear that it’s a specific software designed to fulfil one major purpose only: creative photo editing.
Creative is definitely a key word here, as the software focuses on offering the ultimate package of effects that can make your image look anything but ordinary.
What they also strive for is giving you the opportunity to control and further develop those effects on your own.
Studio 2 System Requirements
Mac
- Operating System OS 10.12 and up
- Display Size 1024 x 64
- System RAM: Minimum 8GB; Recommended 16GB Optimal 32GB+
- Dedicated GPU VRAM: Minimum 2GB; Recommended 4GB Optimal 6GB+
Windows
- Operating System Windows 7, 8, 10 (64-bit only)
- Display Size 800 x 600
- OpenGL Support Level: OpenGL 3.3
- Internet Connection required for login only
- System RAM: Minimum 8GB; Recommended 16GB Optimal 32GB+
- Dedicated GPU VRAM: Minimum 2GB; Recommended 4GB Optimal 6GB+
Getting Started
You have three options when it comes to getting your image into Studio 2.
The easiest and perhaps the most intuitive way is to simply drag and drop the photo from your desktop or from any other location you’ve chosen.
The second one is to use the “open” button in the middle of the screen.
The third one is to navigate to the left-hand side of your screen and select “open” from there.
In Studio 2, you’ll be able to open RAW files, TIFF files and of course JPEGs, but you need to keep in mind that the program doesn’t support any library-like features.
This means the software is not going to be your thing if you’re after something for organizing and rating batches of photos.
Additionally, if you intend to use Studio 2 for editing a series of images in exactly the same style (could be from an event or from a wedding, for example), then you’ll probably end up being disappointed.
On the contrary, if you’re going for that one image which is artistic and unique and will definitely not slip past the viewer without being noticed, then this is right piece of software for you.
To create this artistic image, Topaz Labs give you the most important tools for maximum control over the process: masking and non-destructive layers.
You can use those two when applying filters and looks (previously called presets). We’ll go over these basic functions in the next sections.
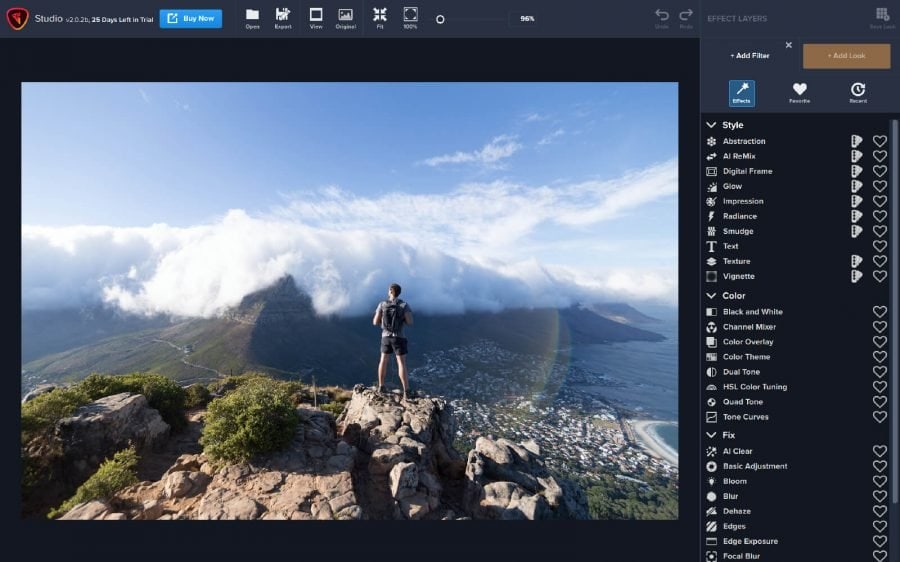
Filters
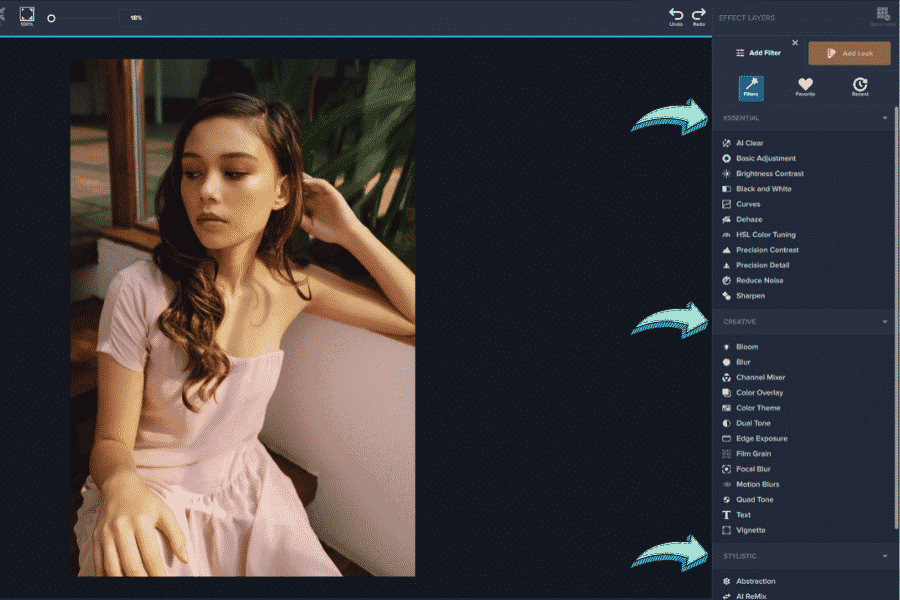
To make changes to your photo you can begin by exploring the Filters section. It consists of more than 25 filter settings which are organized into three different categories: Essential, Creative, and Stylistic.
In the Essentials you’ll find the basic tools that all of us use when editing: Sharpen, Curves, Brightness Contrast, Dehaze, Reduce Noise and a few more.
Among these, the one that I found most intriguing is the AI Clear tool. It was part of the previous version of the program and it’s also included in the current improved version because the users really enjoyed it.
AI Clear has been significantly updated in the latest Topaz Studio 2. It’s designed to help you enhance your images by utilizing AI technology, analyzing and correcting the image so that the noise is removed automatically and sharpen is added to the details.
It achieves a nice and crispy look without making the photo look overly edited.
In the Creative section, you’ll be able to play around with Focal Blur (which can help you get a tilt-shift look if you’d like), Motion Blur, Dual Tone, Colour Overlay, Film Grain and many more.
If you’re a fan of photos which possess the magic of the analogue look, this is the section that you’ll probably enjoy the most. Here you have the chance to colour grade your images and give them a pinch of magic.
In this section there’s also a little gem called Bloom – it’s an original tool which adds glow, or in other words, illuminates certain areas from your image. It’s particularly good for night photography – with the blending modes and the opacity slider you have the full power to tweak it according to your taste.
The really cool thing about Studio 2 is that it encourages you to experiment with your editing techniques. But, of course, there’s a caveat to this – sometimes you can end up with overly edited images if you get carried away.
So my advice is to take advantage of the effects that Topaz Labs offer you in a more subtle way…
Use the opacity slider more often or simply set the image aside when you’re done with it. Come back later to check if it still looks OK to you or if it’s too much and needs to be further adjusted.
Masking is also a great option here – not to put too much icing on the cake. :)
Next to each filter, you’ll notice a little heart icon. If you click on this icon you’ll be able to “favourite” the kind of adjustment that you wish.
I liked the idea of creating your own list of favourite filters/adjustments a lot – it’s surely helpful and the heart icon is a nice approach.
Looks
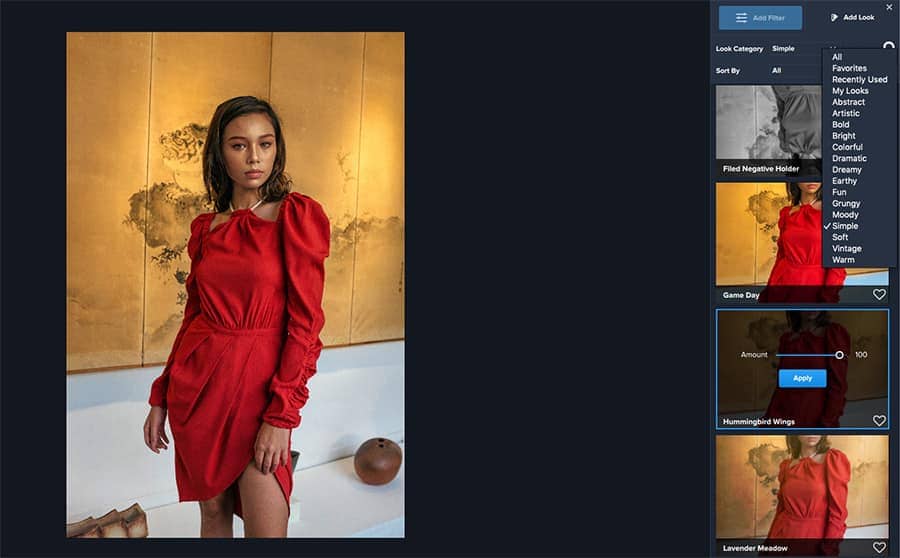
Looks is the second major category that you’ll be interested to explore in Studio 2.
Looks, which were named ‘presets’ before, are located just on the right-hand side of the button Add Filter.
This section includes more than 200 different looks that you can use separately with full or reduced opacity, and which you can also stack on one another if you wish to experiment.
Since Studio 2 supports layers, these looks are highly customizable.
You have quite a long list of them which are sorted under specific keywords such as Abstract, Bold, Bright, Fun, Grungy, Vintage, Soft and a few more. You can choose from these looks according to your mood.
Another cool feature which is worth mentioning is that you can actually peek into the core of these particular looks and see exactly how they’re created.
This means that the looks are essentially pre-built groups of filters and you’re able to see this broken down. Here you have the full creative freedom to keep or get rid of some parts you’re not happy with.
For example, imagine that you’ve chosen the look Hot Summer. If you apply it to your image, you’ll see all of the things it’s made of.
In this case, you have Texture, Focal Blue and Dual Tone. For each of these settings, you have three options – to add a mask and delete certain parts, to temporarily disable the effect, or to completely delete it.
It honestly felt great to play around with all of these options, and the fact that it can all be adjusted to your liking is quite inspiring.
It’s creative freedom you can push on the editing process but it’s also the freedom to go back and change your mind later, and to tone it down a bit if you think it’s too much the next time you look at the image.
Time to see the final result: View Modes
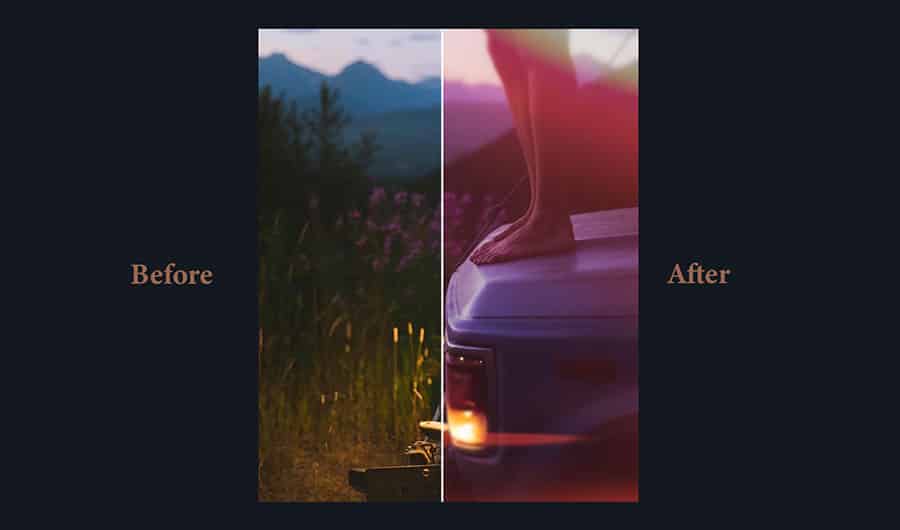
When you’ve finished with your editing and you want to see how far you’ve gone, or you want to simply perform the reality check, before and after View Modes come to the rescue.
You can enter this mode via a little icon at the top left corner of your screen, just next to the Export option.
I have to admit that the Split Horizontal and Split Vertical features were a total delight to use.
Dragging the divider from left to right reveals how the photo looked when you first imported it into Topaz Studio 2 and allows you to see clearly how it was affected by the changes made.
There are two more ways in which you can compare your image before and after the edits. These are called Side-by-Side Horizontal and Side-by-Side Vertical.
The difference with the first option I explained above is that here you’re able to see the whole photo at once.
Value for Money
Topaz Labs has priced Studio 2 competitively at $99.99 – this is in keeping with other image editors here in 2024.
The one-off purchase price seems like a great deal when compared to the subscription model you need to enter in when you buy Adobe Lightroom – however, Topaz Studio 2 obviously has far fewer features than Lr.
If you’re interested in experimenting with your images using powerful filters, masks and layers, Studio 2 is good value for money, especially with our exclusive Topaz Studio 2 Discount (see below).
Remember though, that you won’t find library management, design tools, batch editing, or other common image editor tools in Studio. Its sole purpose is to make single images look better, through efficient and simple post-processing.
Studio 2 Review | Final Words
There are a lot of companies that are currently developing photo editing programs, but just a few of them have a clear vision of how their product is different from the others.
Topaz Labs have achieved this clear vision by stating (and also backing up their statement) that Topaz Studio 2 is aimed at people who want to focus on creative editing.
If you need software for processing batches of images or your workflow is connected to intense retouching techniques, then Studio 2 is not your partner in crime – there are plenty of Lightrooom alternatives that can fit that bill.
But if you seek software that’s user-friendly, not overly complicated, and that can give you the tools to stand out from the crowd with your photography, it could be your perfect match.
If you’re intrigued but not quite won over – you can benefit from the free trial period and see for yourself whether Topaz Labs Studio 2 is what you’re looking for.
Powerful image editor for amazing one-click filter effects.
Hi there! I’m Polina, a freelance photographer, always on the look out for creating simple images with powerful impact.
2 Comments
Leave a Comment

👋 WELCOME TO SHOTKIT!
🔥 Popular NOW:

The coupon Code SHOTKIT15 doesn’t work.
I just tried it and it works – please try again, Tonny. You can also try ‘Shotkit’, without the inverted commas too.