


How to Crop in Filmora (Entire Video or Frame)
Whether you want to remove unwanted background, straighten footage or trim clips for creative effect, you can use the crop tool in Filmora. Find out how.
Filmora | Software | By Judyth Satyn
Shotkit may earn a commission on affiliate links. Learn more.
Cropping is one of the most basic and popular post-production video editing procedures.
Once an arduous video editing task, it can now be learned and completed in seconds using Filmora's editing software.
Read on to learn how to crop video clips using Filmora.

Download the latest version of Wondershare Filmora to follow along with this simple tutorial.
Start a free 7-day trial today
How to Crop in Filmora
Cropping video clips using Filmora video editing software is simple and fast.
You can crop the entire length of a video track or just crop a section, depending on what works best for your project.
Why Crop
There are many reasons to crop footage when editing videos. One of the main reasons is to cut away excess background or side footage.
If several video clips need to be linked together into one video clip, some of the clips might need to be cropped so the footage flows more cohesively.
Footage can also be cropped by a video editor if a shot has been taken on an angle and needs to be straightened.
A video editor might decide to trim video clips simply to change the size and shape of the video for visual effect, or to replicate a vintage video.
Step 1. Download Filmora
If you haven't already downloaded Filmora's editing software, that's the first step. It's easy to use and powerful – you won't regret it.
Just head to Filmora's website and hit download, then install it on your computer.
Step 2. Upload Video
To start cropping, you will need to upload your video and add it to the video timeline track.
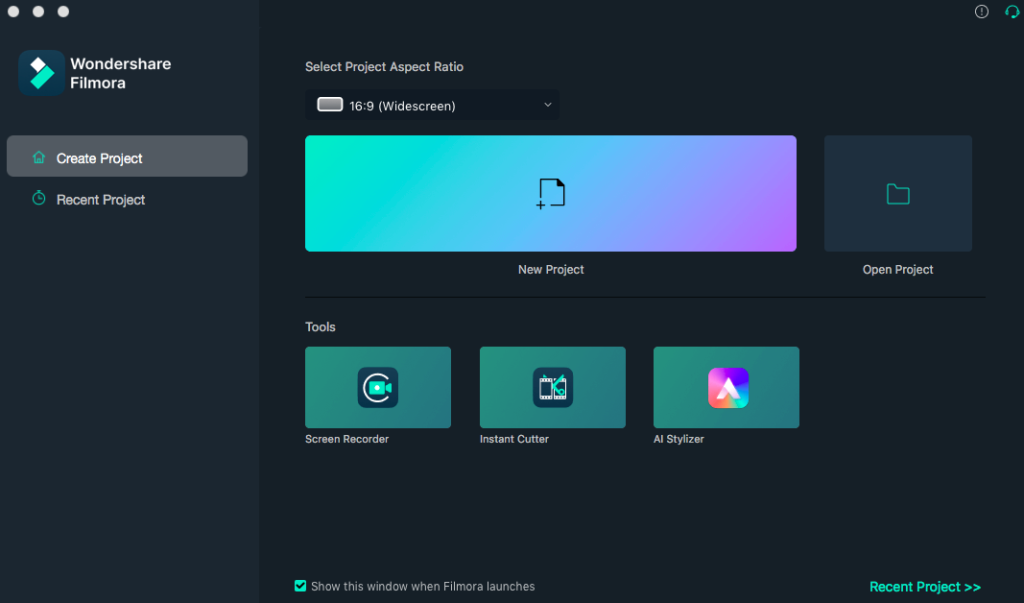
When Filmora opens, press the New Project button and then import and upload your video files.
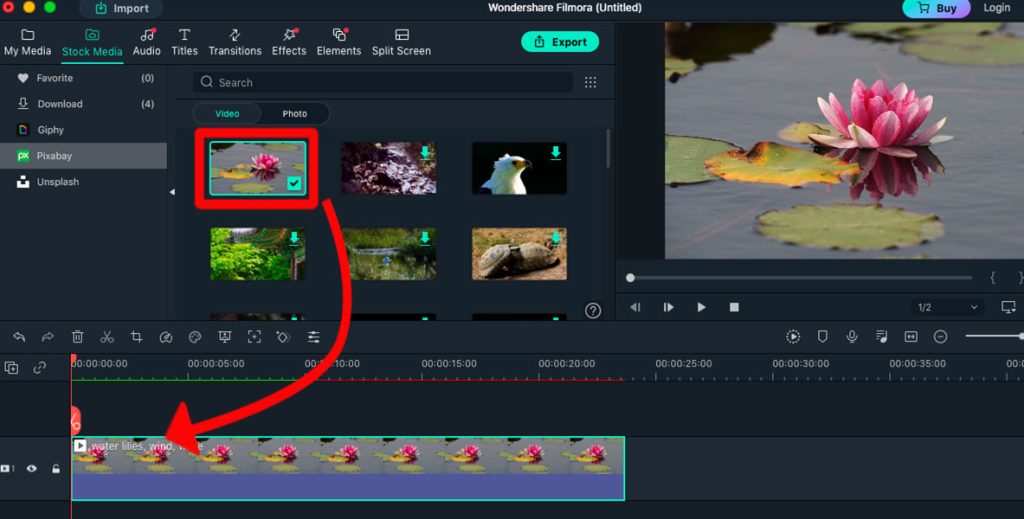
Alternatively, you might decide to use stock images. Filmora gives easy access to these – simply click on Stock Media in the top menu bar.
You can browse through Unsplash, Giphy, and Pixabay for free stock videos and images and select one to start your project.
When you've chosen the media you wish to use, simply drag and drop it down into the video timeline track.
Once your video file is in place, activate it by clicking on it in the timeline. When it's surrounded by a green border it's active and you can begin video editing.
Step 3. Select the Crop Tool
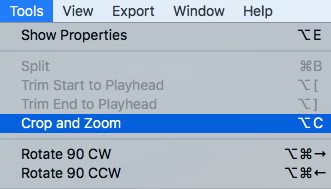
In the main menu bar, click on Tools > Crop and Zoom.
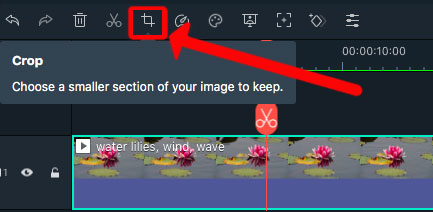
Alternatively, click on the Crop tool in the menu bar above the video timeline track.
When you have selected the crop tool, the crop tool pop-up window will appear.
In the top left corner of the crop and zoom preview window, make sure that the “Crop” option is highlighted in green.
To adjust the ratio of the bounding box, click the drop-down box beside “Ratio” under the preview window.
You can choose from the preset ratios or create a custom ratio by selecting “Custom”.
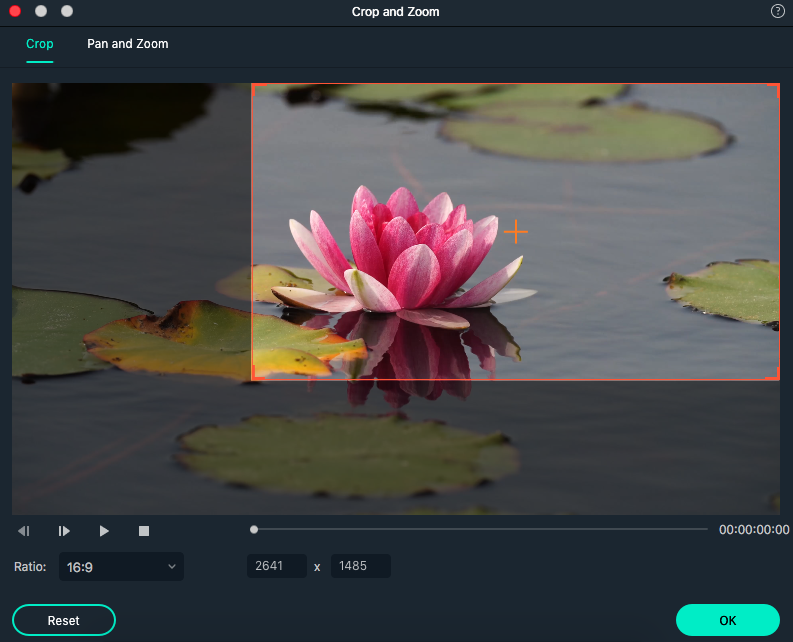
Step 4. Adjust Crop Size
When you have set the ratio, drag the corners of the bounding box to set your desired size.
The edges of your video will be outlined by an orange border. To crop the video, simply drag the edges of this bounding box inwards.
As you drag the bounding box inwards, the area to be cropped will be demonstrated by the shaded area on the outside of the bounding box.
You can reposition the chosen cropped area by clicking on and dragging the bounding box into a new position.
When you have finished, click OK.
The editing window will disappear and your video will now be cropped.
- Related: How to Zoom in Filmora
Step 5. Preview
Before you save or export your video, press the Play button in the preview window to preview it.
If you're not happy with the crop applied to your footage, you can undo the crop and start again.
To undo, simply head to the top menu bar and select Edit > Undo.
Alternatively, click the reverse action arrow in the top left-hand corner above the timeline track.
When you've made the ultimate perfect crop and your video looks like it's set to win an Oscar, click on Save and save your video to your Filmora projects folder.
How Do You Crop a Frame in Filmora?
To crop a single frame of a video in Filmora is simple. First, activate your video clip to make it active in the video timeline track.
When the video footage is outlined by a green border, set the Trim tool (the red line with the scissors icon) to select the frames you want to crop.
Click on the scissor icon when it's in place to set the selection.
When you have isolated one or more frames from the video footage, they will be highlighted by a green border.
Select the Crop tool and crop by dragging the corners of the bounding box into position.
When you have finished, click OK.
Press the Play button in the video preview window to review the edits.
- Read more tutorials: How to Export (Save & Share) in Filmora
Can I crop an image in Filmora?
The short answer is yes, you can upload and crop an image in Filmora – but the question would be, why would you want to crop an image in Filmora? Filmora was designed to edit videos.
To crop only an image, it would be better to use image editing software, such as Photoshop or Preview, rather than video editing software.
Image editing software has been programmed and designed to cater specifically for images. This means the editing process for images will be streamlined and fast.

Judyth is an experienced studio photographer and glass artist. When she isn’t Photoshopping comedians into the bellies of sharks, you can find her cooking delicious treats for her guests.

👋 WELCOME TO SHOTKIT!
🔥 Popular NOW:
