


What Are Digital Backdrops? (+ How to Make & Download Your Own)
Digital backdrops are virtual canvas backgrounds for various types of photography. Discover why they're so useful and how you can create or download your own.
Learn | By Ana Mireles
Shotkit may earn a commission on affiliate links. Learn more.
Do you know that using digital backdrops can save you time and money while elevating your photographs to a completely different level?
Most photographers don't have the space and resources to build a set, buy and store tons of props and multiple paper and textile backdrops.
As a result, they have to limit their creativity to whatever they can physically get.
Using digital backdrops opens up a world of possibilities.
You can create your own, or get them online for free or with a small investment.
Then, you just have to refine your editing skills to create amazing and realistic photo composites.
In this article, I'll tell you all you need to know to start using digital backdrops today!
More related backdrop articles:
- Best photo backdrops and photography backgrounds
- DIY backdrop ideas for photographers
- Best Photo Backdrop Stand (+ How to Make Your Own)
What are Digital Backdrops?
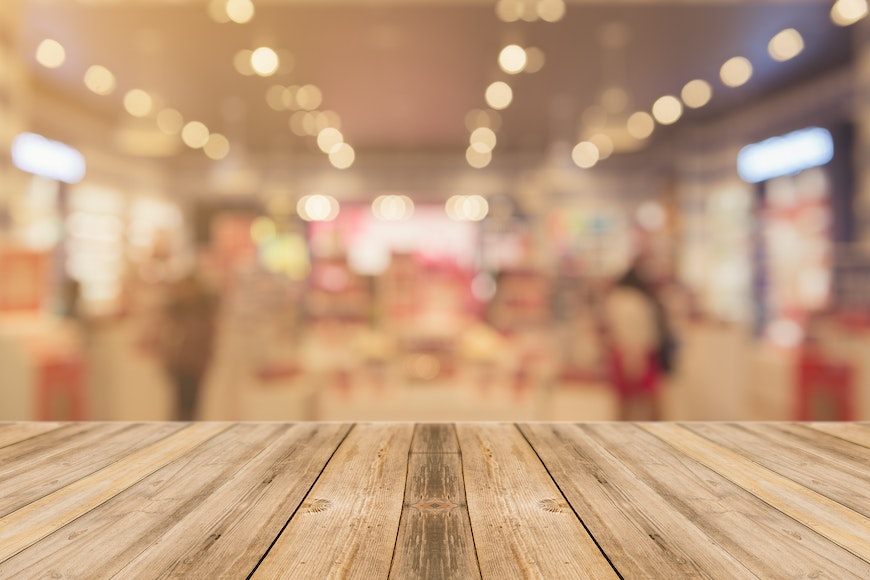
Credit: Tirachard Kumtanom
A digital backdrop is a digital asset you can buy or create to use as background on your photos.
It can be anything from a solid white to a complex scenery.
In its most traditional form, photographers who had the budget and storage space would photograph different paper and textile backdrops, props, locations, and studio sets.
These photographs can be used as backdrops on a digital composite.
However, you can also use graphics as digital backgrounds. This can be a bokeh created in Photoshop, solid shapes and patterns, and other types of vectors.
Most recently, with the rise of AI tools, people are creating digital backdrops using text prompts. So, we've come a long way since a digital backdrop meant placing a project onto a white background for an e-shop.
Today, there are all sorts of digital backdrops that can help you create stunning images spending just a few dollars and without requiring advanced skills.
Other names for digital backdrops include electronic photo backgrounds, virtual photography scenery, digital image backdrops and digital background canvases for photography.
7 Examples of Where to Use Digital Backdrops
Using digital backdrops is becoming more and more common. You can use them for any type of photography – these are just some examples to give you an idea.
- Newborn photography
- Maternity photography
- Portrait photography
- Wedding photography
- Pet photography
- Product photography
- Fantasy photography
- Zoom video calls
How To Add Photography Subjects to Digital Backdrops
Step 1: Make sure the subject and backdrop match
Select a digital backdrop and a photo of a subject that will fit together. Ideally, you should photograph the subject when you already know which digital backdrop you're using.
This way, the point of view and the light will match the digital backdrop without having to do many alterations in Photoshop. Other things to consider are the colors of the surface – because they will reflect on the subject and the pose.
If you already have the photo, then you'll have to spend some time looking for a digital backdrop that will be suitable. Otherwise, your image won't look realistic.
Step 2: Make a cut-out
Then, cut out the subject from its original background. You can use any selection tool that you feel comfortable using.
If you're using a white backdrop or something that has similar color and texture to the backdrop, you can do a rough selection of the subject including the shadows.
Otherwise, make a precise selection and you'll have to create the shadows digitally in the composite.
Step 3: Paste the subject
Now, paste the subject on the same document as the digital backdrop. This will create a new layer on top of the backdrop.
To be on the safe side, convert this layer into a Smart Object. This way, you can make non-destructive edits to it. To do so, you can right-click on the layer and choose Convert to Smart Object.
Step 4: Resize / Rotate / Reposition
In most cases, the subject won't match the scale of the digital backdrop. So, you'll need to use the Transform tool to resize it. Simply go to the menu Edit > Transform > Scale.
Then, grab the handlers from the corner and resize the subject to match the proportions of the backdrop. Make sure the link button is enabled so you don't change the proportions.
Then, you can rotate the subject if you feel it's necessary and move it until it looks exactly the way you want it.
Step 5: Color temperature
Both the digital backdrop and the subject should have the same color temperature. Otherwise, it will give away the fact that your image is a photo composite.
If the color temperature doesn't match, you have two choices – you can adjust the backdrop to match the subject or vice-versa.
So, select the layer that you want to modify – either the backdrop or the subject. Then, go to Filters > Camera Raw Filter. Here, using the Temperature slider, make the necessary adjustments.
Step 6: Fine-tune the cut-out using masks
Now it's time to remove all excess pixels around your subject. To make a non-destructive edit, you can use Layer Masks. So, create a mask on the subject layer.
Then, grab the brush tool and set the color to black and paint over the unwanted areas. This way, the pixels won't be visible but they're there in case you need to correct the cut-out.
If so, just toggle the color to white and paint over the area to make the pixels visible again.
Wherever there's a shadow, you can lower the Flow of the brush so that both layers blend together. This way, the shadows will look natural and the composite will be more realistic.
Where Can You Download Digital Backdrops?
There are many websites where you can download digital backdrops, either for free or for a fee.
Here are a few options:
- Shutterstock: This website has a large selection of high-quality digital backdrops. A subscription or one-time payment is required.
- Adobe Stock: Similar to Shutterstock, Adobe Stock offers a wide variety of digital backdrops. It requires a subscription.
- Etsy: Many individual designers and small businesses sell digital backdrops on Etsy. Prices vary.
- Pixabay: This site offers free high-quality digital backdrops under the Creative Commons CC0 license, which allows for use without attribution in most cases.
- Unsplash: Like Pixabay, Unsplash offers free high-quality images, including digital backdrops, under a license that allows for use without attribution.
- Pexels: Pexels is another good source for free digital backdrops.
How Can You Make Your Own Digital Backdrops?
Traditionally, you would have to make a photograph of the real thing to later use it as a digital backdrop. Now, you can use AI tools to create all the digital backgrounds you want in a fast and budget-friendly way.
Here, you'll learn how to create your own digital backdrops using Midjourney which requires a paid plan but it grants commercial use to the images you create.
You should always review that this is still the case when you use it as the terms and conditions may change.
If you choose another AI text-to-image generator, make sure you read the licensing terms before using the digital backdrops you create for commercial purposes.
Now, back to creating digital backdrops. Create a Discord account so you can access Midjourney. Then, choose one of the membership plans and subscribe to Midjourney (or use one of the many Midjourney alternatives.)
Next, add the Midjourney server to your Discord account. Then, click on a Newbie channel and interact with the Midjourney bot. For more detailed instructions about getting started with Midjourney, check out its Quick Start guide.
Now, you can type any prompt you want to create your own digital backdrops. Make sure you include the aspect ratio. The most common in photography is 3:2. To do so, include –ar 3:2 on your prompt.
The more details you include in the prompt, the more control you'll have over the result. To create digital backdrops, it's a good idea to include an “ultra-wide shot” to leave enough room for the subject.
At this time, Midjourney generates low-resolution images. So, you'll have to upscale the images you create if you want to use them in professional photography.
You can use any image upscaler program you want. Upscale.media is a good solution you can use online for free, but feel free to try others.
Here's Shotkit's list of the best image upscalers. All programs work in a similar way, just upload the image and set it to the maximum upscale value.
That's it – you have a digital backdrop where you can place any subject you want.

Check out these 8 essential tools to help you succeed as a professional photographer.
Includes limited-time discounts.

Ana Mireles is a Mexican researcher that specializes in photography and communications for the arts and culture sector.

👋 WELCOME TO SHOTKIT!
🔥 Popular NOW:
