


What is Side Lighting in Photography? (Portrait Examples & Tips)
Everything to know about side lighting in photography, including when to use it, how to set it up, and tips for nailing it. Plus seven fresh ideas & examples.
Learn | By Ana Mireles
Shotkit may earn a commission on affiliate links. Learn more.
Side lighting in photography is a technique where you use the lighting position to add drama or highlight details on a subject.
As you learn photography, you start to recognise how lighting helps you tell the story you want.
In this article, you'll learn what side lighting is, how to use it, and what it does to your images.
It doesn't matter if you're into portraits, landscapes, or still life. Side lighting can help you to make better photos by adding ambiance and depth.
If you're curious about this lighting setup, keep on reading!
What Is Side Lighting in Photography?
Side lighting is when the light source is positioned on one side of the subject in relation to the camera's position.
In other words, when you see the subject from the viewfinder, you'll see the light coming from either the left or the right side.
So, side lighting refers to where the light falls on the subject. It doesn't have to do with the quality of the light.
It can be hard light or soft light. It can also be artificial light as well as natural light.
When Should You Use Side Lighting?
The side lighting technique is used when you want to highlight a textured surface.
This is because a texture has volume. When you place the light source on one side, the volume automatically creates shadows on the other side – emphasising the volume.
Following the same concept, you can use side lighting for landscape photography.
This way, you can showcase dunes, waves, and other subjects with a three-dimensional effect.
You can also use it when you want long shadows to run horizontally through the frame. This can be as an element of composition or to add depth.
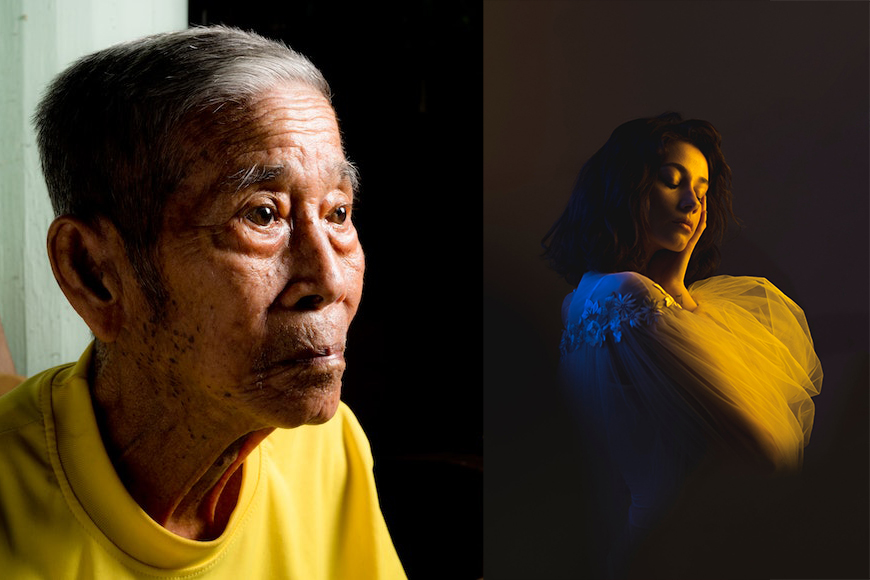
Another use of side light is when you want to add character to a portrait. This is because it emphasises the subject's features.
Using side lighting, you can create a dramatic look in any type of picture, from portraits to food photography.
When Should You NOT Use Side Lighting?
Generally speaking, you shouldn't use side-lit photos for beauty or glamour. In this type of photography, it's better to use front lighting to light the subject evenly.
This way, you'll fill any imperfections in the subject's face, such as acne or open pores.
You should also avoid side lighting if you want a flat image with a soft look.
In these cases, it's better to use backlighting or front light.
Side Light Tutorial: How To Create Photography Side Lighting
A side light can be the only light source, or it can be a part of a more extensive setup.
It can also come from different angles. For example, it can be at a 90-degree angle from the camera, but it can also be a bit to the front or the side of the subject.
So, the lighting technique you use to position the side light can create different effects.
This is the clearest example of how to set up side lighting in photography:
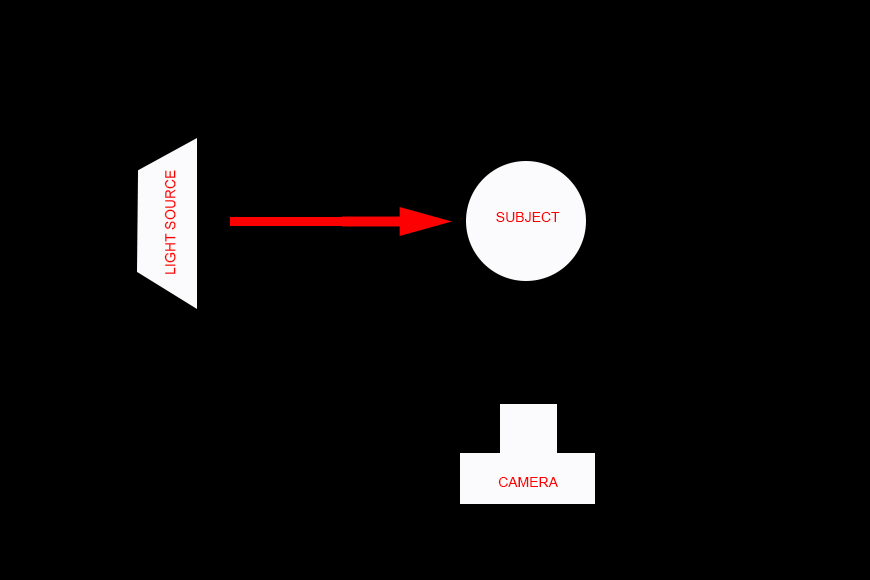
As you can see in this side lighting example, the light source is directly on the side of the subject.
You can also mirror the diagram and achieve the same side light effect on the other side.
Of course, this would mean that the light side and the dark side would be reversed.
Using this setup, you would have a high degree of contrast between the light side of the subject and the shadow side. This adds depth and drama to your picture.
However, if you have too much contrast or don't think this type of side lighting works for your picture, you can use a side light within a more extensive setup.
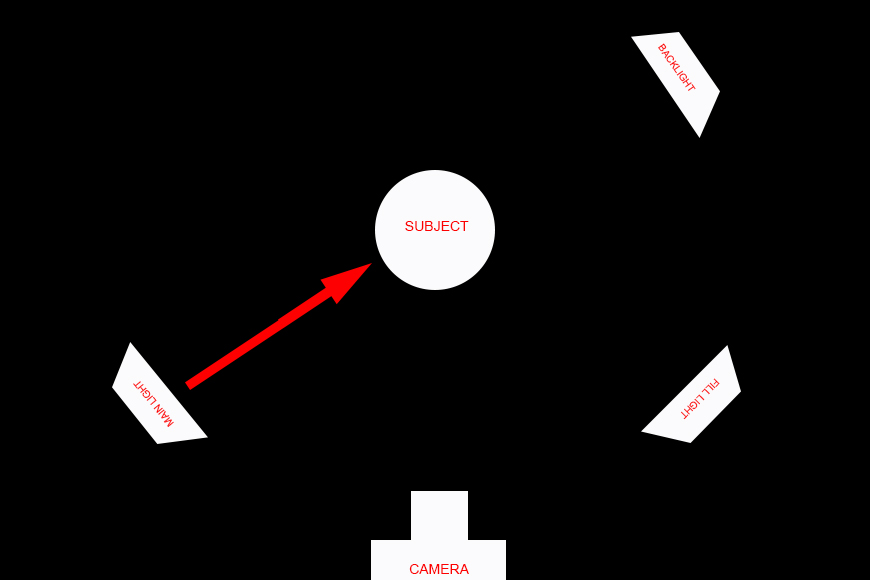
This diagram illustrates a three-point lighting setup.
To build it, you need to put your key light at a 45-degree angle. This is still considered a side light because it should illuminate half of your subject.
The other side will have a deep shadow. You'll need a fill light on the opposite side to decrease the contrast.
For example, if your key light is on the left side, the fill light should be on the right side – again, at a 45-degree angle.
You'll have a very flat image if both lights are equally bright. Instead, lower the intensity of the fill light.
This way, you'll have a richer tonal range, giving more depth.
The third light of this three-point lighting setup is a backlight. This is also called a rim light.
It adds dimension because it separates the subject from the background.
7 Side Lighting Photography Tips, Ideas & Examples
Now that you know how to position your light to have one side lit and one in shadow let's see some practical examples.
1. Window light
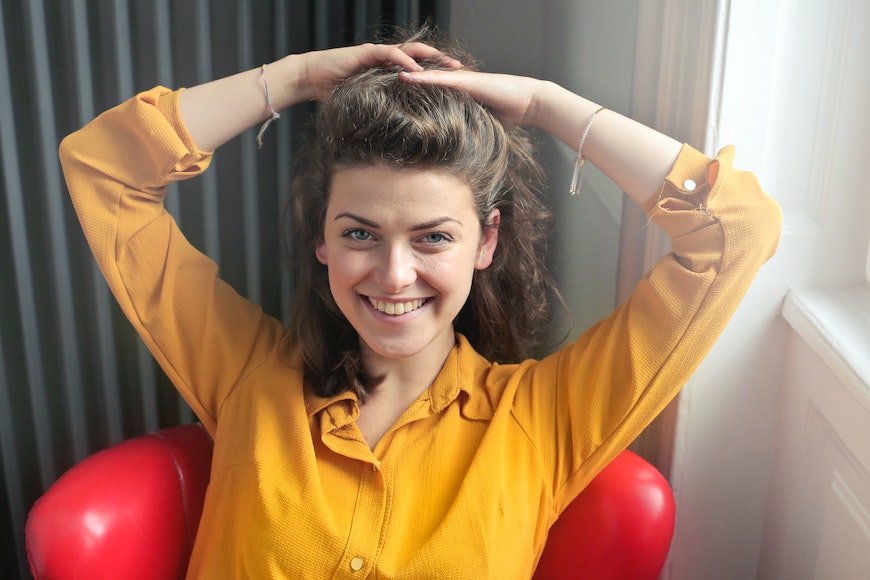
Credit: Andrea Piacquadio
Most windows, especially in houses and apartments, provide natural side light.
That's why in interior photography, or photographs taken indoors, it's very common to see side lighting created by the ambient light.
When direct sunlight hits the window, the side light will create harsh shadows.
If you prefer a softer light, you can wait for a cloudy day or shoot at a time of the day when the sun is lower.
Learn more about using window lighting in your photography.
2. Use gobos to fake a window with your side light
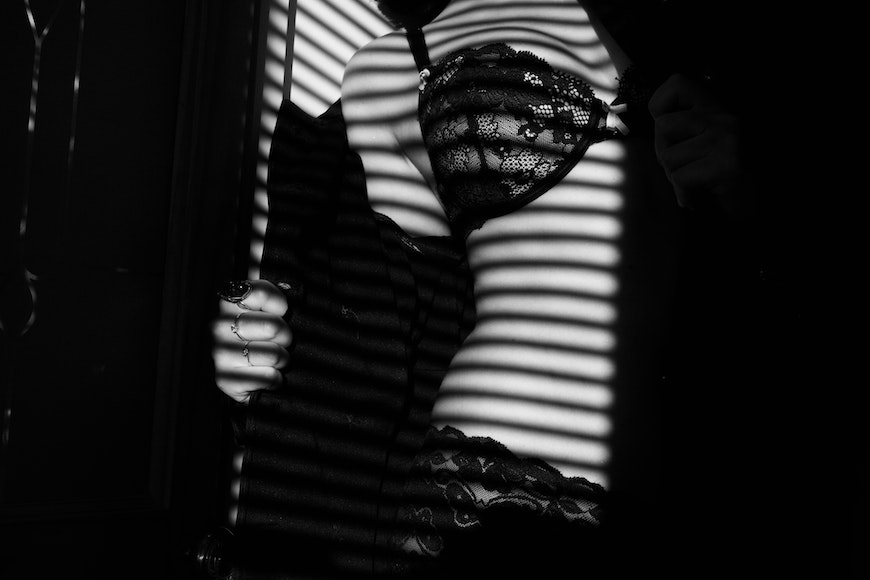
Credit: Pixabay
Artificial lighting can be very helpful because it allows us to control the light without worrying about the weather or the time of day.
However, sometimes we want artificial light to look like it's natural. For example, if you want to recreate the effect of light passing through the window.
For this, you can use a light modifier called a gobo. A gobo can have many shapes and patterns.
One of the most popular gobos is the one with horizontal lines.
That's because the shadows created by it look like the ones from the window blinds.
If you use hard lighting in photography, these shadows add drama. Otherwise, they simply provide context to create a specific ambiance.
3. Learn these side lighting tips for portraits
If you want to do a side-lit portrait, here are some ideas for you to try!
Split lighting
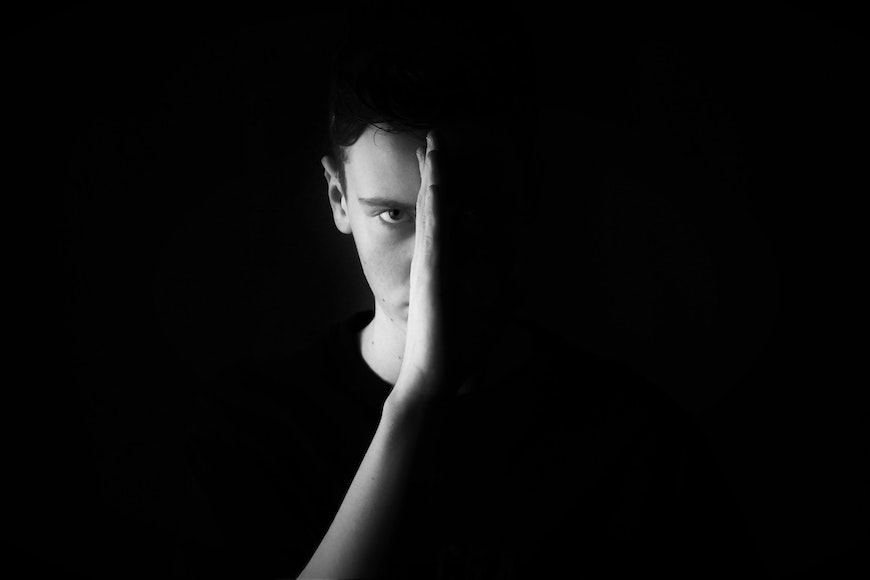
Credit: Pixabay
The perfect example of side lighting photography is a split light.
For this, you need to create a 90-degree angle with the side light and the camera. (You can see this placement in the first diagram of the article above.)
This side lighting illuminates only half of your model, splitting them in two – hence the name.
Rembrandt lighting
Credit: William Alexander
One of photography's most common side lighting setups is the Rembrandt light.
For this, you need to position a side light at approximately 45 degrees.
The trick here is that it needs to be above the subject's head, pointing down at it.
You need to find the right angle. You're aiming at having one side fully lit and a triangle of light under the eye on the shadow side.
Short side lighting
Credit: Picas Joe (left) / Yuliya Kosolapova (right)
As you probably know, bright areas have more visual weight than dark areas. That's because our eye is immediately drawn to a lit subject.
You can apply this rule to highlight the facial features of a model.
Let's say you have your model facing 45 degrees to the camera, which is a very common pose. Say they're turning to the right.
If you use a front light or an even lighting setup, the side of the face that's directly in front of the camera will look more prominent. As a result, the person will look heavier than they are.
The short-side lighting technique requires you to place the light on the right.
This way, the side of the face you see the most on camera is darker than the side where you only see a portion.
You can use a reflector to bounce light back and fill the shadows.
Otherwise, you can use a secondary light for a perfectly lit portrait.
4. Learn these side light photography tips for landscapes
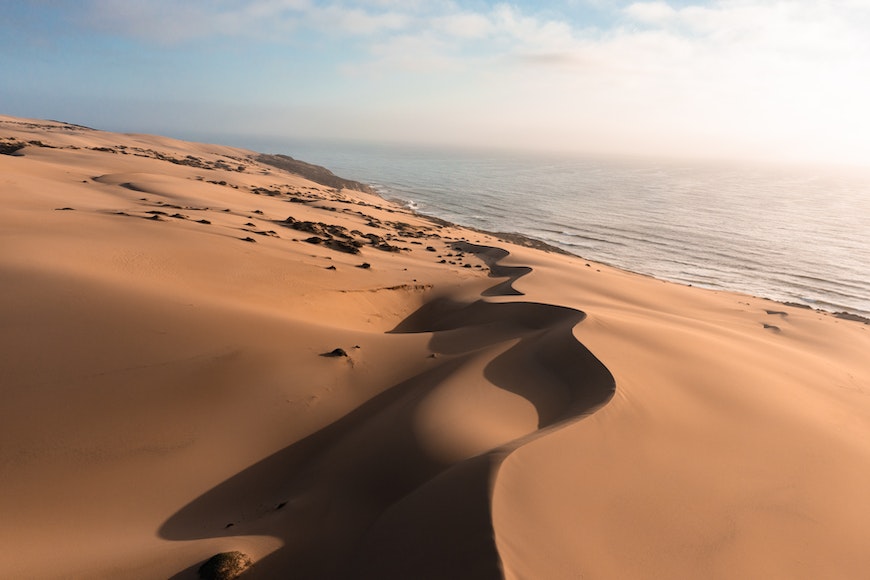
Credit: Jeremy Bishop
Avoid the mid part of the day
Most landscape photographers look for the golden hour or blue hour because the colour of the light makes beautiful images.
Another characteristic of the early morning and late afternoon is the side lighting.
During sunrise and sunset, the sun is closest to the horizon. This way, it can be used as a natural side light.
Choose your position wisely
Most landscape images taken at sunrise or sunset use back light.
This is because most photographers are photographing the sun or doing silhouettes.
For side light photography, you need to face either north or south.
If you're facing north, the sun will rise on your right and consequently will set on your left. Facing the south, it will be the opposite.
So, consider which one you want to be the light side and find the correct time and position for it.
Use apps to research sun trajectory
Luckily for us, there are many apps and websites for landscape photographers.
Using them, you can research the weather and sun trajectory ahead of time.
This will allow you to plan your photographic trip in the best way possible.
One of the most popular apps is The Photographer's Ephemeris. You can use it to see how the sun moves in a particular location at different points in time.
5. Use shadows
Credit: The Lazy Artist Gallery
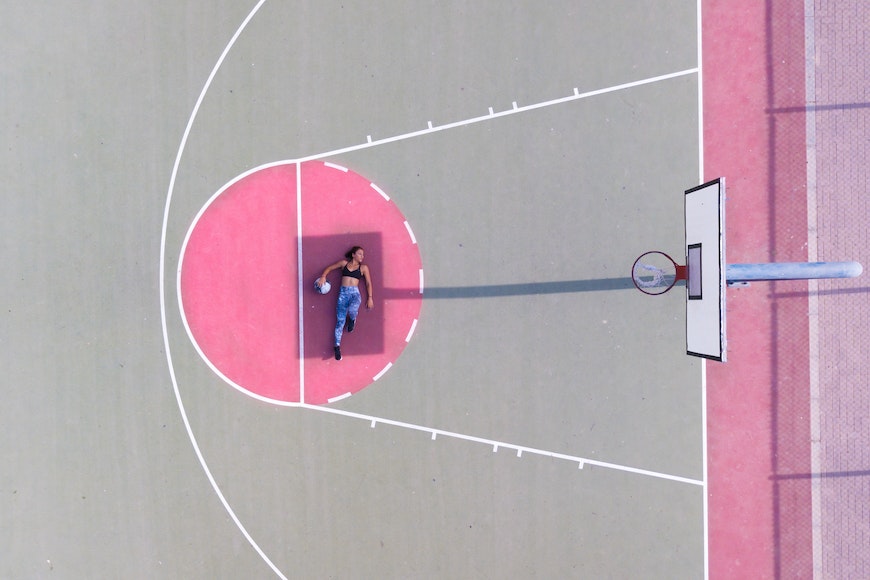
One of the characteristics of side lighting in photography is that it creates long shadows, especially if it's coming from a low angle.
Since the light is coming from the side, the shadows will run horizontally through the frame.
You can use them in your composition and get creative with your side light photography.
Keep in mind that hard lights create well-defined edges and deep shadows.
Soft lights, on the other hand, will cast lighter and more diffused shadows.
6. Get creative with the ambient light
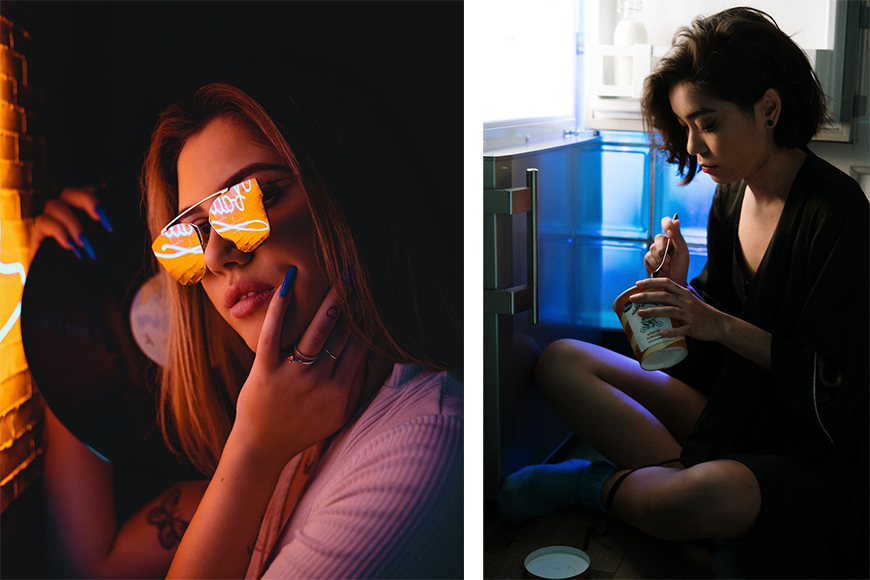
Credit: Yuri Manei (left) / Cottonbro Studio (right)
Many sources of light can be used as side lighting in everyday locations.
For example, the refrigerator light in a kitchen, the windows from a shop in a city street, or a light desk in the library.
This makes it possible to do side-lighting photography with ambient light. You just need to keep your eyes open and get creative.
7. Highlight textures
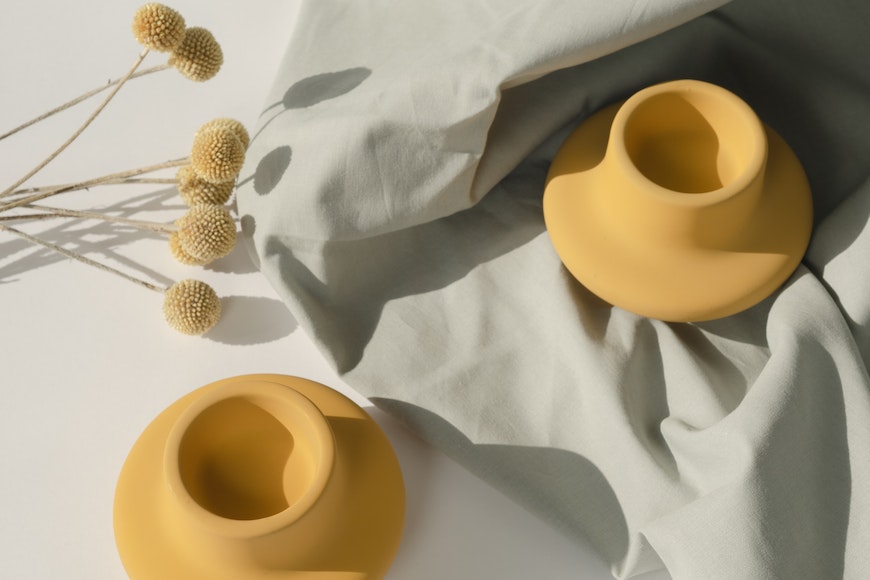
Credit: Marina M
Side lighting is perfect for highlighting the fine details of any textured surface.
Of course, the more rugged the texture, the more dramatic the results will be.
For this, you need to keep the light on the side at the same level as the surface.
Photography Side Lighting FAQs
What is side lighting good for?
Side lighting in photography is used for highlighting textures. This helps to show up the material in product photography, for example. Side lighting is also used in portraits to add character because it shows the expression lines of the subject. It also adds depth, creating very dramatic images.
What is the difference between side lighting and backlighting?
In side lighting, the light comes from the side of the subject. With backlighting, you have the light source coming from behind the subject.
What is short side lighting?
When your subject is turned 45 degrees from the camera, one side shows more than the other. If you put the light on the side where there is less showing, that's short side lighting.
Final Words on Using Side Light in Photography
Side lighting in photography is one of the most popular ways to add depth to our images. It's a great technique to learn and keep up your sleeve.
Hopefully, this article gave you some ideas on how to do side lighting that can cover you in most situations.
Whether you're using sunlight, ambient light or strobes, you can create stunning images.
Let us know in the comments how you use side lighting and what you like about it.

Check out these 8 essential tools to help you succeed as a professional photographer.
Includes limited-time discounts.

Ana Mireles is a Mexican researcher that specializes in photography and communications for the arts and culture sector.

👋 WELCOME TO SHOTKIT!
🔥 Popular NOW:
