


Hard Lighting in Photography: Embracing the Drama and Contrast
Dive into the dynamic world of hard lighting in photography, where stark contrasts and dramatic shadows elevate visual storytelling.
Learn | By Dana Dekis
Shotkit may earn a commission on affiliate links. Learn more.
Hard light is typically something photographers shy away from when taking photos.
You've probably heard the advice to never take pictures in the harsh midday sun.
What if I told you that you can actually take advantage of hard lighting to create some truly dramatic images?
When it comes to photography, lighting can make or break your images – you already learned this in our guide to soft lighting.
In this guide, I'll help you learn when to use hard lighting in photography so you can embrace the drama and contrast.
You may also like to read up on our guide to photography lighting techniques.
What is Hard Lighting?
Have you ever visited a dimly lit bathroom during a fun night out only to be greeted with a mirror showing distinct shadows on your face? If so, you're not alone!
Hard lighting is defined as a focused, typically bright light that casts harsh shadows to draw attention to something specific in photos, films, and other works of art.
Characteristics of hard lighting include sharp, well-defined shadows and strong contrast between illuminated and shadowed areas.
While this kind of hard light may seem harsh, it's associated with a visual mood that creates depth and dimension, as shown in the video above from Sal Cincotta.
Both hard light and soft light have important roles in setting the tone in photos, so let's break that down below.
Hard Light vs. Soft Light

As I mentioned, hard light is perfect for adding sultry depth that's ideal for dramatic images, films, and more – see our guide to dramatic lighting for portraits.
Hard light is often leveraged when you want your subject to appear strong, stoic, or serious, while soft light is ideal for warmer, friendlier photos.
Direct sunlight is a great example of hard light, as shown in the photo above on this sunny day.

Conversely, soft light is the style of choice when you're hoping to shoot warm, approachable photos.
Soft lighting can also be achieved outside without direct sunlight, like on a cloudy day or away from a strong beam of sun.
The shot above is an excellent example of soft light in an outdoor setting on an overcast day without harsh sun.
While you can appreciate the facial details of the subject, you won't be able to decipher her pore size, see her breakouts, or find any other skin imperfections like you would with hard light.
In studios, a single light source emitting light from a distance can help you achieve hard light while placing a light source closer to your subject can help you get soft light.
How Do You Create Hard Light in Photography?
1. Natural Hard Lighting
Natural hard light is best achieved through direct sunlight, especially in midday.
If finding direct sunlight at high noon proves to be a challenge, you can also utilize reflections from water, glass buildings, or metallic reflectors to bounce light back onto your subject and get some of the harsh shadows and dramatic effects you're looking for.
2. Artificial Hard Lighting Techniques
If direct sunlight isn't an option, you're in luck! There are plenty of artificial hard light sources available in today's world.
The main benefit of artificial hard light is that you have more control over the light source and aren't limited to a specific timeframe like you are with the sun, so I'll call out some specific artificial light techniques and modifiers below you can use for cloudy days or just within your studio.
- Spotlighting is a great way to nail the look of hard light by placing a light source directly above your subject, which will allow their face and body to be illuminated while maintaining contrast.
- Bare bulb lighting is also effective in getting hard light artificially. Once you have your subject positioned, place your bare bulb on one side and a reflector on the other side to bounce the light back.
- Snoots offer an effective way to create hard light because they can create a concentrated light beam without lighting the surrounding area.
- Barn doors are also helpful modifiers that can help you shape the light however you need to.
- Honeycomb grids are another excellent light modifier when you need to reduce light spread and create hard light.
3. Positioning Hard Lights
As noted earlier, your subject will generally be lit according to how close your light source is.
Hard light is typically achieved through a distant light source, while soft light is usually made possible by a closer light source.
You should also consider angling techniques to amplify the dark drama of your images.
Starting at a lower angle where you hold your camera down and upward towards your subject will make your subject appear larger than life and instantly add drama!
And sometimes, less is more — a single light setup can create hard, defined shadows without a ton of effort.
Recommended Settings and Gear for Hard Lighting Photography
1. Camera Settings
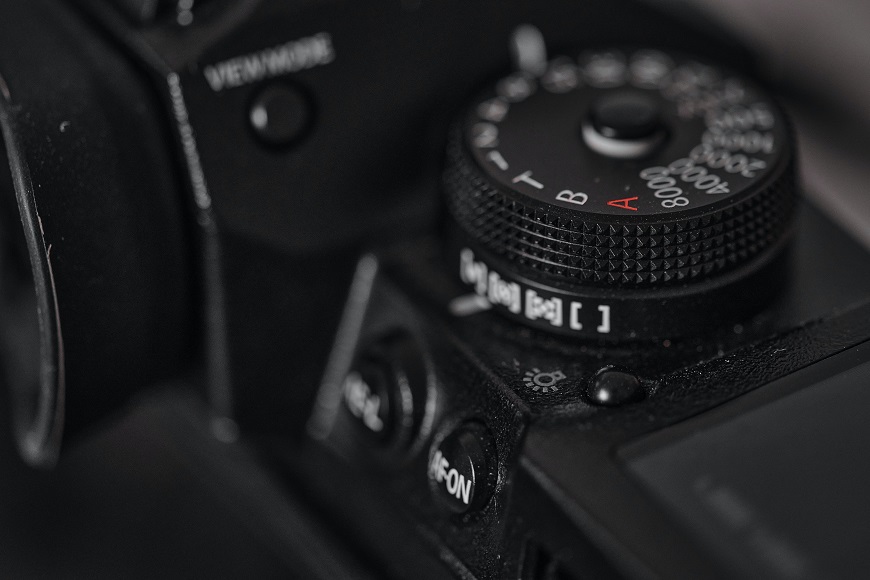
A lower ISO means less light sensitivity, so shooting in hard light means using a low ISO (100) to get the optimal balance of dark contrast and clarity.
A higher ISO will mean a brighter photo, which you won't want in hard light photography.
While you want to go for a low ISO in hard light photography, you will actually want to go high with shutter speed.
When shooting in hard light, you want to use a higher shutter speed to let less light in while ensuring you get a sharp image.
I recommend starting with a narrow aperture to allow less light in so you can get high contrast images, but play around with different apertures to see what tickles your fancy.
Note that white balance adjustments vary from camera to camera, but most come with the following settings: automatic white balance (AWB), fluorescent, incandescent, daylight, shade, cloudy, and flash.
You can also manually adjust your white balance to capture colors accurately and avoid color casts.
When working in soft light, you'll want to experiment with the daylight setting to replicate the hard light that comes from direct sunlight, which will bring your white balance to about 5000k.
2. Lenses and Filters
When working with a traditional lens, a 35mm lens is great for its versatility.
Many photographers would actually argue that you don't need special lenses and that the quality of the lens is what matters most!
And because there's a vast array of dramatic filters out there, you can easily up the drama of your hard light photos while editing.
You can also manually adjust brightness and exposure when shooting hard light images.
Be aware that excessive contrast can make your image look fake, so be sure to make gradual adjustments to preserve a strong sense of integrity in your photo.
3. Modifiers
I talked about modifiers already, but they're a great tool for creating both hard light and soft light.
In the case of hard light photography, you're seeking a modifier that narrows your beam of light to effectively harden it.
You're essentially looking to recreate the hard direct sunlight you get outside or from strong window light, so grids and snoots are ideal since they reduce the light spread that occurs from your flash to create more concentrated light.
Incorporating Hard Light in Different Photography Genres
1. Portraiture with Hard Light

When shooting in hard light, you want the light to fall at just the right angle so the features of your subject are highlighted and shadows are present.
In portrait photography, this will not only emphasize facial features, it also create the dark and broody mood you want.
In hard light scenarios, a skilled photographer will direct the subject to lean towards the light source to get prominent shadows while highlighting your subject's face.
2. Landscape Photography

If you're going for hard light in landscape photography, you'll want to utilize hard shadows for depth and dimension.
Ideally, you'll be shooting outside in the sun anyway, so aim for things like the textures in Badlands National Park shown above, which is full of dramatic landscapes purely by its existence or dramatic skies.
3. Fashion and Editorial Photography

Hard light can define form and textures in any style of photography, but it's truly stunning at the magic it works in fashion photography.
While the grainy photo above actually showcases soft light in what appears to be an overcast setting, just imagine it with hard light!
Hard light would really bring the makeup and skin tones to life and let the models' facial features shine, which you'll always see creative uses of in high-fashion shoots and editorials.
4. Film Noir and Cinematic Approaches
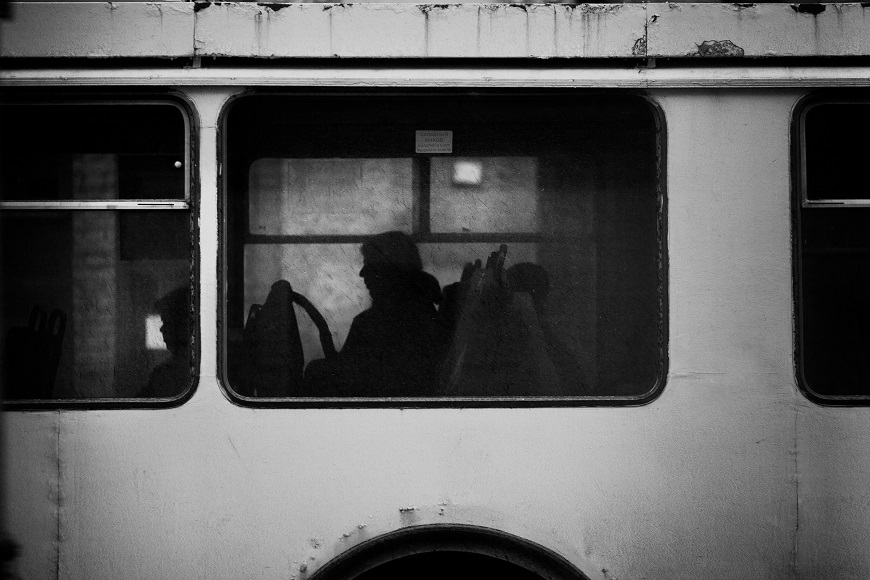
Film noir is innately made up of a dramatic visual centered on hard light and high contrast.
Inspired by the classic hard lighting aesthetics of old Hollywood, this photography style is an excellent example of hard light at work.
Modern interpretations in contemporary photography will typically be black and white or monochrome to add a vintage vibe within high contrast scenes.
Although the silhouette captured above doesn't have quite enough contrast for me to classify it as hard light, it's an awesome illustration of this cinematic approach to hard light photography.
5. Flat Lay Photography
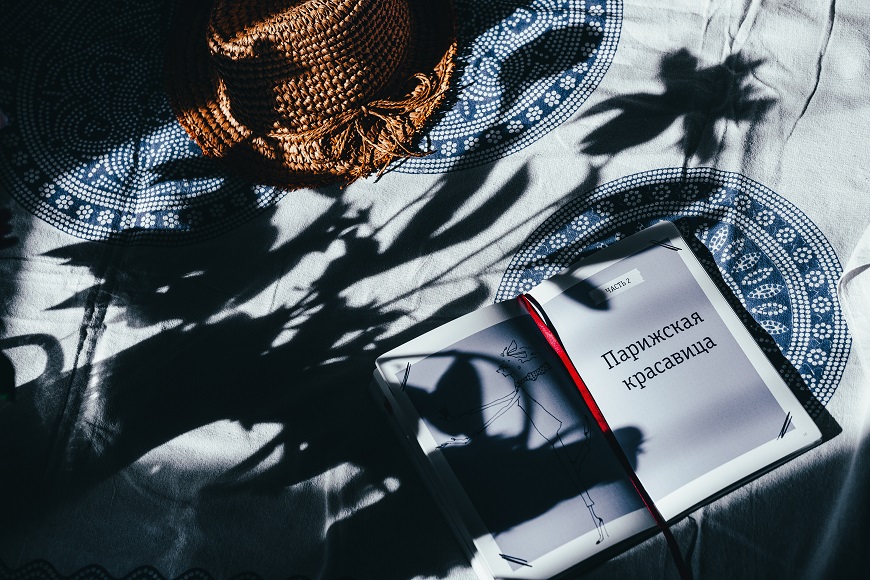
Using window light to create hard light is great for flat lay photography, which allows you to create harsh shadows without going outside to stand against a white wall, as shown above in a shot from Vika Strawberrika.
6. Food Photography
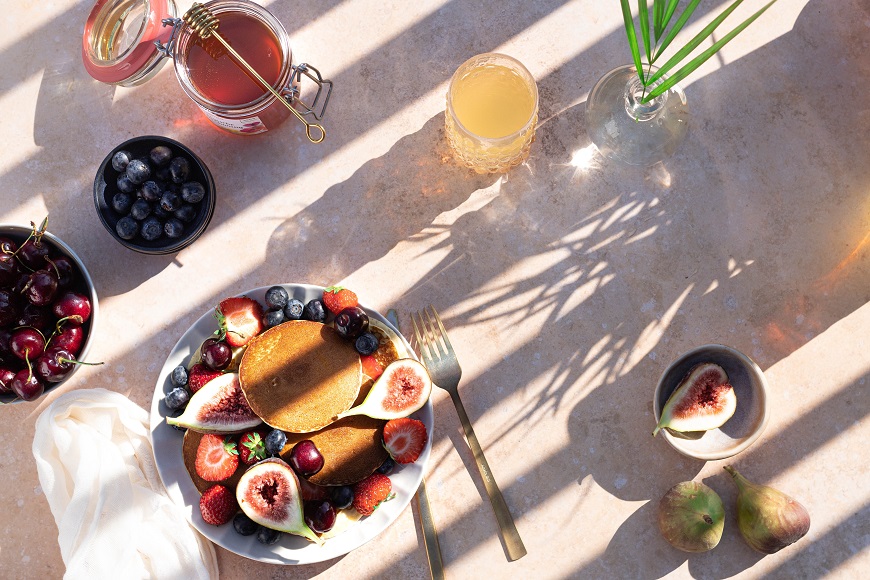
Food photography can also really benefit from both hard and soft light, but there's some drama to be enjoyed with hard lighting.
Take this shot above from Michelle Henderson, which has dark shadows to help her food photo stand out.
Challenges and Solutions of Hard Lighting in Photography
1. Controlling Unwanted Shadows
Controlling shadows whether you want to create hard or soft light is one of the biggest obstacles in photography.
However, you can use reflectors to create hard and soft light accordingly.
Positional adjustments can mitigate overly harsh shadows if you place light sources on the left and your reflector on the right.
Reflectors work wonderfully for hard and soft light — choose one with a matte surface to create soft light and a metallic one for hard light.
2. Managing Overexposure
As discussed earlier, you can play around with your camera settings to handle high contrast.
You'll want to narrow down your aperture and raise your shutter speed if your image is too bright.
In terms of post-processing techniques for balancing exposure, you can consider presets.
Try a variety of presets to see which ones have a good base and let you easily make little tweaks.

Check out these 8 essential tools to help you succeed as a professional photographer.
Includes limited-time discounts.

Dana is a passionate lifestyle photographer and professional writer. When she isn’t working with designers and creative directors at photoshoots, she can be found using her Fujifilm or Nikon cameras out in the wild, capturing elements of fashion and nature.

👋 WELCOME TO SHOTKIT!
🔥 Popular NOW:
