


Best Makeup for Pictures: Pro Tips for Stunning Photos
Discover essential makeup tips for stunning photos, covering the best tips and techniques to enhance your features for picture-perfect results.
Learn | Photography Guides | By India Mantle
Shotkit may earn a commission on affiliate links. Learn more.
In the age of social media, everyone wants to look their best in pictures.
While there’s no one-size-fits-all answer to the question of how to achieve that perfect look, there are a few tips and tricks that can help you put your best face forward.
This article will discuss the best makeup for pictures, covering everything from choosing the right foundation to applying your makeup like a pro.
We’ll also go through tips on how to take great selfies and how to edit your photos to get the most out of your makeup.
6 Tips for the Best Makeup for Photos
Let’s check out some of the top tips that’ll help you get the best shots to post to your social media.
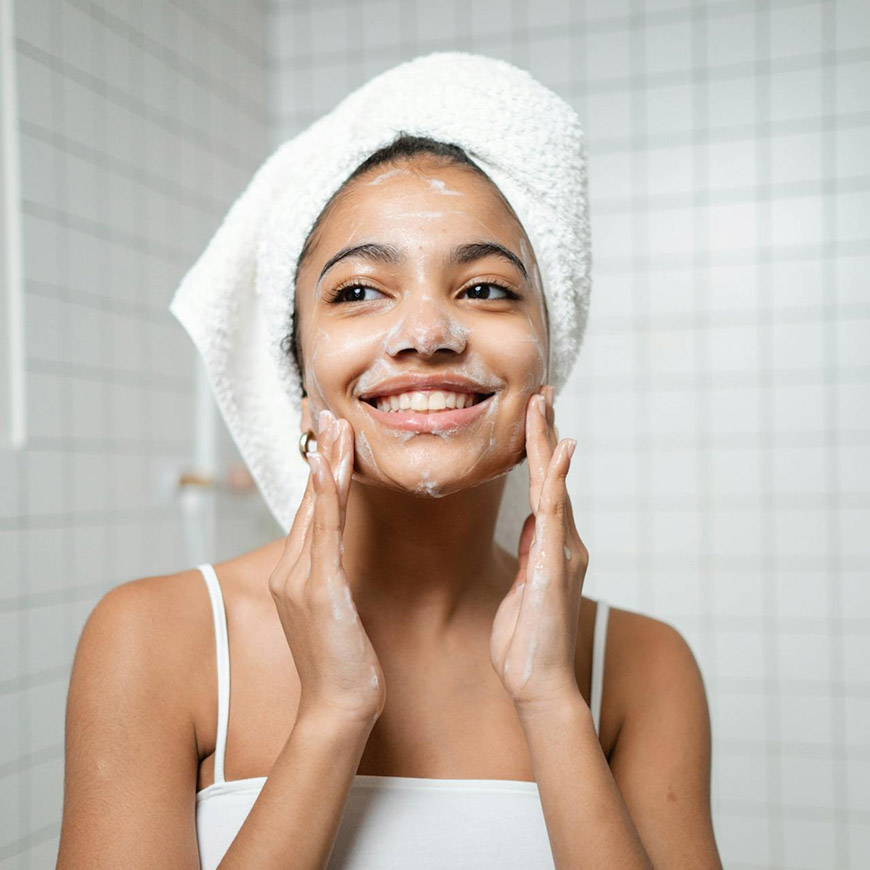
1. Prep Your Skin
Credit: Ron Lach
Starting with well-prepared skin is the most essential step. You should cleanse, exfoliate, moisturize, and use SPF if you’re going to be outdoors.
Ideally, you should apply a hydrating moisturizer after cleansing, and it should be lightweight. It’s also important to choose the products that suit your skin tone and type – whether it’s greasy, neutral, or dry.
If you know you’re going to use the flash while shooting outside, you can opt for a chemical-filter SPF. Mineral-based sunscreens can cause a white cast because they stay on the skin's surface.
2. Choosing the Right Foundation

Credit: Lala Da
Less is more when it comes to foundation – you don’t need anything heavy-duty or full coverage base.
Go for a foundation that balances shimmer and matte to give your skin a natural glow. These are also the least detectable in photos.
If your foundation has SPF, make sure that it’s flash-approved. Sometimes, flash-friendly foundations with SPF will be marked “HD.”
Whatever you do, steer clear of foundations with a high SPF that aren’t photo-friendly. This is one of the biggest yet most common mistakes.
Moreover, make sure you’re in a setup with natural light when applying your foundation so you don’t overdo it or pack more than you’ll need.
You can apply the foundation to your forehead, cheeks, chin, and bridge of your nose with your fingertips. Then, add some more only to the areas that you feel need more coverage.
Keep in mind that cameras usually bring out the layers on the face, so make sure you don’t use too many layers. Otherwise, you’ll get a mask-like complexion in your pictures.
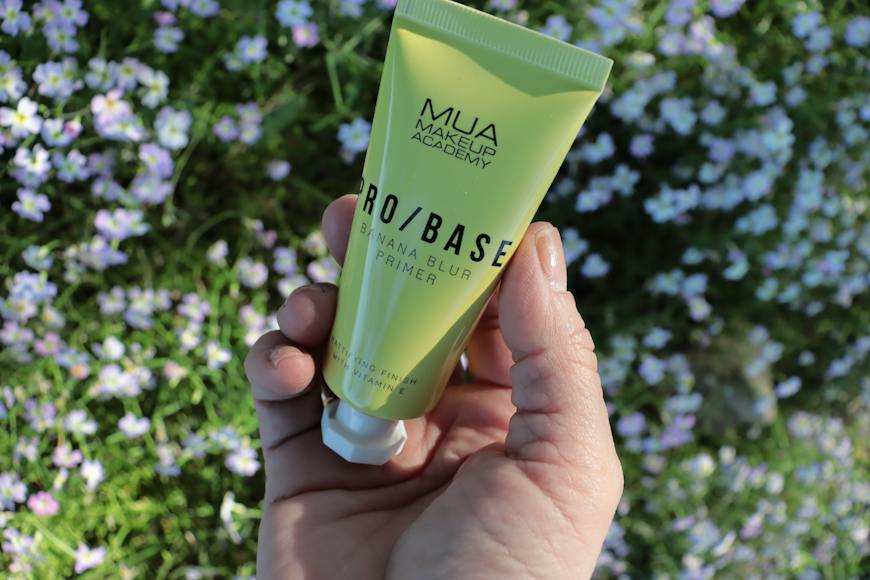
3. Picking a Primer
Credit: Aggeliki Siomou
For an everyday look, some concealer may be enough to smoothen the skin and hide dark circles. However, to look flawless in your pictures, you should also add a primer that reduces the sharpness of skin texture and flaws in photos.
A primer can do one of three things. Some primers cancel the redness to even out your skin and make choosing a foundation an easier task.
Other primers give your skin a subtle glow. This brings life into skin that would typically look dry in pictures.
Finally, some primers add hydration and eliminate flaky textures to ensure a smooth canvas for putting makeup on.
You should choose the primer that best suits your skin’s needs. When you apply it well before shoots, your makeup will look flawless.
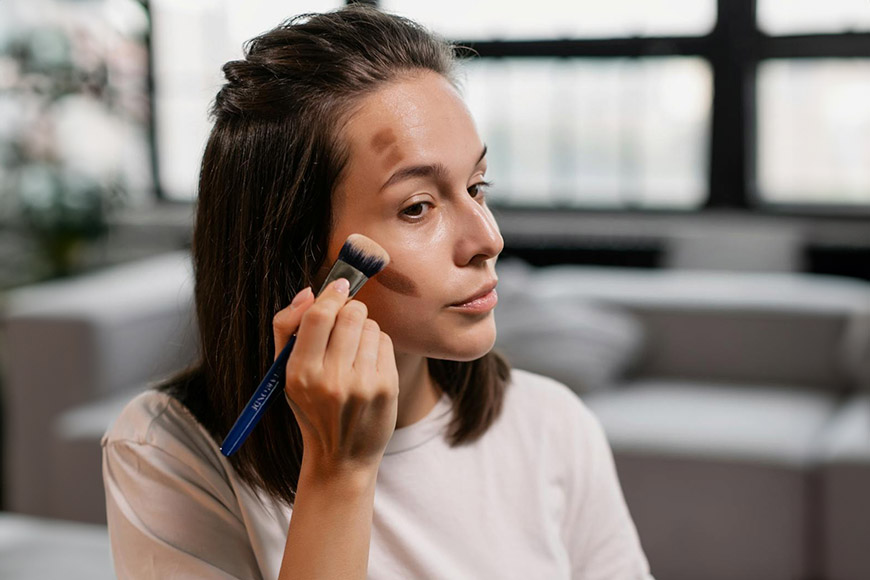
4. Cheek Contouring
Credit: Alena Darmel
If you’ve ever tried taking a picture after contouring, you’ll know the world of difference it makes.
Use a contour palette to add dimension and depth to your face while incorporating natural, warm tones for the bronzer and blush.
Avoid going for a bold or muddy look, too. Keep it light and give your complexion some warmth for a natural glow in your pictures.
Pro tip: Use more pressure when applying blush than you normally would.
Heavy blush looks amazing on camera, and to get the best results, you can use a cream blush and seal the deal with a powder blush. Alternatively, you can start with translucent powder for setting and then add your blush.
Not only does it make the blush look more vibrant, but it also helps it stay on for a longer time.
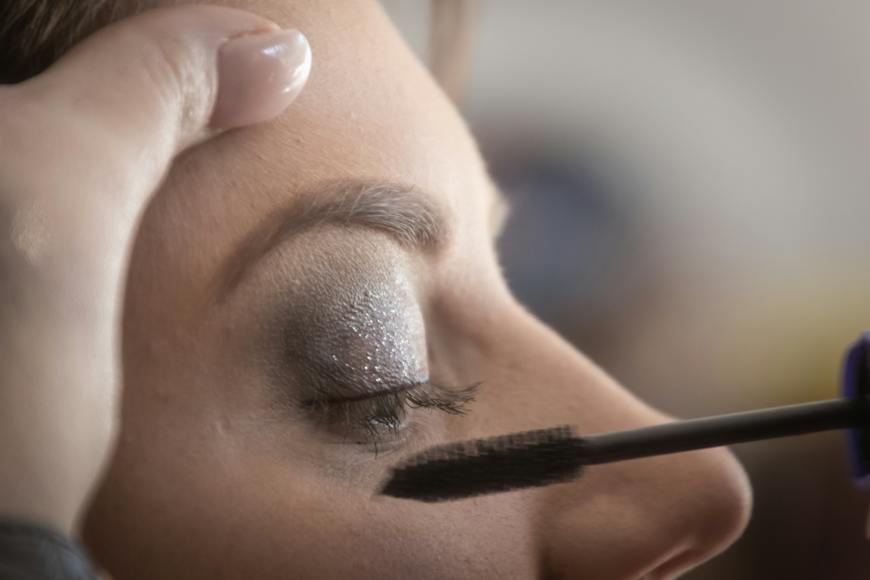
5. Do Your Due Diligence with the Eye
Credit: Magda Ehlers
The eyes are the window to the soul, so you should focus on bringing the best out of yours.
Play up the size and shape of your eye makeup to make your eyes stand out, and make sure to shape out your eyes’ natural crease.
If you want to add some dimension as well, you can line your eyes with a warm gray or soft brown shadow.
To make your eyes look bigger, focus the eyeliner on the upper lids. If you have small eyes, steer clear of applying eyeliner to the bottom lid, as it makes your eyes look smaller.
Finally, accentuate the look with mascara on both your top and bottom lashes. Better yet, put on false lashes with a focus on the outer corners of the eyes to give more shape and elongate your eyes.
Make sure to focus on one feature at a time. Avoid using bright colors on the lips, cheeks, and eyes all at once.
Keep an eyebrow kit on you to fill your brows before taking pictures. Follow their natural shape and make them look natural by avoiding going too dark or too heavy.
6. Accentuate the Lips
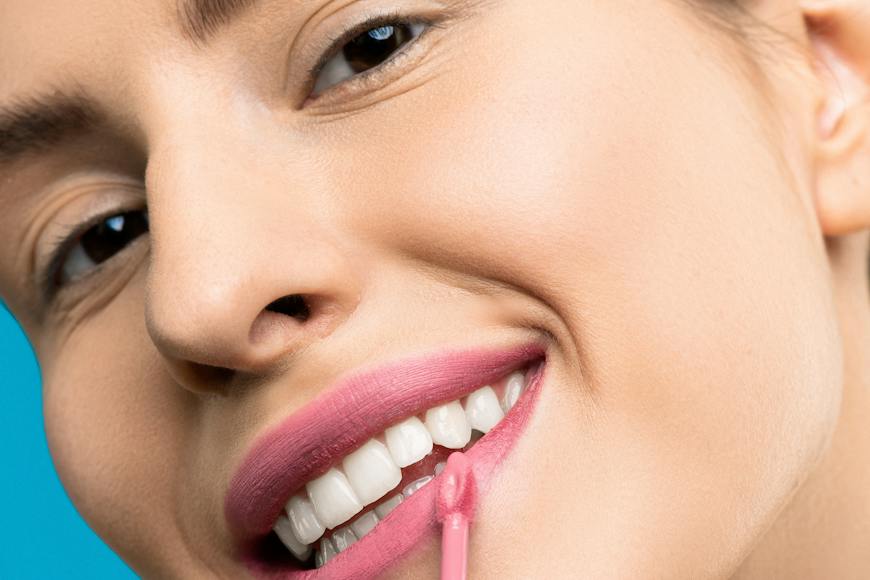
Credit: Shiny Diamond
Use a lip liner that’s one shade deeper than the natural color of your lips to line your lips. This gives them more depth, definition, and contour. Make sure that you apply it along the natural lip line.
Then, use a lipstick that’s two shades darker than your natural lips. Finish with a lip gloss to give your mouth a full pout.
Why Does Makeup Look Different in Pictures?
Makeup always looks a little different in pictures, whether it’s a selfie, a group picture with the gang, or a professional photo session. The main reason is the lighting, especially with the flash involved, since it washes out the features.
There’s also a subjective aspect, too, which is that makeup looks different in mirrors than it does in pictures.
It’s all about the science of how we see ourselves in the mirror as opposed to how we see ourselves in pictures.
In all cases, you need to understand how the makeup in the mirror will be reflected in photos to apply it correctly.

Check out these 8 essential tools to help you succeed as a professional photographer.
Includes limited-time discounts.

As the General Manager of Shotkit, India Mantle brings with her a lifelong love for photography that she developed during her childhood, watching her father document their family moments with his Nikon EM. In her free time, you find her enjoying the awe-inspiring natural beauty of her home, Northern Rivers, Australia.

👋 WELCOME TO SHOTKIT!
🔥 Popular NOW:
