


What is Lens Flare in Photography? (+ Tips to Create or Stop it)
What is lens flare and how can you use it for creative effect? Find out in this easy-to-understand guide, plus 11 pro tips for great results!
Learn | Photography Guides | By Ana Mireles
Shotkit may earn a commission on affiliate links. Learn more.
I’m sure that, intentionally or not, you’ve had lens flares in your photographs at some point. And you either loved the effect or hated it!
That’s because a light flare can go either way. It can be a beautiful addition to enhance your photo or an unwanted artefact that distracts from the subject or lowers the quality.
This article is designed to help you in both situations. First, we'll look at what a lens flare is and what causes it, so you can take control.
Then, some tips and tricks to reduce or avoid the effect when you don’t want it, or to produce and enhance it when you do.
What is Lens Flare?
Lens flare is an unwanted light on your image. It can be created in different ways.
The first possibility is that stray light hits and reflects on the front element of your lens.
Another cause is the light reflecting back and forward through the multiple lens elements.
Finally, it can be light bouncing from the sensor to the back elements of the lens. Each one of these reasons creates different effects.
- Veil – This type of lens flare is created by a bright light coming from the side and hitting the front of the lens. So, the source of light is not in your photo but it’s coming in anyway. This creates a screen or a cast on your image which can be distracting or even cover your subject. You can prevent it mostly with a lens hood or a flag.
- Ghosts/Artifacts – Another kind of lens flare introduces ghosts or artifacts into the image. They're different for every lens because they depend on the shape of the diaphragm. Normally, it will start at a bright light source inside your image and continue in a straight line throughout the photo. You can avoid or diminish the problem by using large apertures.
- Color dots – This lens flare is created by very strong light directly hitting the sensor. Because of this, you can also find some literature about it with the name ‘sensor flare’. It normally happens with apertures smaller than f/11. Its visual result is a number of colored dots, mostly red, across the image.
As you can see, each type of lens flare happens because of a specific reason, but there are different factors that also have an impact on all of them. The most important factor is the position of the camera in relation to the light source.
Also, the type and quality of the camera lens that you use is a decisive element. For example, zoom lenses are particularly prone to flare but also the design and coating can make a difference.
The camera settings have an important influence too, as they do in all types of photography.
Other factors include the material, size, and shape of the lens hood, the type and quality of your filters, and so on.
I’ll be going into more detail about all of these throughout the article, both to prevent lens flare or to enhance it according to the situation.
Is Lens Flare Good or Bad?
It depends both on your personal taste and the specific image that you’re evaluating. If it complements the subject, it's good.
If, instead, it distracts or covers the subject or makes your image look poor quality, then it’s bad.
How Do I Get Rid of Lens Flare?
Here are some steps to avoid lens flare when taking photos:
1. Don’t shoot into the light – I know this is not always possible but it's the only way to completely avoid having a lens flare. If you have to do it, for example, when shooting a silhouette against the sun, follow the next tip.
2. Block any light sources – If it’s not possible for you to completely change your position, try to at least reframe the composition to cover the light source. This can improve your chances of avoiding flare.
3. Shoot from the shade – It's important to control the light source coming into the frame, but flare can be caused by light arriving from the side into your lens. If you stand in a shadowy area, you’ll have some extra protection.
4. Use lens hoods – A lens hood is a camera accessory specifically designed to prevent lens flare. You attach it to the front of your lens and it will protect it from being hit by an unwanted light source that comes from the side. Lens hoods come in different shapes and sizes. They aren’t 100% effective, so combine them with other techniques for the best results.
5. Use flags – When you have an intense light coming from the side and a lens hood is not sufficient, you can use flags to block the light that comes towards the camera. If you don’t have a flag try using cardboard or even your hand to cover it.
6. Use prime lenses – Zoom lenses have many more optic elements inside than prime lenses because they need to work at different focal lengths. Since flare is created by light reflecting and bouncing through the optics, the more elements a lens has, the more chance of flare – choosing a prime lens can help minimize lens flare.
7. Clean your camera lens – Dust and fingerprints are not the cause of the flare, but they intensify the effect. Having your lens clean will help you with this. Don’t forget to clean the back of the lens too.
8. Pay attention to quality – This advice works both for lenses and for filters. High-quality lenses are built to avoid distortion and artefacts, including flare. They'll also have a better anti-reflective coating on the lens elements. Once you’ve invested in a good lens, don’t ‘ruin’ it by using a cheap filter. These are known for increasing the lens flare.
11 Tips for Amazing Lens Flare Photography
Now you know how to avoid lens flare when you don’t want it, but sometimes it can be used as a creative element. Here are some tips to master its use.
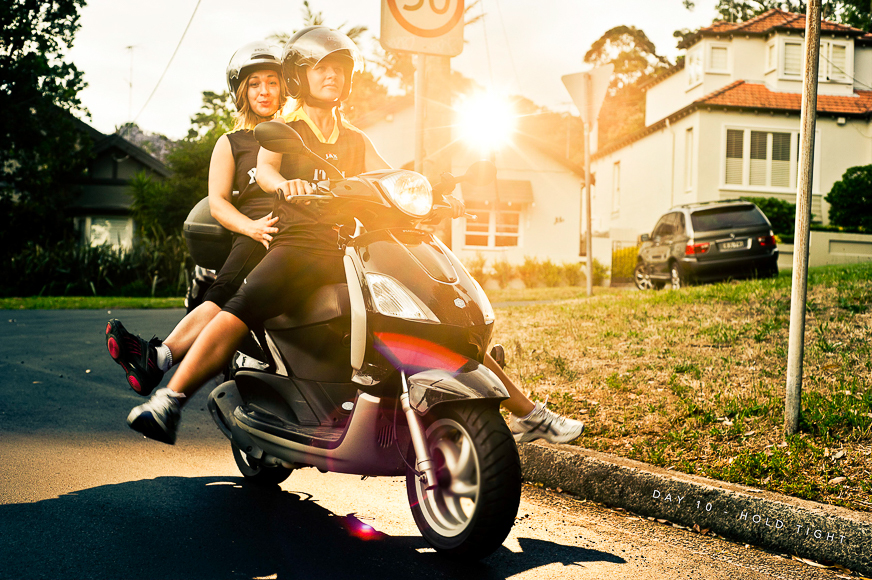
1. Shoot into the Sun
Because lens flare happens when the light source hits the reflector and bounces through the lens elements, a good way of achieving it is by pointing a bright light source (like the sun) directly into the camera.
When the light is strong enough, you're sure to get a flare.
You can also recreate this with studio light. Just make sure that you place them in the right area of the composition and use the right camera settings to achieve a pleasant effect.
2. Move Around to Encourage the Lens Flare Effect

When you reposition yourself for the shot, you’re not only changing the point of view or the framing of the scene, you’re also affecting the angle of the light sources.
Since flare is formed with the reflection of the light, this will be different depending on the angle that it's hitting your lens. Make sure that you remove the lens hood from the camera.
3. Block Only Part of the Light
Sometimes having the sun or other source of light pointed directly at the camera can create a flare big enough to ruin the photo. To have better creative control over it, try blocking the source of light with the subject or any element from the scene.
Then, slowly move the camera to let out the light little by little until you find it creates the perfect lens flare.
If, instead, you're creating the lens flare using a light that comes from out of the frame, you can change to a smaller lens hood.
You can also try using different shapes. If a cone lens hood is blocking too much light, try using one with three or four petals.
Try rotating them to find the position that lets in the right amount of light for the lens flares that you're looking for.
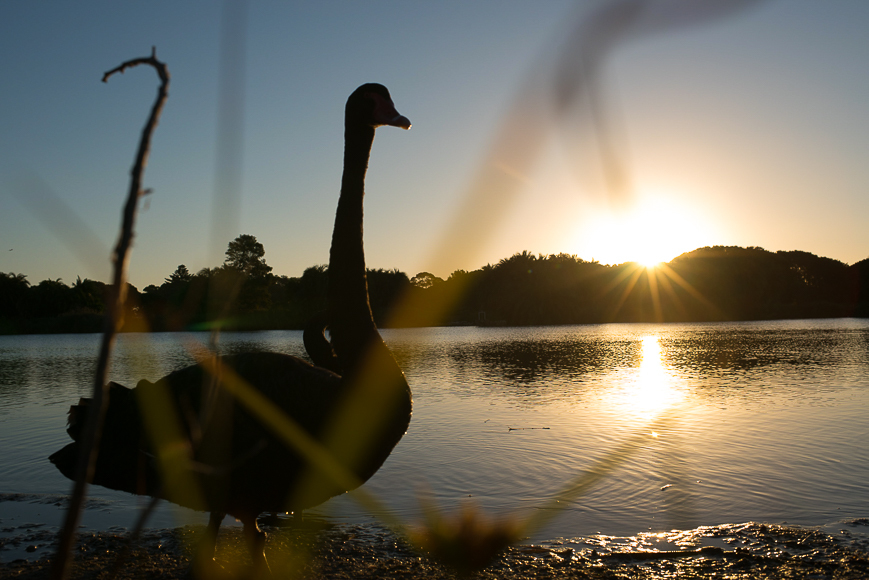
4. Choose the Right Time for Amazing Sun Rays

For a better composition in which the sun is behind the subject, it should be close to the horizon. Of course, this depends on the subject and your location, but this is a good rule of thumb.
This happens during sunrise and sunset and the hours that surround those events (otherwise known as the golden hour).
Depending on the latitude, the sun will remain low for longer or shorter periods of time at different times of the year. That’s why you need to be aware of when and where you should position yourself to make the best images with lens flare.
5. Strategically Place Artificial Light
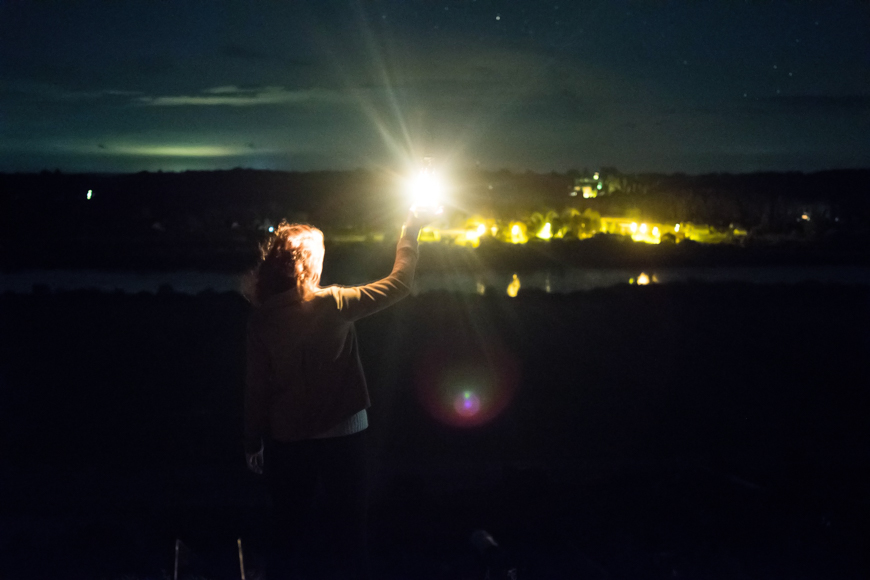
Credit: Egidijus Bielskis
The good thing about artificial light is that you can move it and manipulate it as you see fit. You can always add a light that comes from the side or the front of the camera to create a flare in the right place of your image.
You don’t necessarily need to be in the studio or have professional lighting equipment to achieve this. Try experimenting with the torch from your iPhone.
Place your camera on a tripod and frame the scene. Then aim the phone towards the lens on one of the sides. Just make sure that the phone doesn’t come into the photo.
6. Maximise lens flare with filters

As I mentioned before, low-quality filters can create flare and that’s why you shouldn’t use them if you’re trying to avoid it.
But, when you do want a lens flare, then you can try UV filters, polarizing filters, and neutral density filters. Experiment with them to see what you can create.
If you’re feeling particularly adventurous, you can try prism or fractal filters for multiple flares or streak filters to create an anamorphic flare lens effect.
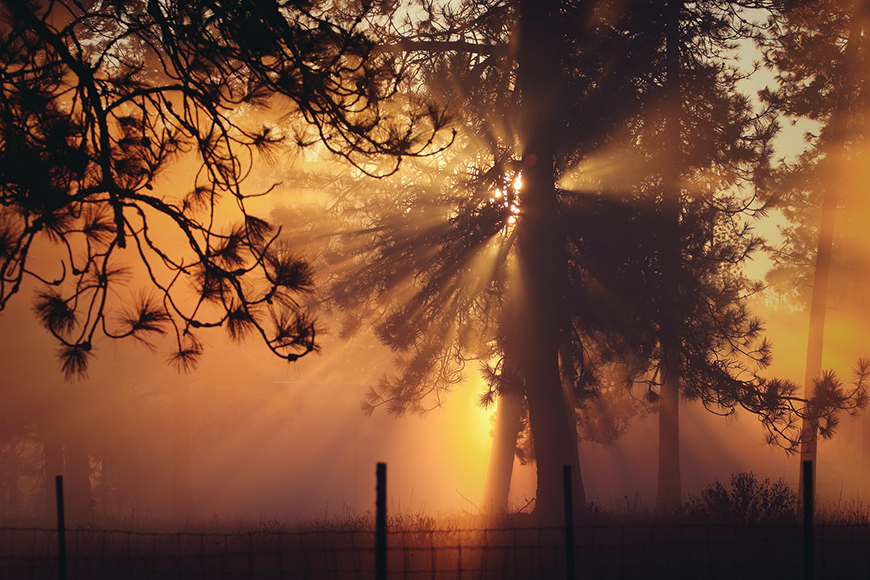
7. Experiment with Aperture to create lens flare

The size and shape of the light flare are determined by the lens diaphragm. When you open or close the aperture, you’ll have different effects.
You can get an idea of how it’s going to look when you change apertures by pressing the depth of field preview button. This is useful in film photography when you have a limited amount of photos.
For digital photography, it’s more accurate to just shoot and see the final result since you don’t have to limit yourself.
8. DIY some artificial lens flare
Credit: Timothy Eberly
You can help or increase the lens flare in your images with some DIY tricks. For example, as I mentioned before dust and fingerprints can be a common cause.
To recreate that effect without damaging your camera lens you can use a cheap UV filter and add some petroleum jelly (A.K.A. Vaseline) to create a greasy spot that will intensify the light flares when pointing a bright light source towards it.
See here for more DIY camera hacks.
9. Post-produce your lens flare photography

It’s one thing to capture a lens flare and another to make your image pop with it. Sometimes to really enhance the flare you need to do some post-production.
Some of the most common edits that you need to do with a lens flare are adjusting the exposure with curves and pumping up the saturation and contrast. This is because some types of flare create a haze that can flatten the image.
With these adjustments, you can make your photograph vibrant and colorful.
Another edit that most photographers like is to bump up the warm tones, as this is very flattering to an image with lens flare.
10. Use Lens Flare Overlays

When lens flare is used correctly it's a very desirable look. So much so that you can find a lot of Overlays that look like sun rays (sunflare) or simulate lens flares in Photoshop. You can also find Lightroom Presets if you prefer to do your edits there.
Sometimes Lightroom presets are free (here) and other times you’ll have to buy them, but it’s a good investment if you use lens flare often as part of your style.
Of course, you can also make your own effects and save them as presets, textures, or actions depending on your preferred editing workflow.
You should also check out Luminar Neo (reviewed here), which allows you to add sun rays very simply to any photo.
11. Create a Lens Flare in Photoshop

In Adobe Photoshop, you can create your own lens flare effect by going to the menu Filter, Render, Lens Flare. This will simulate a real flare effect and you can even choose which lens you want (remember that different camera lenses generate a different shape and type of flare).
You can also control the position and brightness. I suggest you convert your layer into a Smart Object so that you can adjust the effect as many times as you need.
If you do your post-processing on your smartphone, Photoshop Express also has a series of flares that you can add to your photos. You can find them in the menu under the name Light-Leaks.
Final Words
In summary, a lens flare can be a good or a bad thing in your photo – and that’s why you need to know how to control it.
Hopefully, this article helped you understand how to avoid a lens flare effect when it lowers the quality of your image, and how to create it when it’s a welcome addition to your creative view.
If you have any questions or tips regarding lens flare, leave us a comment below, and be sure to check out our article on light leaks for more similar creative inspiration.

Check out these 8 essential tools to help you succeed as a professional photographer.
Includes limited-time discounts.

Ana Mireles is a Mexican researcher that specializes in photography and communications for the arts and culture sector.
1 Comment
Leave a Comment
👋 WELCOME TO SHOTKIT!
🔥 Popular NOW:

Thank you so much for the tips!! Your information is terrific and helpful!!