


When To Use Wide vs Narrow Aperture Photography + Examples
Wide vs narrow apertures: when should you use them? With 20+ examples plus pro tips, this article will teach you which aperture to use in any situation.
Learn | By Ana Mireles
Shotkit may earn a commission on affiliate links. Learn more.
Do you know the difference between using a narrow aperture and a wide one?
If you find yourself randomly adjusting the aperture until the light meter tells you that you've reached the correct exposure, you're not taking creative control of your camera.
Let's take me as an example. My favourite subjects don't usually involve movement. I love photographing still life, food, flowers, and landscapes.
So, shutter speed isn't much of an issue. Instead, I often consider whether I should use a wide or narrow aperture.
Let's start with the basics. The aperture is the hole in the camera lens where light passes. Then, it enters the camera body and eventually reaches the image sensor to create a photograph.
The aperture is protected by a diaphragm formed by a series of blades. You can open or close them to determine how much light you want to let into the camera sensor.
Now that you know this, you might be wondering why it matters.
A narrow aperture lets in less light, and a wide aperture lets in more light. This is obvious, but in photography, aperture also controls other things – such as the depth of field.
(Check out this guide to aperture for a more detailed explanation and this downloadable f-stop chart. You should also check what f-stop is on a camera too.)
In this article, you'll find practical examples explaining when to use a small aperture and when it's better to open it.
When to Use a Narrow (Small) Aperture in Photography (+ Examples)
1. Landscape photography
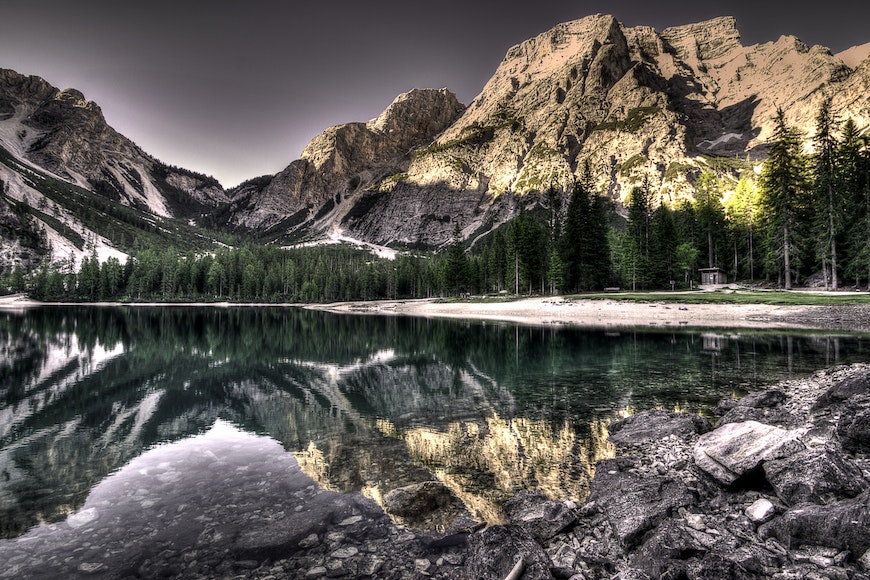
Credit: Eberhard Grossgasteiger
Landscape photography is one of the fields where photographers prefer to use a narrow aperture (i.e, a higher aperture number).
This is because a narrow aperture keeps the entire scene in focus from front to back – and barring a few exceptions, that's usually what you want from a landscape shot.
When you include an element in the foreground, you need to use a narrower depth of field. To maximize the depth of field, you should place the focus point one-third into the scene.
Sometimes, even the smaller aperture isn't enough to keep your landscape photos sharp. When this happens, you need to use focus stacking.
2. Cityscape photography
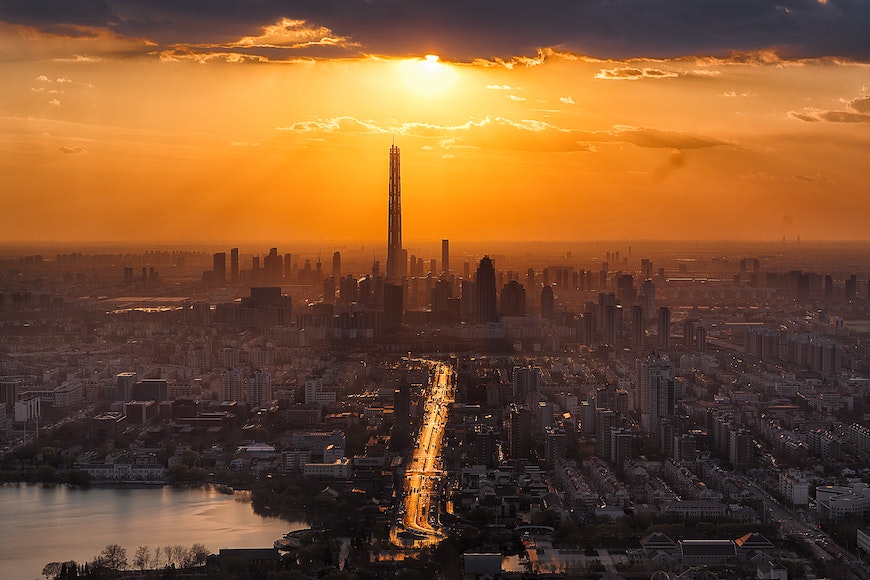
Credit: Pixabay
You'll want your cityscapes to be fully in focus. Cityscapes don't usually have a foreground element as close to the camera as landscape photos.
This doesn't mean that you shouldn't use a narrow aperture. However, you should have an easier time reaching the desired depth of field. Consider using a tripod so you can use a slower shutter speed.
3. Architecture photography
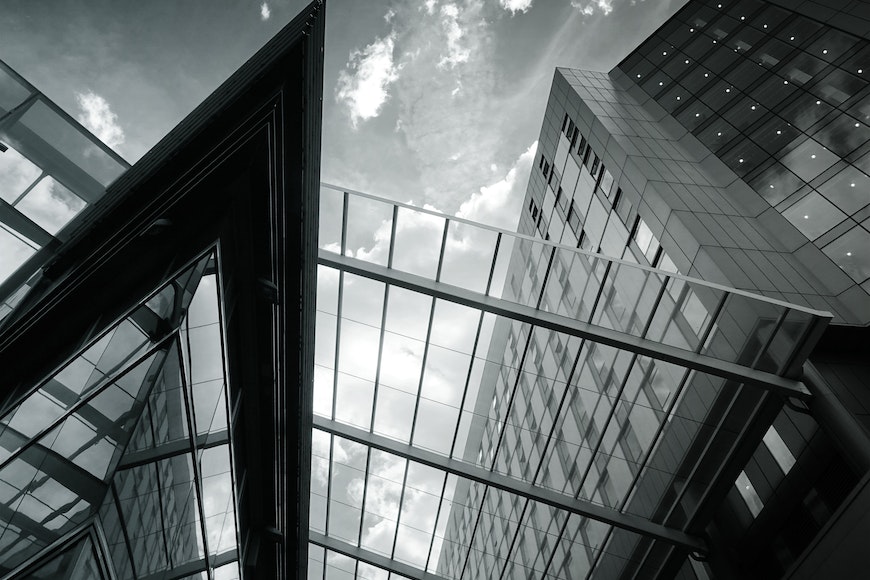
Credit: Sevenstorm Juhaszimrus
Architecture photography is all about capturing the design and construction of a building. You'll want to highlight the volume, shape, and materials.
To do this, you'll need the building to be in focus. However, buildings are big subjects. To keep the entire building focused, you'll need a deep depth of field. That's why you'll need to use a narrow aperture.
4. Product photography
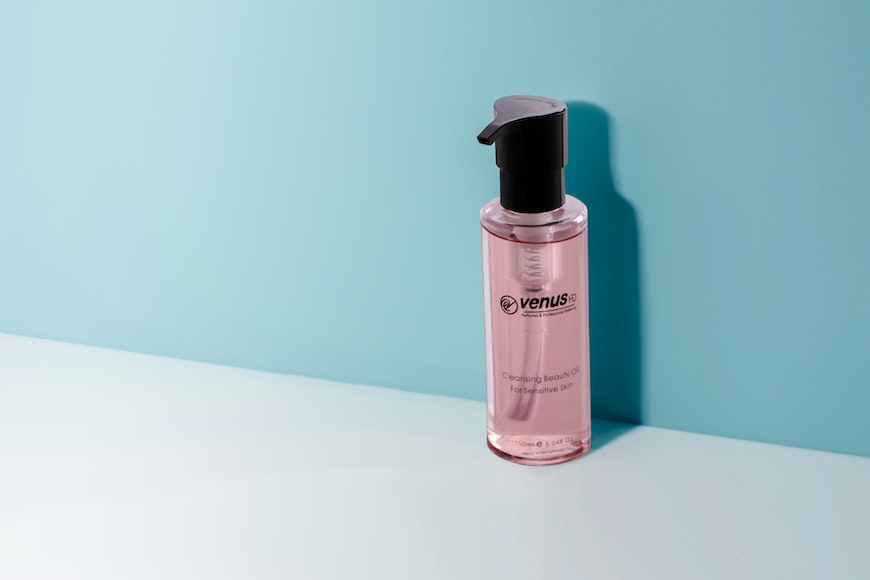
Credit: Venus HD Makeup Perfume
Think about a time when you were buying something online. You use the photographs to see exactly how the product looks, right?
Well, that's why you need to use a narrow aperture for product photography. This will ensure that the entire product is in focus.
5. Still-life photography
Credit: Jonas Mohamadi
While not as essential as the previous genres, still-life pictures can also benefit from having everything in focus.
You need to use a narrow aperture to achieve a deep depth of field. To compensate, it's better to use slower shutter speeds instead of raising the ISO.
6. Close-up photography
Credit: Magda Ehlers
To do close-up photography, you need to use a telephoto lens or get very close to the subject. Both things tend to create a shallow depth of field.
You'll need a narrow aperture if you want to compensate for this and have more of your image in focus.
7. Macro photography
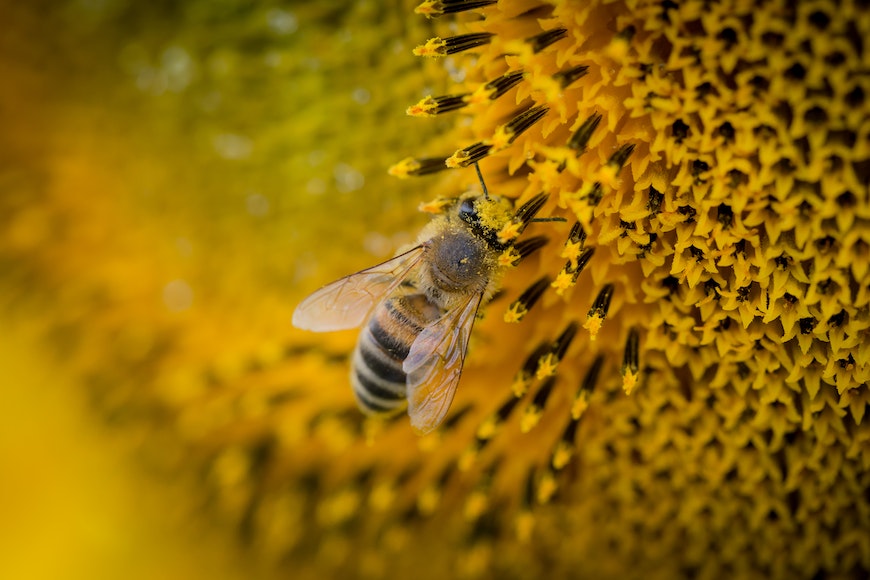
Credit: Anton Atanasov
In macro photography, you're capturing small subjects. So small, in fact, that missing the focus might mean missing the subject entirely.
So, you'll want a depth of field that's wide enough to keep your subject sharp. To achieve this, you'll need a narrow aperture.
This is another case where you may need to use focus stacking. Remember that this only works for inanimate subjects, though.
8. To widen the depth of field
Credit: Blue Ox Studio
As we've already said, a small aperture helps you to get a large depth of field. This means that more of your image will be in focus.
So, if you have a large subject or want both the foreground and the background in focus, you should use narrow apertures.
It's important to remember that the focal length and the distance between the camera and the subject also play a role.
Sometimes, using a smaller aperture causes you to lose sharpness in your image. This is because of diffraction. Most lenses have a sweet spot around f/11.
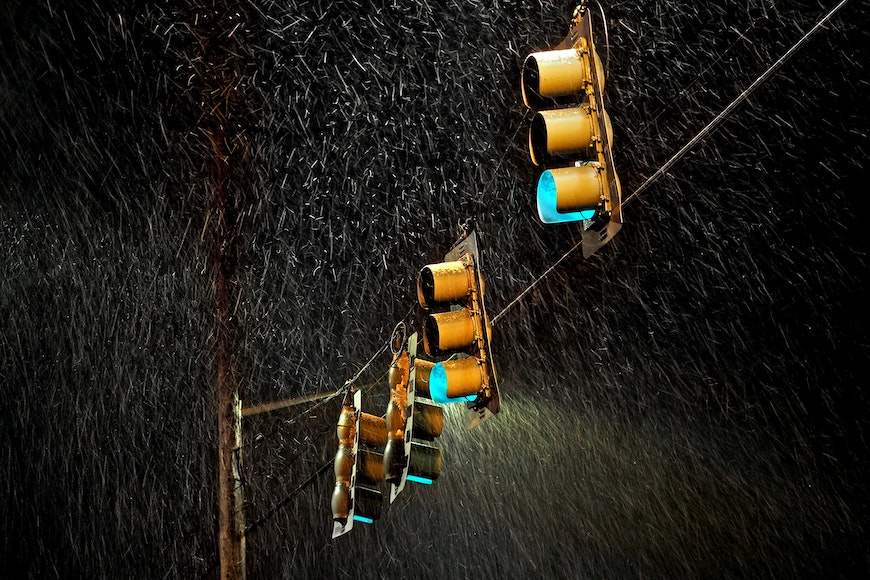
9. To create a starburst effect
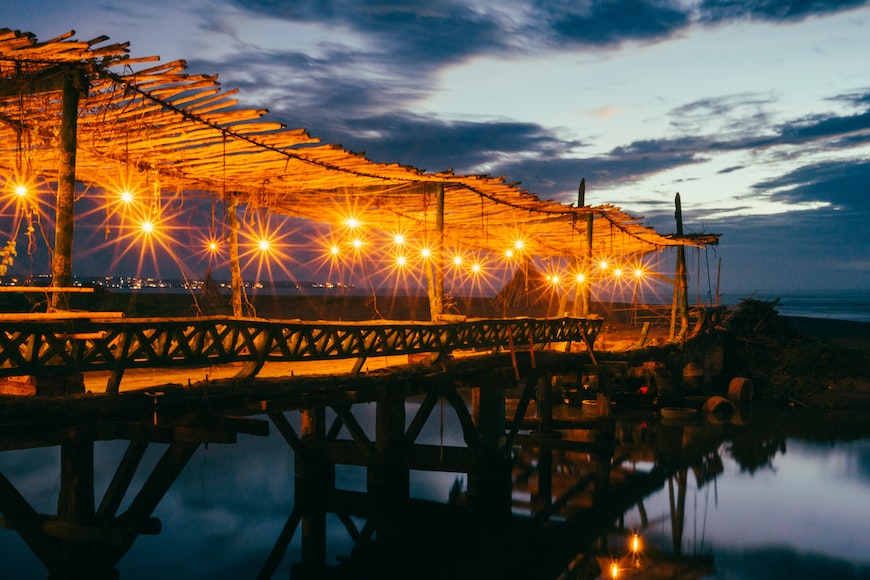
Credit: Sergei A
The aperture blades are what create the starburst effect. And the number of spikes on the starbursts depends on the number of blades.
A narrow aperture makes the starburst effect more noticeable. Keep in mind that the number of blades impacts the number of spikes.
If the aperture of your lens has six blades – which is common on entry-level lenses – you'll have a starburst with six spikes.
If the lens has nine blades, the starburst will have 18 spikes. This is because even numbers of blades double the number of spikes.
7 Tips for Using Smaller Apertures to Take Photos
- Use manual mode if you can. Using your camera in manual mode allows you to keep control over the settings. This lets you set the aperture to keep it narrow and choose how to compensate. You might prefer a slow shutter speed over a high ISO or vice-versa.
- Use aperture priority mode. If you don't want to go fully manual, you can use the aperture priority mode. This allows you to control the aperture setting, and the camera decides the rest.
- Use a tripod. A small aperture doesn't let much light in. As a result, you might want to use a slow shutter speed. This could result in blurry images when shooting handheld. Using a tripod will prevent camera shake.
- Use a slow shutter speed. As I've already mentioned, a narrow aperture lets in less light. To compensate, you may want to allow that light to hit the sensor for longer. You can achieve this by using a slow shutter speed.
- Raise the ISO. Another way to compensate for the narrow aperture in low light is to raise the sensor's sensitivity. You can control this with the ISO. Remember that a high ISO creates noise in the image, so be careful.
- Try different apertures. When we talk about narrow apertures, we refer to a wide range of choices. There isn't one aperture that's always better than the others. Each situation will have different requirements. So, try different apertures to choose the right one for your photo.
- Remember that narrow apertures create more diffraction. You don't necessarily have to use the narrowest aperture of your lens. This can sometimes cause a loss of sharpness. Small apertures have many advantages, but the narrower they are, the more diffraction they cause. That's why all lenses have a sweet spot where the image is sharpest. Usually, it's between f/8 and f/11. This is a narrow aperture, but not too narrow. Experiment with your lens and get to know the results of each aperture setting.
When to Use a Wide (Large) Aperture in Photography (+ Examples)
Now let's talk about when you can benefit from using a wider aperture.
1. Portrait photography
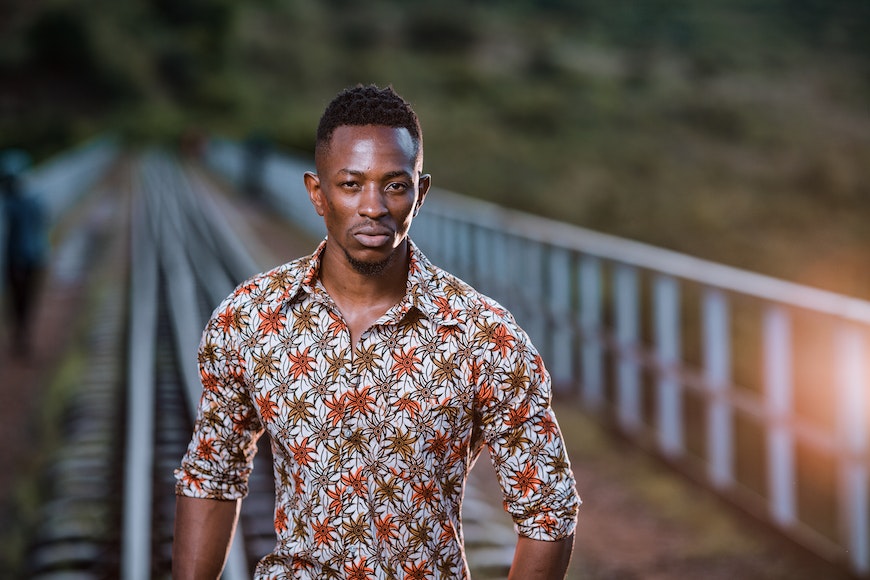
Credit: Antony Trivet
Most portrait photographers like to use a wide aperture. This is because it creates a shallow depth of field that blurs the background.
This helps the subject stand out by visually separating both planes. Also, it eliminates possible distractions from the environment. This allows the viewer to stay focused on the subject.
2. Fashion photography

Credit: Godisable Jacob
In fashion photography, you want the viewer to focus on the clothes and the model. The background is there to set the photo's mood, not to steal attention. So, you'll want to blur the background using a wide aperture.
Also, you might need to use the maximum aperture when doing runway photography. This is because you need faster shutter speeds to freeze the model. It will also keep the background soft, so the subject stands out.
3. Wedding photography
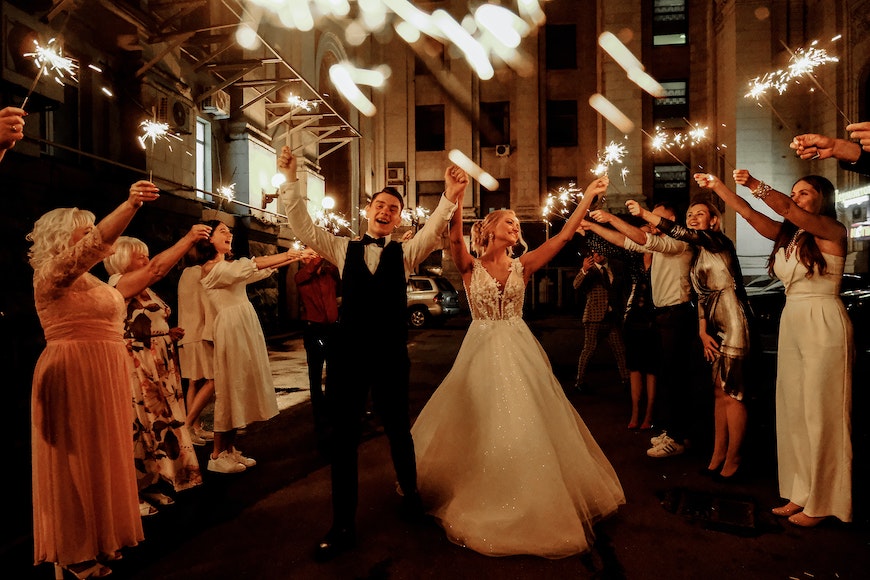
Credit: анна-хазова
There are moments at weddings that usually happen in low light. Whether it's inside a church, a beach at sunset, or a wedding venue, the light is generally dim.
Under these circumstances, you still need to use a fast enough shutter speed to freeze the action. You can't stop the ceremony or the first dance just to get the photo. So, you'll need to use the maximum aperture to let in as much light as possible.
4. Event photography
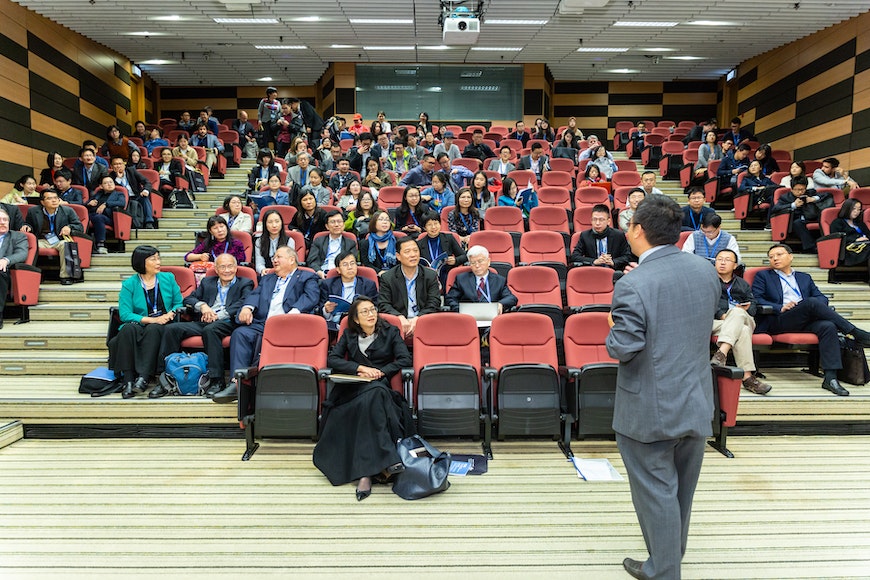
Credit: ICSA
Just like weddings, many events happen in low light conditions with moving subjects. It doesn't matter if it's a corporate event, a conference, a presentation, a concert, or a birthday – you may need to use a wide aperture.
This allows you to use a fast shutter speed to keep your subjects sharp. It will also prevent you from having to use a very high ISO. This way, you'll have less noise in your images.
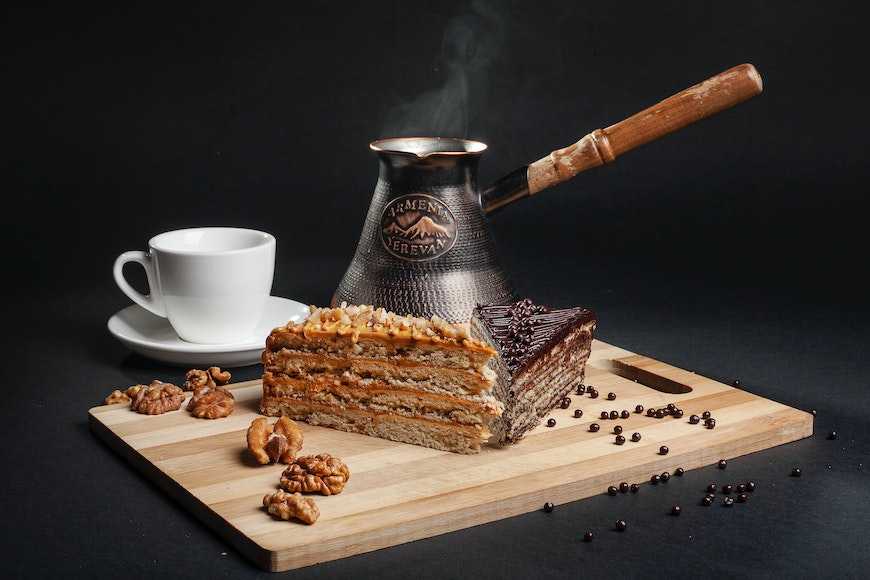
5. Food photography
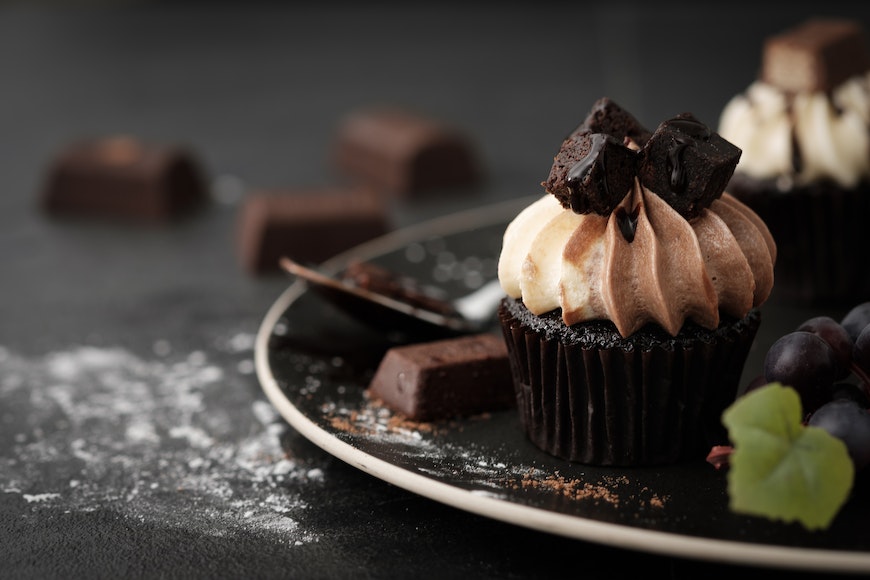
Credit: Acharaporn Kamornboonyarush
Often in food photography, you build an entire scene and fill it with props to create an atmosphere. Still, you want the dish to stand out.
Another common situation for food photographers is taking a close-up of a dish. This is usually when they aim to highlight a specific detail.
What both situations have in common is that you need a shallow depth of field to achieve them. That's why wide apertures are so popular in food photography.
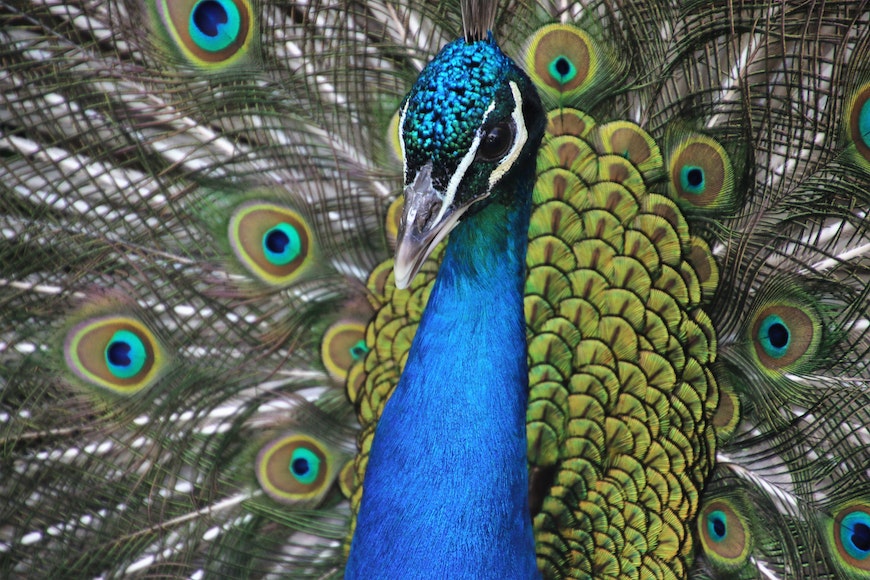
6. Wildlife photography
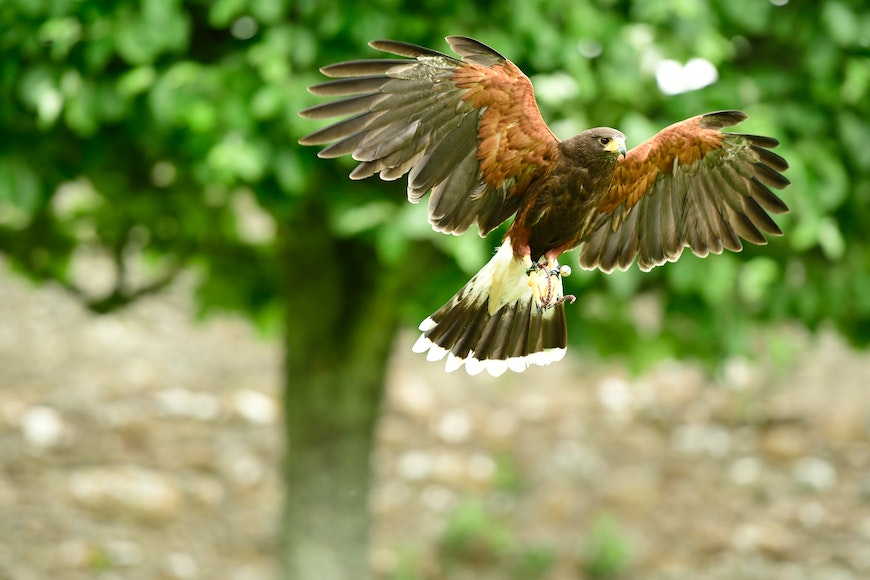
Credit: G.J.
There are two main reasons you would want to use a wide aperture when doing wildlife photography.
Firstly, because animals are constantly moving, you'll need a fast shutter speed to freeze their motion. To compensate for the short exposure time, you need a large aperture to let in more light.
The second reason is that you want to separate them from the background. Animals have mimetic qualities to be able to survive.
This means that it's easy for them to ‘blend' with the environment. Using a wide aperture, you'll make the subject stand out.
7. To create a dreamy look
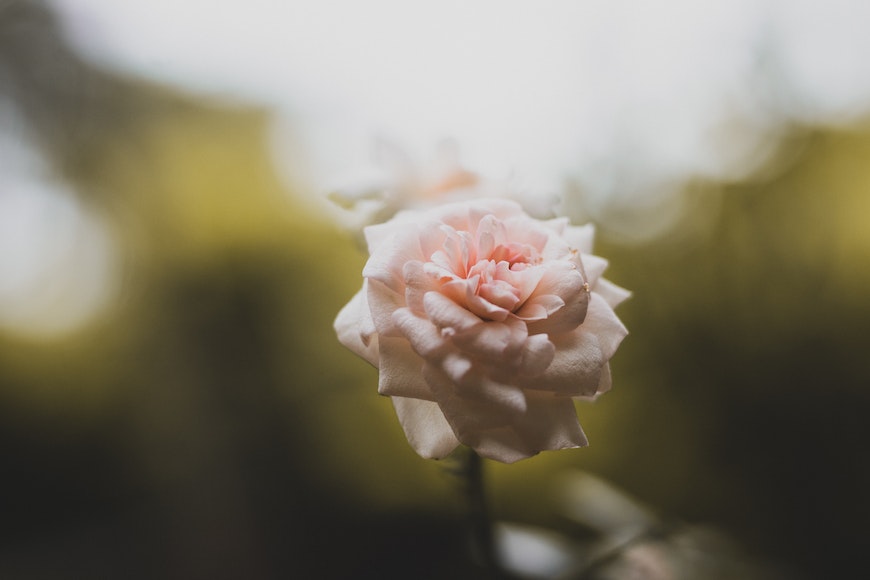
Credit: Rahul Pandit
As we've already established, wide apertures blur the background. This softens the entire image giving it a dreamy look.
This is perfect for photographing flowers or babies, where a dreamy photography style is often popular.
8. To create bokeh

Credit: Pixabay
Bokeh is created by the lens rendering out-of-focus lights. I'm sure you've seen this effect many times in Christmas pictures and fairy light photography.
You can create bokeh by using a wide aperture and placing your subject in front of the lights. This way, the subject will be in focus, and the background will be blurred, creating a bokeh effect.
- Read more: What sources can I use to create bokeh?
9. To separate the subject from the background

Credit: Laryssa Suaid
Regardless of the type of subject you're photographing, if you want to highlight it, you can use a wide aperture.
The difference in focus created by larger apertures helps the brain to create planes in a bi-dimensional object like a photograph.
10. To have a shallower depth of field
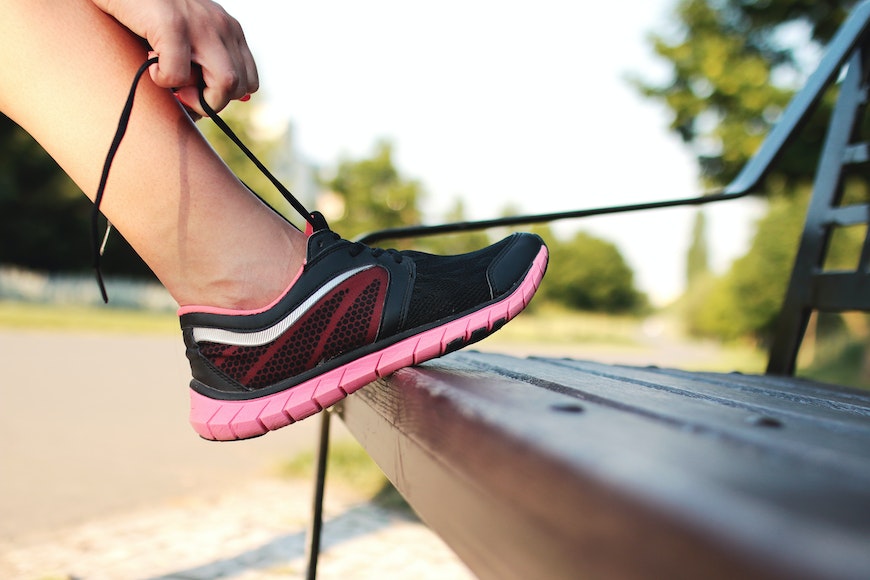
Credit: Jeshootscom
A shallow DOF is helpful in many situations. Maybe you want to create depth in the picture, or you want to highlight a specific detail.
Whenever you want to do this, you can use a wide aperture. If you combine this with the right distance and focal length, you'll get a narrow depth of field.
- Read more: What is shallow depth of field used for?
11. To minimize motion blur
Credit: Magda Ehlers
Using a wide aperture allows you to use faster shutter speeds. This will help you to minimize or avoid blur in your photos. This is effective both for camera shake or a moving subject.
5 Tips for Using a Wide Aperture to Take Photos
- Consider the lens. Not all lenses have the same aperture range. Prime lenses have a larger aperture than zoom lenses. Also, the maximum aperture usually changes with the zoom range. Generally speaking, the largest aperture is on the shortest focal length of the zoom. Another consideration is that faster lenses cost more.
- Mind the focus. Since a large aperture creates a narrow depth of field, you'll need to be precise when placing your focus point. You can use Live View and manual focus if your subject is still. Otherwise, use autofocus with a single AF point.
- Lower the ISO. To compensate for the amount of light that comes in through a large aperture, you should lower the ISO. This is also very useful for keeping your images noise-free.
- Use a fast shutter speed. Together with the ISO value, you can compensate for the large aperture by using a fast shutter speed. This will also help you have sharper images, avoid needing a tripod, and freeze your subjects.
- Set the correct exposure mode. As mentioned in the tips for using narrow apertures, you should use the camera in manual or aperture mode. This way, you can ensure you use a wide aperture regardless of the light conditions because you can compensate with the ISO or shutter speed.

Check out these 8 essential tools to help you succeed as a professional photographer.
Includes limited-time discounts.

Ana Mireles is a Mexican researcher that specializes in photography and communications for the arts and culture sector.
2 Comments
Leave a Comment
👋 WELCOME TO SHOTKIT!
🔥 Popular NOW:

nice one
Great Article, I think you have covered everything here