


How to Change Aperture on Canon Cameras
Struggling with the f-stop value on your Canon? Learn how to change the aperture on Canon cameras with this comprehensive guide.
Learn | By Jeff Collier
Shotkit may earn a commission on affiliate links. Learn more.
This guide will show you how to change aperture on Canon cameras, whether you're working in manual mode or aperture priority.
In manual mode, you can use the main dial (with the Av button), the thumb wheel, the quick menu, or the touch display itself. Changing the value on aperture priority mode is even easier, but there are some drawbacks to consider.
To help you figure out the best approach for your camera, I looked into the common aperture controls on Canon cameras and put together a 5-step guide.
However, to make sure that this guide covers as many Canon models as possible, I included some workarounds and alternative methods for you to try.
5 Simple Steps for Adjusting the Aperture on a Canon Camera Using Manual Mode
Let's start with the basic method using the main dial that usually sits next to the shutter button.
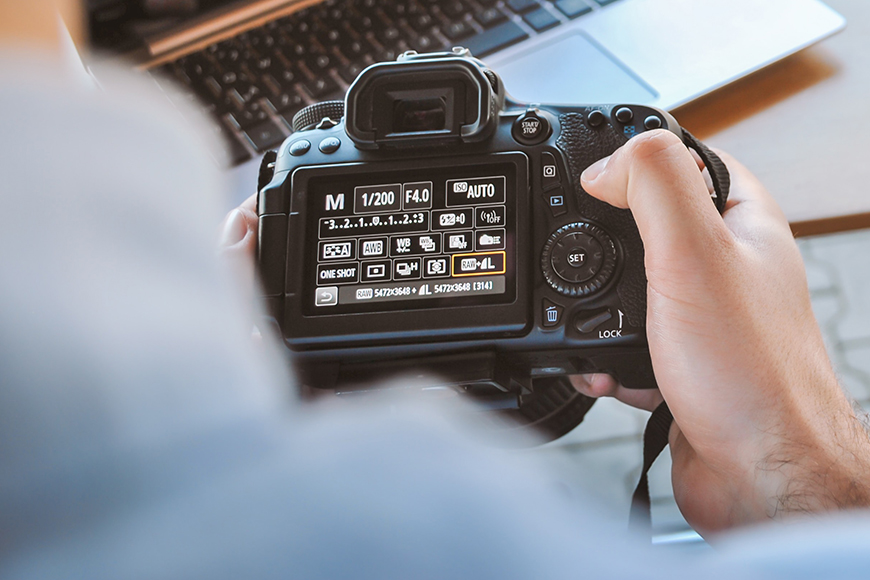
Step 1: Switch to Manual Control Mode
To have full control over the aperture, shutter speed, and ISO settings on your Canon camera, you'll want to switch to manual exposure mode. Automatic mode will only limit your ability to adjust these parameters.
Note that the process of switching to manual mode may vary slightly depending on the model of your Canon camera.
However, you'll likely have a mode dial on the top. If so, turn your camera on and rotate that dial until the “M” (for manual) meets the white mark.
Step 2: Locate the Av Button (Or Its Equivalent)
By default, the main dial on your Canon camera controls the shutter speed. However, to shift to aperture control, you need to locate the Av (+/-) button on the right side.
You'll press and hold this button as you move on to the next step.
This method works on cameras like the EOS Rebel T7i, but there are exceptions. For instance, you might need to look for a button with an asterisk mark in some cases.
With something like the EOS R100, you'll press the upward cross key instead of the Av button.
Plus, some Canon camera models have separate dials or scrolls dedicated to controlling the shutter speed and aperture, eliminating the need for this step. We'll check out one example in a moment!
Step 3: Rotate the Main Dial
All you need to do now is to simultaneously hold down the Av button and turn the dial.
Generally speaking, rotating the dial to the right “shuts down” or narrows the opening, while turning it left creates a wider aperture.
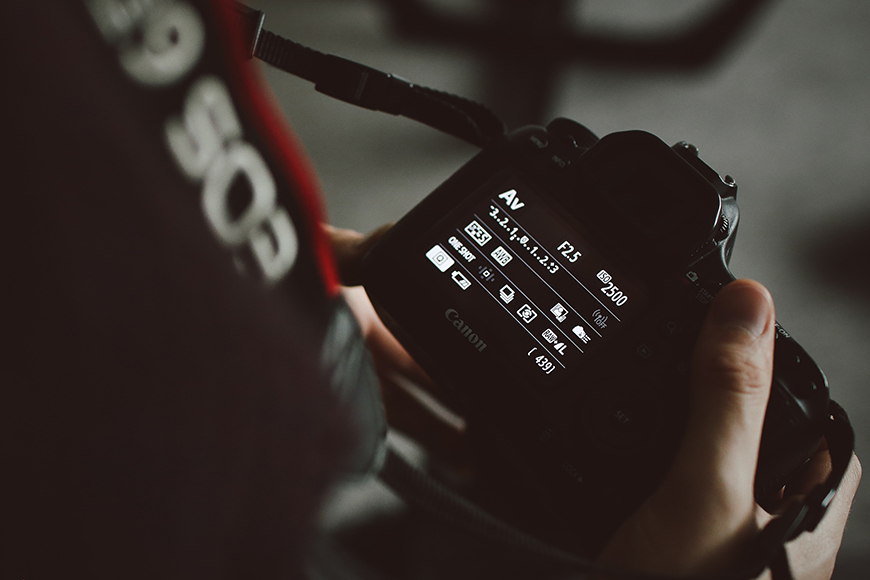
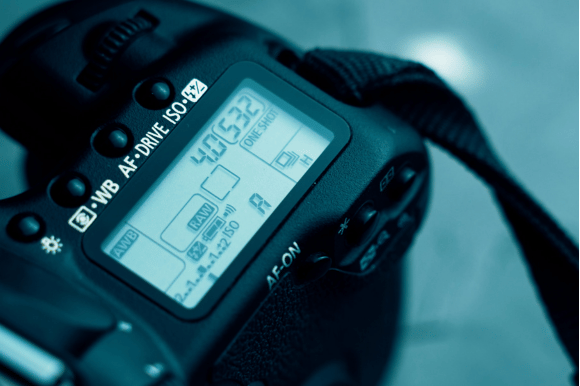
Step 4: Check the F-Stop Value on the Screen
As you rotate the dial, you should be able to see the change in f-stop values (a way to measure the physical width of the aperture hole) on the screen. These are relative to the lens but should look like f/2.8, f/4, f/5.6, and so on.
Unfortunately, the numbers can be confusing at first, so it's important to take a moment to understand how f-stop values work.
Here's the gist of it:
The smaller the f-stop value, the wider the aperture opening. This allows more light to enter the camera, resulting in a brighter exposure.
Naturally, the opposite is true, with larger values indicating a narrow opening.
Keep in mind that each change in the f-stop value either doubles or halves the amount of light that comes through the aperture.
If you're still confused, grab our free downloadable f-stop chart to use as a reference for this step.
Step 5: Take Some Test Shots
Once you have adjusted the aperture settings on your Canon camera, it's a good idea to take some test shots to see how your aperture choice is working for you.
This step will help you understand how the width impacts the depth and overall exposure.
For more detailed info on choosing between narrow and wide aperture, check out the FAQ section in this guide.
Alternative Ways to Change Aperture Values in Manual Mode
Depending on your Canon camera model, you might be able to use other methods to change the f-stop value.
Here are the top alternative controls to consider:
Thumb Dial
Things will be simpler if you're using a model with a thumb wheel, like the Canon 6D DSLR.
Just set the camera to manual mode and use the thumb control on the back to directly adjust the aperture without having to hold down any buttons or even touch the top dial.
Quick Menu
On some models, there's a quick menu “Q” button. Click on it and use the same thumb dial or wheel from the previous method to adjust the f-stop value.
That said, the drawback here is that you won't be able to use the display to check how the image exposure changes as you go.
Touch Display
On a camera with a touch LCD screen, like the Canon 80D, you can just click on the aperture icon on the bottom and use the slider to change the value.
This method works for adjusting ISO and shutter speed as well!
Dial Clicks
Models like the PowerShot Pro1 or G6 have clickable mail dials. So you only need to press it down to switch from shutter controls to aperture value settings.
Adjusting the Aperture on Canon Cameras Using Aperture Priority Mode
You don't have to be in manual exposure mode to change the aperture value. After all, there's a simple way to do it on aperture priority.
How Is It Different From the Regular Manual Aperture Control?
Aperture priority (Av) mode is a semi-automatic mode, not a full one.
Let me explain what that means.
It gives you control over the aperture, and you can tweak it as much as you like. Yet, there’s a bit of automation since the camera automatically sets the shutter speed.
On the other hand, manual mode leaves all the exposure settings under your control, which could be trickier.
How to Change Aperture on Canon's Av Mode
Here's what you need to do to adjust f-stop values and take shots while on Aperture Priority:
- Switch to the mode by rotating the mode selection wheel to “Av.”
- Adjust the f-stop value by turning the main dial.
- Press the shutter button halfway down to focus on the subject and take test shots.
When Should You Use the Av Mode?
The Av can be a particularly useful option for beginners.
After all, it allows you to focus on learning how different f-stop values impact the photo without worrying about setting the shutter speed and ISO (if the ISO Auto feature is enabled).
However, if you want to really control the exposure and get out of the automation bubble, you'll want to switch to manual mode and change the aperture from there.
FAQs
Should I use Canon's Safety Shift feature while adjusting the aperture values?
The Safety Shift feature on Canon cameras is a useful tool that helps maintain proper exposure in challenging lighting conditions.
However, it would be a bit counterintuitive to go into Av mode specifically to adjust the aperture value only to let the camera override the controls with the Safety Shift feature.
We'd recommend turning it off and keeping an eye on exposure indicators.
What does it mean if I see exposure values blinking while adjusting the aperture?
If you notice values blinking on your Canon camera's LCD screen while adjusting the aperture, it indicates that the exposure level is beyond the camera's metering range.
For instance, if you see the “30” shutter speed blinking, you're dealing with underexposure. Meanwhile, the “8000” shutter flashes to indicate overexposure.
To correct the exposure, shift to a smaller or larger aperture value accordingly. You could also adjust other settings, like the ISO, to balance things out.
When is it best to use a narrow aperture?
Using a narrow aperture (represented by a larger f-stop value, like f/16) is beneficial in situations where you want to achieve a wider depth of field.
It helps you keep a greater portion of the photo in sharp focus, from the foreground to the background. This often comes in handy for landscape, macro, and architectural photography.
When should I pick a small f-stop value?
Choosing a small f-stop value gets you closer to the maximum aperture on your lens.
Usually, photographers use lower values like this to create a shallow depth of field and blur the background.
This technique works well for portrait photography since it helps draw attention to the subject. However, it can also be effective for creating bokeh photos.
Final Thoughts
Whether you want to capture breathtaking landscapes, stunning portraits, or something else altogether, understanding how to adjust the aperture is going to be a vital skill.
Once you figure out which method works on your Canon camera, you might want to learn more about shooting with a small aperture to get some nice bokeh in your shots.

Check out these 8 essential tools to help you succeed as a professional photographer.
Includes limited-time discounts.

Jeff Collier is an experienced film photographer who enjoys experimenting with modern digital photography equipment, software and apps. He’s also an ex-world champion triathlete and avid cyclist, clocking hundreds of km each week in the beautiful Tweed Valley of northern NSW, Australia.
👋 WELCOME TO SHOTKIT!
🔥 Popular NOW:
