


How to Create Amazing Candlelight Portraits (+ Settings)
Looking to capture the magic of candlelight in portrait photography? This guide covers everything from camera settings to tips, tricks, and inspirational ideas.
Learn | Lighting Guides | By Ana Mireles
Shotkit may earn a commission on affiliate links. Learn more.
Do you love candlelight portraits, but you find them challenging to do?
Don't worry; you're not alone. Using candles to light your scene and subject can be tricky. This is because of the strong contrast.
In this article, I share with you some tips and tricks to improve your candlelight photography.
I've also included a few ideas and examples to get your creative juices flowing and inspire your portrait photography.
If you're ready to make some fantastic candlelight portraits, let's get started!
Candle Light Portrait Camera Settings

Credit: Alex Simplifier
Finding the correct exposure for candlelight photography may be tricky. Despite the dim light, the actual flame is very bright. This contrast may cause your camera to choose the wrong exposure when you use it in auto-mode.
To make good shots, your camera must be in manual mode, and the flash turned off. This way, you can control the camera settings and achieve better results.
Since candles create a dim light, you might need to use slower shutter speeds than you're used to. To avoid camera shake, use a shutter speed that's faster than the focal length of your lens. For example, if you're using a 50mm lens, you can use a 1/60 shutter speed.
Of course, this can be fixed by using a tripod. Make a test shot to see how slow you can use the shutter speed without the subject being blurry.
Remember that doing portraits, even if your subject is sitting still, there's some natural motion. So, you'll need a faster shutter speed to keep them sharp.
Then, you'll need to use a wide aperture. Since you're shooting in low light, you need to let in as much as possible. However, you need to keep an eye on the depth of field.
Using an f/2.8 should give you enough DOF to keep your subject in focus. If not, try stepping further away or changing the lens instead of closing the aperture. This will help you to keep a low ISO.
However, if this isn't possible, close the aperture one f-stop at a time until you find the right one.
Then, set the ISO. Low-light situations, such as candlelight photography, require more sensibility. So, raising the ISO is normal, but try to keep it around 400. More than that could result in distracting noise.
However, some camera sensors handle better low light, and you might be able to go beyond ISO 400.
Don't forget about the white balance settings. Candles cast a warm light that will give a yellow tone to your images. If there's another light source, the AWB may not be the right choice.
You can use the custom white balance or input the desired kelvin degrees before you start shooting.
8 Tips for Great Candlelight Portraits
Here are a few tips to help you improve your candlelight photography.
You can apply them to portraits and any other type of photography where you use candles as a light source.
Tip 1: Add more candles
Credit: Cottonbro
There's not much to explain for this tip. If one candle isn't giving you enough light, you can add more candles to get more light.
You may want to include multiple candles in the scene. However, if you prefer a single candle in the shot, you can leave the extra candles out of the frame.
This way, they will simply contribute as part of the ambient light.
Tip 2: Include other light sources

Credit: Andrea Piacquadio
Candlelight photos use candlelight as the main light source – it doesn't necessarily mean it's the only one.
Other light sources can add to the overall lighting of the scene. If you want to keep the warm tones, use tungsten lights or add color gels to your flashes.
Using natural light, you can shoot during the golden hour.
Tip 3: Use a tripod

Credit: Quang Nguyen Vinh
The candle flame will not be very strong. So, unless you're using an extra light source, it's better to use a tripod to photograph with the dimmed light.
The tripod allows you to use a slower shutter speed without the risk of having camera shake. If you're doing portrait photography, don't lower it too much. This is because the camera might be steady on the tripod, but the subject still has some natural motion even when standing still.
You can also use a remote shutter release to ensure you're not causing camera shake when you press the shutter button.
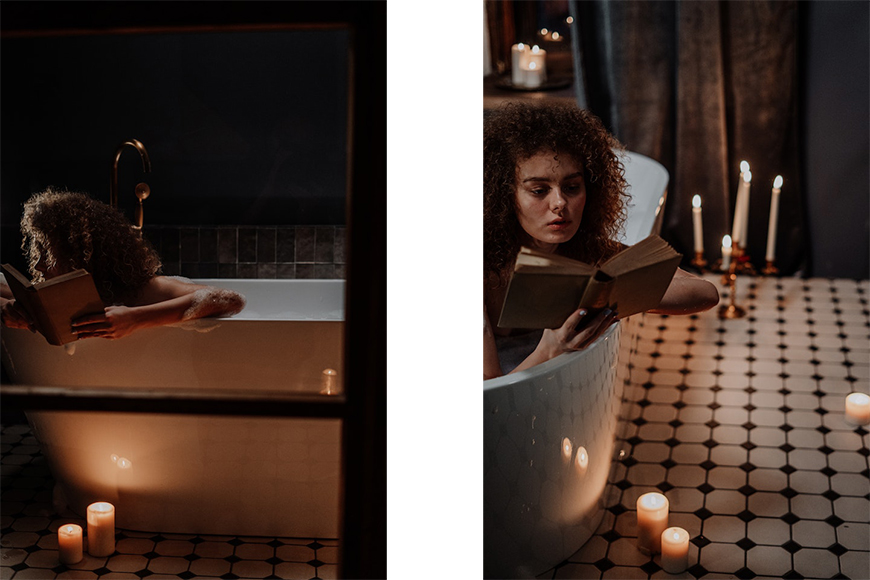
Tip 4: Include a reflective surface
Credit: Lena Shekhovtsova
Candlelight is so dim that it only lights whatever is close to it. In the case of a portrait, that would be the person's face.
However, to lighten the whole scene, you don't necessarily need to add more candles. Instead, you can use reflective surfaces such as mirrors.
This way, you'll have a warm, soft light that covers a broader area.
Tip 5: Get the correct depth of field

Credit: Hakan Erenier
As you know, a wide aperture lets more light into the sensor. Probably many of you are hesitant to do this because a wider aperture also means a shallower depth of field.
However, the aperture settings are not the only factor determining the depth of field. The focal length also plays a part. A telephoto lens will create a shallower depth of field than a wide-angle lens. The distance also influences how much is in focus.
So, if you're shooting a candlelight portrait and the subject's face is not totally in focus, try standing further away or changing lenses instead of closing the aperture.
You can try different settings until you find the best ones. If you're not comfortable using your camera in manual, try using the aperture priority mode.
You can also use a DOF calculator to determine which lens, distance and aperture are the right combination to achieve your desired results.
Tip 6: Soften the light by separating the candles

Credit: Hakan Erenier
If you like the dim light from the candlelight but don't want to have such dark shadows, you can spread the candles.
When you keep the candles together, they will give you more light. However, the cluster will become like one big light source that creates hard shadows.
Instead, if you put some distance between the candles, each will cast a warm glow that will merge with the one from the next shadow softening the overall lighting.
See the difference between hard and soft light.
Tip 7: Manually set the white balance
Credit: Nikita Khandelwal
If the candle light is the only one in the scene, you can get away with the auto white balance mode. However, if you're mixing lights, it's better to set the white balance manually.
Candle lights are some of the warmest ones you can use – so your photos will have an orange tone. If there's another light source with cooler tones, the auto mode may choose the setting to fit that one.
As a result, you would lose the characteristic atmosphere of candlelight photography.
You could fix the white balance during editing if you didn't control this during the shooting.
Tip 8: Shoot in raw

Credit: Jonathan Borba
Shooting candlelight photography can be difficult. This is because the candle casts very low light – so the scene will be dark.
However, the candle flame is very bright – so much so that it can create clippings. If you shoot in raw format, it will be easier to recover details from shadows and highlights to compensate in post-processing.
6 Candlelight Portrait Ideas
Now that you know all the technical tricks, let's move on to the most enjoyable aspect – the creative ideas. Here are a few candle light portrait photography suggestions to inspire you.
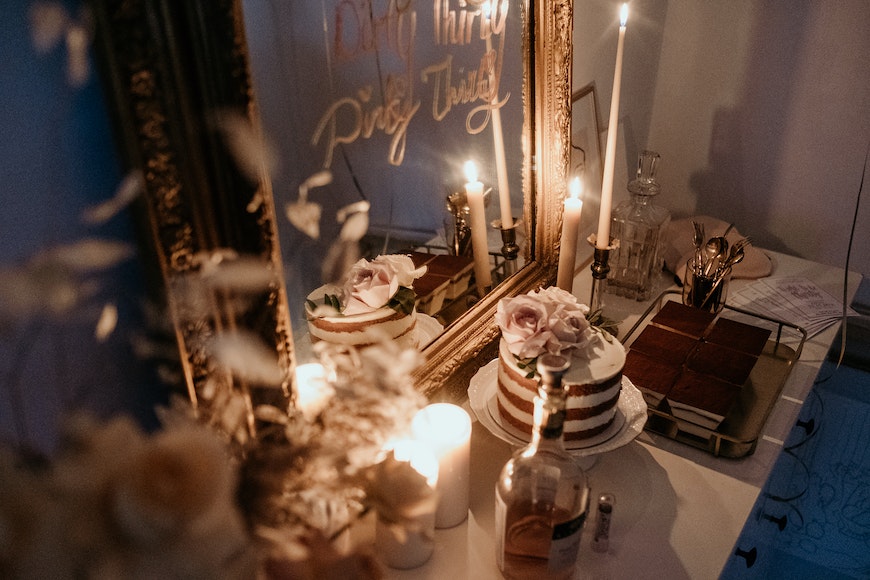
Idea 1: Birthday portrait

Credit: Adrian Calle
Birthdays are the perfect chance for you to practice candlelight photography. There's usually beautiful decoration, people are happy and dressed up, and the cake always has candles.
Idea 2: Faceless portraits
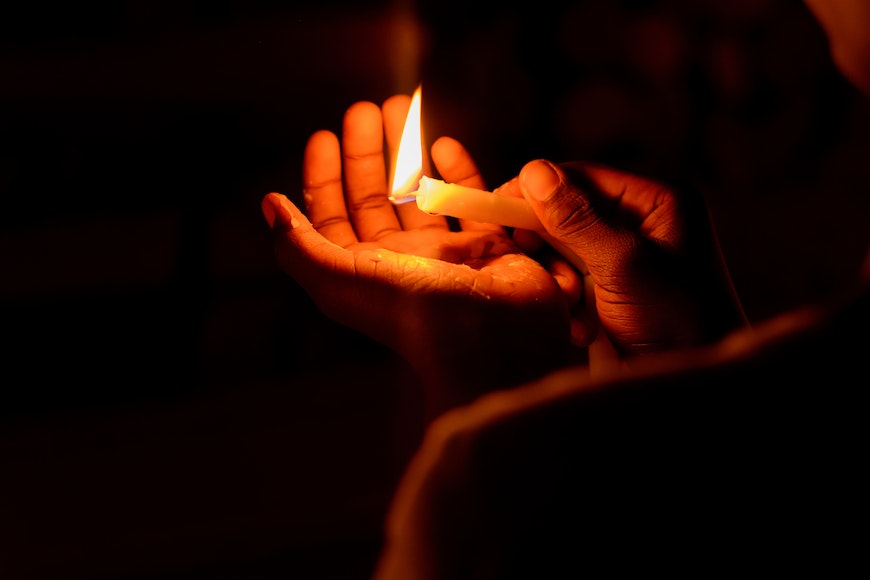
Credit: Dazzle Jam
Portraits don't necessarily need to include the model's face. When doing candlelight photography, the hands are the most common body parts you can capture.
Usually, the model will be lighting the candle or holding it. However, you can get as creative as you can.
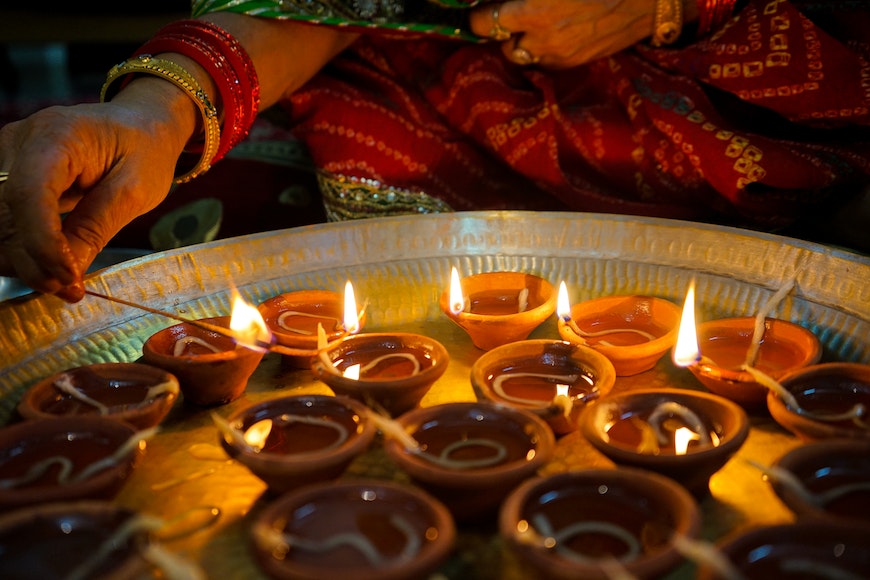
Idea 3: Holiday portraits

Credit: Cottonbro Studio
Other occasions where candlelight photography is very fitting are the Holidays. Whether you celebrate Christmas or Hanukkah, you can make beautiful portraits of your loved ones using candle light.
Idea 4: Blue hour portraits
Credit: Andrei Marina
If you're shooting candlelight photography outdoors, you can do it during the blue hour. This way, there's still some background light, but your subject still gets the warm glow of the candles.
Also, the blue tones from the natural light and the warm light from the candle are a beautiful combination of contrasting colors.
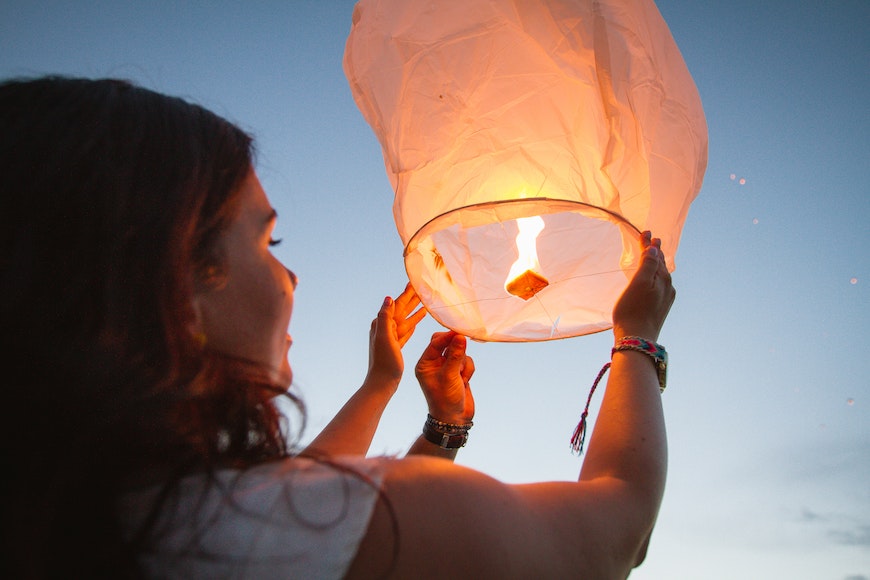
Idea 5: Use paper lanterns
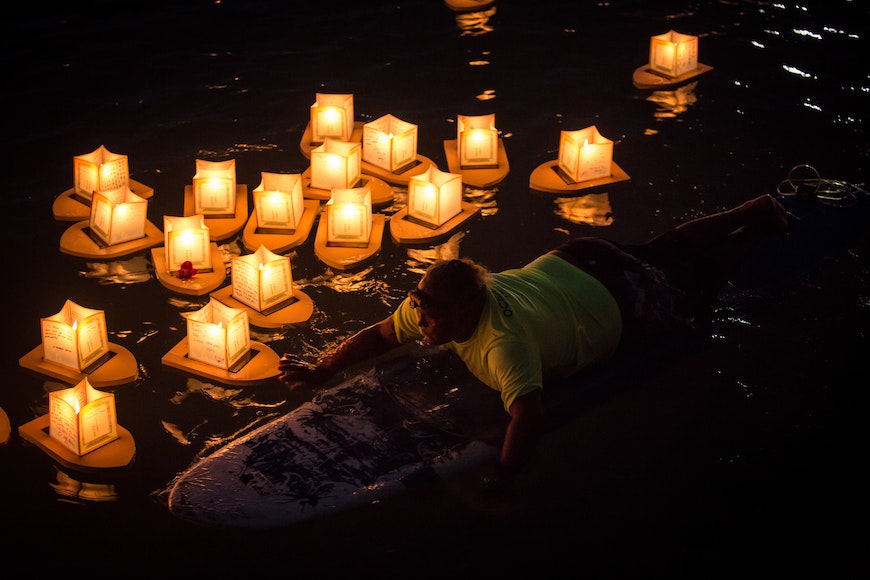
Credit: North
You can use paper lanterns to give a twist to your candlelight photography. This way, you can add variety to your photos as they come in multiple sizes, colors, and designs.
You can use a simple lantern made with a paper bag with a candle inside, a hanging lantern, a sky candle, or a water paper lantern.
Idea 6: Add a bonfire

Credit: Quang Nguyen Vinh
If the light from a candle isn't enough, but you don't want to get too off-topic, you can add a bonfire. This way, you'll still use flames as the main source, emitting the same warm light.
A Word About Staying Safe
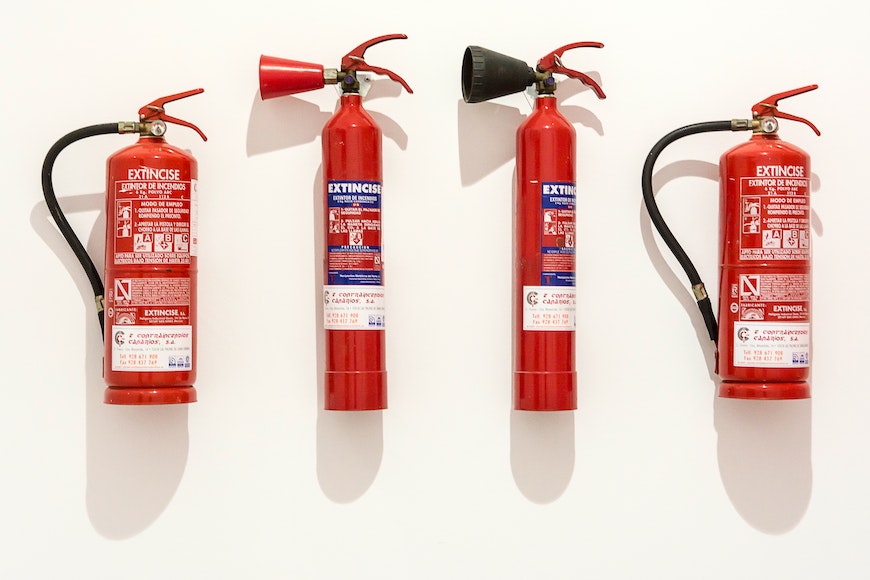
Credit: Jan Van Der Wolf
I know that candles are a common household item we're used to handling. However, let's not forget that it's still an open fire.
When you're doing candlelight photography, you might be distracted by arranging the scene, posing the model, or looking through the viewfinder, and accidents can happen.
So, make sure you have a fire extinguisher or a fire blanket, just in case. Also, be careful when you're moving things close to the candles. You don't want to spill hot wax, accidentally catch fire on your sleeve, or anything like that.
FAQ
What is candlelight photography?
Candlelight photography is one that creates images using candles as the primary source of light.
What ISO is best for an image shot by candlelight with a handheld camera?
You should keep the ISO settings as low as possible. Ideally, you shouldn't exceed ISO 400 – although newer and professional cameras handle a higher ISO well.
The important thing is that you don't have too much noise in your image. Each digital camera is different – so try yours with different ISO settings to determine the highest one that's acceptable for you.
How do you take pictures of lit candles?
Turn off the camera flash and use your camera in manual mode. Use a slow shutter speed and the widest apertures from your lens. Set the ISO to 400 and start shooting. Take a test shot and make the necessary adjustments.
How do you take professional candle pictures?
Professional photographers use a handheld exposure meter to determine the light levels. Then, select the best camera settings to get the desired results. They also consider a good composition by carefully considering how to frame the shot.

Check out these 8 essential tools to help you succeed as a professional photographer.
Includes limited-time discounts.

Ana Mireles is a Mexican researcher that specializes in photography and communications for the arts and culture sector.

👋 WELCOME TO SHOTKIT!
🔥 Popular NOW:
