


How to Take Pictures of the Moon with iPhone
Unlock the secrets to taking breathtaking moonlit shots using just your iPhone with our step-by-step guide to smartphone moon photography.
iPhone Photography | Learn | By Judyth Satyn
Shotkit may earn a commission on affiliate links. Learn more.
Have you ever wondered how to take stunning pictures of the moon with an iPhone?
Capturing the mesmerizing beauty of the moon can be a challenge, especially with a device as small as an iPhone.

The fastest, simplest and most fun way to improve your smartphone photography skills this year.
Use link to save 80%
In this guide, you'll discover the secrets to taking breathtaking moonlit shots using just your iPhone and some handy mobile photography tips.
You'll also learn how to optimize your phone settings for captivating photos during low light.
And if you're using a regular camera, read these guides: How to photograph the moon | Astrophotography tips
How to Take Pictures of the Moon with iPhone
To take captivating pictures of the moon with your iPhone, it's essential to stabilize your iPhone using a tripod or a steady surface. Use the self-timer function. Make the most of the built-in optical zoom and avoid digital zoom for clearer images. Consider using a third-party telephoto lens. Once aimed at the moon, lock focus by tapping and holding, then adjust the exposure to bring out the moon's details. If your iPhone model allows, shoot in RAW format for enhanced detail capture. Use the iPhone camera app or a third-party app to edit your photo and maximize clarity and sharpness.
Moon photos are mesmerizing, but photographing with an iPhone camera presents some challenges.
One challenge is the moon is distant and small, and the second is it is bright but sent against a dark backdrop.
The iPhone camera’s wide-angle lens is ideal for group photos, not for focusing on faraway balls.
When you photograph the moon with an iPhone, it will look like a barely noticeable tiny dot.
The iPhone camera struggles to photograph a glowing object against a dark sky.
It is difficult to distinguish light from dark and select the correct exposure.
The result is that your moon will be a bright, blurry blob, or the sky will be grainy.
But we have all the tricks you need to take captivating quality photos.
Step 1: Prepare Your iPhone for the night sky shoot
Cleaning and Maintenance
Remove smudges and debris from the lens so you can shoot clearer shots. Little specks can easily ruin a potential masterpiece.
Use a microfibre cloth or lens cleaning kit not to scratch the lens.
Charge up the battery before you head out into the moonlit night.
You don't want to run out of battery. Make sure you have sufficient charge to last the entire shoot.
Clear storage space on your iPhone so you have enough space for new pics. Deleting old photos and apps and emptying your trash will help.
Take the time to update your iPhone software. The latest version could include improvements in camera performance.
Step 2: Dial in These iPhone Settings for Photos of the Moon
Turn off auto-brightness and auto-focus. You want full and complete control of the camera’s settings.
Lower the ISO to 100. It is counterintuitive to shoot night photos using an ISO of 100.
ISO 100 is usually used on bright, sunny days. But the moon is bright, and we don’t want to explode it into a blob of white light.
Toning down the camera’s sensitivity to light will allow us to focus on the moon.
Night mode. Set your iPhone to night mode.
Focus. Set infinity to 100 as far as the digital zoom can go.
However, if you are using a telephoto lens, binoculars, or telescope, 100 could be too much.
Instead, manually focus by zooming in on the moon. You can focus by pinching the screen in or out.
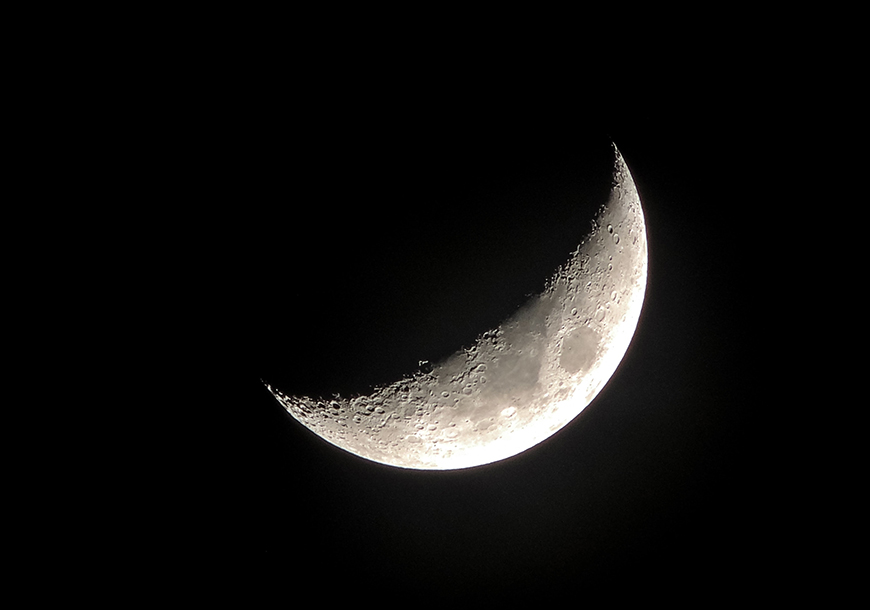
Correct Exposure. Tap on the moon to activate the exposure and slide the sun icon until the moon is grey, not luminous white.
This will achieve fine detail and view the craters of the moon.
Turn off the flash. The flash light on iPhone isn't powerful enough (yet) to illuminate the moon many miles away. The flash has a habit of illuminating unwanted subjects at night. Lighting up fences and twigs and ruining your composition in the process.
Turn on HDR. HDR on iPhone is ideal for night skies. It makes it possible to take photos of the dark sky at night.
Turn on self-timer: Using the self-timer on iPhone will ensure you don't accidentally create unwanted vibrations, which may contribute to a blurry photo.
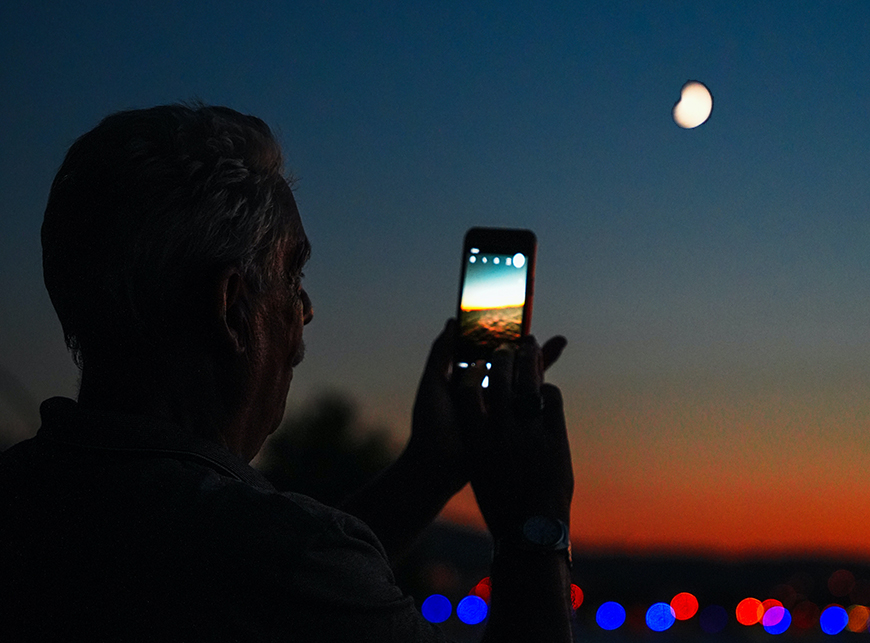
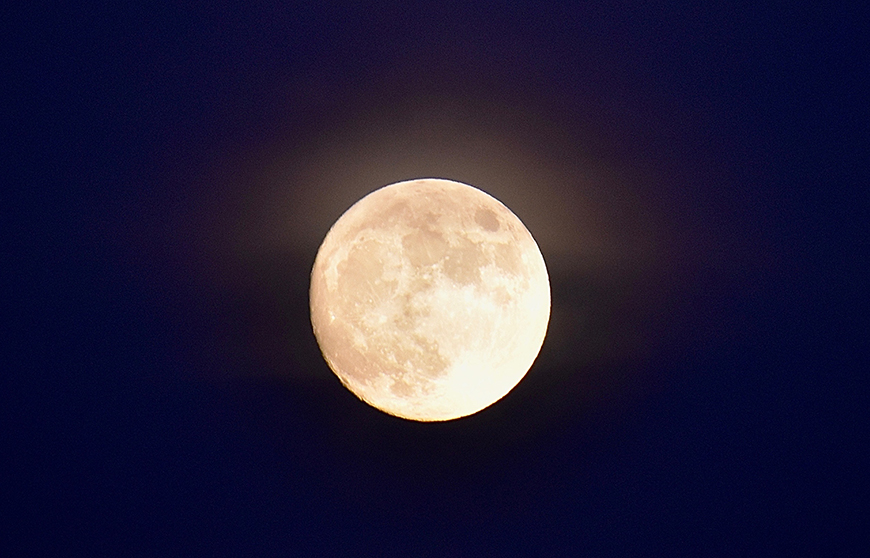
Image: Yunus Tug
Step 3: Prepare Tools and Accessories to Enhance Your Dark Sky Shots
Tripods and Mounts
At night, your iPhone photos are more likely to be blurry and less defined.
This is because the iPhone camera uses a slow shutter speed in low light. Or, when shooting in night mode, it will take several shots over a few seconds.
A stabilizer or tripod will keep your iPhone camera steady to reduce camera shake.
An iPhone stabilizer (Gimbal) is specifically designed to reduce camera shake when filming.
They are lightweight but sturdy, making them ideal for trekking through the night.
The best iPhone tripods are designed to be lightweight, durable and versatile. I use an iPhone tripod when shooting at night.
Some will wrap around or grip onto objects. They are compact, making them easy to throw in a bag, and some can extend over 70cm.
Look out for these three reliable iPhone tripods: the Joby Grip Tight Tripod, Manfrotto PIXI MINI Tripod and the Ubeesize Tripod.
Telephoto Lenses for iPhones
Telephoto lenses are attachable iPhone camera lenses. They are worth investing in if you are committed to sky photography.
Regular iPhone camera lenses don’t quite cut it for night sky photos. Whereas when you attach a specialized lens, you override the camera lens.
Attach a zoom telephoto lens for a closer focus on the moon. They have a smaller viewing range, which is ideal for moon photography.
They are also great for low-light shooting and give sharper results than the camera.
Here are some telephoto lenses to consider for photographing the moon.
- MIAO LAB HD 20-40x Zoom Lens is not to be taken lightly. It sports an unbelievably powerful 20- 40x zoom. If you are super serious about iPhone photography, this is the lens for you. Its only drawback is that it is not compact.
- Bostionye Camera Lens Kit includes a 20x magnification zoom lens. They are long and bulky, so they are not ideal for everyday photography. But ideal for focusing on moon craters. The lens isn’t high quality, and noticeable distortion around the image edges will be evident. Included in the kit is a macro and wide-angle lens.
- Pexel High Power 36x HD Telephoto Lens. With 36 x magnification, it will give an iPhone lens the extra power to capture detailed moon photos. It is tricky to focus, but as the moon isn’t a fast mover, this will be a minor problem. It isn’t compatible with all iPhones, so check its compatibility before you commit.
Apps for Enhanced Moon Photography
ProCamera, NightCap, and Slow Shutter Cam. These are three of the incredible apps available to enhance your nighttime photos.
These are some features to look out for when choosing a moon photography app.
- RAW feature. It will ensure you capture higher-quality images.
- Extra zoom magnification. The more zoom, the better when photographing the moon.
- Option to further decrease ISO range for extra light sensitivity.
- Increases ability to focus on distant objects.
- Fine-tune brightness levels. This is useful when photographing bright objects at night.
- Allows you to override camera settings to change the shutter speed.
- Offers specialized modes: For shooting stars, star trails, or capturing auroras.
- Specialized astrophotography software for post-shoot edits.
Step 4: Use These Techniques for Capturing the Perfect Night Sky Shot
Composition Tips
Use the rule of thirds to aid you when balancing the photography. Turn on the iPhone camera grid for a visual aid when composing.
There are millions of photos of the moon. She’s a spectacular subject, but you want your photo to stand out.
Try incorporating foreground elements to add your own creative touch.
Exposure and Focus Tricks
Balancing brightness levels is important when photographing the moon at night.
One of the main difficulties is the moon's brightness will easily blow out of proportion.
Adjust the brightness levels until the moon appears grey, not white. Unfortunately, you have to lose the luminous white to achieve perfect fine detail.
Don't rely on automatic focus when shooting photographs of the moon.
The camera is more than likely to make errors in low-light conditions. Stick to focusing the camera manual for sharper moon images.
Experimenting with Angles and Perspectives
Experiment with angles and perspectives. An easy way to do this is to shoot from different elevations.
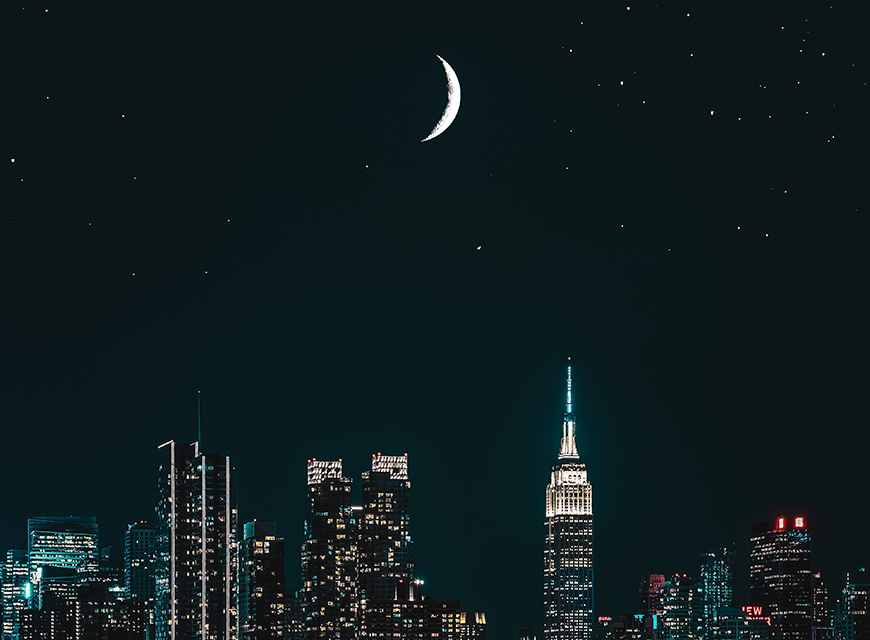
If you have access to a rooftop or the 23rd story, you can use the high elevation to include cityscapes. Even a ladder will work.
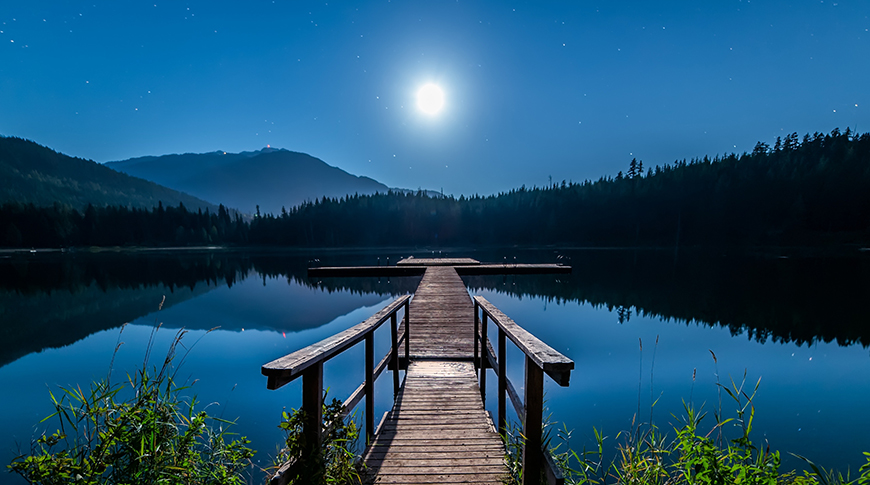
Add a mysterious edge to your photos by shooting reflections of the moon in lakes or puddles. Maybe you can catch it in a teacup.
Photograph silhouettes paused in front of the moon or positioned to the side. This can create spell-binding images.
Step 5: Make Your Moon Photos Shine with Editing
Enhancing a photo of the moon will turn an average image into a stunning work of art.
There are plenty of ways to edit photos on iPhone to look professional, but here are some tips when editing night photos and pictures of the moon.
Basic Editing Techniques
- Adjusting brightness and contrast. Use curves and levels to correct brightness and contrast.
- Sharpen. Sharpen the image using specialized photo editing filters.
- Reduce Noise. Use a noise reduction filter to remove noise.
- Crop. Crop to remove excess space or to achieve a better composition.
Advanced Editing with Photography Apps
- Editing Apps. Use apps like Lightroom Mobile and Snapseed to refine your night photos.
- Dodging, burning, and layering. Use techniques to remove unwanted areas, smooth areas or add components.
- Filters. Apply iPhone camera filters to your photos and experiment with different results.
Final Tips for Different iPhone Models for Shooting the Moon
Not all iPhone cameras are made equally. We have to admit that some are far superior.
A picture of a moon taken with an iPhone 7 will not compete with one taken with the latest version of the iPhone.
Newer iPhone models, namely the iPhone 12 and 13, are far advanced in their capabilities.
They have improved sensors and larger apertures to facilitate shooting in low-light conditions.
If you are using an older iPhone, there are ways to maximize the capabilities of your camera.
Invest in a telephoto lens to increase the lens's magnification. This will help you to focus closer on the moon for sharper images.
You can download a specialized moon photography app. Apps can override some of your camera's outdated and limiting automatic settings.
They can give you the option to use longer shutter speeds and alter the ISO, which is useful when photographing the moon with your iPhone's native camera app.

Check out these 8 essential tools to help you succeed as a professional photographer.
Includes limited-time discounts.

Judyth is an experienced studio photographer and glass artist. When she isn’t Photoshopping comedians into the bellies of sharks, you can find her cooking delicious treats for her guests.
👋 WELCOME TO SHOTKIT!
🔥 Popular NOW:
