


Open Shade Photography: Tips, Examples & Best Practices
Everything you need to know about using open shade in your photography, from what it is and how to find it, to common mistakes and tips & tricks.
Shotkit may earn a commission on affiliate links. Learn more.
If you're looking to master the art of open shade photography, this guide is for you.
Personally, I absolutely love shooting during golden hour for natural light photography. However, conflicting schedules and the late hour for young children often make this difficult.
That's why utilizing open shade photography to capture great images during the day is a wonderful alternative!
So, if you're looking to improve your portrait photography (or any other photography) during the harsh light of the middle of the day, read on to find out the tips and tricks I use to capture amazing open-shade images!
What is Open Shade Photography?

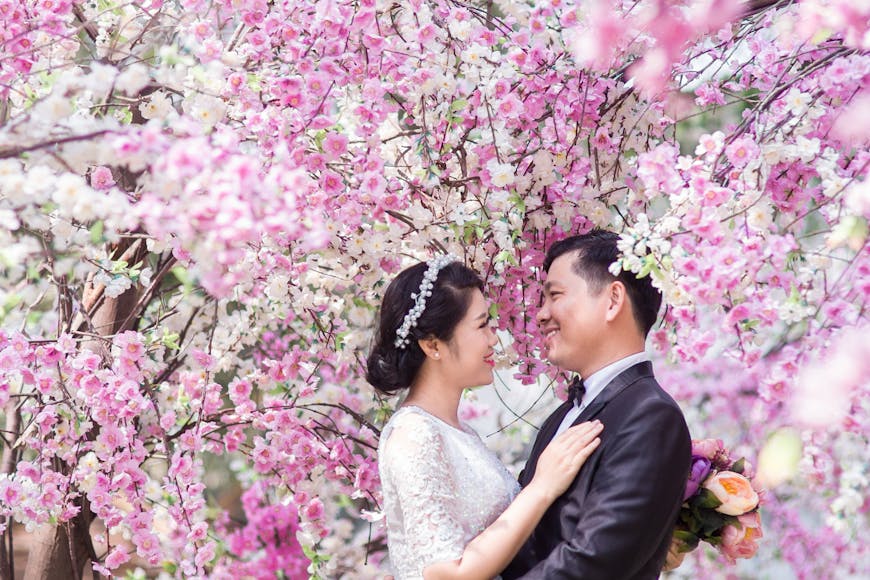
This couple's portrait was taken outdoors in open shade.
In photography, open shade is anywhere that is shaded from direct sunlight but still has enough ambient light to provide adequate lighting to capture your subject.
This means that there are none of the dark shadows that can be found in deep shade.
Why Use Open Shade in Photography?

While all photographers love golden hour for the beautiful soft light (myself included), the memories you want to capture don't always happen when the light is perfect!
Shooting during the middle of the day outdoors opens up your photography to harsh shadows on your subject due to the bright light from direct sun.
The easiest way to overcome this problem is to find open shade. That way, you can achieve more flattering photos when the sun is shining directly overhead (full sun).
Open shade photography creates beautiful, soft, even light without the dreaded dark shadows and bright highlights often seen when shooting in the harsh light found during full sun hours.
Soft light is preferred for all subjects, particularly when shooting portraits, to prevent raccoon eyes and shadows under the chin.
What Are Some Examples of Open Shade?

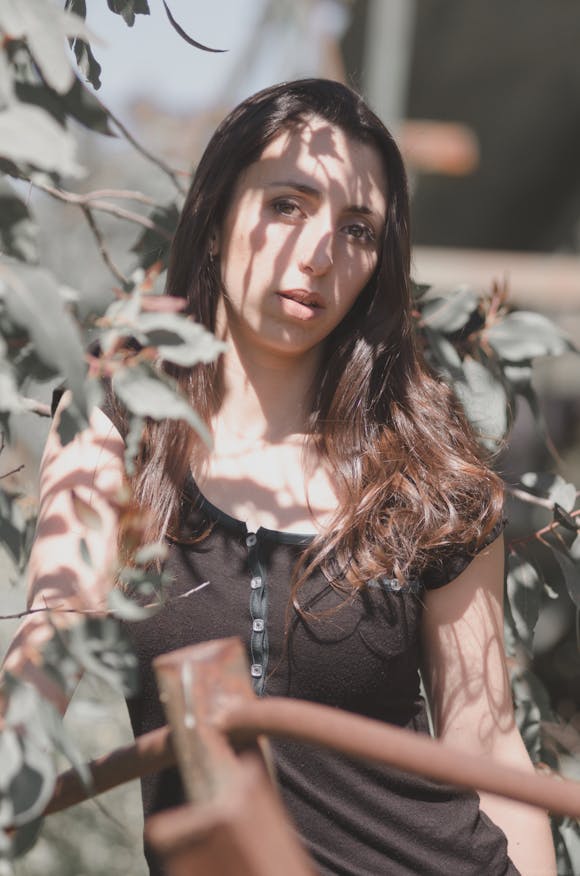
Objects like umbrellas can be used to deliberately create open shade.
The best way to find open shade is to look at the ground. If the ground is in shadow, this is called open shade.
Any object could block the light from one side or above, creating light suitable for open-shade photography, even during high noon when the sun is at its harshest.
A few common examples are listed below:
- Trees
- Umbrellas
- Buildings
- Shrubs
- Fences
Open Shade vs. Closed Shade

Wedding day portrait using the open shade of a hay bale in an open field.
All shaded areas have open and closed shade, and open shade is preferred for photography to ensure your subject is well-lit, particularly when photographing people.
Open shade is when you place your subject on the edge of but still in the shade, facing out towards the light source, which is on your back as the photographer.
Closed shade is when you place your subject in the shade facing into the shadows – i.e., their back is facing the light source, and they are backlit.
This leaves your subject's faces in shadow, which is less flattering.
This can also lead to bright backgrounds, which are distracting.
How to Shoot in Open Shade (6 Tips & Tricks)
Now that we've covered what open shade is and where to find it, here are some tips and tricks to help you prepare for amazing open-shade photography.
Tip 1 – Positioning your subject
Place your subject on the edge of the open shade, looking out towards the light. Ensure that they're looking into the light but have not been placed in it – this ensures that the subject's face is well-lit.
Note: You don't want them facing into the shadows unless you have a reflector for bouncing light back onto your subjects' faces.
The subject can also be positioned so the light comes slightly from the side, giving more depth while utilizing directional light.
Tip 2 – Avoiding colour cast
Be careful when making your own open shade or utilizing colored objects to create open shade, as they can create a color cast on your subject.
Think coloured walls or umbrellas – it's best to check if they are casting colored light onto your subject. If they are, find another area of open shade.
Tip 3 – Achieving a blurred background

There are times as a photographer when you'll want to create a nice background blur or bokeh effect.
To achieve a blurred background, have as much distance as possible between the subject and the background while still ensuring they're in open shade.
A wide aperture (low f value) of around f/2.8 – f/4.5 also helps create background blur while keeping your subject in sharp focus.
Tip 4 – Metering in open shade
When metering for exposure in open shade, it's important to meter for the shadows as you don't want them too dark.
Doing so is key to capturing the nuanced details in the lower light areas without losing clarity.
By carefully metering the shadows, you ensure that they're well-exposed, which in turn guarantees that the skin tones in your photos look natural and vibrant.
Tip 5 – Getting white balance right
Open-shade photography is one of those times when auto white balance often doesn't work.
To avoid incorrect white balance, you can manually set your own custom white balance (for example, using a grey card) or select open-shade white balance in your camera settings (around 7000K).
If you want to learn more about white balance, check out this guide.
Tip 6 – Avoid dappled light
When searching for a shaded area, choose a location with nice, even light instead of dappled light.
Dappled light leaves unwanted shadows on your subject and is difficult to shoot in, so it's best avoided (the exception is, of course, if you want this look for creative effect).
Tip 6 – Try using a reflector
A reflector can be placed behind you to reflect light towards your subject.
Using a reflector to bounce light adds rim light around your subject to help separate them from the background.
Now that you have all the information you need to capture beautiful images using natural light in open shade, get out and experiment! If you have any questions or comments, let us know below.

Check out these 8 essential tools to help you succeed as a professional photographer.
Includes limited-time discounts.
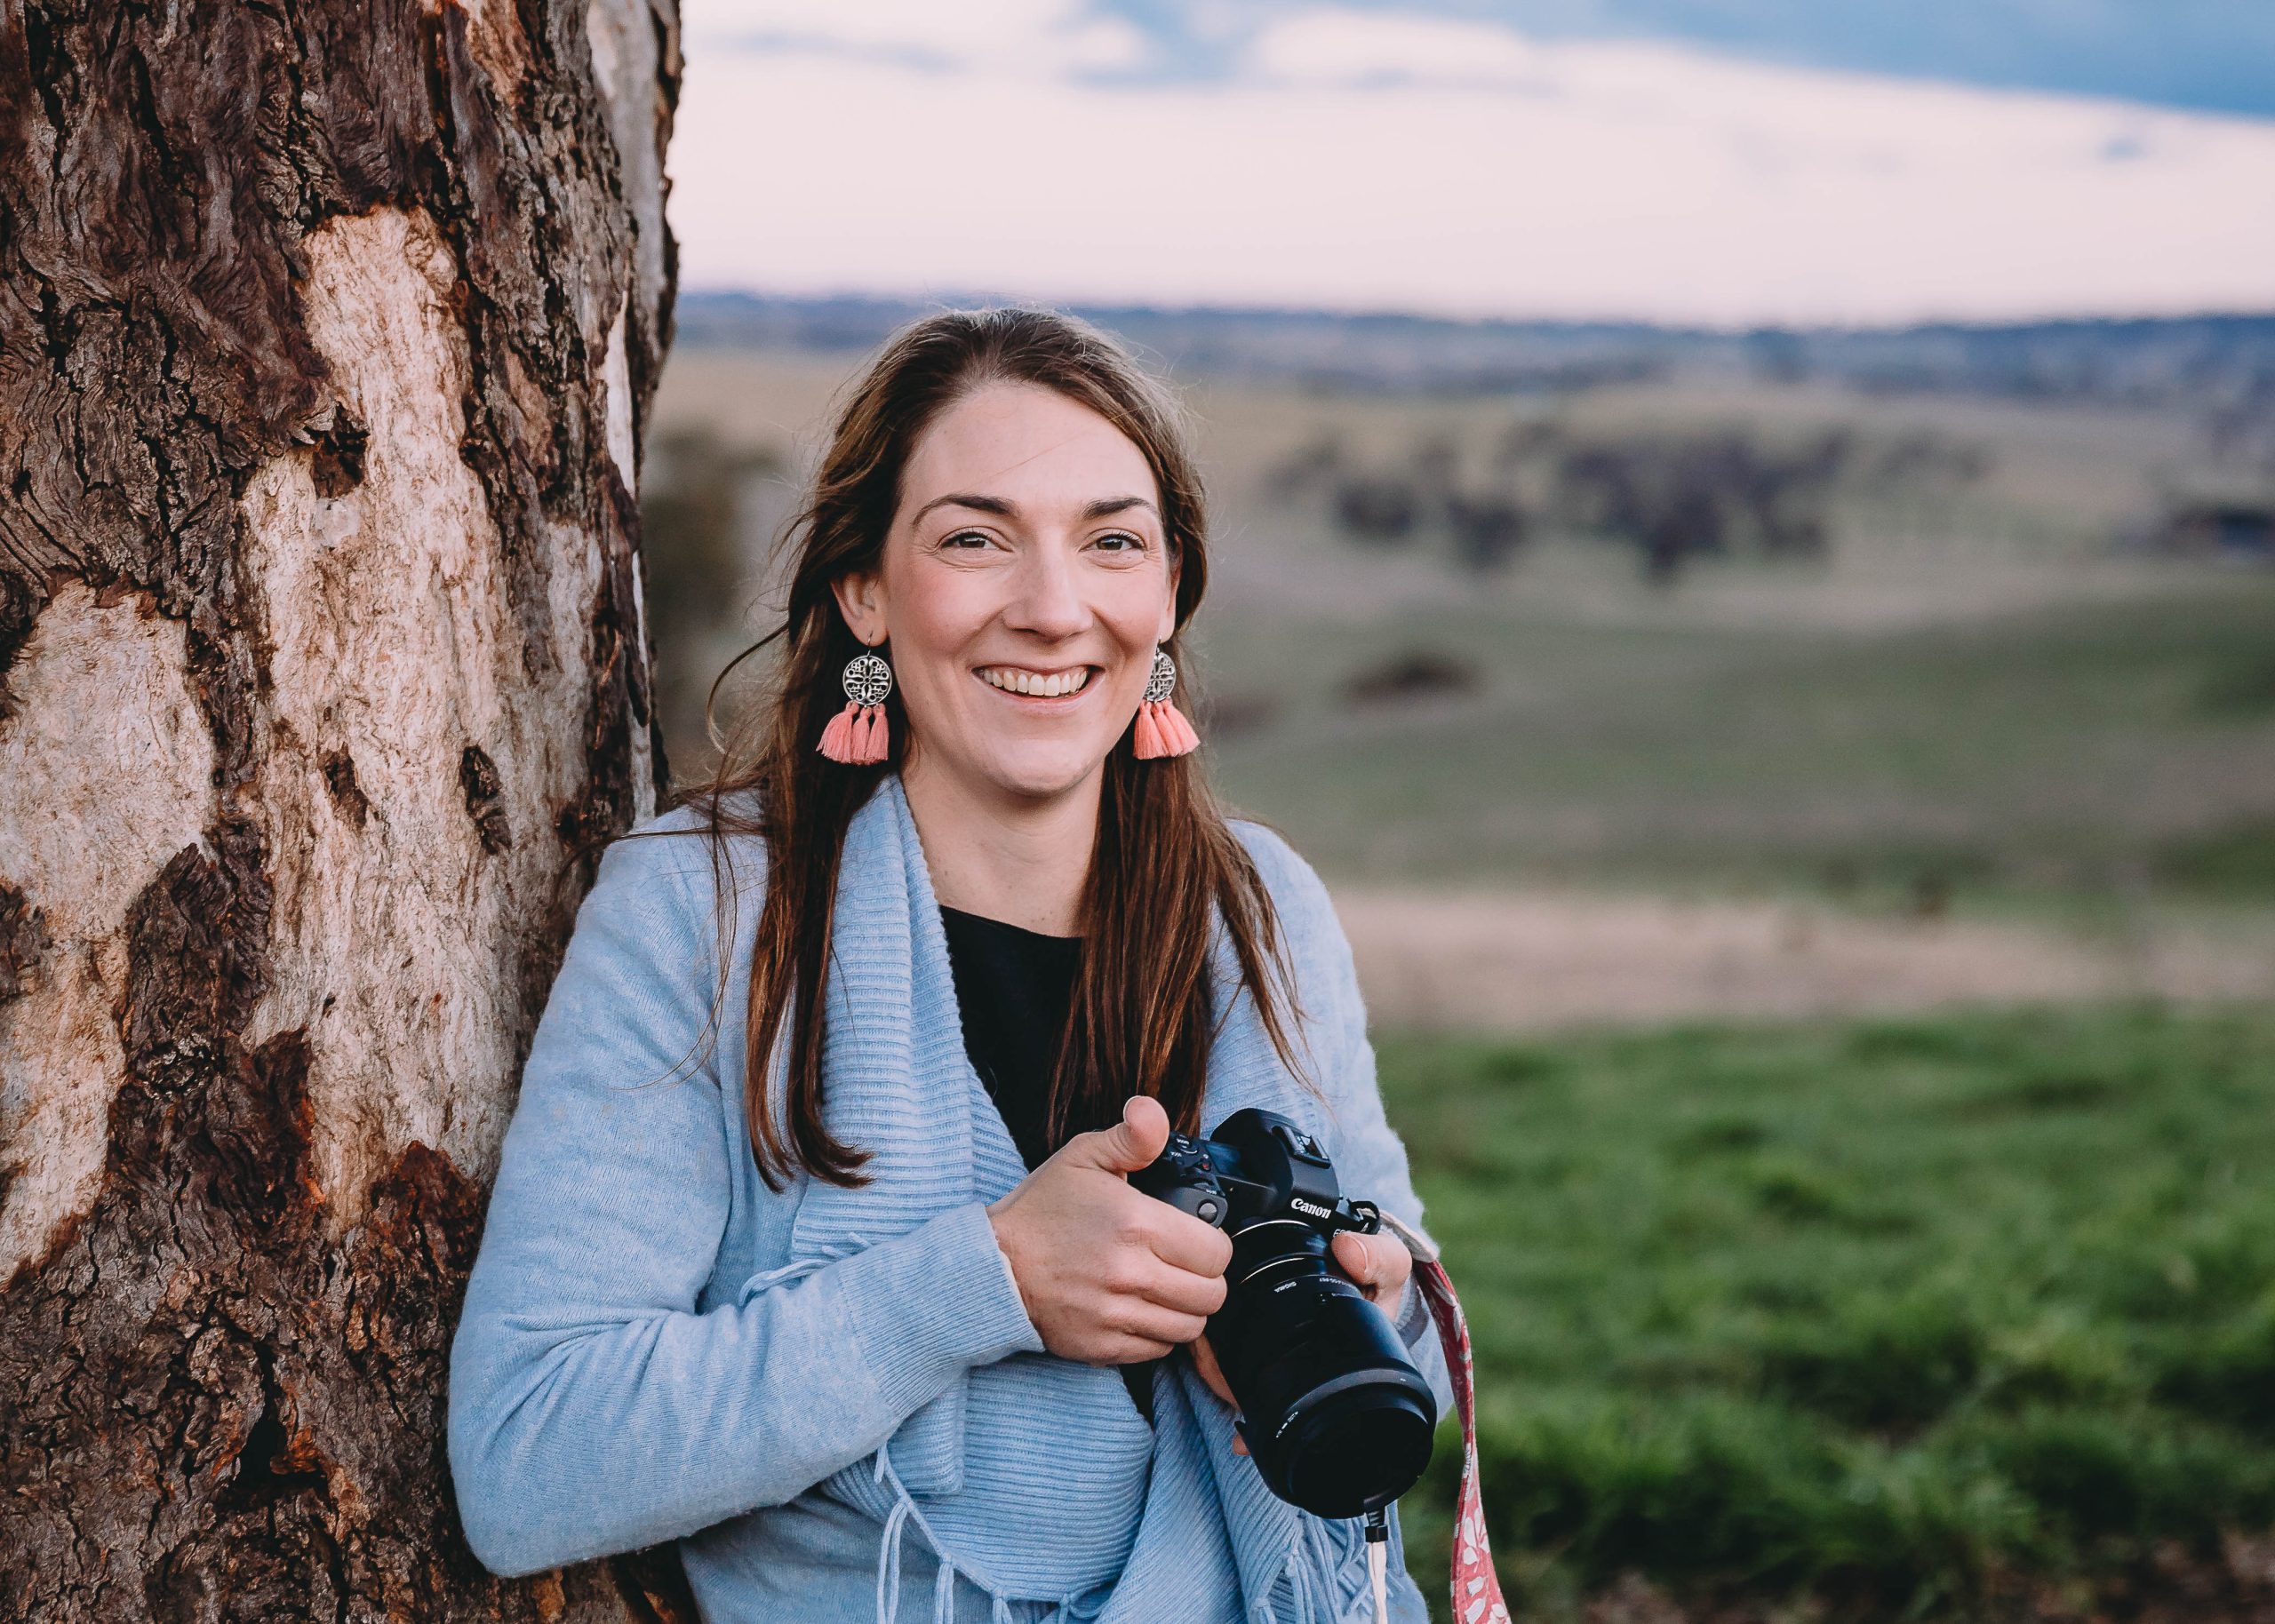
I am a family, couples and wedding photographer who captures candid connections in beautiful natural light in Central West NSW. I love the outdoors and especially love that I get to see a range of beautiful outdoor locations (particularly on their family farms) through my client’s, as well as meeting lots of beautiful families/ couples!
👋 WELCOME TO SHOTKIT!
🔥 Popular NOW:
