


Get Good at Moody Photography: Pro Tips & Examples
Learn the tricks to create dark and moody photography to add drama to your images with a style that emphasises atmosphere and emotion.
Learn | By Ana Mireles
Shotkit may earn a commission on affiliate links. Learn more.
Have you ever heard about the dark and moody photography style but you're not sure what it means?
Do you want to improve the dark and moody look of your images?
Whatever the reason is for you to be reading this article, I'm sure you'll find useful information.
Moody photos create an emotional response from the viewer – that's why they're still a popular Lightroom editing style.
You can really connect with the photograph beyond the superficial level of just being beautiful photos.
A moody photo communicates a feeling.
Usually, moody images are also dark. This is why there's a whole trend called dark and moody photography.
The dark and moody vibe comes from using rich colors and deep shadows.
t usually has a directional use of light and a specific way of post-processing.
You can apply the dark and moody style in all sorts of photography.
Whether you're a landscape, food, portrait, or wedding photographer, you can create moody photos.
In this article, I'll tell you all the tips and tricks to achieve a dark and moody style regardless of your subject.
I'll talk about natural light and flashlight, locations, and even tell you how to do it with your phone.
If you're feeling moody, let's get started!
How to Create Dark and Moody Images: 5 Tips
1. Lighting for dark and moody photography
Natural lighting
It might surprise you to know that it's completely possible to do dark and moody photos using natural light. Using a window is the easiest way to create a dark and moody look.
This is because you'll have more control than being outside on a sunny day.
If you want soft light, shoot when the sunlight isn't shining straight through the window. Instead, use direct sunlight for hard light.
Remember that the size and shape of the window also determine the final result. A smaller window will give you a more directional light, while a large window will affect the entire scene.
To create images with a dark and moody look, directional light is better. If the window is too wide for that, you can use curtains to limit the light spill on the scene.
Try leaving part of the subject in the shadows creating a strong contrast for a dramatic effect.
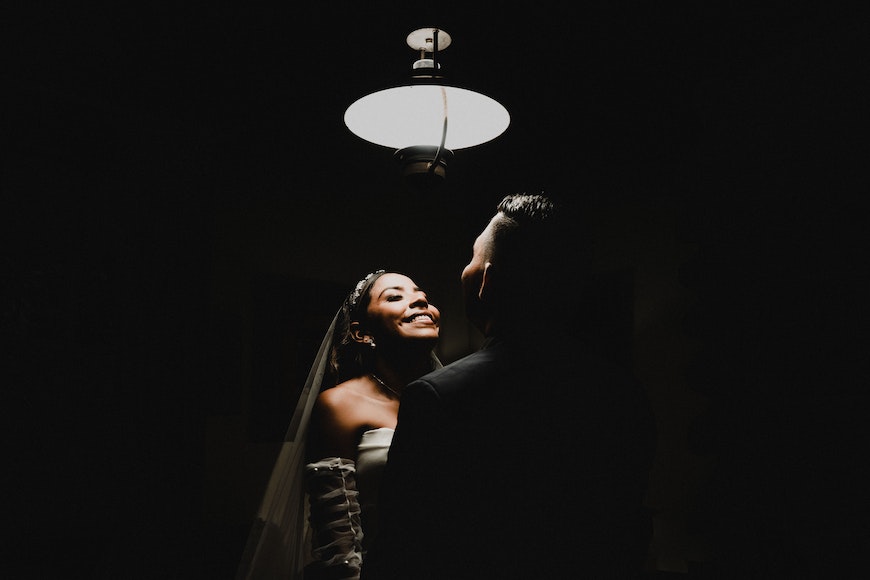
If you want to shoot outdoors, dusk is the perfect time to take a dark and moody photo. Foggy days are also great for a moody style.
Try placing your subject under a lamp post when there's fog and you'll surely capture a beautiful moody or dark photo.
Flash and light modifiers
A strip softbox with a grid is perfect to create the directional light you need in dark and moody photography. You can use this lighting setup to create a beam of light.
If you position this light on the side and a little bit behind the subject, you'll have a good part of the subject in the shadows. This will give a mysterious look to the entire image.
Another flash modifier that's helpful when you want to capture dark and moody photos is a flag or a gobo. Anything that helps you block part of the light is handy.
You can also add reflectors or more light sources if the shadows are too dark. Your dark and moody photo must be properly exposed. You don't want to lose all the information from the shadow area.
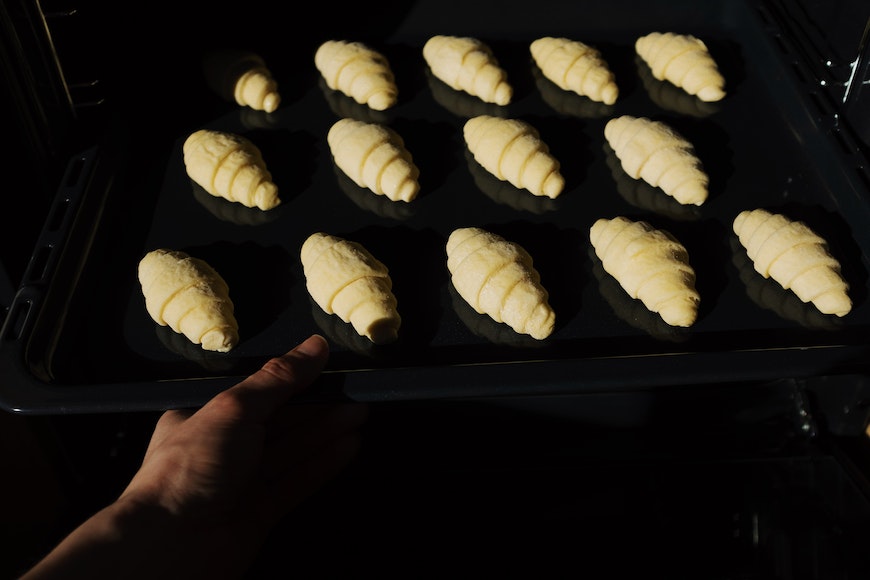
2. Gear and camera settings for dark and moody photography
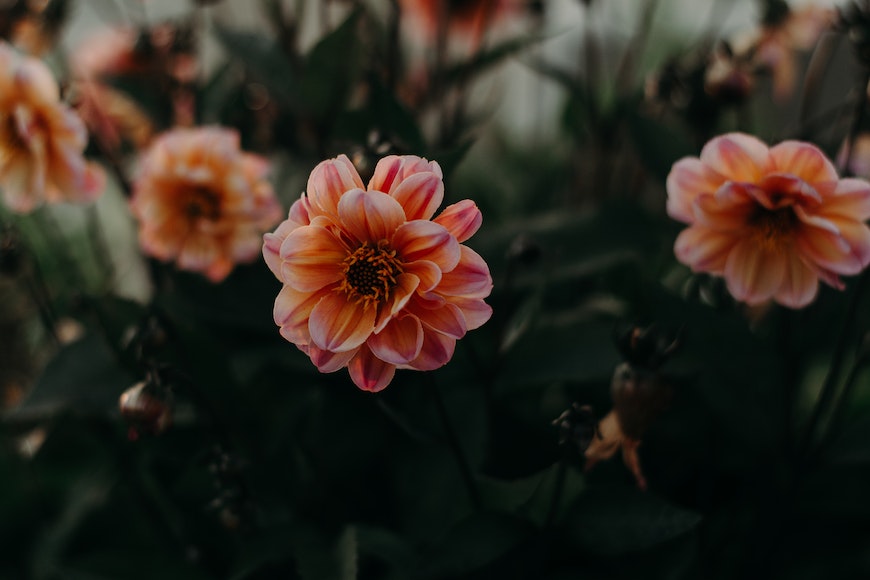
Credit: Irina Iriser
The camera and lens needed for dark and moody photography aren't so much determined by the style, but by the subject.
You won't need the same camera or lens to photograph a cupcake as you would for a landscape. Basically, you can shoot dark and moody photos with any camera – including the one from your phone.
The same type of reasoning applies to the settings. There isn't a cheat sheet with the right shutter speed, aperture, and ISO to achieve the dark and moody style.
There are a few tips I can give you, though.
The first and most important thing to consider is that being dark and moody doesn't mean that your image is underexposed.
You need to find the correct exposure for the darker tones and the contrast that characterises this photography style. This means that you don't have clippings in the highlights and that you have rich details in the shadows.
This is easier to achieve if you use your camera in manual mode. If you prefer a semi-automatic mode, then use the exposure compensation feature to prevent overexposure.
Another important thing is to keep the ISO as low as possible. This way, you'll prevent noise in the dark areas of the image – which are most of them in dark and moody photos.
As far as the aperture and shutter speed, adjust them according to your subject and the overall aspect you want for your image.
These settings will also work well for chiaroscuro photography, which refers to the use of stark contrasts between light and dark areas within an image, creating a high-impact, dramatic scene.
3. Use a dark background
Using a dark background is also helpful when you want to achieve this type of photo. One way to achieve this is by preventing the light to spill into the background.
This way, it won't matter what is behind the subject because it will be in the shadow.
If you want to have more light while maintaining the mood, you can get a dark photo backdrop. This may be a solid color or a textured one, fabric or paper.
There is a wide choice in photography stores and online or you can DIY backdrop if you're a crafty photographer.
Last but not least, you can use a digital backdrop. Whether you buy one or you create it using an AI tool, this will save you some money and storage space.
However, it will require some editing skills to make the photo composite look realistic.
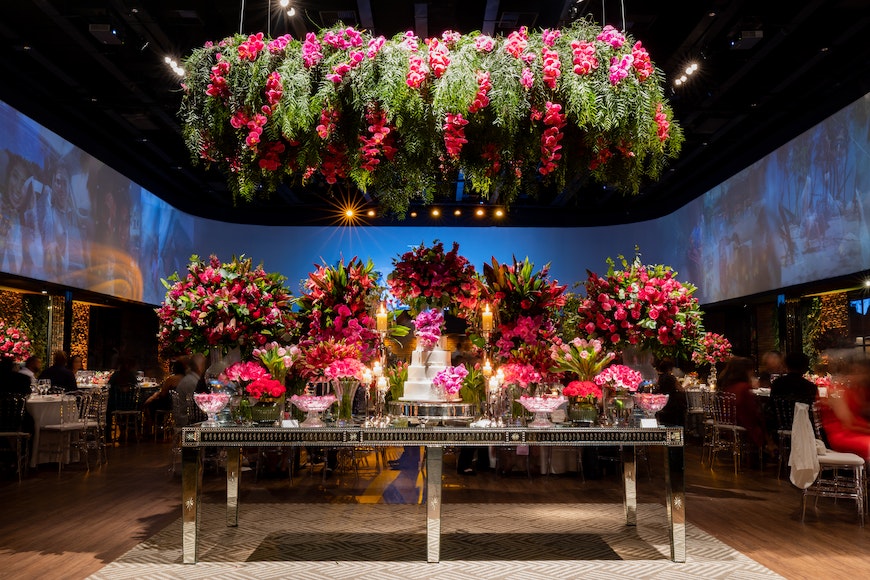
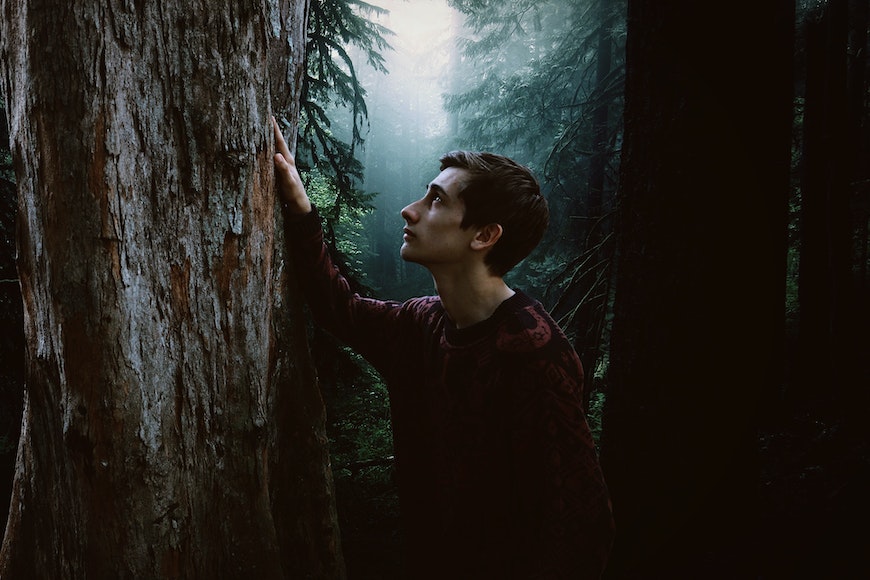
4. Choose the right location

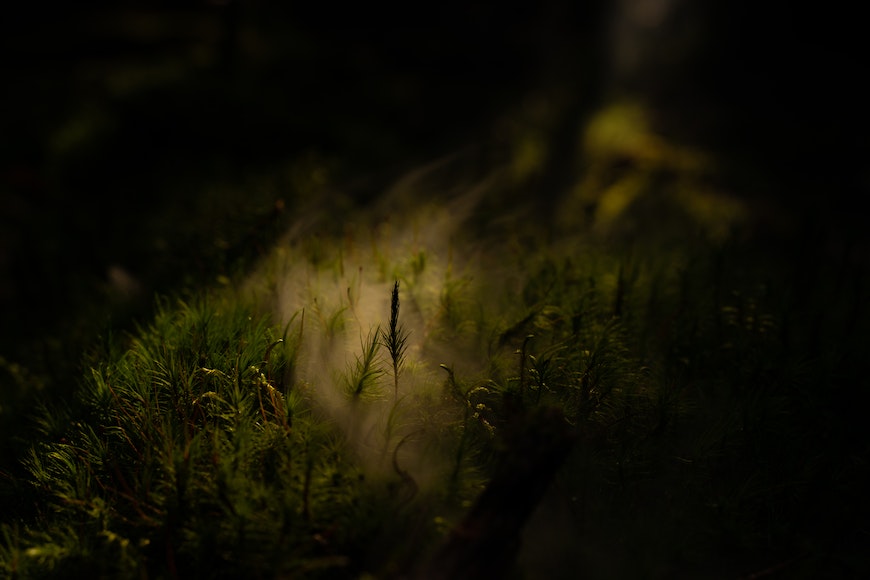
Credit: Abdel Rahman Abu Baker
As you probably know, the location adds up to create a mood. So, if you're shooting outside the studio, you should look for a place that matches your creative vision.
There isn't one photo location that's right and one that's wrong. It largely depends on the photograph you're doing.
Some places do look dark and moody in their own right, though. Try thinking of abandoned buildings, a foggy forest, and so on.
The most important thing is that you understand the lighting of the place. If you're using the sun as a light source, when is the best time to shoot? Can you open and close the windows or otherwise control the light?
If not, study the ambient light or plan for what type of lights you'll need to bring for the photo shoot.
5. How to edit dark and moody images
You can edit your dark and moody photos in any software or app of your choice. I prefer to use Lightroom.
The thing about editing a dark and moody photo is that you're not just lowering the exposure or the shadows to make it darker. You need to communicate a specific mood, which means, that you need to find your style.
So, this is just one example of how you can edit your image but feel free to experiment with different styles.
Start by lowering the exposure and increasing the contrast, this will darken the photo without making it look flat. Then, pull the Blacks and Highlights to the left. This will make the black point darker and the highlights won't be so intense.
Instead, pull the Shadows to the right to enhance the details in the shadow areas and intensify the Whites to maintain contrast.
Next, lower the Clarity and the Saturation so you can start giving the image a soft, dreamy mood. To add to this effect, use the darker zone of the Tone Curve and pull it up.
Once you're happy with the light adjustments, move on to the HSL section to work with color. There are no magic numbers here. It depends on the photo that you're working on and the result you want to get.
Experiment with the sliders until you're happy with your image. Remember that decreasing Saturation will add to the dramatic look. Using the Lightness sliders you can darken specific colors.
Once you're done with these adjustments, you can use Color Grading to change the sense of the story. Here is where your creative style can come through.
If you have an older version of Lightroom, the Color Gradient tool wasn't available, but you can use Split Tone.
How to Take Dark and Moody Photos with iPhone

Credit: екатерина мясоед
Most of the tips I gave to create a dark and moody style on a camera also work for iPhone photography. Take the choice of location, for example – or the dark background and props.
The lighting may apply too. This is obvious if you're using daylight, but even if you're using artificial light. You can use the same advice but use continuous lighting instead of flash or strobes.
What requires an extra note is the exposure. Moody photography style requires dark tones. So, don't just point and shoot while using your iPhone – this could trick the light meter and make the photo too bright.
Instead, create the composition you want and wait for it to come into focus. Then, tap and hold on the subject until you see a yellow box appear. Then, swipe up and down to control the exposure.
Once the exposure matches the dark and moody light you had in mind, you can take the shot. Another way to control the exposure to prevent bright photos when you're going for a dark and moody look is by controlling your iPhone camera settings.
Yes, you can also do this on your phone. The camera app on your iPhone, and most smartphones actually, has a Pro mode.
The pro mode allows you to set the ISO and shutter speed. While there isn't an actual aperture, it also has a feature that controls the depth of field.
After the shot, don't forget to edit your photos to finalize the moody photography style. The post-processing is the same as the one for a photo taken with a camera.
In fact, many editing programs have an iPhone mobile version – for example, Photoshop and Lightroom.
Get Inspired: 21 Examples of Dark and Moody Photography
If you're looking for dark and moody photography inspiration, here are some examples from many photography categories.
Dark and Moody Wedding Photography

Credit: Kadir Ciftci
Credit: Hugo Martinez

Credit: Pavel Danilyuk
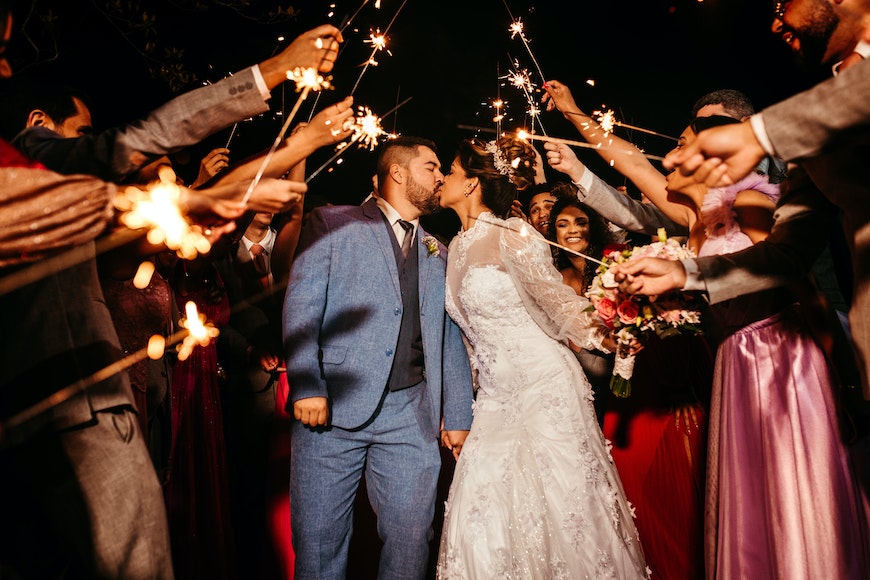
Credit: Jonathan Borba
Credit: Matheus Bertelli
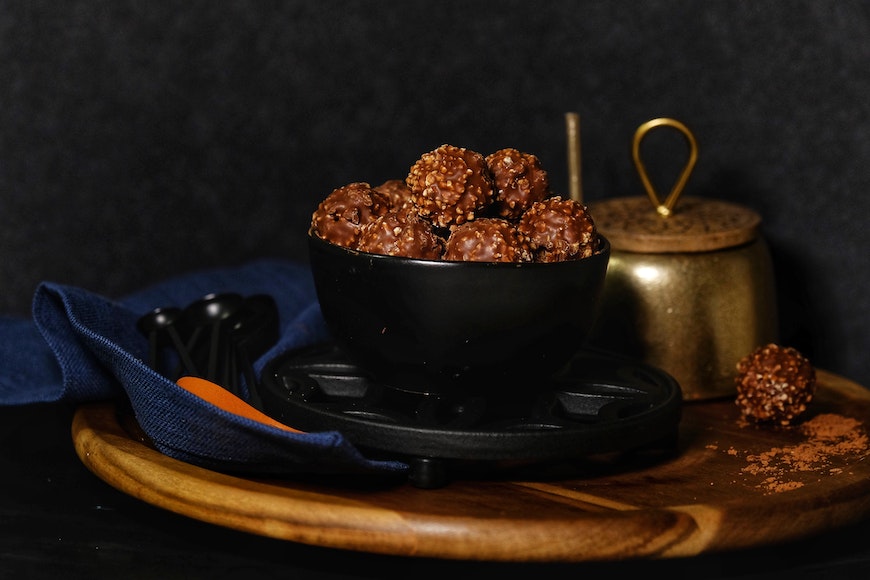
Dark and Moody Food Photography
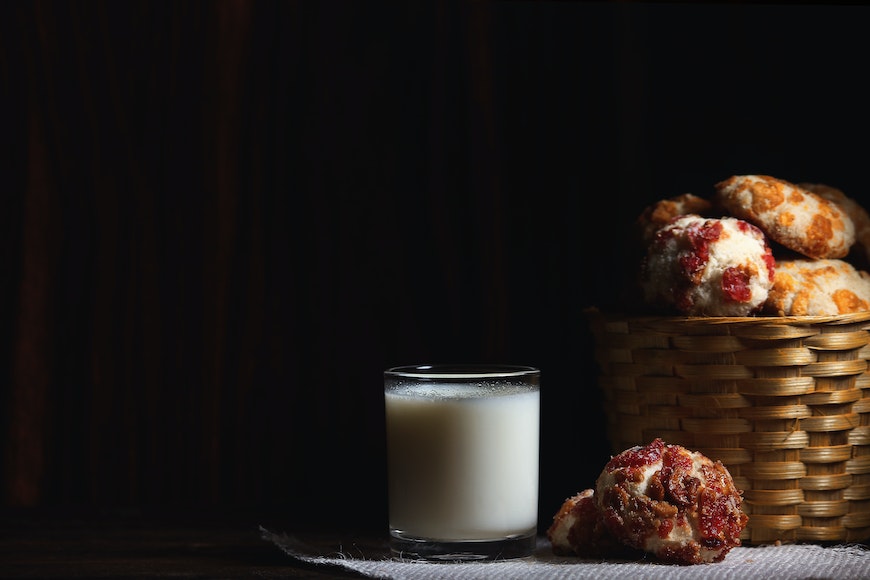
Credit: Nixon Johnson

Credit: Polina Kovaleva
Credit: Ready Made
Credit: Julia Miller
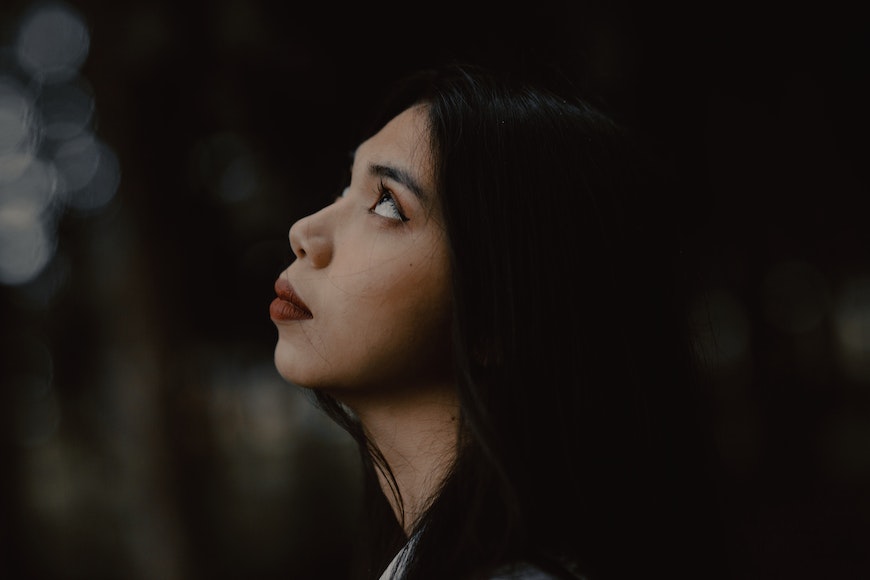
Dark and Moody Portrait Photography

Credit: Cottonbro Studio
Credit: Lucas Piero

Credit: Matheus Bertelli

Credit:LML
Credit: Charles Delos Reyes
Dark and Moody Product Photography
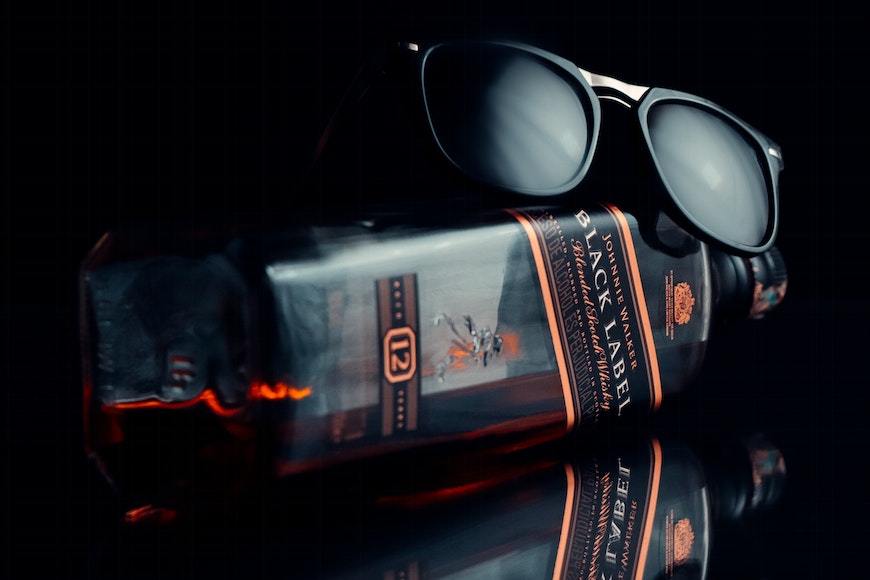
Credit: Jourbann Studios
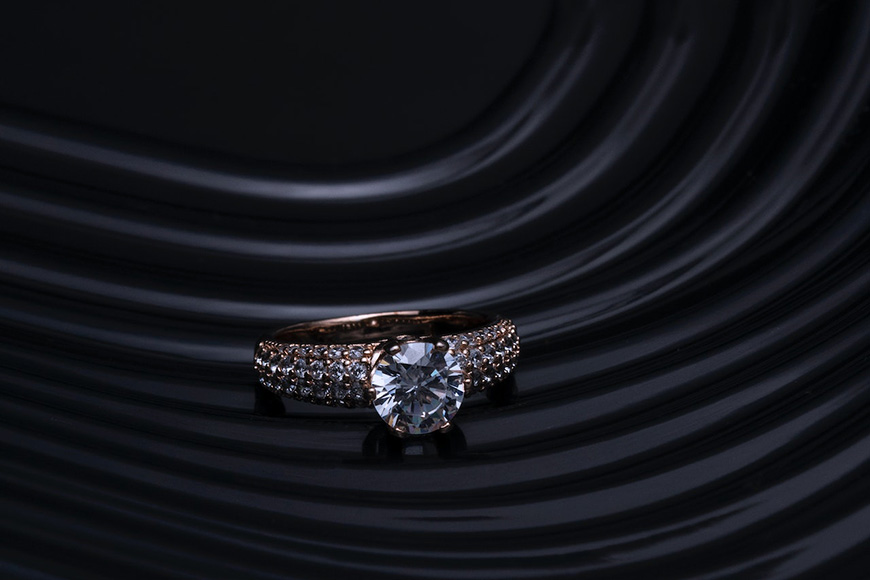
Credit: Ayush Phillip

Credit: Laryssa Suaid
Dark and Moody Landscape Photography

Credit: Bruno Miranda Photography
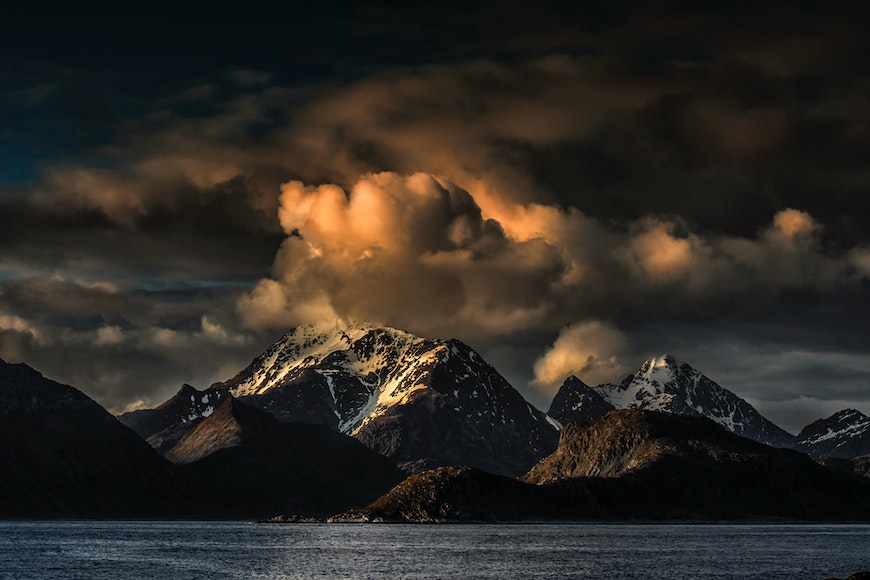
Credit: Stein Egil Liland
Credit: Antonio di Giacomo
More Inspiration: 8 Photographers Using the Dark and Moody Style
Here are some photographers you can follow on Instagram to keep getting inspired by their dark and moody feeds.
Joshua K. Jackson
View this post on Instagram
Billy Dinh
View this post on Instagram
Henry Prestes
View this post on Instagram
Ana Lora
View this post on Instagram
Nick Leitzinger
View this post on Instagram
Nirav Patel
View this post on Instagram
Sean Dalton
View this post on Instagram
Inga Smietana
View this post on Instagram

Check out these 8 essential tools to help you succeed as a professional photographer.
Includes limited-time discounts.

Ana Mireles is a Mexican researcher that specializes in photography and communications for the arts and culture sector.

👋 WELCOME TO SHOTKIT!
🔥 Popular NOW:
